
I’ve been searching for the perfect floral headband pattern for ages. One that looks delicate and romantic without being fussy or overly complicated. This Pink Blossom Vine Headband is exactly what I had in mind, and I’m so excited to share it with you today.
Get the Ad-Free PDF Pattern
You can find the free pattern below, or you can purchase the ad-free printable PDF from my shop.
Get the Printable PDF →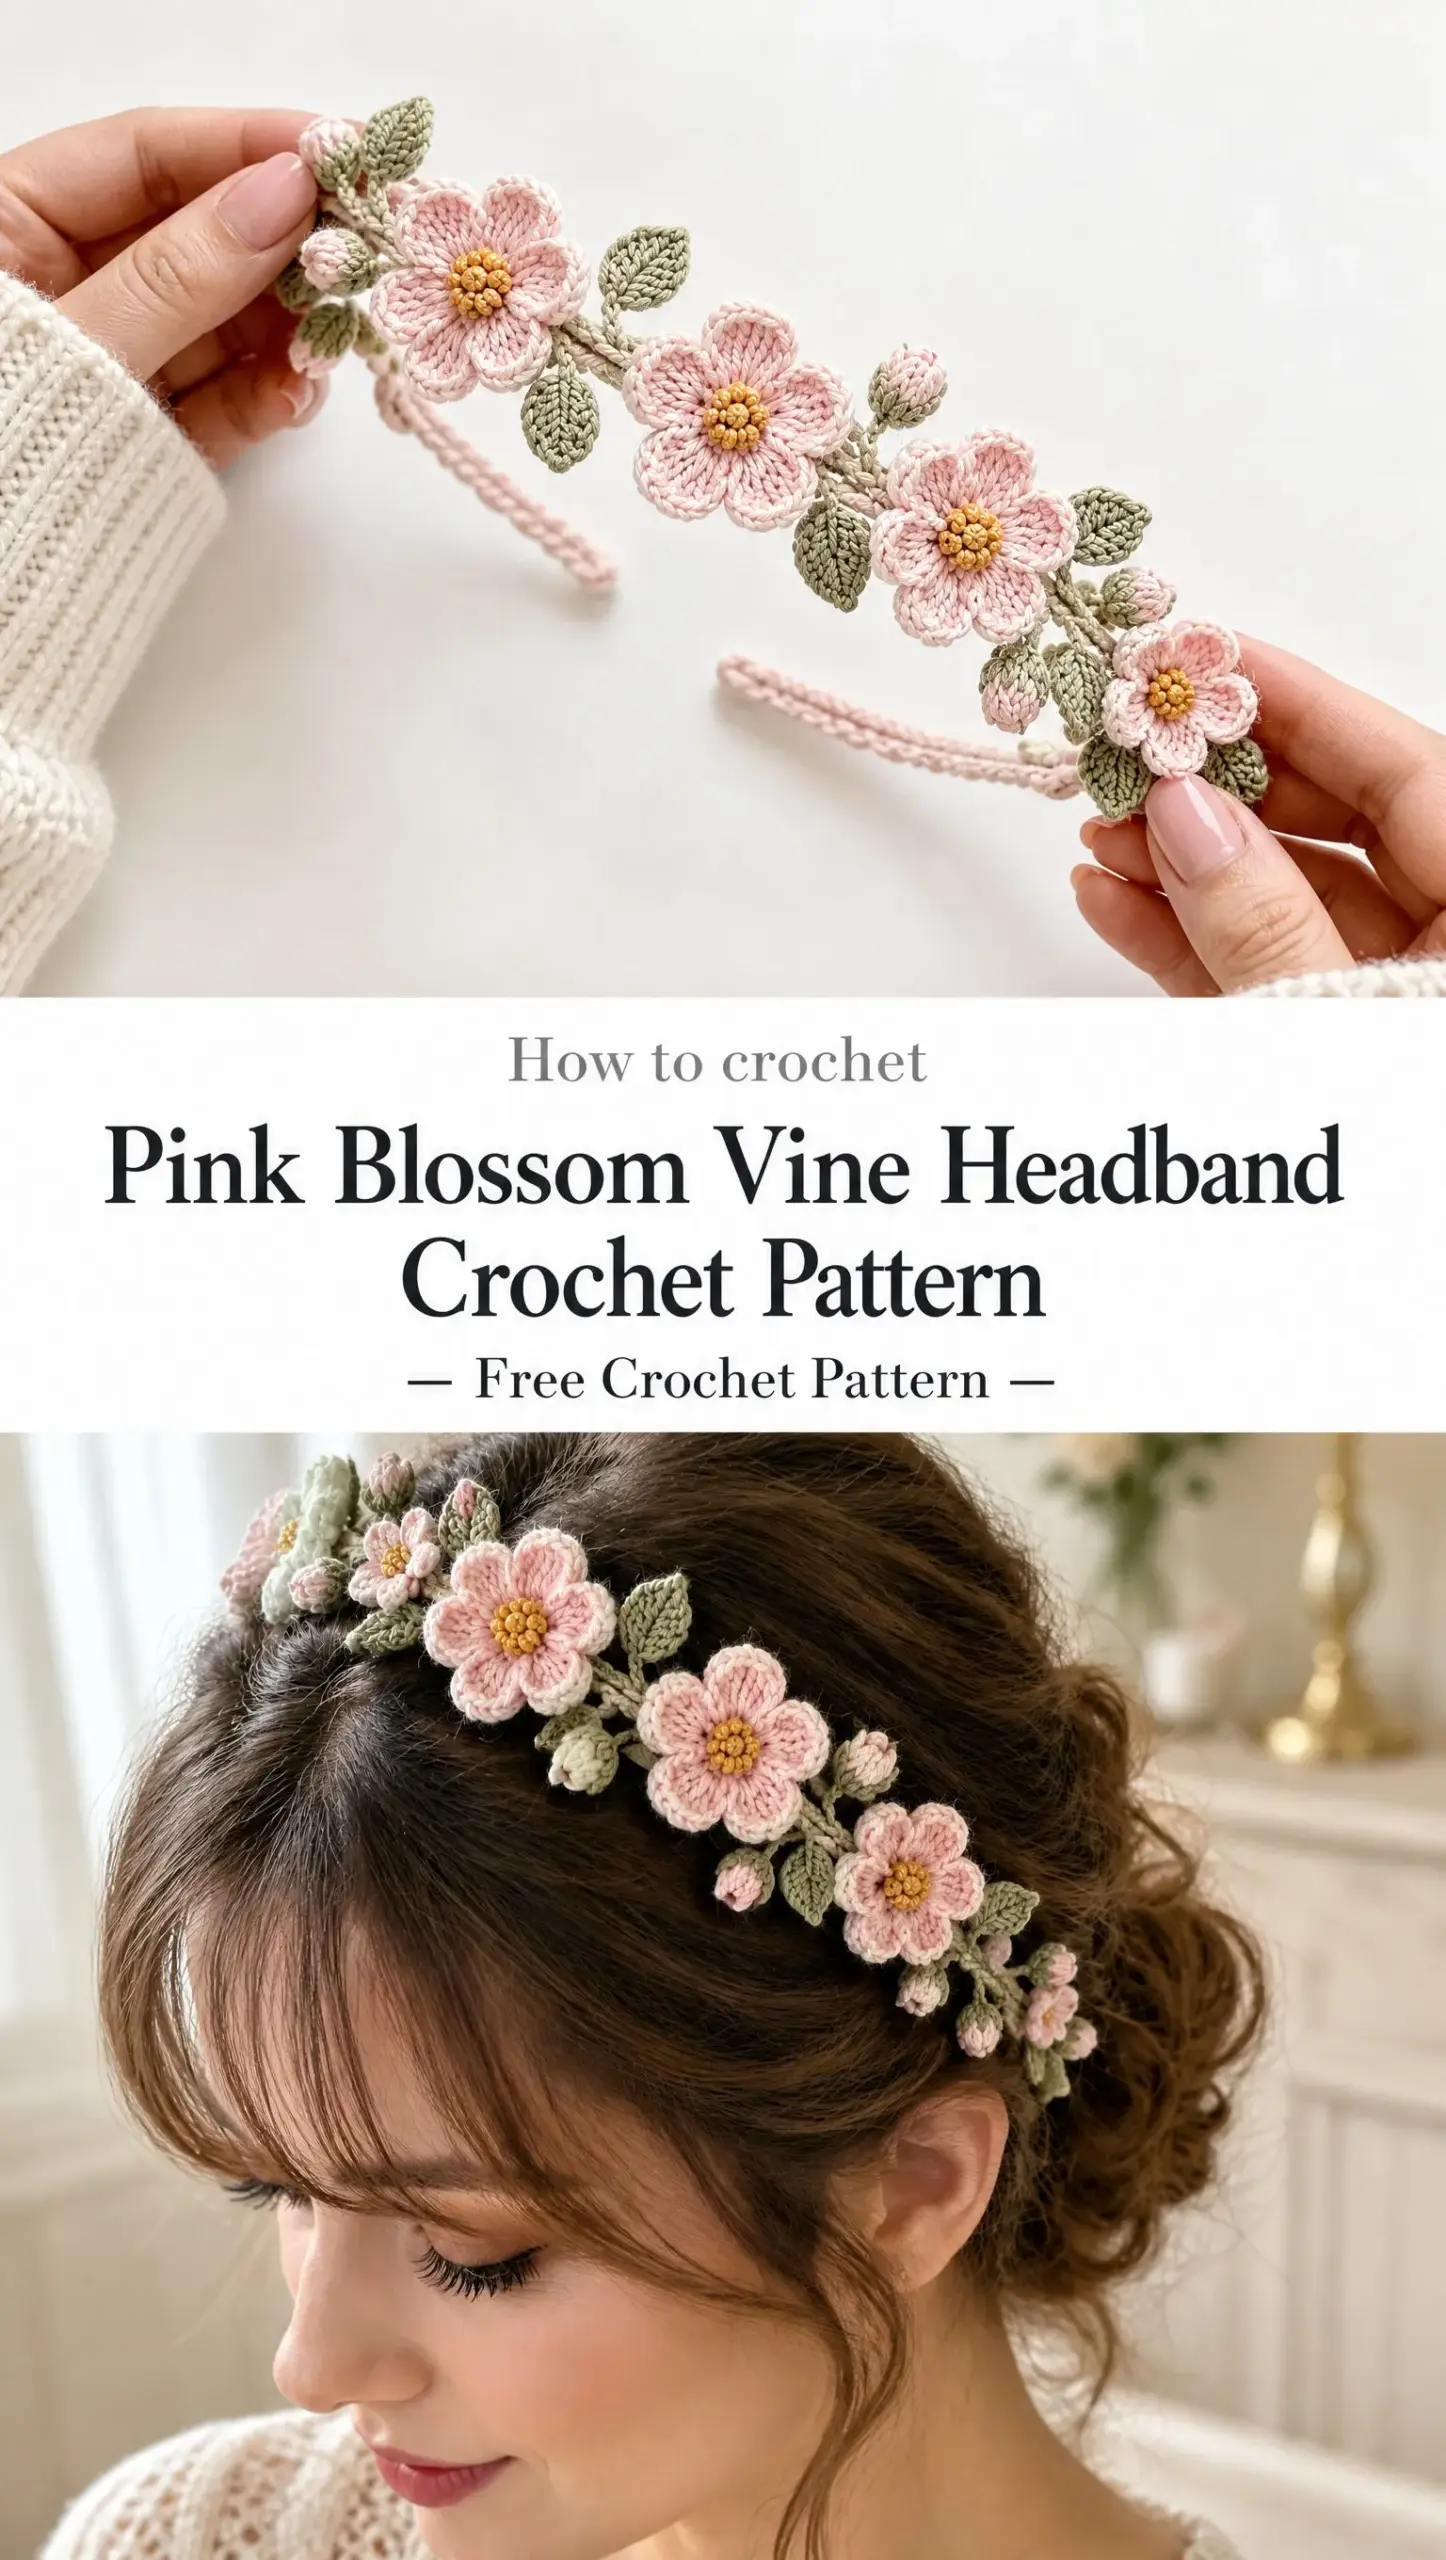
The design features a slim sage green vine base with an asymmetrical trail of pale blush pink blossoms cascading across the front. It’s feminine, springlike, and surprisingly wearable. Whether you’re making it for a wedding, a photo shoot, or just because you love pretty things, this headband delivers on all fronts.
Let me walk you through everything you need to know to create your own beautiful floral crown. The construction is more approachable than it looks, I promise.
What Makes This Floral Headband Special
This isn’t your typical thick crochet headband. The Pink Blossom Vine Headband has a delicate, almost ethereal quality that comes from working with fine cotton yarn and a small hook. The finished piece looks like something you’d find at a boutique or a bridal shop.
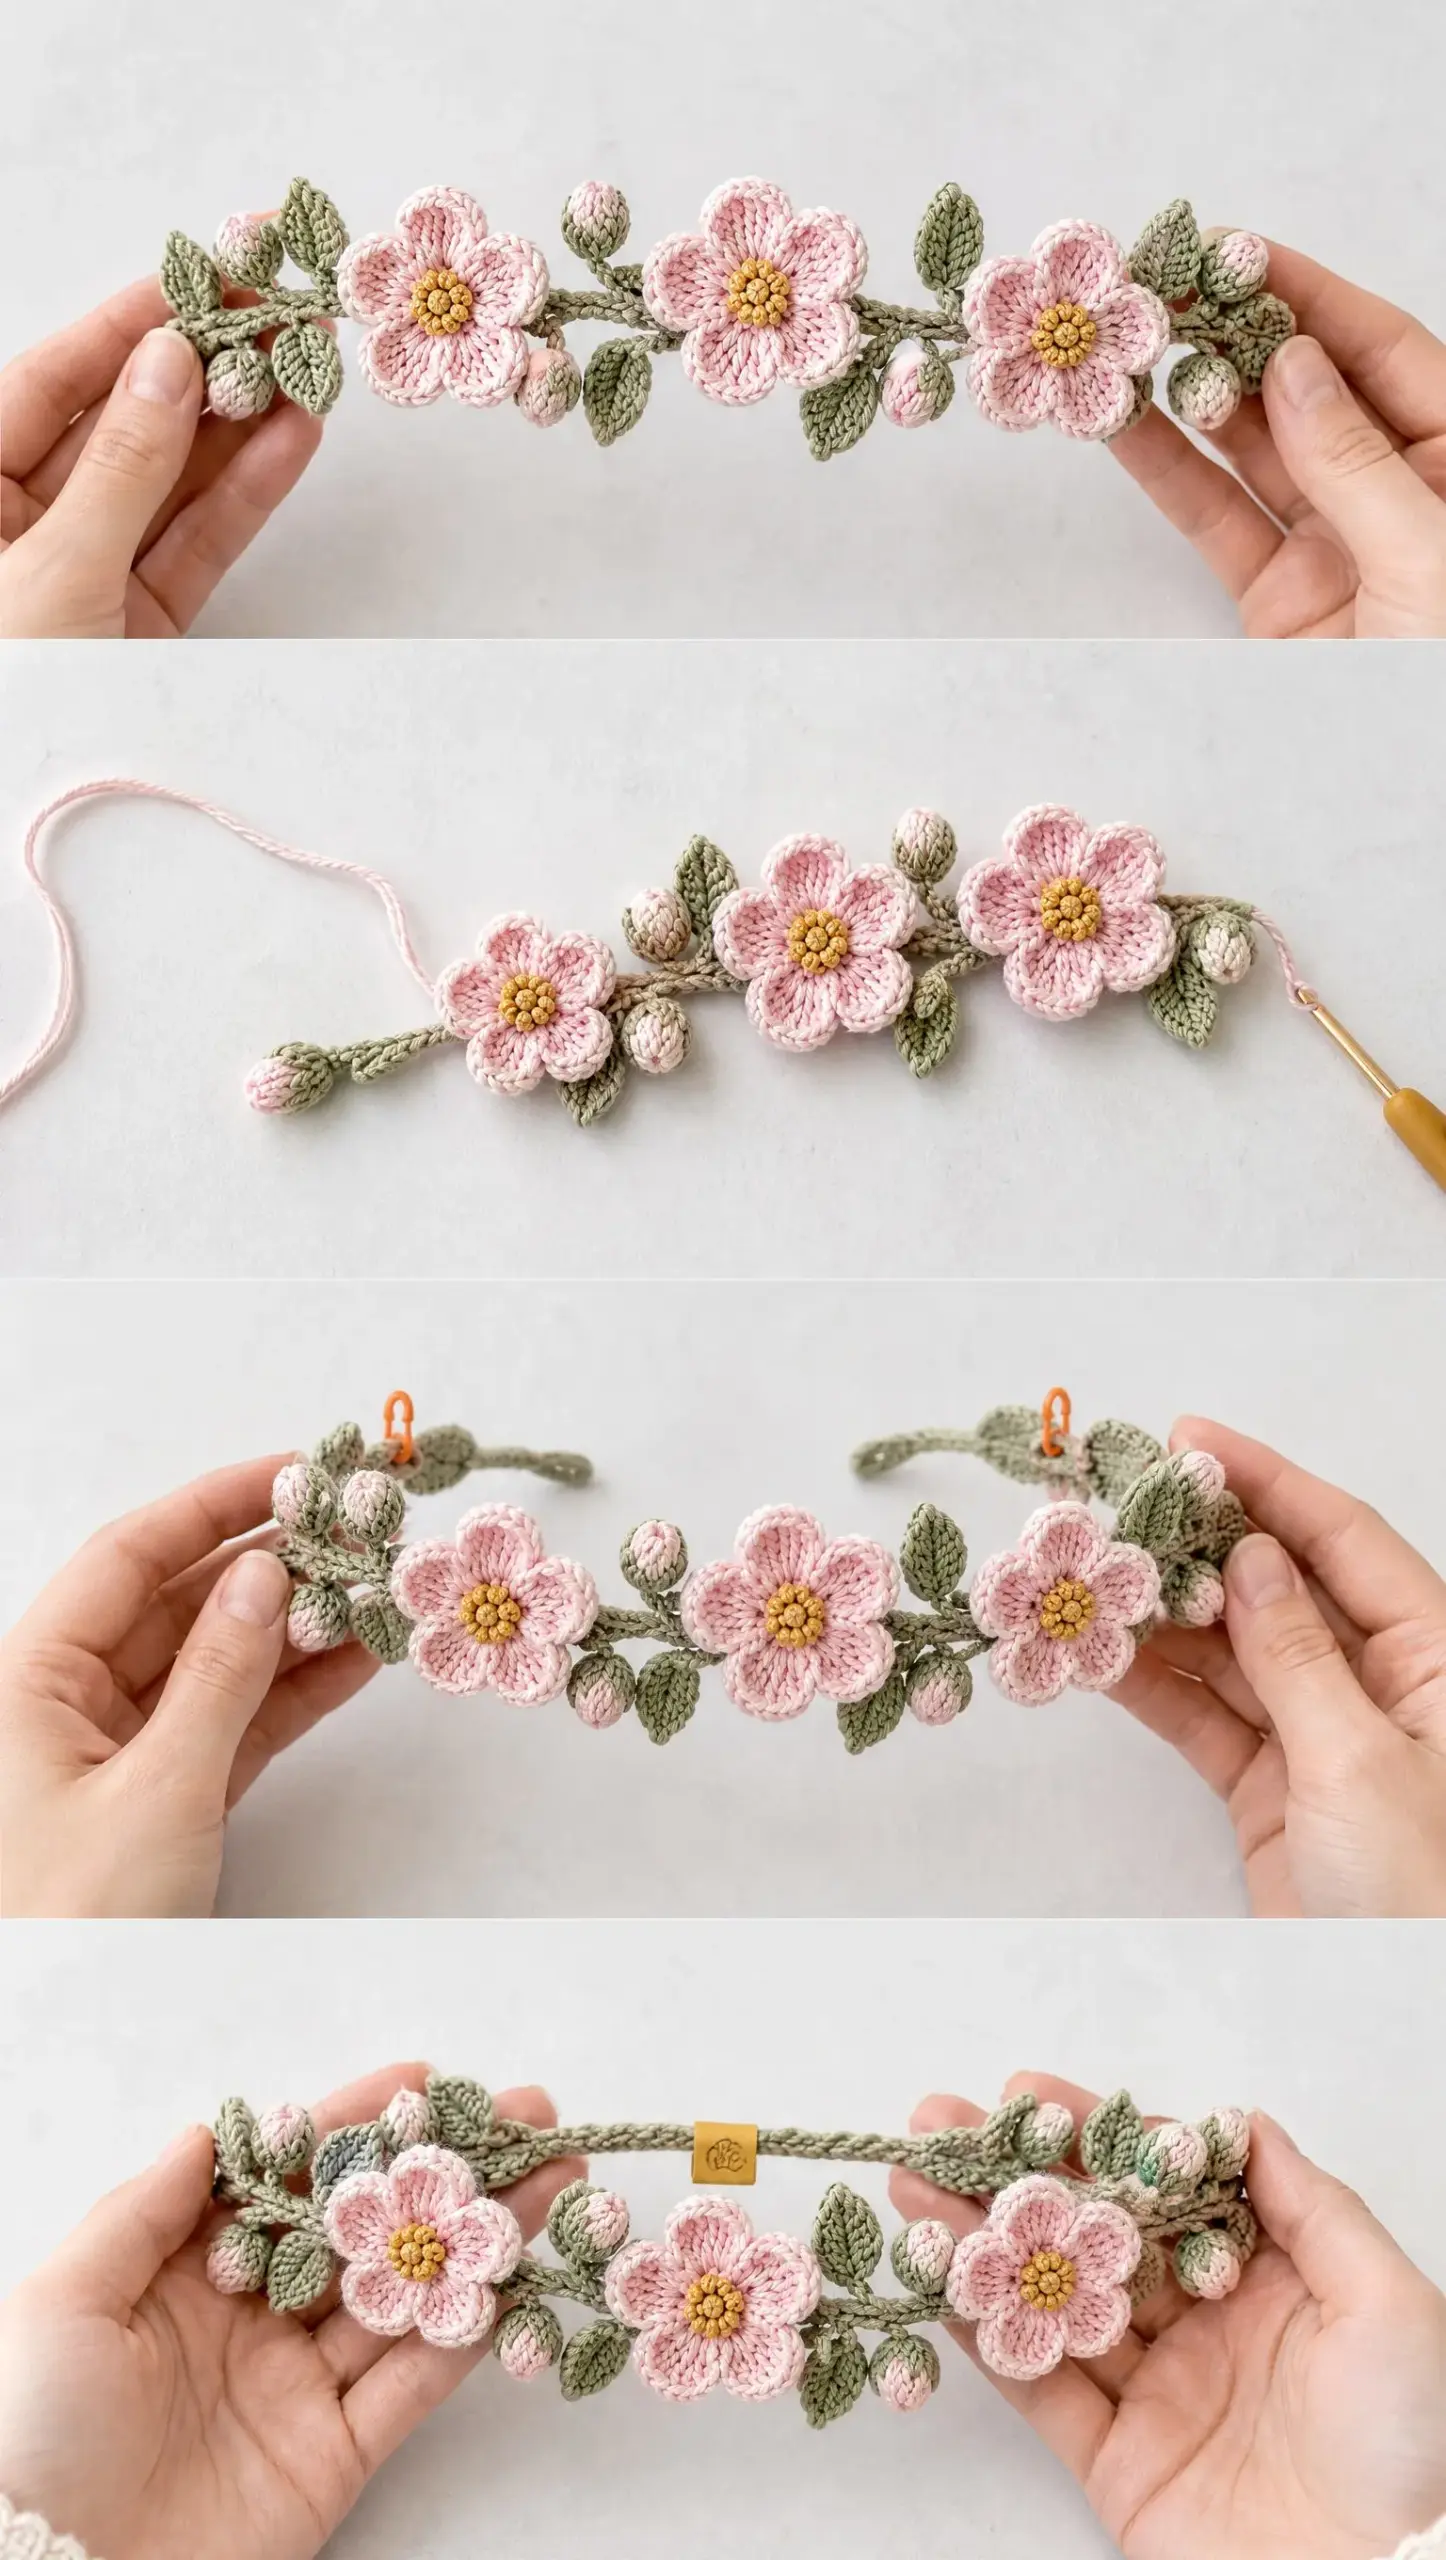
The design includes three main five-petal flowers with golden yellow centers, several smaller blossoms and buds, pointed leaves, and branching stems that trail naturally along the vine base. Everything gets assembled in a way that creates beautiful asymmetry. The flowers cluster together at the front while the vine stays slim and comfortable at the back.
What I love most is how the layered petals create real dimension. You can add a second layer behind the first for that lush, overlapping texture you see in the reference images. It takes the flowers from flat to absolutely stunning.
Skill Level and Techniques
This pattern is rated intermediate. You should be comfortable with the following techniques before starting:
If you’ve never made a magic ring before, I recommend practicing a few times with scrap yarn first. It’s the foundation for all the flower centers and buds, so getting comfortable with it will make this project much more enjoyable.
Finished Measurements
The completed headband has these approximate dimensions:
The length is completely customizable. Simply chain more or fewer stitches at the start to fit your head perfectly.
Materials You’ll Need
Gather these supplies before you begin:
Yarn
Use fine matte cotton yarn in three colors:
The matte finish is important here. Shiny or mercerized cotton will change the look significantly. You want that soft, natural appearance that matte cotton provides.
Tools
A Note on Gauge
Gauge is not critical for this project. Use whatever hook size creates firm flowers with visible stitch definition. If your flowers feel floppy or loose, go down a hook size. If they’re too stiff and hard to work, go up a size.
Abbreviations Reference
Keep this list handy while you work:
The Vine Base Pattern
This is where everything starts. The vine creates the structure of your headband and provides attachment points for all the flowers, leaves, and buds.
Step 1: Using sage green yarn, chain 70 to 90 stitches depending on your desired length. For a snug fit, start with 70 chains. For a looser fit or larger head size, go up to 90 chains.
Step 2: Work slip stitches or single crochet back along the chain to create a slim, flexible vine. Slip stitches will give you a thinner, more delicate vine. Single crochet creates a slightly sturdier base. Choose based on your preference.
Step 3: Add branching stems at various points along the vine. These will hold your smaller flowers and buds.
To create a branch:
Don’t overthink the placement. Real vines aren’t perfectly spaced, and yours shouldn’t be either. I usually add 4 to 6 branches total, clustering more toward the front where the main flowers will go.
Step 4: Once all branches are complete, sew or crochet the ends together into a hidden join. This creates the headband shape while keeping the closure neat and invisible.
Leaf Pattern
Make multiple leaves in sage green. I recommend starting with 6 to 8 leaves, then making more if needed during assembly.
Step 1: Chain 8.
Step 2: Starting in the second chain from hook, work the following stitches: sc, hdc, dc, dc, hdc, sc.
Step 3: Work matching stitches along the opposite side of the chain. This creates a symmetrical pointed leaf shape.
Step 4: Slip stitch closed at the base.
Step 5: Add a raised center vein using surface slip stitches. Insert your hook from front to back through the center of the leaf, yarn over, and pull through both the leaf and the loop on your hook. Continue down the center of the leaf to create that realistic vein detail.
The surface slip stitches really elevate these leaves. Don’t skip this step.
Blossom Pattern
You’ll make three large blossoms and several smaller blossoms. The smaller ones use the same technique but with fewer stitches and tighter tension.
Flower Center
Step 1: Using golden yellow yarn, make a magic ring.
Step 2: Work 6 sc into the ring. Pull the ring closed.
Step 3: Add a second round with increases until you have a small raised golden center. This creates that lovely textured center you see in the photos.
Step 4: Fasten off, leaving a tail for sewing later.
Petals
Step 1: Attach blush pink yarn around the completed center.
Step 2: For each petal, work a compact group of short and tall stitches. A typical petal might be: sc, hdc, dc, dc, hdc.
Step 3: Slip stitch into the base to create rounded petal shaping.
Step 4: Repeat for five petals total, spacing them evenly around the center.
Step 5 (optional but recommended): Add a second petal layer behind the first for dimensional, overlapping texture. Work this layer into the back loops or slightly behind the first layer of petals.
The second layer is what gives these flowers their lush, realistic appearance. It’s worth the extra few minutes.
Small Buds Pattern
These little buds fill in the gaps and add visual interest to your design.
Step 1: Using blush pink yarn, create a small magic ring.
Step 2: Work a tight cluster of stitches into the ring. Pull closed.
Step 3: Wrap with a sage green calyx (the little green cap at the base of a bud):
Step 4: Leave a long tail for attaching to vine branches.
Assembly Instructions
Now comes the fun part. Lay out all your pieces and start arranging.
Step 1: Arrange the three main flowers across the front portion of the vine. Play with placement until you’re happy. Generally, having one flower slightly higher and the others cascading down looks most natural.
Step 2: Position smaller flowers toward both ends of the main flower cluster. These transition between the large blooms and the simple vine.
Step 3: Add leaves between blossoms. Tuck them behind and between flowers so the greenery peeks out naturally.
Step 4: Stitch all pieces securely using discreet attachment stitches. Use matching thread or yarn and small whip stitches on the back side where they won’t show.
Step 5: Keep all yarn tails hidden inside the vine structure. Weave them in thoroughly so nothing pokes out.
Take your time with assembly. This is where your headband really comes together, and careful placement makes all the difference.
Finishing Your Headband
Blocking: Block the flowers gently to flatten petals while keeping their dimensional shape. You don’t want them completely flat, just nicely shaped.
Shaping: Shape petals by hand while damp. Curl them slightly, adjust angles, and create natural-looking curves.
Important notes: Do not add beads or heavy embellishments. They’ll weigh down the delicate flowers and change the look of the piece.
Storage: Store flat or wrapped around a soft form like a rolled towel. This prevents crushing and keeps the flowers looking fresh.
Troubleshooting Common Issues
If petals curl too much: Loosen your tension or use a slightly larger hook. Tight tension can cause excessive curling.
If flowers appear flat: Add a second petal layer or lightly shape petals after blocking. Sometimes they just need a little coaxing into shape.
If the band feels loose: Shorten the vine base before joining. It’s easier to take out a few chains than to add them later.
Care Instructions
Hand wash gently in cool water. Lay flat to dry on a clean towel. Avoid harsh detergents and excessive stretching. With proper care, your headband will stay beautiful for years.
Final Thoughts on This Pink Blossom Vine Headband Crochet Pattern
Creating this headband is such a satisfying project. Each little flower and leaf comes together into something truly special, and the finished piece looks far more complex than it actually is to make. I hope you enjoy every stitch of it.
Thank you so much for choosing this pattern. If you make one, I would absolutely love to see it. Tag me on Instagram or share a photo in my Facebook group. Seeing your creations is honestly the best part of my day.
If this Pink Blossom Vine Headband is calling your name, go ahead and save it to your Pinterest boards so you can find it when you’re ready to start. And please drop a comment below if you make one. I’d love to hear how it turns out for you.
Want a Quick & Easy Printable Version?
Get a clean, beautifully formatted PDF of this pattern — easy to follow step by step, ready to print or save on any device. No scrolling, no distractions, just the pattern.
Get the Printable PDF →