
Looking for a cozy layering piece that works from early fall right through spring? This boho floral granny square poncho keeps you warm without the bulk of a sweater, and the relaxed silhouette flatters just about everyone. The construction uses basic granny square techniques with a sunflower-style floral motif at the center of each square.
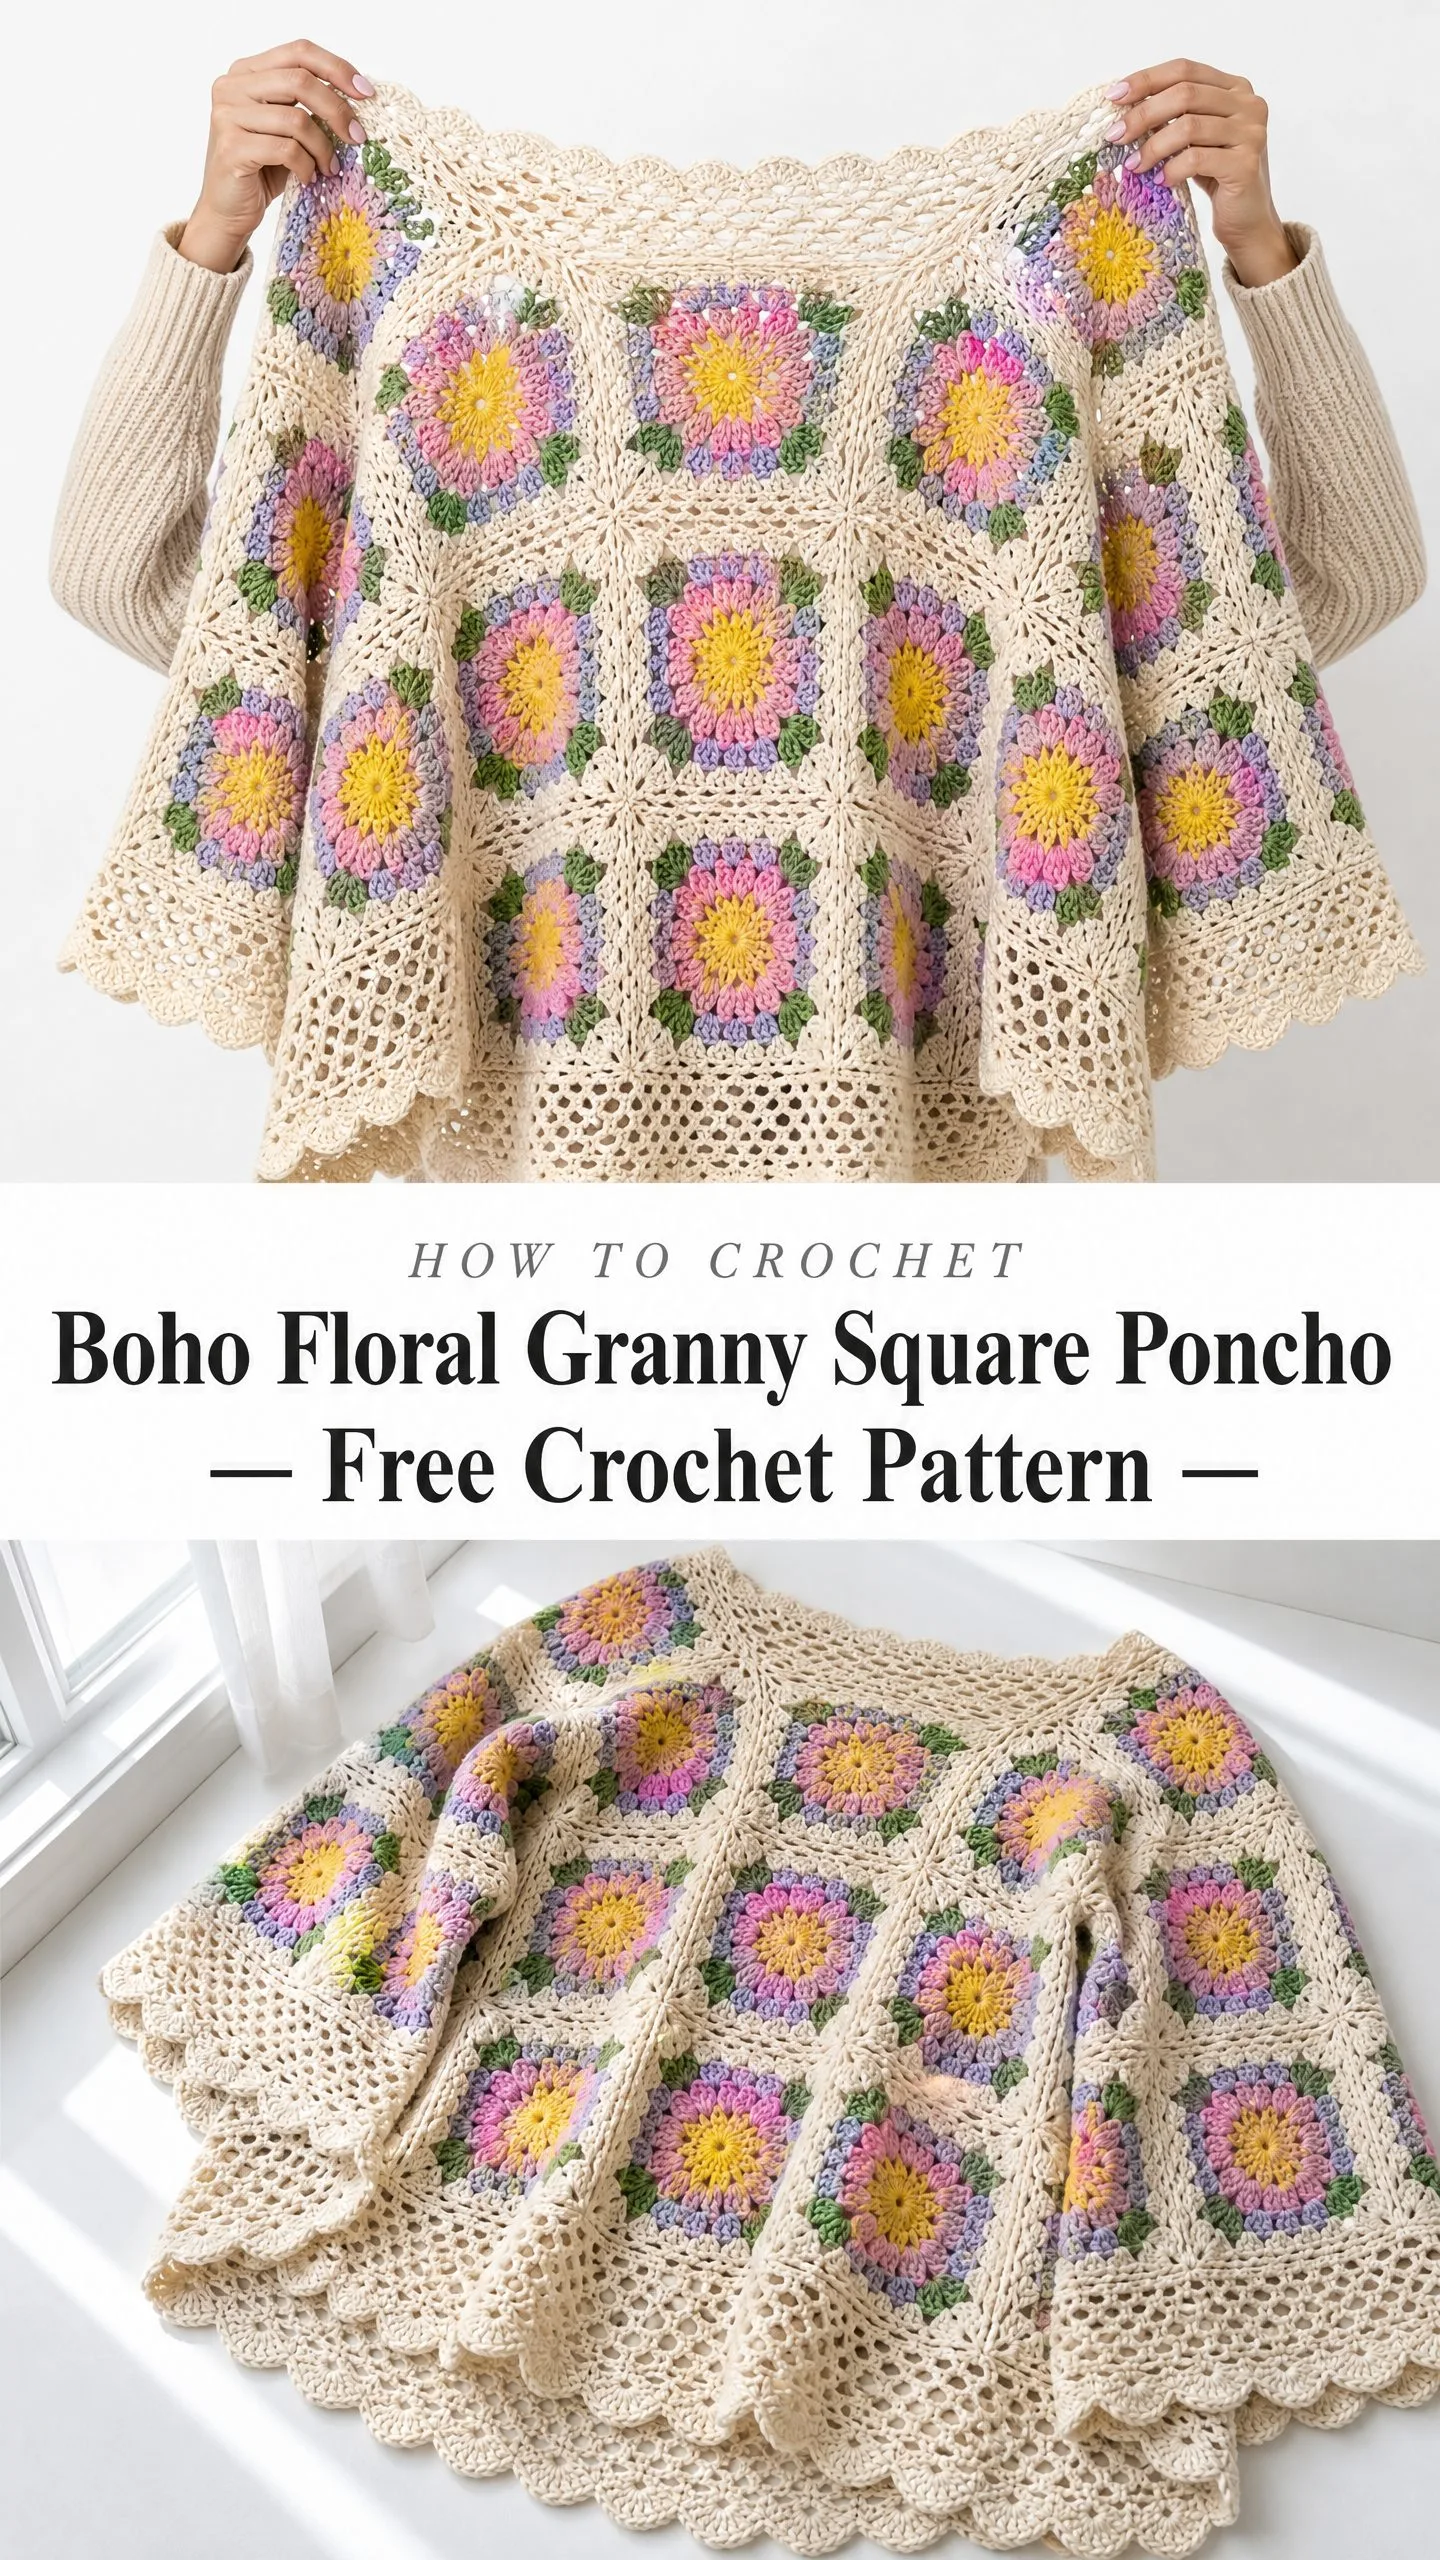
This pattern works up in worsted weight yarn with a 6.0 mm hook, making it a solid intermediate project for anyone comfortable with granny squares who wants to try garment construction. Each square features yellow-gold, soft pink, lavender, sage green, and cream, so it’s also a fantastic stash buster if you’ve been collecting those pretty pastel skeins.
Whether you’re making this for yourself or as a gift, the finished poncho has that effortless boho aesthetic that pairs beautifully with jeans and boots. The scalloped edging at the hem, neckline, and armholes adds a vintage touch that makes the whole piece feel special.
Why You’ll Love This Granny Square Poncho Pattern
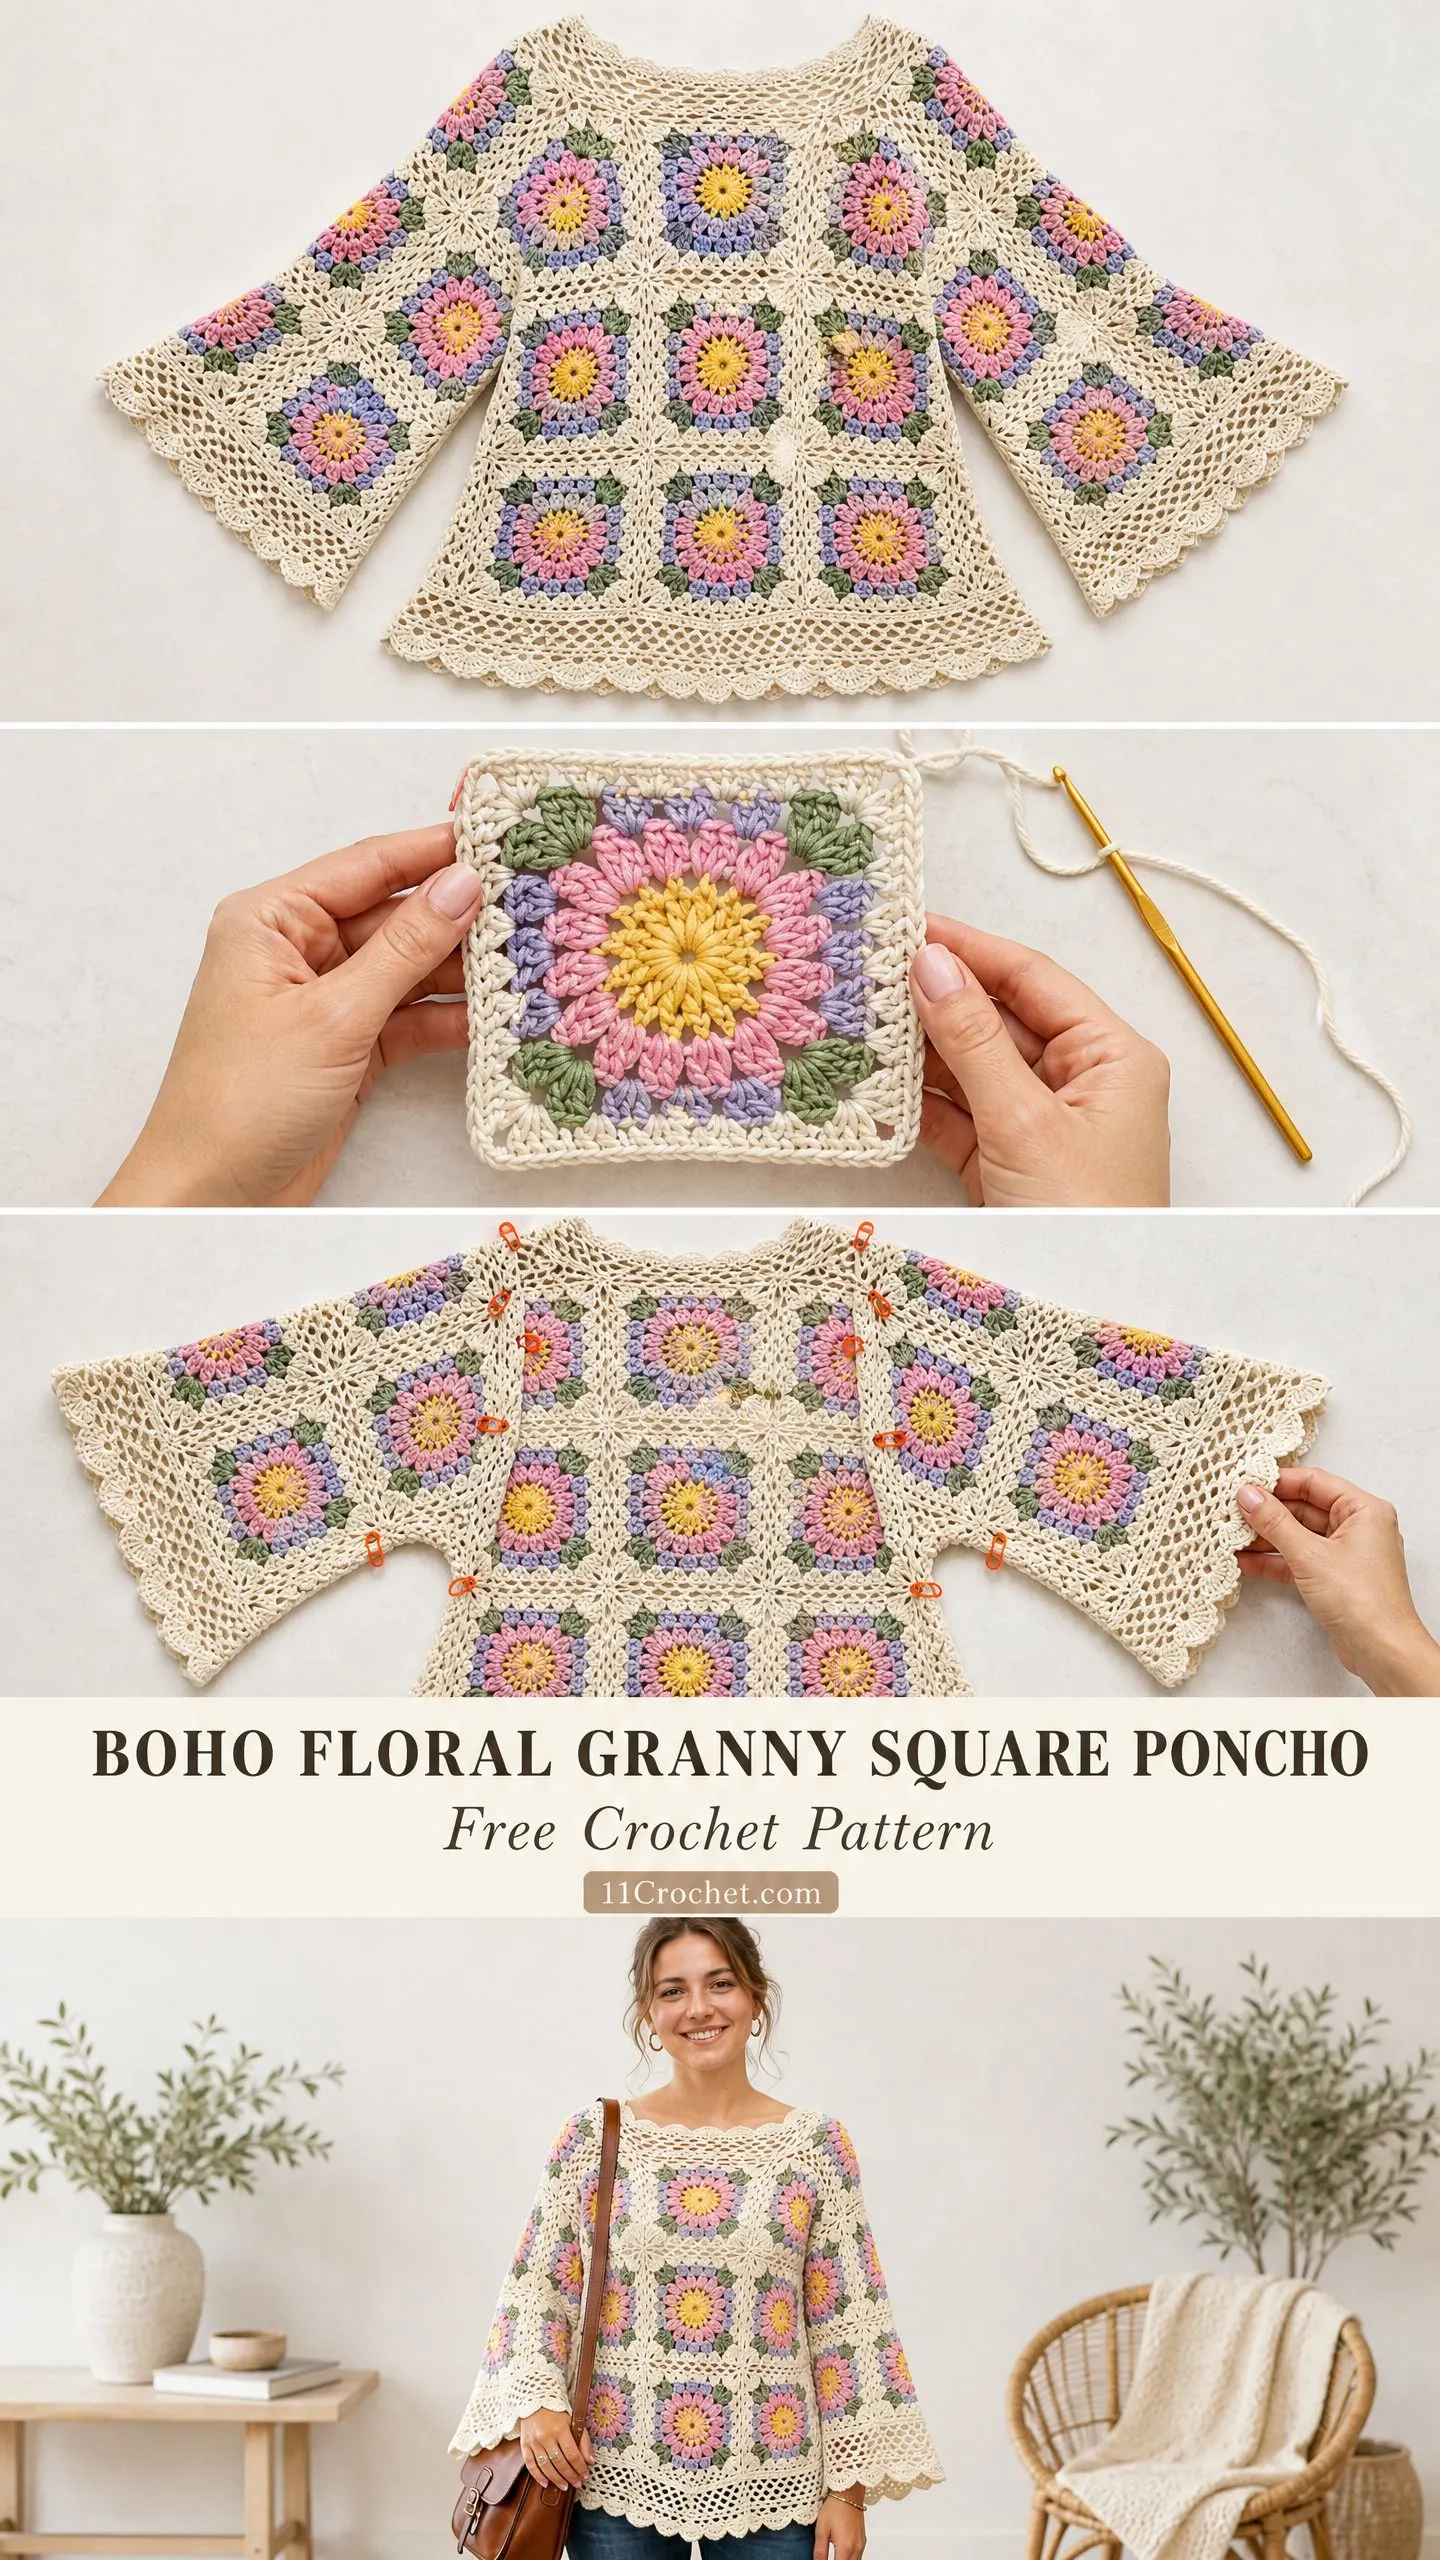
This poncho is constructed from 32 individual granny squares joined into two rectangular panels. You’ll seam the shoulders with a center opening for the neckline, then partially seam the sides to create armhole openings. The result is a boxy, relaxed silhouette with three-quarter bell sleeves that form naturally from the dropped square construction.
The skill level sits at intermediate. If you’ve mastered the magic ring, chains, and double crochet stitches, you can absolutely handle the individual squares. The garment assembly portion requires understanding join-as-you-go techniques and working a scalloped edging across combined edges, so some experience with garment construction helps.
Time estimate: Plan for approximately 40 to 55 hours total. This includes making all the squares, joining them, seaming, and finishing the edges.
Finished Measurements
This pattern fits most adults with a 36 to 44 inch bust with ease. Here are the key dimensions:
Materials Needed
Yarn
You’ll need worsted weight yarn in five colors, approximately 1,400 to 1,600 yards total:
Yarn suggestions: Lion Brand Pound of Love, Paintbox Yarns Simply DK held double, or Caron Simply Soft all work beautifully for this project. Avoid fuzzy or novelty yarns since you need clear stitch definition for the granny squares to look their best.
Hooks and Notions
Gauge
One completed granny square equals 6 inches by 6 inches (15 cm by 15 cm) after blocking.
To check your gauge, complete one granny square through all five rounds, block it flat, and measure. If your square is larger than 6 inches, switch to a smaller hook. If it’s smaller, go up a hook size.
Important: Gauge matters a lot here. Even a half-inch difference per square multiplied across 32 squares will significantly change your finished poncho dimensions.
Abbreviations
Let me walk you through all the abbreviations used in this pattern:
Square brackets [ ] mean work the instructions inside the number of times indicated. Parentheses ( ) show the stitch count at the end of a round.
Special Stitches
Granny Cluster (3-dc cluster)
This is your foundational stitch unit for each square. To work a granny cluster:
1. Yarn over and insert hook into the designated space
2. Yarn over and draw up a loop
3. Yarn over and draw through two loops (first dc complete)
4. Without turning, repeat steps 1-3 two more times into the same space
You now have 3 double crochets worked into one space.
Picot
The picot creates those small decorative loops in the scallop edging:
1. Chain 3
2. Slip stitch into the first chain of the ch-3 you just made
Scallop Shell
Work 5 double crochets into the designated stitch or space. This creates the fan shape visible at the hem, neckline, and armhole edges.
Join-As-You-Go (JAYG)
Instead of seaming all squares after completion, you can join them during the final round. At joining points, work ch-1, slip stitch into the corresponding space of the adjacent completed square, ch-1 (instead of the normal ch-2 corner or ch-1 side space).
Pattern Notes Before You Begin
1. The poncho uses 32 granny squares total (16 per panel). Each panel is 4 squares wide and 4 squares tall.
2. Construction order: Make all squares, assemble two panels, seam shoulders leaving a center neck opening, seam sides leaving armhole openings, then work the edging.
3. The neckline opening spans 12 inches centered on the top seam.
4. Color sequence per square: Round 1 uses Color C (Yellow-Gold), Round 2 uses Color B (Soft Pink), Round 3 uses Colors D (Lavender) and E (Sage Green), Rounds 4 and 5 use Color A (Cream).
5. Fasten off and rejoin when changing colors. Weave in all ends before joining squares since it’s nearly impossible afterward.
6. All rounds are worked on the RS. Do not turn unless instructed.
7. The beginning ch-3 counts as the first dc throughout.
8. Block each square before joining for best results.
Granny Square Instructions (Make 32)
Each square uses all five colors and measures 6 inches by 6 inches after blocking.
Round 1 (Color C, Yellow-Gold)
With Color C, make a magic ring.
Ch 3 (counts as first dc), work 2 dc into ring, ch 2. [3 dc, ch 2] 3 times into ring. Sl st to top of beg ch-3 to join. Pull magic ring closed. Fasten off Color C.
(4 clusters of 3 dc with 4 ch-2 corner spaces) (12 dc, 4 ch-2 sps)
Round 2 (Color B, Soft Pink)
Join Color B with sl st into any ch-2 corner sp.
Ch 3 (counts as dc), work 2 dc into same corner sp, ch 2, work 3 dc into same corner sp. [Ch 1, skip next 3 dc, work (3 dc, ch 2, 3 dc) into next ch-2 corner sp] 3 times. Ch 1, sl st to top of beg ch-3 to join. Fasten off Color B.
(8 clusters of 3 dc, 4 ch-2 corner sps, 4 ch-1 side sps) (24 dc, 4 ch-2 sps, 4 ch-1 sps)
Round 3 (Color D, Lavender and Color E, Sage Green)
This round creates the petal layer.
Join Color D with sl st into any ch-2 corner sp.
Ch 3 (counts as dc), work 2 dc into same corner sp, ch 2, work 3 dc into same corner sp. Ch 1. Work 3 dc into next ch-1 sp. Ch 1. [Work (3 dc, ch 2, 3 dc) into next ch-2 corner sp, ch 1, work 3 dc into next ch-1 side sp, ch 1] 3 times. Sl st to top of beg ch-3 to join. Fasten off Color D.
For the leaf petals: Join Color E with sl st into any ch-1 sp between clusters (not the corner). Work (sc, hdc, dc, hdc, sc) to form a leaf petal, sl st into next ch-1 sp. Repeat around for a total of 8 leaf petals (2 per side). Fasten off Color E.
(12 clusters total of 3 dc, 4 ch-2 corner sps, 8 ch-1 side sps) (36 dc plus leaf accents)
Round 4 (Color A, Cream)
Join Color A with sl st into any ch-2 corner sp.
Ch 3 (counts as dc), work 2 dc into same corner sp, ch 2, work 3 dc into same corner sp. [Ch 1, work 3 dc into next ch-1 sp, ch 1, work 3 dc into next ch-1 sp, ch 1, work 3 dc into next ch-1 sp, ch 1, work (3 dc, ch 2, 3 dc) into next ch-2 corner sp] 3 times. Ch 1, work 3 dc into next ch-1 sp, ch 1, work 3 dc into next ch-1 sp, ch 1, work 3 dc into next ch-1 sp, ch 1. Sl st to top of beg ch-3 to join. Do not fasten off.
(20 clusters of 3 dc, 4 ch-2 corner sps, 16 ch-1 sps) (60 dc, 4 ch-2 sps, 16 ch-1 sps)
Round 5 (Color A, Cream, continued)
This final round creates the lacy mesh border.
Ch 5 (counts as dc plus ch 2). Skip first ch-2 corner sp (work into the corner sp itself): work (dc, ch 2, dc) into corner sp. Ch 2. [Work dc into next ch-1 sp, ch 2, dc into next cluster top, ch 2] across to next corner sp (4 times per side), then work (dc, ch 2, dc, ch 2, dc) into ch-2 corner sp. Repeat for each of the remaining 3 sides. Sl st to 3rd ch of beg ch-5 to join. Fasten off Color A.
Stitch count check: Each side has 10 dc and 9 ch-2 sps. Total: (48 dc, 40 ch-2 sps)
Checkpoint: After blocking, your square should measure exactly 6 inches by 6 inches. The center shows a sunflower in yellow-gold and pink, surrounded by lavender clusters with sage green leaf accents, all framed by a cream lacy mesh border.
Panel Assembly
Make all 32 squares and block each one to 6 inches by 6 inches.
Panel Layout
Each panel is a 4-square wide by 4-square tall grid. You’ll make 2 identical panels.
Label your squares:
Joining Method
All joining uses Color A and a J/10 hook.
Step 1: Hold Squares 1 and 2 with RS facing outward. Place Square 1 to the left, Square 2 to the right.
Step 2: Join Color A at the top-right corner sp of Square 1 with a sl st. Ch 1. Working across the right edge of Square 1 and left edge of Square 2 simultaneously, insert hook through the corresponding ch-2 sp of both squares, yo, draw up a loop, yo, draw through both loops (sc through both layers).
Step 3: Continue working sc through matching spaces along the entire shared edge. Work approximately 12 to 14 sc evenly along the shared edge.
Step 4: Fasten off and weave in ends.
Step 5: Join Square 3 to the right of Square 2. Join Square 4 to the right of Square 3. Row 1 now measures 24 inches wide by 6 inches tall.
Step 6: Assemble Rows 2, 3, and 4 as separate horizontal strips.
Step 7: Join Row 2 to the bottom of Row 1 using the same sc-through-both-layers method. Work approximately 44 to 48 sc across the 4-square width.
Step 8: Join Row 3 to Row 2, then Row 4 to Row 3.
Step 9: Repeat for the second panel.
Checkpoint: Each panel should measure approximately 24 inches wide by 24 inches tall when blocked flat.
Shoulder Seaming
Hold both panels with RS facing outward, top edges aligned.
The neckline opening spans the center 12 inches (the middle 2 squares). This means:
Left Shoulder: Join Color A at the far-left top corner. Work sc through both layers across the top edge of Square 1 only. Work approximately 12 sc. Fasten off.
Right Shoulder: Join Color A at the top edge of Square 4 on both panels. Work sc through both layers across that 6-inch span. Work approximately 12 sc. Fasten off.
Side Seaming
For each side:
Step 1: Measure 7 inches down from the shoulder fold. Place a stitch marker at this point on both panels.
Step 2: Join Color A at the bottom corner of the side edge.
Step 3: Working upward, sc through both layers from the hem corner up to the stitch marker (approximately 14 to 16 sc).
Step 4: Fasten off. Leave the remaining upper 7 inches open as the armhole.
Step 5: Repeat for the opposite side.
Edging Instructions
Work the edging in Color A with the smaller I/9 hook for a crisper finish.
Hem Edging
Foundation Round: Join Color A at any bottom corner. Work sc evenly around the entire hem perimeter. Work 1 sc per dc, 1 sc per ch-1 sp, and 2 sc into each ch-2 sp. At corners, work 3 sc. Sl st to first sc to join. (96 sc)
Scallop Round: Ch 1. [Sk 2 sc, work 5 dc into next sc (shell made), sk 2 sc, sl st into next sc] repeat around. (16 shells)
Picot Detail: Rejoin Color A at the center dc (3rd dc) of any shell. [Sl st into 3rd dc of shell, ch 3, sl st back into same dc (picot made), sl st into each of next 2 dc, sl st to sl st between shells, sl st into first 2 dc of next shell] repeat around. Fasten off.
Neckline Edging
Foundation Round: Join Color A at right shoulder seam. Work sc evenly around neckline opening. Adjust to (54 sc) for the repeat to work out evenly.
Scallop Round: [Sk 2 sc, 5 dc into next sc, sk 2 sc, sl st into next sc] repeat around. (9 shells)
Add picot to the center dc of each shell. Fasten off.
Armhole Edging (work each separately)
Foundation Round: Join Color A at bottom of armhole. Work sc evenly around. Adjust to (36 sc).
Scallop Round: [Sk 2 sc, 5 dc into next sc, sk 2 sc, sl st into next sc] repeat around. (6 shells)
Add picot to center dc of each shell. Fasten off. Repeat for the second armhole.
Size Customization Tips
To make the poncho longer: Add a 5th row of squares per panel (requires 8 additional squares and approximately 350 yards of Color A plus 100 yards of accent colors).
To make it wider: Add a 5th column of squares per panel for 6 additional inches of width.
To adjust armhole size: Seam more of the side edge for a smaller armhole, less for a larger opening.
To adjust neckline: Leave 3 center squares unjoined for an 18-inch opening, or seam more for a narrower neckline.
Finishing and Blocking
1. Weave in all remaining ends, threading each tail through at least 1 inch of stitches on the WS.
2. Wet block the finished poncho by submerging in cool water for 20 minutes. Gently press out excess water without wringing.
3. Lay flat on blocking mats and pin each square corner to achieve even geometry.
4. Allow to dry completely for at least 24 hours before removing pins.
5. For acrylic yarn, steam blocking may help if wet blocking doesn’t hold. Hold a steam iron 1 to 2 inches above the surface without touching the fabric.
Care Instructions
Machine wash cold on a gentle cycle if using acrylic yarn. Place in a mesh laundry bag to protect the lacework. Tumble dry on low or lay flat to dry. Do not hang to dry, as the weight will distort the squares. Store folded, not hung.
I really hope you enjoy making this boho floral granny square poncho as much as I enjoyed putting this pattern together for you. It’s one of those projects that looks impressive but builds on techniques you probably already know. Thank you so much for choosing this pattern!
If you make one, I would absolutely love to see it. Tag me on Instagram or share a photo in the Facebook group. There’s nothing better than seeing these squares come together in your color choices.
Don’t forget to save this crochet pattern to your Pinterest boards so you can find it easily when you’re ready to cast on. And if you do make this poncho, please drop a comment below. I love hearing how projects turn out and seeing what color combinations you choose!
