
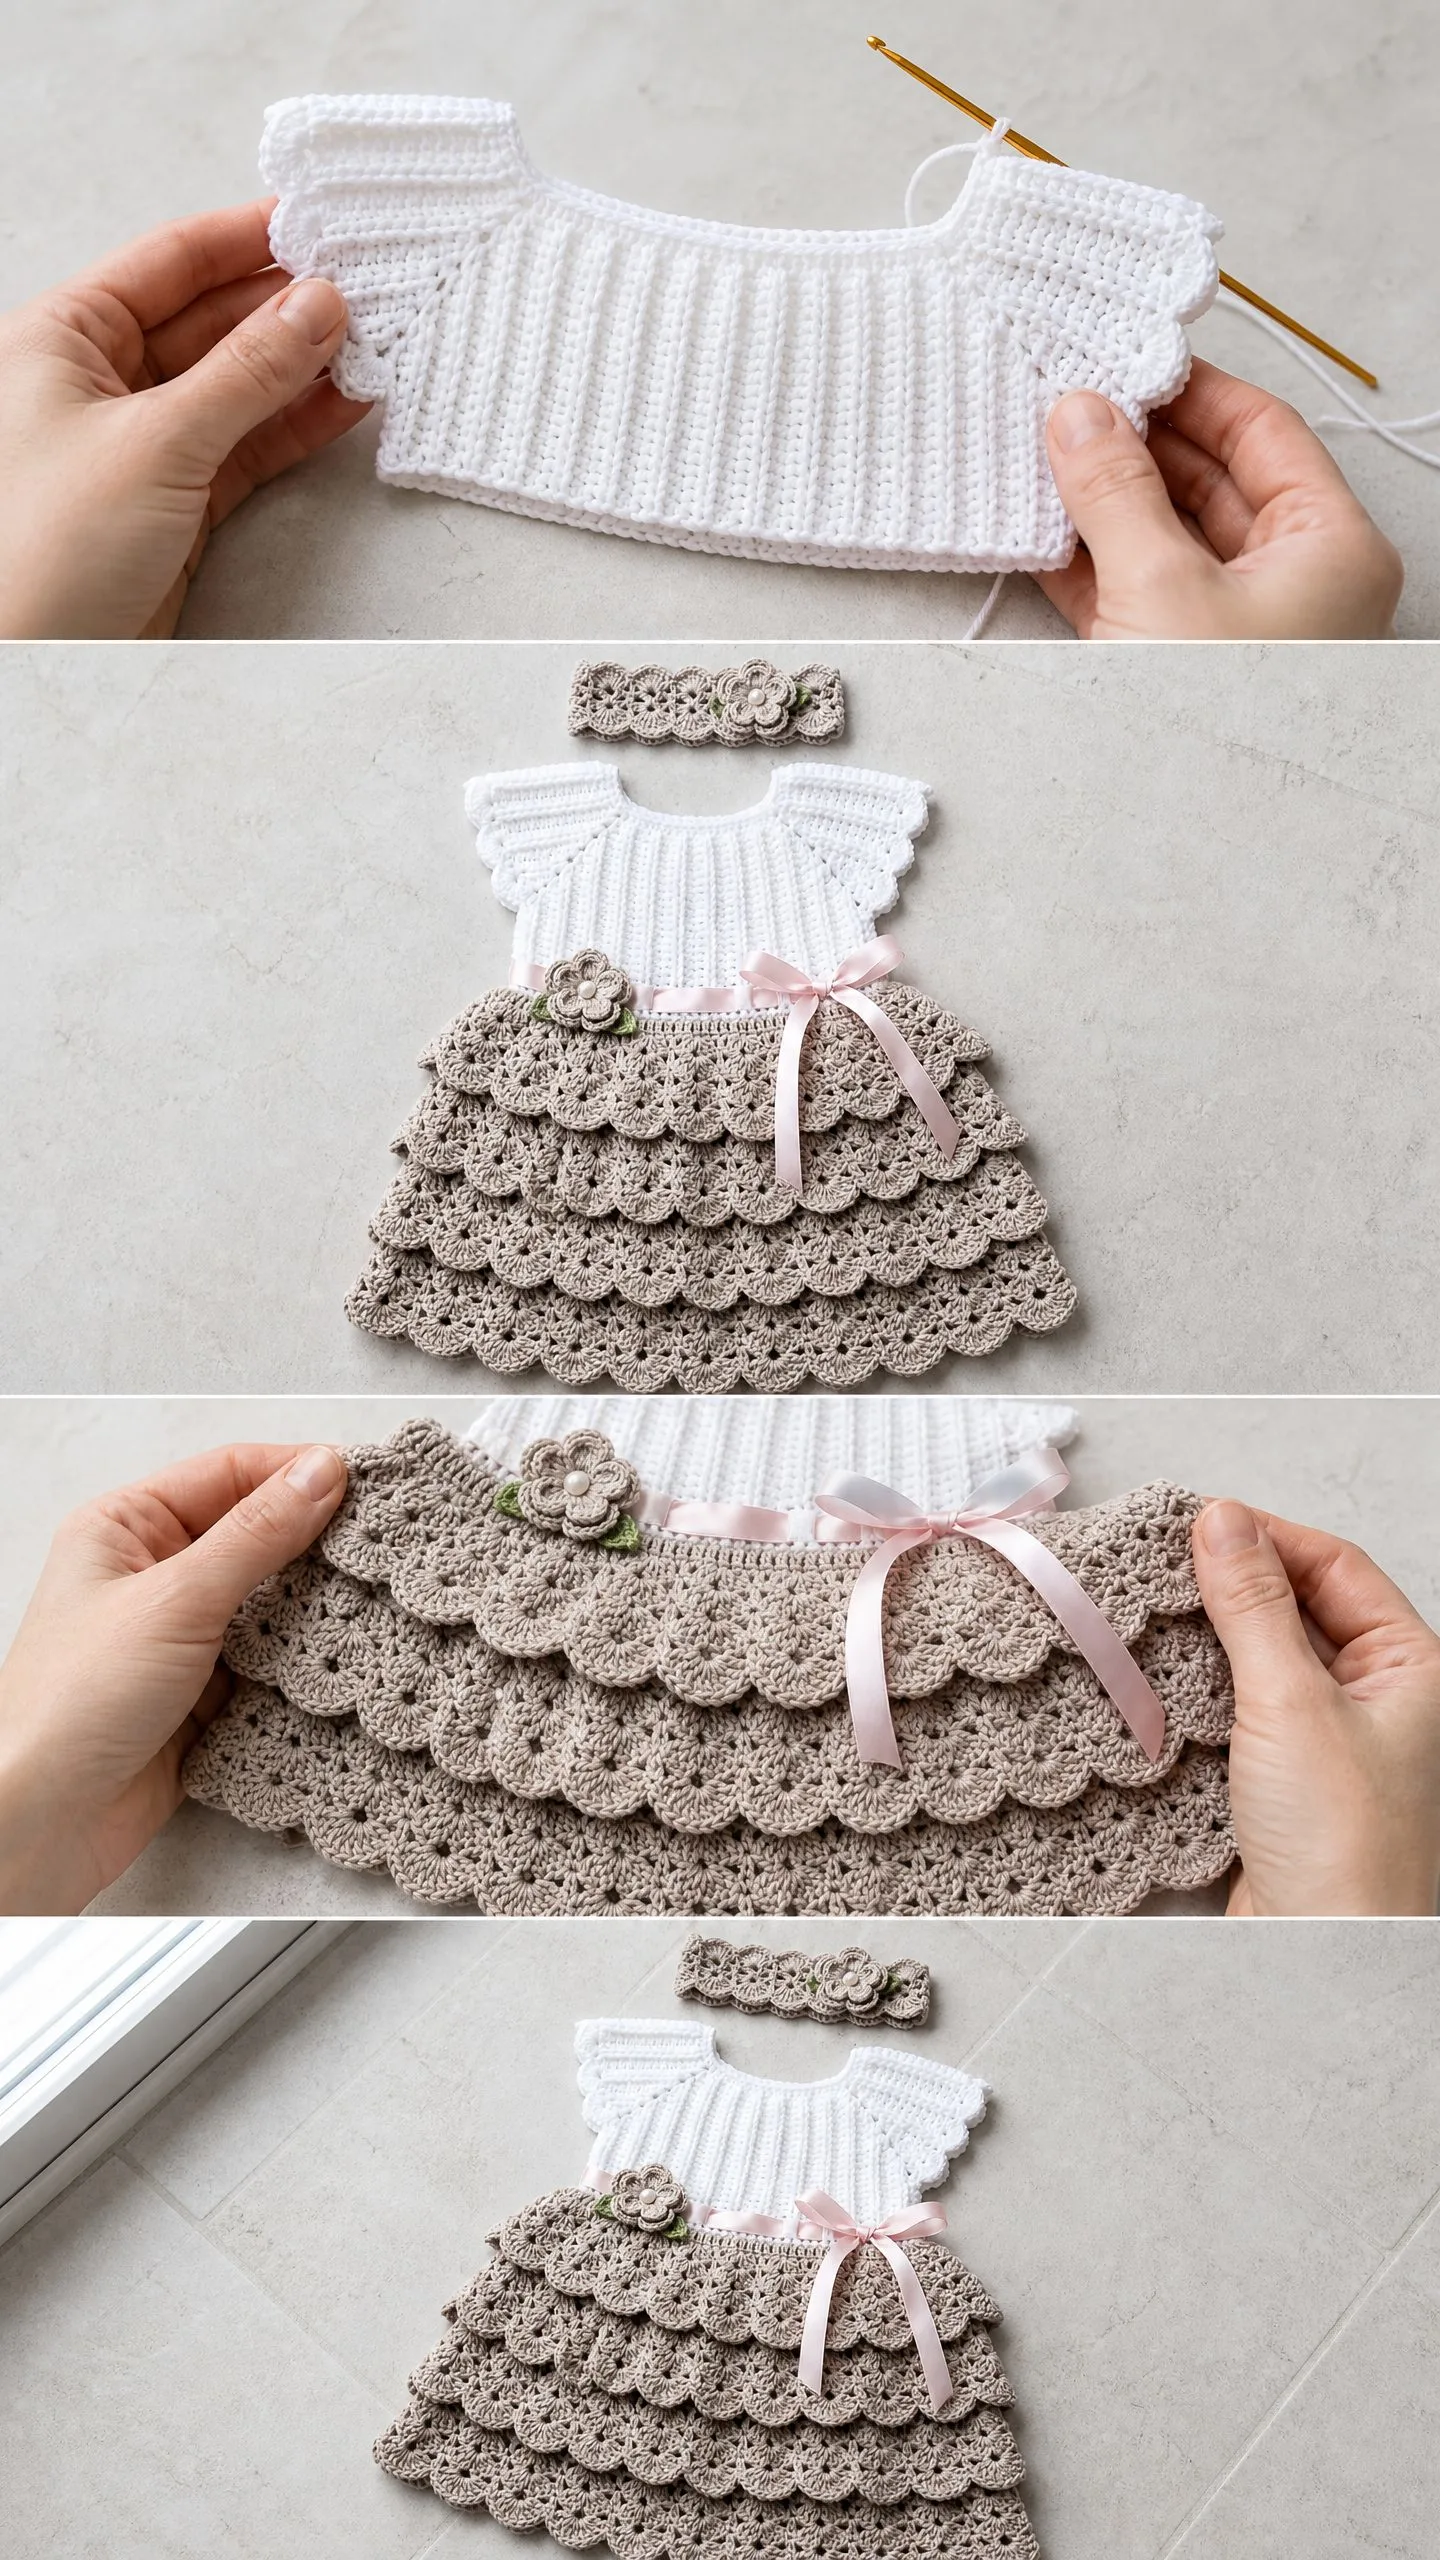
This is a classic baby dress set with a white ribbed bodice, tiered taupe ruffles, and a matching headband. The construction is straightforward if you are comfortable with working in the round and basic shaping. You will use single crochet, double crochet, and a simple fan stitch throughout.
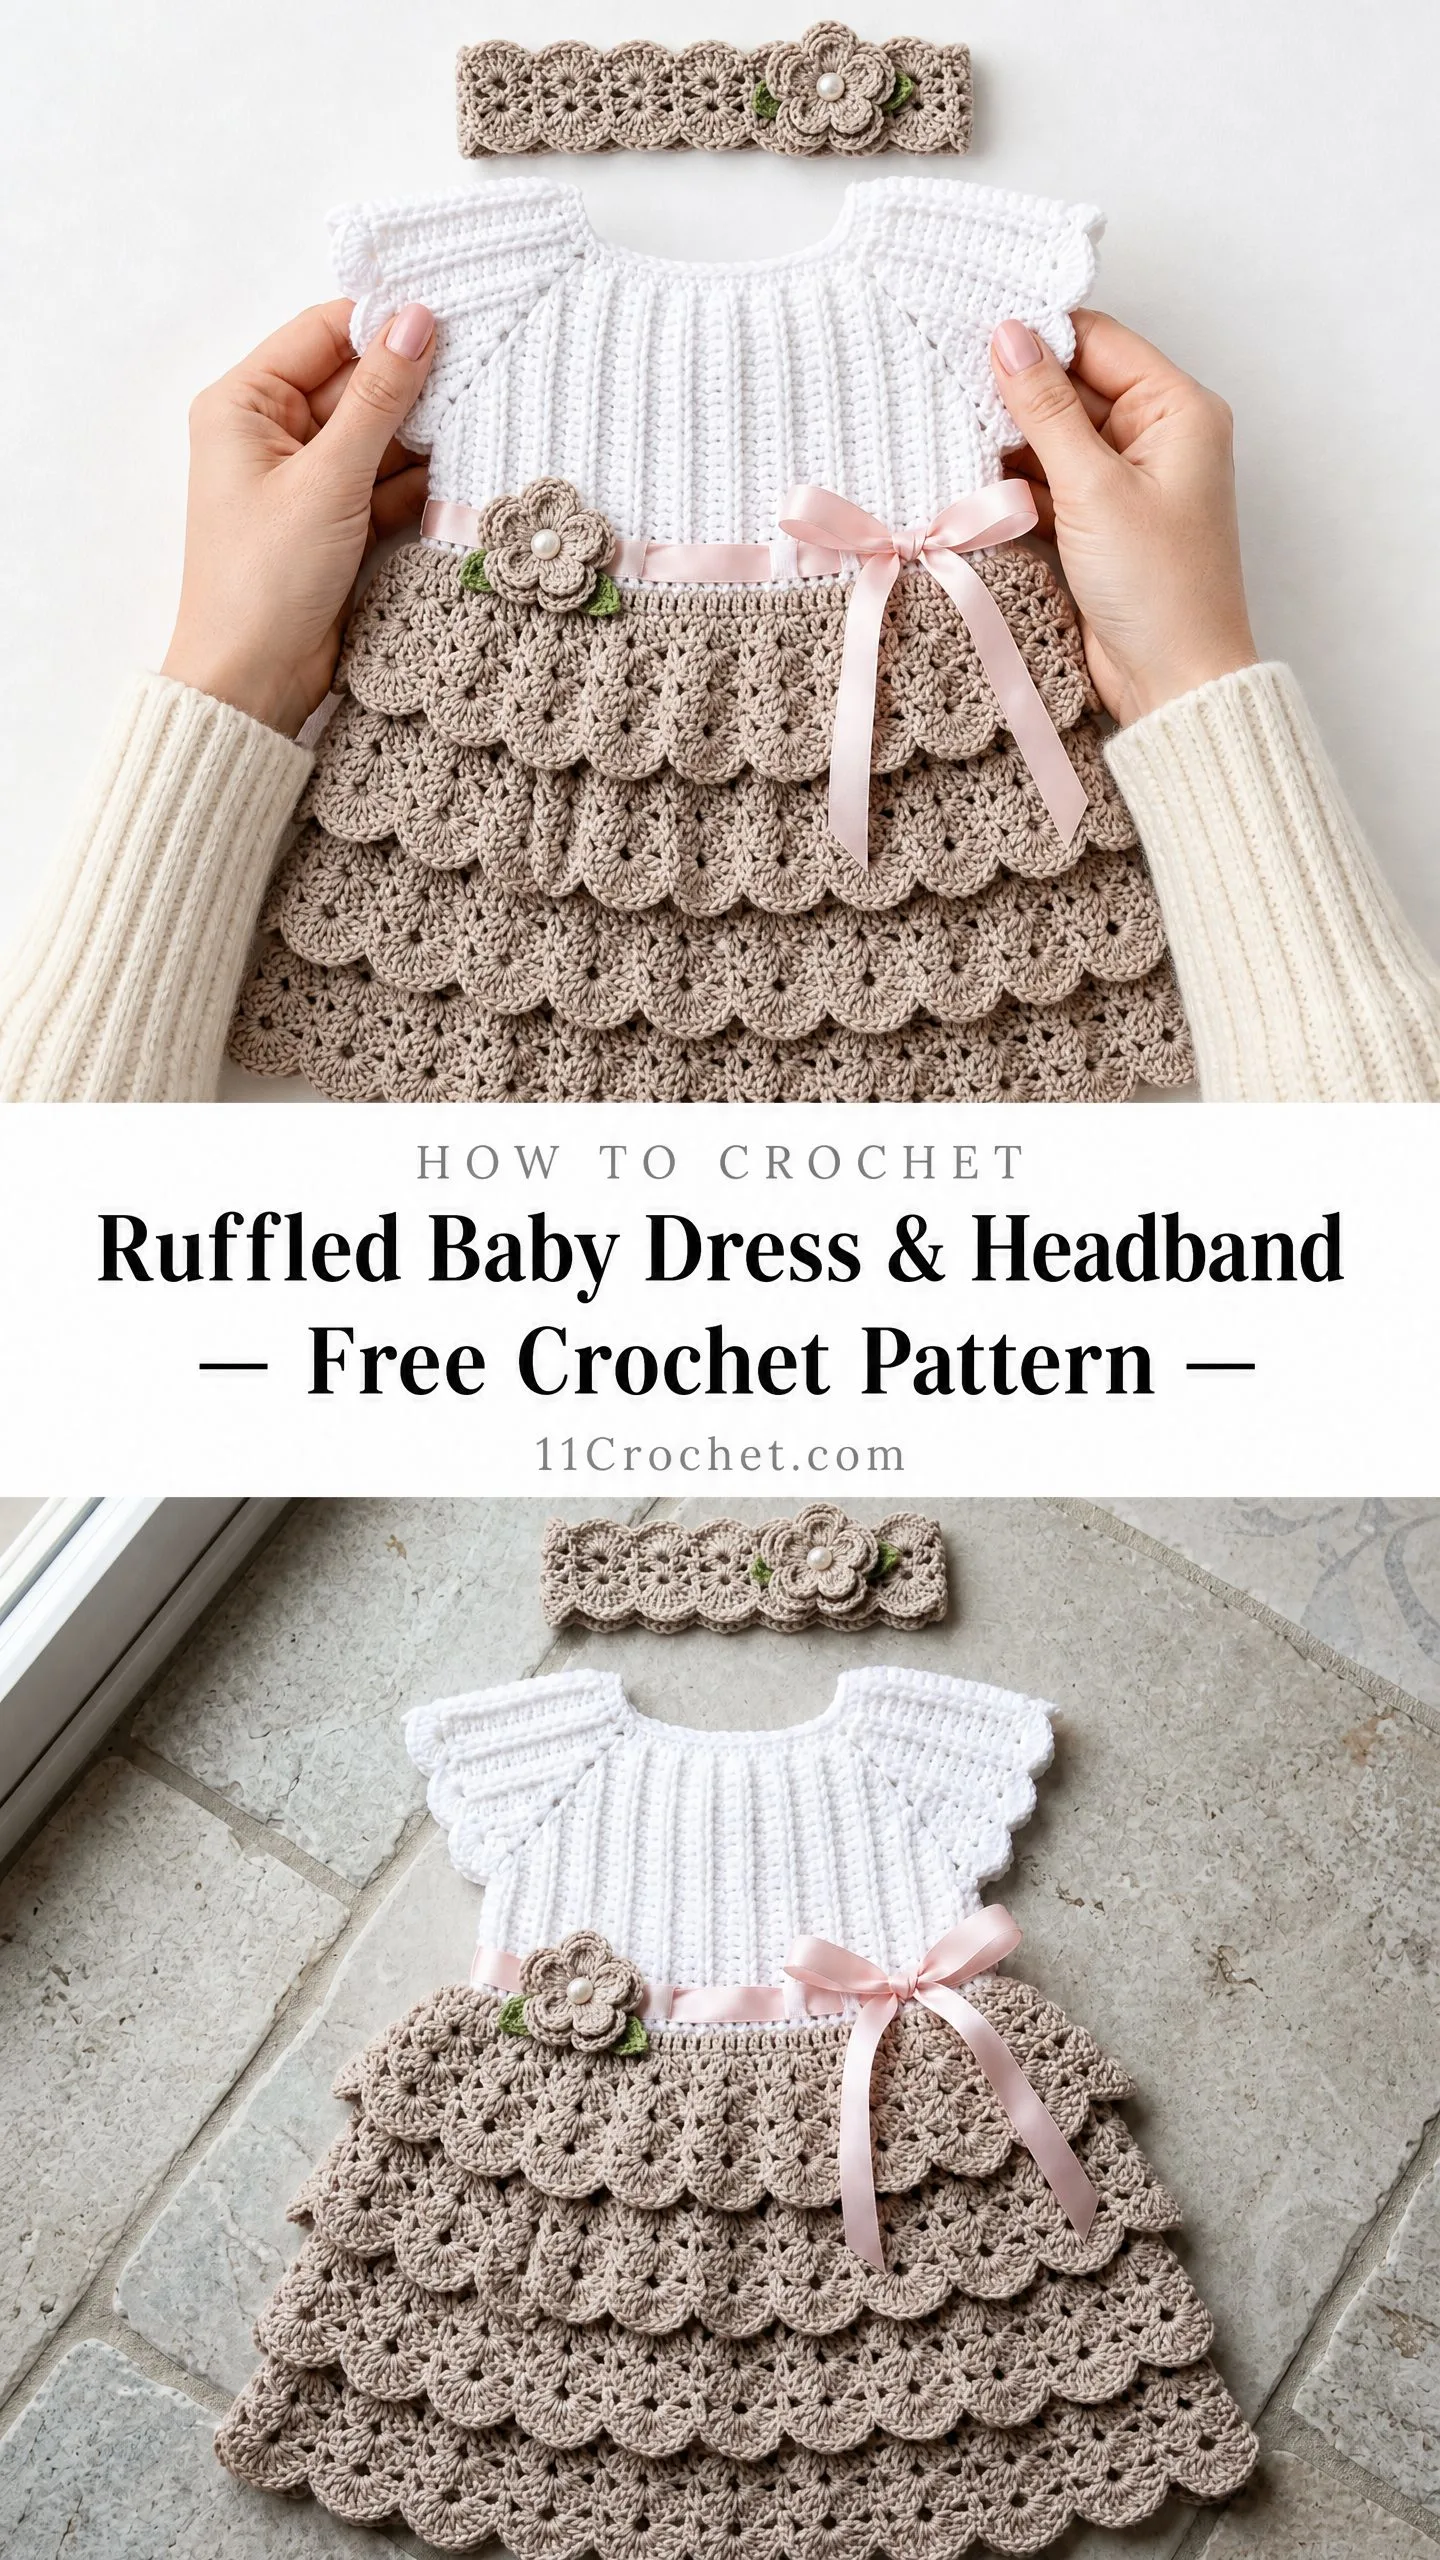
The dress features three layers of scalloped ruffles that build fullness as they cascade toward the hem. A pink satin ribbon threads through the waistband, and crocheted flowers add the perfect finishing touch. The whole set works up in DK weight yarn with a 3.25 mm hook.
If you have made a basic baby garment before, you are ready for this project. The techniques are not complicated, just layered together in a way that looks far more impressive than it actually is to create.
About This Ruffled Baby Dress Crochet Pattern
This dress is designed for babies 3 to 6 months old. The finished chest measures approximately 16 inches around, and the total length from shoulder to hem is about 14 inches. The matching headband stretches to fit heads measuring 15 to 17 inches.
What makes this design special is the tiered construction. Instead of working one continuous skirt, you create three separate ruffle tiers that attach to each other and overlap. Each tier is slightly fuller than the one above it, which gives that beautiful cascading effect you see in the finished piece.
The bodice uses back loop only single crochet (BLO sc) to create vertical ribbing. This technique gives the fabric a gentle stretch and creates those clean vertical lines visible in the white section. If you have never worked in the back loop only, do not worry. I will walk you through it step by step.
Skill Level
This pattern is rated intermediate to advanced. You should be comfortable with:
A confident beginner can absolutely tackle this project, but expect some challenging sections, especially during the yoke shaping and tier transitions. Take it slowly, use stitch markers generously, and you will do just fine.
Time Estimate
Plan for 12 to 18 hours total:
This is not a weekend project for most crocheters, but the results are absolutely worth the time investment.
Materials You Will Need
Yarn (DK weight, #3):
Hooks:
Notions:
Yarn Suggestions
Paintbox Yarns Simply DK (100% acrylic, 276 yd per 100 g) in Paper White, Misty Grey or Stone, and Grass Green. This yarn is machine washable and gives excellent stitch definition.
Drops Safran (100% cotton, 175 yd per 50 g) in Off White, Beige or Light Khaki, and Green. Cotton creates a slightly stiffer drape that really shows off the tiered structure.
Lion Brand Pound of Love (100% acrylic, 1020 yd per 454 g) in White, Biscotti or Taupe, and Olive. Great economical choice if you plan to make multiple sizes.
Avoid fuzzy or highly textured yarns. The fan stitch detail needs clear stitch definition to look its best.
Gauge
With primary hook (D-3 / 3.25 mm):
Fan stitch gauge:
Gauge matters here. Even one stitch per inch off will significantly change your finished chest measurement. Please make a swatch before starting.
Abbreviations and Stitch Definitions
Special Stitches
Fan Stitch (Shell Stitch)
This creates the decorative scallop ruffles across all three skirt tiers.
1. Skip 2 stitches
2. Work 5 dc into the next stitch (this group of 5 dc is the fan)
3. Skip 2 stitches
4. Sl st into the next stitch
One fan repeat consumes 6 stitches from your base row.
Extended Fan Stitch
Used in Tier 3 for extra fullness:
1. Skip 2 stitches
2. Work 7 dc into the next stitch
3. Skip 2 stitches
4. Sl st into the next stitch
BLO Single Crochet (Ribbed Single Crochet)
Insert your hook into the back loop only of the stitch, yarn over and pull up a loop, yarn over and pull through both loops. This creates the stretchy ribbed texture on the bodice.
Picot
Chain 3, then slip stitch into the first chain made. This creates a small decorative bump.
Crocheted Flower
With Color B and smaller hook:
1. Ch 4, sl st to form a ring
2. Rnd 1: Ch 1, work 8 sc into the ring, sl st to first sc. (8 sc)
3. Rnd 2 (petals): [Ch 3, work 2 dc in same st, ch 3, sl st in same st, sl st in next st] 4 times. (4 petals) Fasten off.
For leaves: With Color C, ch 7, sl st in 2nd ch from hook, sc in next ch, hdc in next ch, dc in next ch, hdc in next ch, sc in last ch. Fasten off. Make 2 leaves per flower.
Stack leaves behind flower, sew together, add pearl bead to center.
Pattern Instructions
Section 1: Neckband and Yoke
With Color A and primary hook, ch 73.
Foundation Row (WS): Sc in 2nd ch from hook and in each ch across. Turn. (72 sc)
Row 1 (RS, BLO): Ch 1, sc in BLO of each st across. Turn. (72 sc)
Row 2 (WS, BLO): Ch 1, sc in BLO of each st across. Turn. (72 sc)
Work Rows 1 and 2 two more times for a total of 5 rows. The neckband should measure approximately 0.9 inches wide.
Join Round: Fold neckband so short ends overlap by 2 stitches. Ch 1, sl st through both layers for 2 sts to join. Continue sc evenly around bottom edge, sl st to first sc to join. (72 sc)
Yoke Round 1: Ch 1, sc in each st around, sl st to join. (72 sc)
Mark 4 raglan points at Stitch 9, 27, 45, and 63.
Yoke Round 2 (increase): Ch 1, [sc to 1 st before marker, 2 sc in next st, sc in marked st, 2 sc in next st] 4 times, sc to end, sl st to join. (80 sc)
Yoke Round 3: Ch 1, sc in each st around, sl st to join. (80 sc)
Continue alternating increase rounds and plain rounds:
Dividing Round: Work across 36 sts (front), ch 4, skip 24 sts (right sleeve), sc in next 36 sts (back), ch 4, skip 24 sts (left sleeve), sl st to join.
Next round: Ch 1, sc in each of 36 front sts, sc in each of 4 ch, sc in each of 36 back sts, sc in each of 4 ch, sl st to join. (80 sc)
Section 2: Sleeve Edge Finishing
Attach Color A to underarm.
Round 1: Ch 1, sc evenly around sleeve opening. (28 sc)
Round 2 (fan edge): Sl st in first st, [sk 2 sts, 5 dc in next st, sk 2 sts, sl st in next st] 4 times, sl st in remaining 4 sts. Fasten off.
Repeat for second sleeve.
Section 3: Bodice
Continue with Color A, working BLO sc rounds.
Bodice Rounds 1 through 19: Ch 1, sc in BLO of each st around, sl st to join. (80 sc each round)
Work until bodice measures approximately 3.5 inches from underarm.
Section 4: Waistband Ribbon Channel
Round 1: Ch 1, sc in each st around, sl st to join. (80 sc)
Round 2 (ribbon holes): Ch 3, sk 1 st, [dc in next st, ch 1, sk 1 st] 39 times, sl st to top of ch-3. (40 dc + 40 ch-1 spaces)
Rounds 3 and 4: Ch 1, sc in each st around, sl st to join. (80 sc each)
Section 5: Skirt Tier 1
With Color B, join to waistband.
Foundation Round: Ch 1, [2 sc in next st, sc in next st] 40 times, sl st to join. (120 sc)
Row 1 (fan round): Sl st in first st, [sk 2 sts, 5 dc in next st, sk 2 sts, sl st in next st] 20 times, sl st to join. (20 fans)
Row 2 (harvest round): Ch 1, [sc in sl st between fans, sc in 1st dc, sc in 3rd dc, sc in 5th dc] 20 times, sl st to join. (80 sc)
Row 3: Ch 1, [sc in each of next 2 sts, 2 sc in next st, sc in next st] 20 times, sl st to join. (100 sc)
Row 4: Ch 1, sc to last 4 sts, [2 sc in next st] twice, sc in last 2 sts, sl st to join. (102 sc)
Row 5: Sl st in first st, [sk 2 sts, 5 dc in next st, sk 2 sts, sl st in next st] 17 times, sl st to join. (17 fans)
Section 6: Skirt Tier 2
Join Color B to base of Tier 1 fans.
Setup Round: Pick up 120 sc along bottom of Tier 1.
Row 1: Ch 1, [sc in each of next 4 sts, 2 sc in next st] 24 times, sl st to join. (144 sc)
Row 2: Sl st in first st, [sk 2 sts, 5 dc in next st, sk 2 sts, sl st in next st] 24 times, sl st to join. (24 fans)
Row 3: Ch 1, [sc in sl st, sc in 1st dc, sc in 3rd dc, sc in 5th dc] 24 times, sl st to join. (96 sc)
Row 4: Ch 1, [sc in next st, 2 sc in next st] 30 times, sc in last 6 sts, sl st to join. (126 sc)
Row 5: Sl st in first st, [sk 2 sts, 5 dc in next st, sk 2 sts, sl st in next st] 21 times, sl st to join. (21 fans)
Section 7: Skirt Tier 3
Join Color B to base of Tier 2 fans.
Setup Round: Pick up 144 sc along bottom of Tier 2.
Row 1: Ch 1, [sc in each of next 3 sts, 2 sc in next st] 36 times, sl st to join. (180 sc)
Row 2 (extended fan): Sl st in first st, [sk 2 sts, 7 dc in next st, sk 2 sts, sl st in next st] 30 times, sl st to join. (30 fans)
Row 3: Ch 1, [sc in sl st, sc in 1st dc, sc in 2nd dc, sc in 4th dc, sc in 6th dc, sc in 7th dc] 30 times, sl st to join. (180 sc)
Row 4: Sl st in first st, [sk 2 sts, 7 dc in next st, sk 2 sts, sl st in next st] 30 times, sl st to join. (30 fans)
Row 5: Ch 1, [sc in sl st, sc in 1st dc, sc in 4th dc, sc in 7th dc] 30 times, sl st to join. (120 sc)
Row 6: Ch 1, [sc in next st, 2 sc in next st] 60 times, sl st to join. (180 sc)
Row 7 (hem): Sl st in first st, [sk 2 sts, 7 dc in next st, sk 2 sts, sl st in next st] 30 times, sl st to join. (30 fans)
Fasten off. Weave in ends.
Section 8: Headband
With Color B and smaller hook, ch 73.
Foundation Row: Sc in 2nd ch from hook and each ch across. Turn. (72 sc)
Rows 1 through 4: Ch 1, sc in BLO of each st across. Turn. (72 sc each row)
Row 5 (fan edge): Work fan edging along top edge, then seam short ends together.
Finishing
Thread the pink satin ribbon through the ch-1 spaces at the waistband. Tie in a bow at the front or side. Sew ribbon ends to prevent fraying before threading.
Attach one crocheted flower to the dress at the waistband near the bow. Attach a second flower to the headband. Sew pearl buttons to flower centers.
If using buttons at the neckband placket, sew them securely to one side of the overlap.
Block gently if needed, though the acrylic yarn suggestions will not require blocking.
Tips for Success
Count your stitches. After every few rounds, especially during the yoke, verify your stitch count matches the pattern.
Use stitch markers liberally. Mark the beginning of rounds and your raglan increase points.
Check your gauge. A dress that is too small cannot be fixed easily. A swatch takes 20 minutes and saves hours of frustration.
Do not rush the tiers. The attachment points between tiers can feel fiddly at first. Take your time finding the base stitches.
Thank you so much for choosing this pattern. I really hope you enjoy making this sweet little set. If you complete one, I would absolutely love to see it! Tag me on Instagram or share a photo in our Facebook group.
If this pattern caught your eye, go ahead and save it to your Pinterest boards so you can find it when you are ready to start. And please drop a comment below if you make one. Seeing your finished projects truly makes my day!
