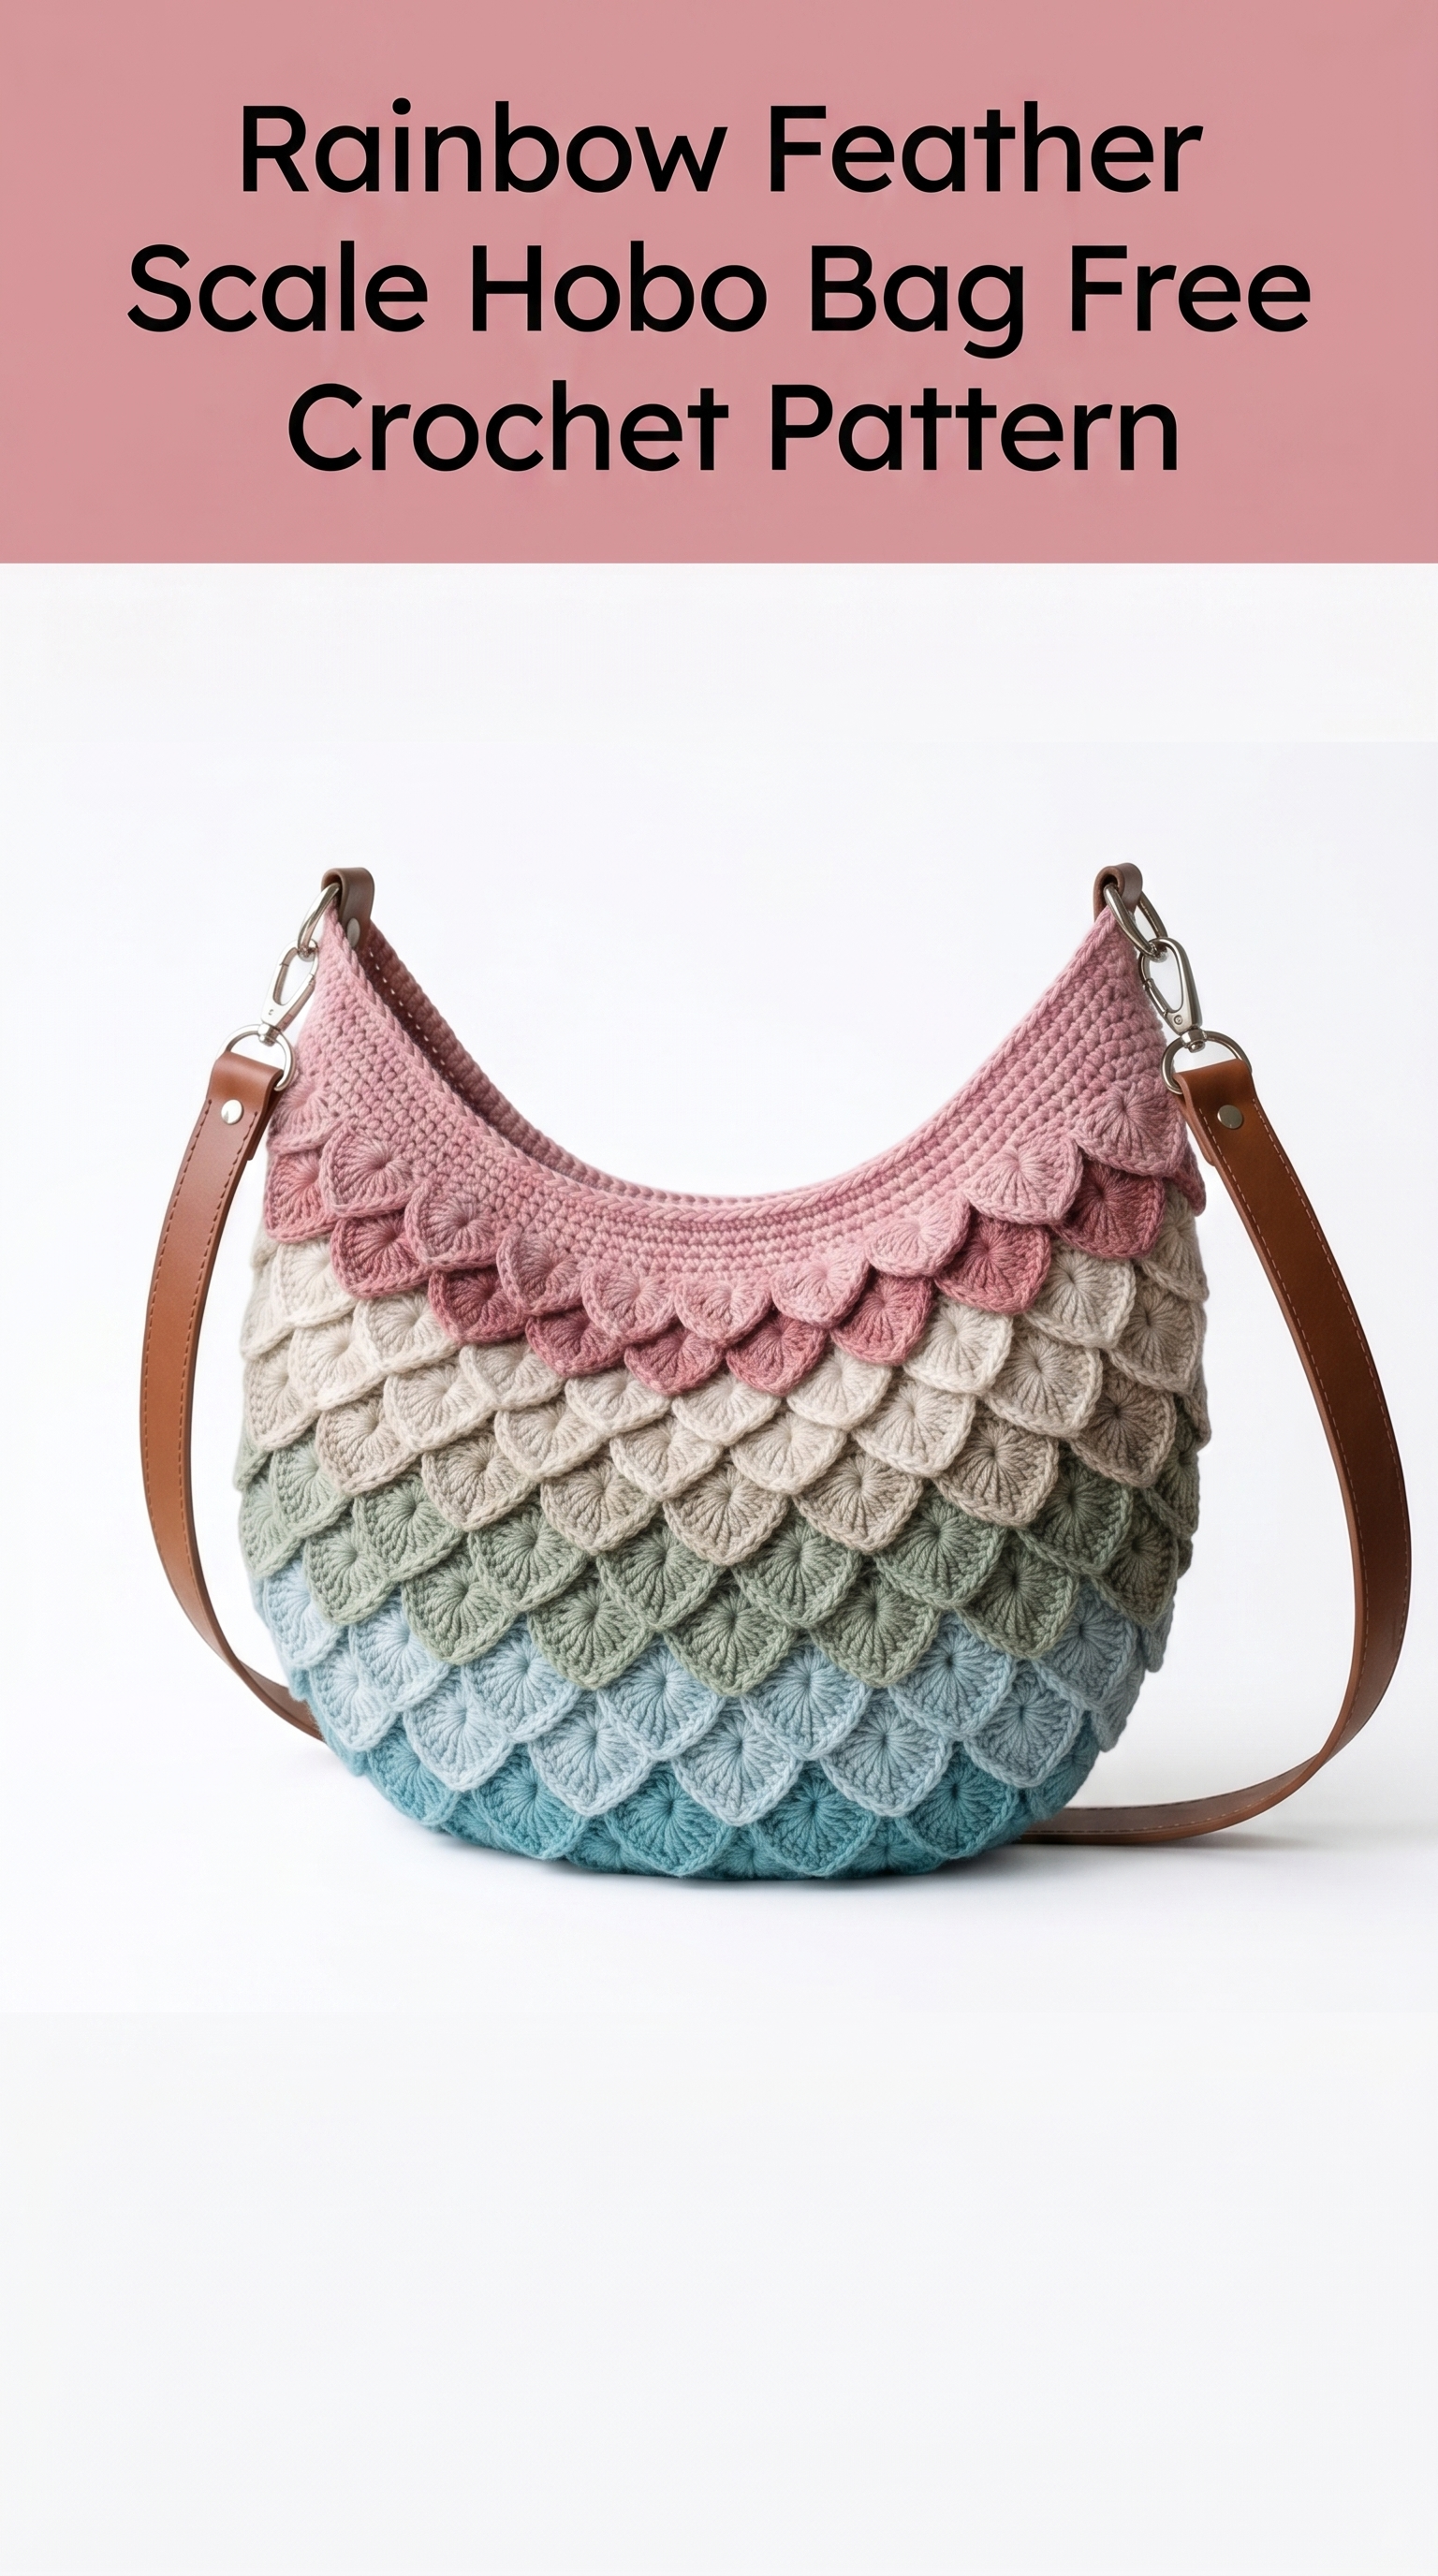
This stunning hobo bag might just be the most eye-catching accessory you’ll ever crochet. The crocodile stitch creates those gorgeous layered scales that cascade down the bag like feathers or dragon scales. And that ombre rainbow effect? Absolutely dreamy.
I know what you’re thinking. This looks complicated. But here’s the truth. If you can work a double crochet, you can absolutely make this bag. The crocodile stitch takes a bit of practice, but once it clicks, you’ll find it almost meditative. I’ll walk you through every single step.
This crochet pattern creates a roomy hobo-style bag measuring approximately 14 inches wide and 12 inches tall. Perfect for everyday use, farmers market trips, or as a statement piece that makes everyone ask where you bought it. You didn’t buy it. You made it. And that’s the best part.
Why You’ll Love This Crochet Tutorial
The crocodile stitch (sometimes called the scale stitch) creates incredible texture that looks far more complex than it actually is. Each scale forms by working stitches around posts rather than into the tops of stitches. This technique gives you that beautiful three-dimensional layered effect.
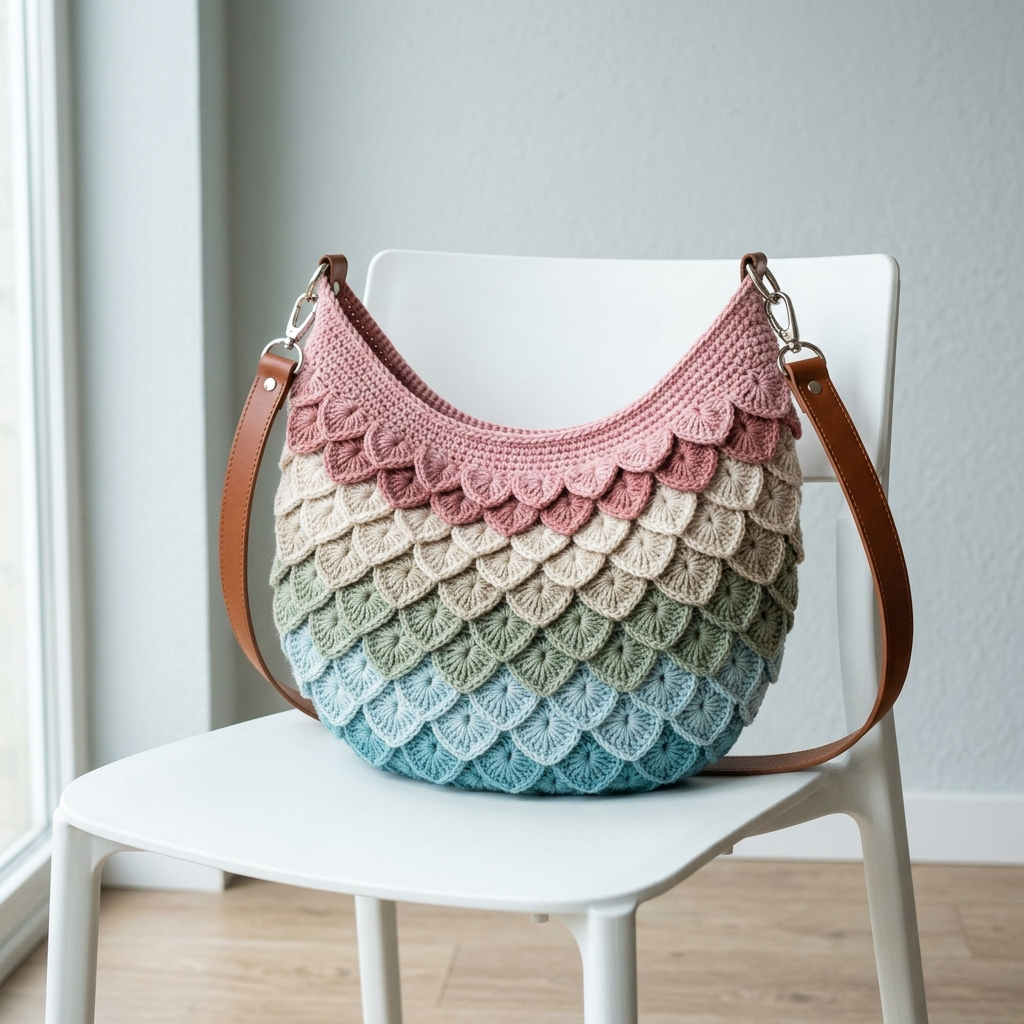
The rainbow gradient flows from soft aqua at the bottom through sage green, creamy beige, and dusty rose at the top. This color progression creates visual interest and makes the finished bag feel like a work of art.
The leather strap and silver hardware add a polished, professional finish. You could easily sell bags like this at craft fairs or gift them for special occasions.
Materials Needed
Yarn:
I recommend a cotton or cotton-blend yarn for structure. Acrylic works too but may stretch more over time. Look for yarn with good stitch definition so your scales pop.
Hook:
Notions:
Skill Level
Intermediate. You should feel comfortable with basic crochet stitches and be ready to learn a new technique. If you’ve never tried the crocodile stitch before, I recommend practicing on a small swatch first.
Gauge
14 double crochet stitches and 7 rows = 4 inches in standard double crochet
One complete scale = approximately 1.5 inches tall
Check your gauge before starting. A too-loose gauge will make your bag floppy. A too-tight gauge will make it stiff and small.
Abbreviations and Stitch Definitions
Let me explain every stitch you’ll need. Keep this section handy as you work.
Ch = Chain. The foundation stitch that creates your starting row. Wrap yarn over hook, pull through loop.
Sl st = Slip stitch. Insert hook, yarn over, pull through both loops at once. Used for joining and invisible movement.
Sc = Single crochet. Insert hook, yarn over, pull up a loop (two loops on hook), yarn over, pull through both loops.
Dc = Double crochet. Yarn over, insert hook, yarn over, pull up a loop (three loops on hook), yarn over, pull through two loops, yarn over, pull through remaining two loops.
Hdc = Half double crochet. Yarn over, insert hook, yarn over, pull up a loop (three loops on hook), yarn over, pull through all three loops at once.
FPdc = Front post double crochet. Yarn over, insert hook from front to back to front around the post (vertical part) of the stitch below, complete as a regular dc.
Sk = Skip. Pass over the indicated stitch without working into it.
St(s) = Stitch(es).
Rep = Repeat.
Understanding the Crocodile Stitch
Before we dive in, let me explain how this works. The crocodile stitch creates scales by working double crochets around the posts of stitches from a previous row. Each scale consists of 5 dc stitches worked down one post, then 5 dc stitches worked up the adjacent post. This creates a little fan shape that naturally curls forward.
The foundation row establishes posts (vertical V shapes) that you’ll work your scales around. You’ll work into the top of stitches on some rows and around posts on others. Don’t worry. I’ll tell you exactly where to put your hook every time.
Step by Step Crochet Pattern
Foundation Chain
With Color A (aqua) and 5.0mm hook:
Ch 61.
This creates a foundation approximately 14 inches wide.
Row 1: Establishing the Post Row
This row creates the foundation posts that your first row of scales will wrap around.
Dc in 4th ch from hook (the skipped chains count as your first dc). *Ch 1, sk 1 ch, dc in next ch.* Rep from * to * across.
You should have 30 dc with ch-1 spaces between them. (60 sts total including ch-1 spaces)
Row 2: First Scale Row
Now the magic happens. Turn your work so you’re looking at the front.
Working the first scale:
Sl st into the first ch-1 space to position yourself.
Find the first pair of dc posts. Work 5 dc down the right post (inserting your hook from front to back around the post, working from top to bottom). Then work 5 dc up the left post of the pair (working from bottom to top).
This creates one complete scale. (10 dc per scale)
Continue across:
Sk the next ch-1 space. Work another scale around the next pair of posts. Continue this pattern across the row.
You should have 15 scales total.
Do not turn your work at the end of this row.
Row 3: Second Post Row
With wrong side facing, ch 3 (counts as first dc).
Work 1 dc into the ch-1 space from Row 1 (the space you skipped between scales). *Ch 1, dc into the center top of the next scale (between the two sets of 5 dc), ch 1, dc into the next ch-1 space from Row 1.*
Rep across, ending with dc in the top of the turning chain.
You should have 30 dc with ch-1 spaces between them.
Row 4: Second Scale Row
Now here’s the important part. Your scales will be offset from the previous row. This creates that beautiful overlapping effect like fish scales or feathers.
Work scales into the NEW posts from Row 3. Each scale should sit between the scales from the previous scale row.
You should have 14 scales this row (one fewer because of the offset).
Continuing the Pattern
Rows 5 through 16:
Continue alternating between post rows and scale rows. Change colors as follows:
To change colors cleanly, complete the last stitch of the old color until two loops remain on your hook. Yarn over with the new color and pull through. Weave in ends as you go to save time later.
After Row 16, you should have approximately 8 rows of scales with the beautiful gradient effect.
Creating the Bag Shape
Make two identical panels following the instructions above.
Now we’ll seam them together to form the bag shape.
Joining the Panels
Place both panels together with wrong sides facing (so scales point outward on both sides).
Using Color E and your tapestry needle, whip stitch along the bottom edge. Then continue up each side, stopping approximately 2 inches from the top.
This creates the curved hobo shape you see in the photo. The sides naturally curve inward where the seams end.
Top Band
The solid band at the top provides structure and a place to attach your hardware.
With Color E and 5.0mm hook, join yarn at one side seam.
Round 1: Sc evenly around the top opening. Work approximately 60 sc around. Sl st to join. (60 sts)
Rounds 2 through 5: Ch 1, sc in each st around. Sl st to join. (60 sts)
Round 6: Ch 1, hdc in each st around. Sl st to join. (60 sts)
Round 7: Ch 1, sc in each st around. Sl st to join. Fasten off. (60 sts)
Adding the Scale Edge to Top Band
This detail adds so much polish to the finished bag.
Join Color E at the bottom edge of the top band.
Work a mini scale row: *Sl st, sk 2 sts, 5 dc around the post of the next st, sk 2 sts.* Rep around.
You should have approximately 10 mini scales around the top band.
Hardware Attachment
Using Color E, crochet two small tabs to hold your D-rings.
Ch 8. Sc in 2nd ch from hook and in each ch across. (7 sc)
Rows 2 through 4: Ch 1, turn, sc across. (7 sc)
Fold tab through D-ring and sew securely to inside of bag, positioned at each side near the top seam.
Clip your leather strap onto the D-rings.
Finishing Touches
Weave in all ends using your tapestry needle. For extra security, weave each end through several stitches, then back in the opposite direction.
Block your bag by stuffing it with tissue paper or a small pillow. Lightly steam with an iron held 2 inches away. This helps the scales lie flat and uniform.
Optional lining: Cut fabric to match the interior dimensions. Hand stitch or use fabric glue to secure. Lining prevents items from poking through the scales and adds durability.
Troubleshooting Tips
Scales curling the wrong way? Make sure you’re working the front post stitches from the front of your work. The scales should naturally cup toward you.
Uneven scale sizes? Count your stitches. Each scale needs exactly 5 dc on each side.
Bag too floppy? Try going down a hook size or using a stiffer yarn. Cotton or cotton-blend yarns hold their shape better than pure acrylic.
Colors not blending well? Add an extra row of transition color between each shade. This creates a smoother gradient.
Pattern Variations to Try
Want to make this pattern your own? Here are some ideas.
Solid color version: Skip the rainbow and use one gorgeous color throughout. Jewel tones like emerald or burgundy look stunning.
Smaller clutch: Start with ch 41 instead of ch 61 for a clutch-size version.
Backpack straps: Add two straps instead of one for a hands-free option.
Different hardware: Try gold hardware and a chain strap for an evening bag feel.
Care Instructions
Hand wash your bag in cool water with mild soap. Press gently between towels to remove excess water. Reshape and stuff with tissue paper. Lay flat to dry away from direct sunlight.
For spot cleaning, use a damp cloth and mild soap. Avoid twisting or wringing the scales.
Final Thoughts
This Rainbow Feather Scale Hobo Bag crochet pattern creates something truly special. The crocodile stitch takes a bit of practice, but the results are absolutely worth it. Every time you carry this bag, someone will stop you to ask about it. And you get to say those magical words: “I made it myself.”
Thank you so much for choosing this pattern. Your creativity and time mean everything. I genuinely hope you love making this bag as much as I loved designing it.
When you finish, I would absolutely love to see your creation. Tag me on Instagram or share in my Facebook group. Seeing your color choices and finished bags brings me so much joy. Happy crocheting, friend.
