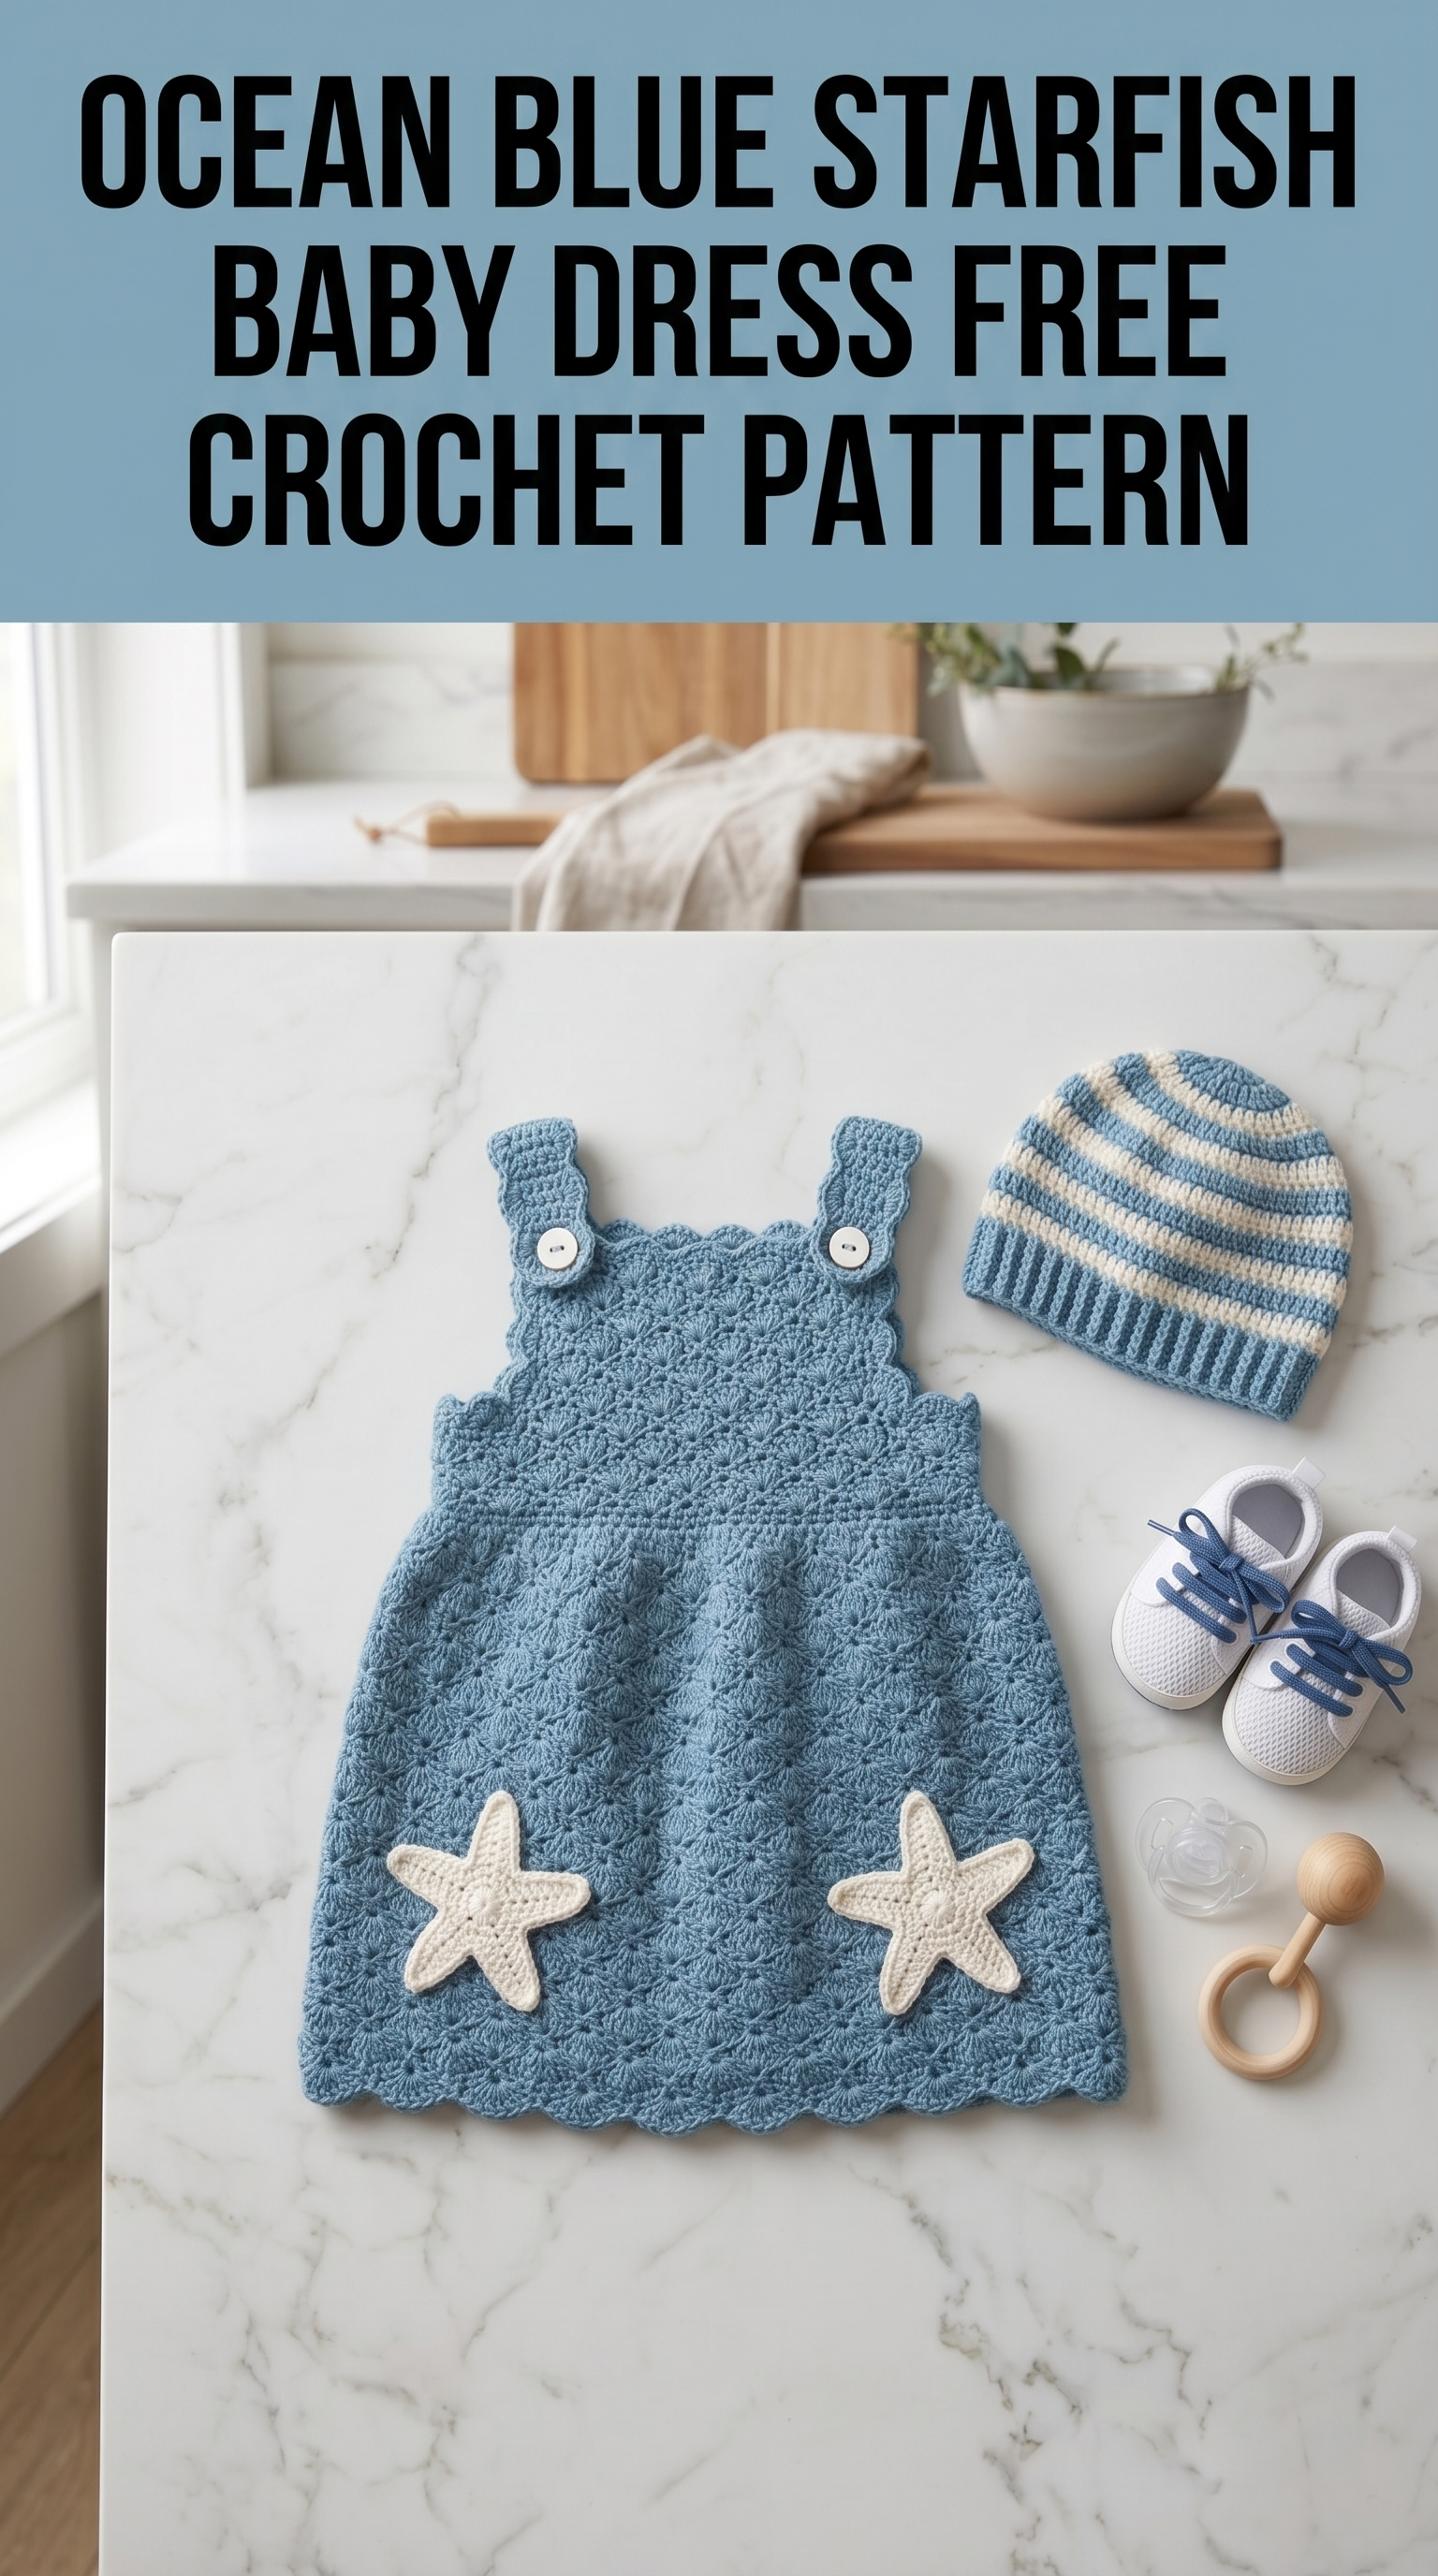
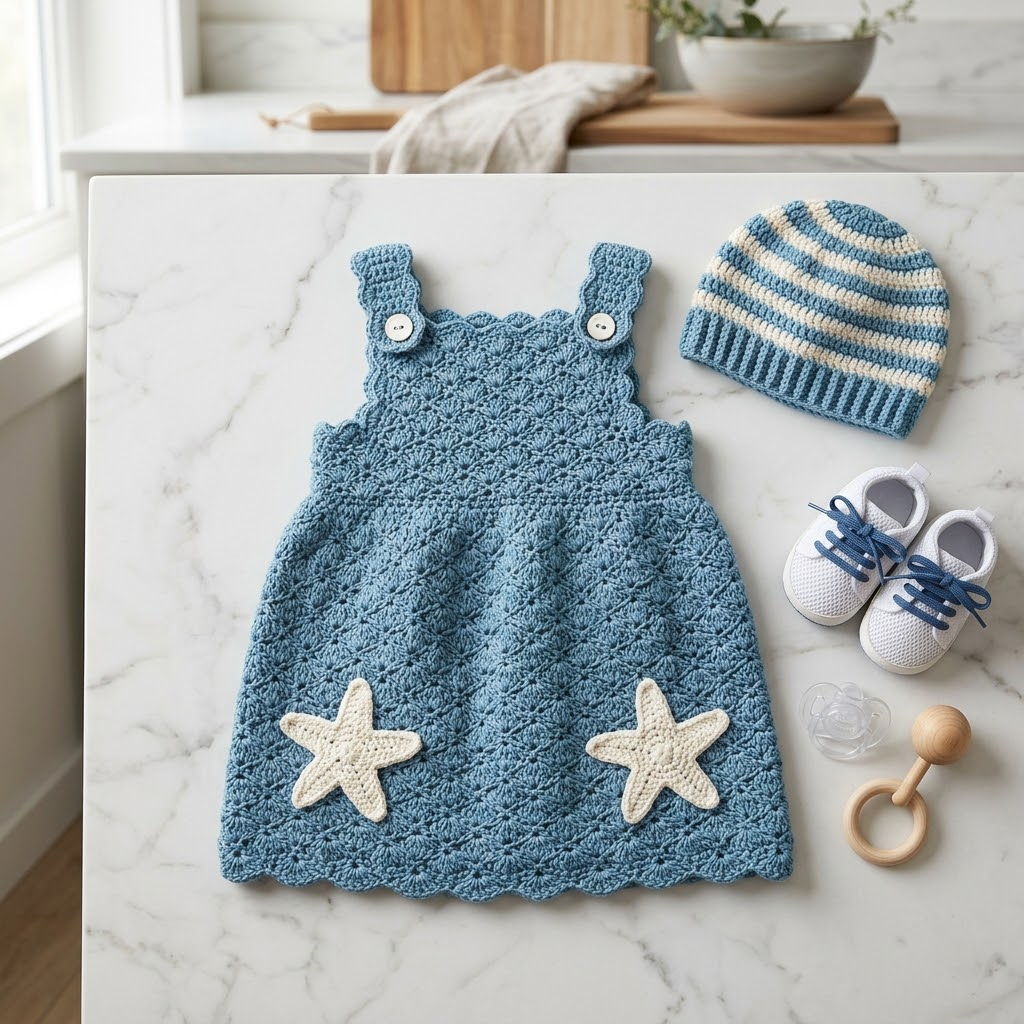
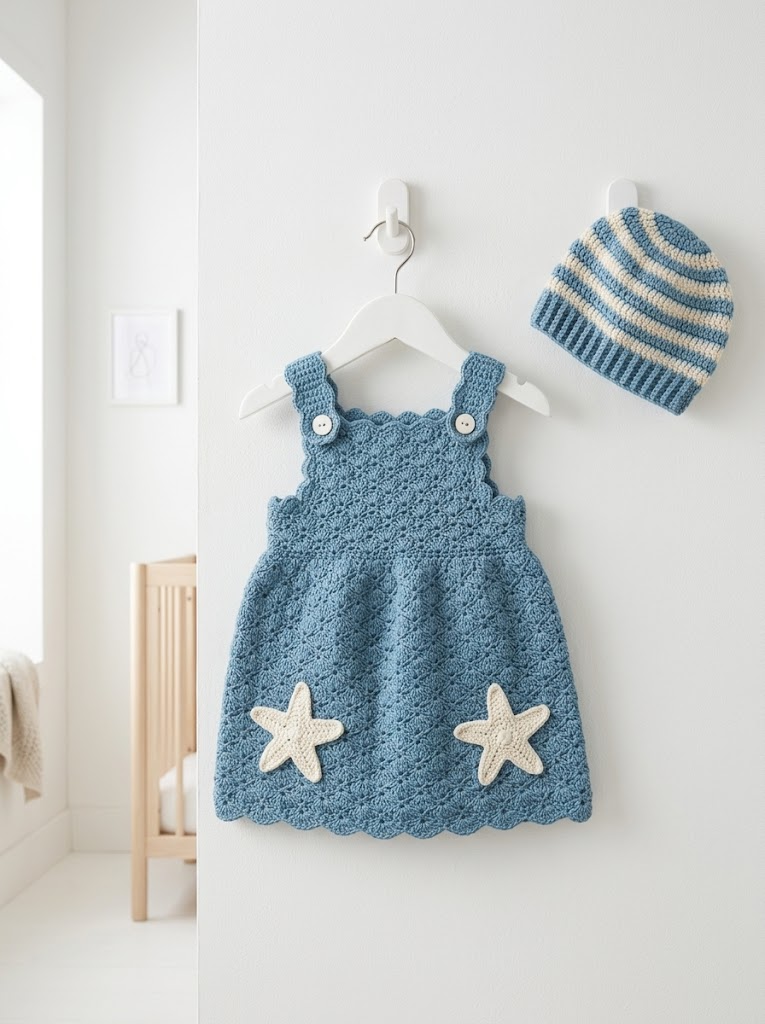
There is something magical about creating tiny clothes for the littlest ones in our lives. This Ocean Blue Starfish Baby Dress captures that coastal charm we all love while being surprisingly beginner friendly. The shell stitch creates those beautiful waves of texture you see across the bodice and skirt. Those sweet cream starfish appliqués add the perfect finishing touch.
I designed this crochet pattern with newer crocheters in mind. If you can work basic stitches in rows and have made at least one or two simple projects, you can absolutely make this dress. The construction is straightforward. We work the skirt flat, seam it, then add the bodice and straps. No complicated shaping. No confusing decreases. Just lovely repetitive stitches that become almost meditative once you get going.
Let me walk you through everything you need to recreate this adorable baby dress from scratch.
What Makes This Baby Dress Crochet Pattern Special
The shell stitch gives this dress its signature scalloped texture. Each shell creates a little fan shape that naturally curves at the hem. This stitch pattern looks intricate but follows a simple repeat you will memorize quickly.
The dress features a classic pinafore style with button straps at the shoulders. This design means easy diaper changes for caregivers. The straps button onto the front bodice, so you can adjust the fit slightly as baby grows.
Those starfish appliqués are worked separately and sewn on. You could skip them entirely for a simpler look. Or make them in the same blue for a tone on tone effect. Totally optional but absolutely precious.
Skill Level
Confident Beginner to Intermediate
You should be comfortable with:
If you have never crocheted before, I recommend practicing the shell stitch on a swatch first. Make a practice piece about 20 stitches wide and 10 rows tall. This helps you understand how the shells stack before committing to the full project.
Finished Measurements
This crochet tutorial creates a dress sized for 3 to 6 months.
Gauge matters here. A dress that is too tight will not fit over baby’s head. Too loose and it will look sloppy.
Gauge
16 stitches and 10 rows = 4 inches in shell stitch pattern using recommended yarn and hook.
Take time to check your gauge. Seriously. I know it feels tedious. But baby items need to fit actual babies, and gauge is how we make that happen.
If your swatch is larger than 4 inches, try going down one hook size. Smaller than 4 inches means going up one hook size.
Materials Needed
Yarn:
DK weight yarn is sometimes labeled as light worsted. Look for the number 3 on the yarn label. I recommend a soft cotton blend or bamboo blend for baby items. These fibers breathe well against sensitive skin and wash beautifully.
Hook:
Notions:
Abbreviations and Stitch Definitions
Let me define every stitch before we begin. Refer back to this section anytime you feel confused.
ch = chain: Yarn over, pull through loop on hook. Creates foundation or adds height.
sl st = slip stitch: Insert hook, yarn over, pull through stitch AND loop on hook in one motion. Used for joining or moving across stitches invisibly.
sc = single crochet: Insert hook, yarn over, pull up loop (2 loops on hook), yarn over, pull through both loops. A short, tight stitch.
dc = double crochet: Yarn over, insert hook, yarn over, pull up loop (3 loops on hook), yarn over, pull through 2 loops (2 loops remain), yarn over, pull through remaining 2 loops. A taller stitch that creates lovely drape.
hdc = half double crochet: Yarn over, insert hook, yarn over, pull up loop (3 loops on hook), yarn over, pull through all 3 loops at once. Height between sc and dc.
sk = skip: Miss the indicated stitch. Do not work into it.
shell = 5 dc worked into same stitch: This creates the fan shape that defines this pattern.
st(s) = stitch(es)
Special Stitch: Shell Stitch Pattern
The shell stitch is the star of this crochet pattern. Here is how it works:
To make one shell: Work 5 dc into the same stitch.
Shell stitch pattern over a multiple of 6 stitches plus 1:
Row 1: Sc in 2nd ch from hook, *sk 2 ch, shell in next ch, sk 2 ch, sc in next ch*. Repeat from * across.
Row 2: Ch 3 (counts as dc), 2 dc in first sc, *sk 2 dc, sc in center dc of shell, sk 2 dc, shell in next sc*. Repeat from * to last shell, sk 2 dc, sc in center dc of shell, sk 2 dc, 3 dc in last sc.
Row 3: Ch 1, sc in first dc, *sk 2 dc, shell in next sc, sk 2 dc, sc in center dc of next shell*. Repeat from * across, ending sc in top of turning ch.
Repeat Rows 2 and 3 for pattern.
The shells alternate positions each row. This staggering creates that beautiful wave effect.
Step by Step Crochet Pattern Instructions
Skirt Panel (Make 2)
The skirt is worked flat in two pieces, then seamed at the sides.
Foundation: With main color and G hook, ch 49.
Row 1: Sc in 2nd ch from hook, *sk 2 ch, shell in next ch, sk 2 ch, sc in next ch*. Repeat from * across. (48 sts: 8 shells, 9 sc)
Row 2: Ch 3 (counts as dc here and throughout), 2 dc in first sc, *sk 2 dc, sc in center dc of shell, sk 2 dc, shell in next sc*. Repeat from * to last shell, sk 2 dc, sc in center dc of shell, sk 2 dc, 3 dc in last sc. (48 sts)
Row 3: Ch 1, sc in first dc, *sk 2 dc, shell in next sc, sk 2 dc, sc in center dc of next shell*. Repeat from * across, ending sc in top of turning ch. (48 sts)
Rows 4 through 21: Repeat Rows 2 and 3 alternately. You will have 21 rows total.
At the end of Row 21, your panel should measure approximately 8 inches long and 12 inches wide.
Fasten off, leaving a long tail on the second panel for seaming.
Joining the Skirt
Place both panels with right sides facing each other. Using yarn needle and long tail, whip stitch side seams together. Start at the bottom hem and work up approximately 6.5 inches, leaving about 1.5 inches open at the top for armholes.
Turn right side out. The skirt is now a tube.
Bodice
The bodice is worked in continuous rounds joined to the top of the skirt.
Setup: With main color and G hook, join yarn with sl st at one side seam at top edge of skirt.
Round 1: Ch 1, work 72 sc evenly around top edge of skirt, sl st to first sc to join. (72 sc)
Count as you go. You want stitches distributed evenly. If you have trouble getting exactly 72, aim for a number divisible by 6 and adjust your count.
Round 2: Ch 1, sc in each sc around, sl st to join. (72 sc)
Round 3: Ch 1, sc in each sc around, sl st to join. (72 sc)
Round 4: Ch 1, sc in each sc around, sl st to join. (72 sc)
You now have 4 rounds of single crochet forming a simple band at the top of the bodice.
Shaping the Neckline and Armholes
Now we divide for front and back.
Row 5 (front bodice): Ch 1, sc in next 30 sc, turn. Leave remaining stitches unworked. (30 sc)
Row 6: Ch 1, sk first sc, sc in each sc to last sc, sk last sc, turn. (28 sc)
Row 7: Ch 1, sk first sc, sc in each sc to last sc, sk last sc, turn. (26 sc)
Row 8: Ch 1, sc in each sc across, turn. (26 sc)
Row 9: Ch 1, sc in each sc across. (26 sc)
Fasten off.
Back Bodice
Join yarn at opposite side of armhole opening.
Row 5 (back bodice): Ch 1, sc in next 30 sc, turn. (30 sc)
Rows 6 through 9: Repeat same as front bodice rows 6 through 9. (26 sc at end)
Fasten off.
Straps (Make 2)
Foundation: With main color and G hook, ch 31.
Row 1: Sc in 2nd ch from hook and each ch across, turn. (30 sc)
Row 2: Ch 1, sc in each sc across, turn. (30 sc)
Row 3: Ch 1, sc in each sc across. (30 sc)
Fasten off, leaving tail for sewing.
Button Loops (Make 2)
Foundation: Ch 10, sl st to first ch to form loop.
Fasten off, leaving tail for attaching.
Starfish Appliqués (Make 2)
These are optional. Skip this section if you want a simpler dress.
With contrast color (cream) and F hook:
Magic ring: Ch 2, work 5 sc into ring, pull ring closed, sl st to first sc. (5 sc)
Arm 1: Ch 5, sl st in 2nd ch from hook, sc in next ch, hdc in next ch, dc in next ch, sl st in next sc of center ring.
Arms 2 through 5: Repeat Arm 1 four more times, working sl st into each remaining sc of center ring.
After completing Arm 5, sl st to base of first arm to join. Fasten off, leaving long tail for sewing.
Gently stretch and shape each arm. The starfish should measure approximately 2.5 inches across.
Assembly and Finishing
Attach Straps
Position straps on back bodice, approximately 1.5 inches in from each side edge. Sew securely using yarn needle and matching yarn.
Attach Button Loops
Sew one button loop to the end of each strap at the front. The loop should extend just past the end of the strap.
Sew Buttons
Position buttons on front bodice to align with loops. Sew buttons securely using sewing thread or yarn.
Attach Starfish
Pin starfish to front of skirt, positioned in lower third of dress, spaced evenly apart. Using cream yarn and yarn needle, whip stitch around edges to secure. Be sure stitches do not show on inside of dress against baby’s skin.
Weave in Ends
Use yarn needle to weave all loose ends through several inches of nearby stitches. Trim close to fabric.
Blocking (Optional)
For a polished finish, wet block your dress. Soak in cool water for 15 minutes. Gently squeeze out excess water. Lay flat on blocking mat or clean towel. Shape to measurements. Allow to dry completely.
Helpful Tips for Success
Counting stitches: The shell stitch pattern can be tricky to count at first. Remember that each shell has 5 dc, and the sc between shells counts as 1 stitch. Use stitch markers at the end of each row until you feel confident.
Consistent tension: Try to keep your tension even throughout. Tight spots will make the fabric stiff. Loose spots create gaps. If you notice inconsistency, take a break. Tension often improves after rest.
Yarn substitution: Any DK weight yarn in similar yardage will work. Choose machine washable fibers for baby items. Parents will thank you.
Sizing adjustments: For smaller (0 to 3 months), reduce foundation chain by 6 stitches and work 2 fewer rows on skirt. For larger (6 to 12 months), add 6 stitches to foundation chain and work 4 additional rows.
You Did It
Making handmade clothes for babies is such a gift. Not just for the baby who gets to wear something made with love. But for you too. Every stitch carries intention and care.
This Ocean Blue Starfish Baby Dress crochet pattern creates a keepsake piece that families treasure. I hope the process brought you joy and maybe a little bit of that peaceful flow state that crochet gives us.
Thank you so much for trusting me to guide you through this project. It means everything that you chose to spend your crafting time here with me.
I would absolutely love to see your finished dress. Tag me on Instagram or share in my Facebook group. Seeing your makes is the best part of my day. Every single time.
Happy hooking, friend. You have got this.
