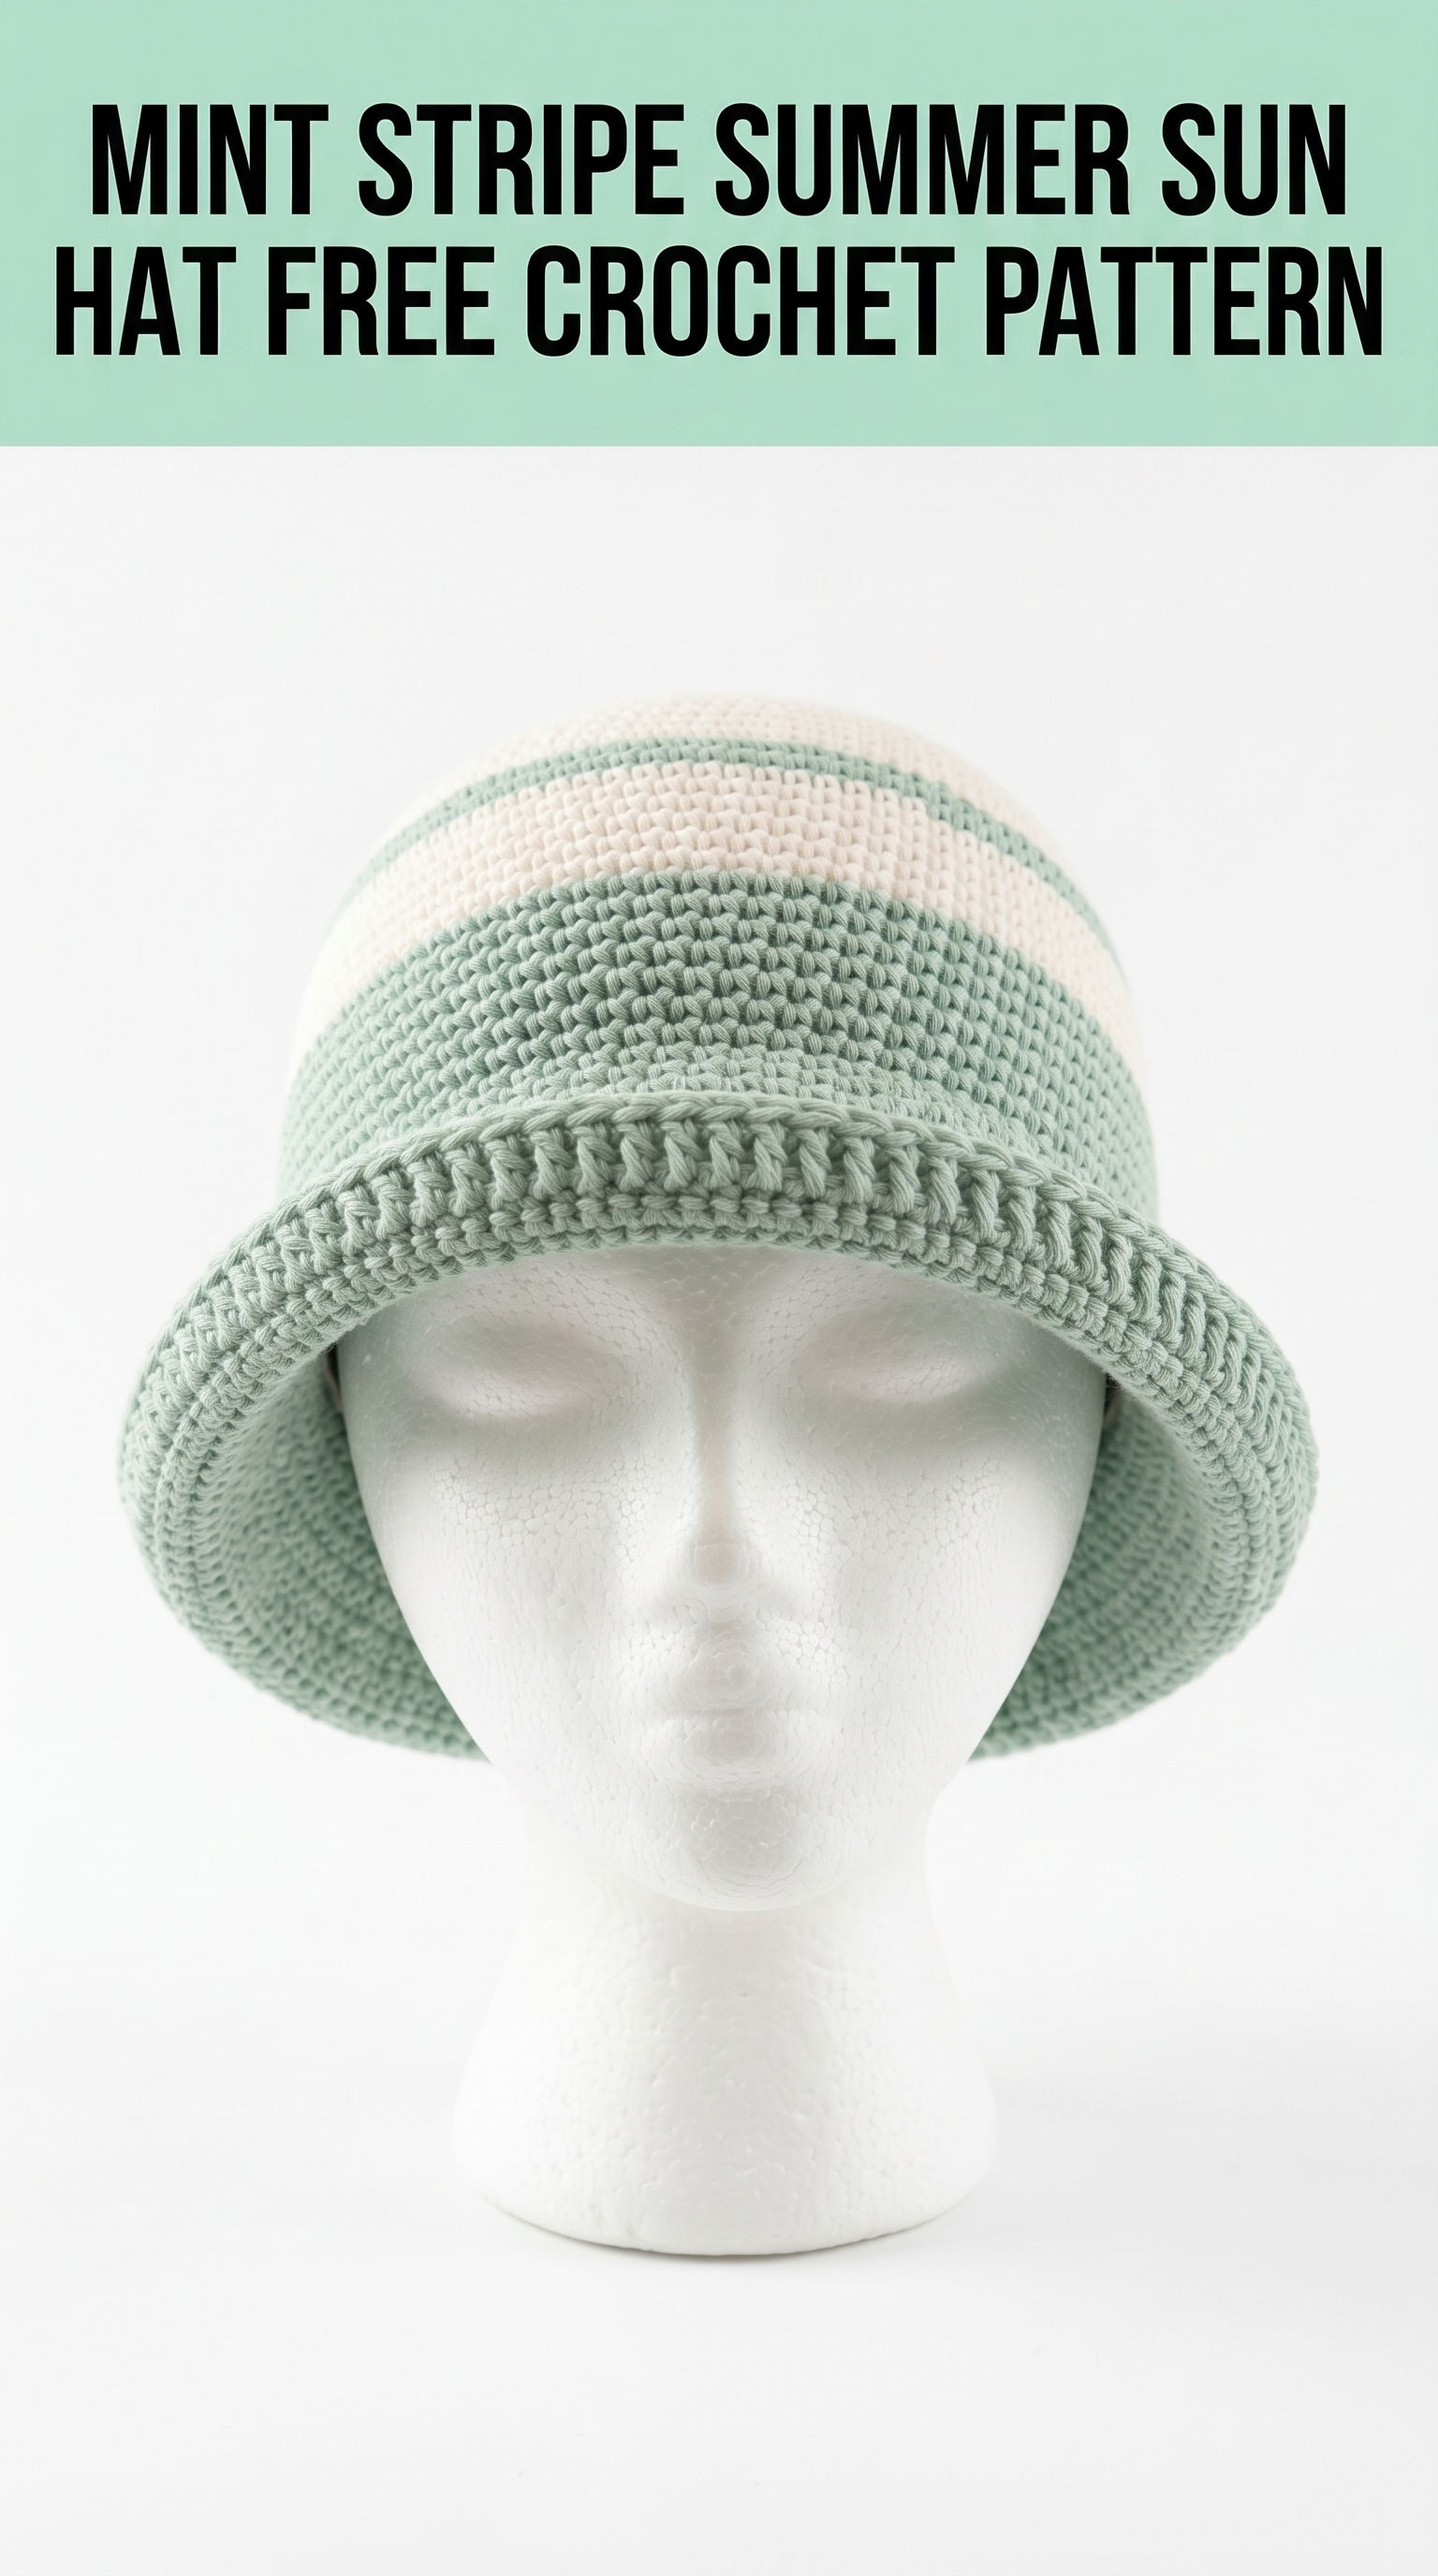
There is something so satisfying about crocheting your own sun hat. This Mint Stripe Summer Sun Hat is exactly the kind of project that makes you feel like a crochet rock star without actually being difficult. The gentle sage green stripes against creamy white create a fresh, modern look perfect for farmers markets, beach days, or just running errands in style.
I designed this hat with beginner to intermediate crocheters in mind. If you can work single crochet in the round and you are not afraid of a little shaping, you can absolutely make this. The construction is straightforward. We start at the crown, work down through the body, then flip out for that adorable rolled brim. No sewing. No piecing together. Just one continuous piece of crochet goodness.
Let me walk you through everything you need to recreate this crochet sun hat pattern from scratch.
Why This Striped Crochet Hat Works So Well
Before we dive into the step by step instructions, let me tell you why I love this design.
The classic bucket hat silhouette is flattering on pretty much everyone. The slightly structured brim provides actual sun protection without flopping in your face. And that rolled edge at the brim? It happens naturally when you flip the direction of your work. No fancy finishing required.
The stripe pattern is simple but strategic. Three color blocks break up the hat visually and let you practice clean color changes without overwhelming you with constant switching. This is a great project if you have been wanting to try colorwork but feel intimidated by more complex patterns.
Materials You Will Need
Gather these supplies before you start. Having everything ready makes the process so much smoother.
Yarn:
I recommend 100% cotton or a cotton blend for this project. Cotton holds its shape beautifully, breathes well in warm weather, and gives that crisp stitch definition you see in the photos. Acrylic can work in a pinch, but the brim may not hold its shape as well.
Hook:
Notions:
Gauge:
14 single crochet stitches and 16 rows = 4 inches in single crochet worked in the round
Gauge matters here because we are making a hat. Too loose and it will slide down over your eyes. Too tight and you will be uncomfortable. Take a few minutes to check your gauge before diving in.
Finished Dimensions
This pattern creates an adult medium size hat.
I will include notes for sizing adjustments as we go.
Abbreviations and Stitch Definitions
Let me define every stitch and abbreviation you will encounter. Even if you know these by heart, a quick refresher never hurts.
Ch = Chain: Wrap yarn over hook, pull through the loop on your hook. This creates one chain stitch.
Sl st = Slip stitch: Insert hook into stitch, yarn over, pull through both the stitch and the loop on your hook in one motion. Used for joining rounds invisibly.
Sc = Single crochet: Insert hook into stitch, yarn over and pull up a loop (two loops on hook), yarn over and pull through both loops. The most basic crochet stitch.
Inc = Increase: Work two single crochet stitches into the same stitch. This adds one stitch to your count.
Dec = Decrease (invisible decrease): Insert hook through front loops only of the next two stitches, yarn over and pull through both front loops, yarn over and pull through both loops on hook. This removes one stitch from your count.
FLO = Front loop only: Work into just the front loop of the stitch instead of both loops.
BLO = Back loop only: Work into just the back loop of the stitch instead of both loops.
St(s) = Stitch(es)
How to Crochet the Mint Stripe Summer Sun Hat
This crochet hat tutorial is worked in continuous rounds from the crown down. We will start with a magic ring, increase to create the flat crown, work straight rounds for the body, then increase again for the brim.
Grab your hook and Color A. Let us get started.
Crown Section
The crown is worked in continuous spiral rounds. Use a stitch marker to track the beginning of each round. Move it up as you go.
Round 1: Using Color A, create a magic ring. Work 6 sc into the ring. Pull the ring closed. (6 sts)
*Do not join. We are working in a continuous spiral.*
Round 2: Inc in each st around. (12 sts)
Round 3: *Sc 1, inc* repeat around. (18 sts)
Round 4: *Sc 2, inc* repeat around. (24 sts)
Round 5: *Sc 3, inc* repeat around. (30 sts)
Round 6: *Sc 4, inc* repeat around. (36 sts)
Round 7: *Sc 5, inc* repeat around. (42 sts)
Round 8: *Sc 6, inc* repeat around. (48 sts)
Round 9: *Sc 7, inc* repeat around. (54 sts)
Round 10: *Sc 8, inc* repeat around. (60 sts)
Round 11: *Sc 9, inc* repeat around. (66 sts)
Round 12: *Sc 10, inc* repeat around. (72 sts)
Your crown should now measure approximately 6 inches across and lay flat. If it is cupping or ruffling, check your gauge.
Body Section with Color Stripes
Now we stop increasing and work straight rounds to create the sides of the hat. This is where our stripe pattern comes in.
Rounds 13 to 18: Sc in each st around. (72 sts)
*6 rounds in Color A*
Color Change to Color B:
On the last stitch of Round 18, complete the stitch but pull Color B through for the final yarn over. Continue with Color B.
Rounds 19 to 24: Sc in each st around using Color B. (72 sts)
*6 rounds in Color B*
Color Change back to Color A:
Rounds 25 to 30: Sc in each st around using Color A. (72 sts)
*6 rounds in Color A*
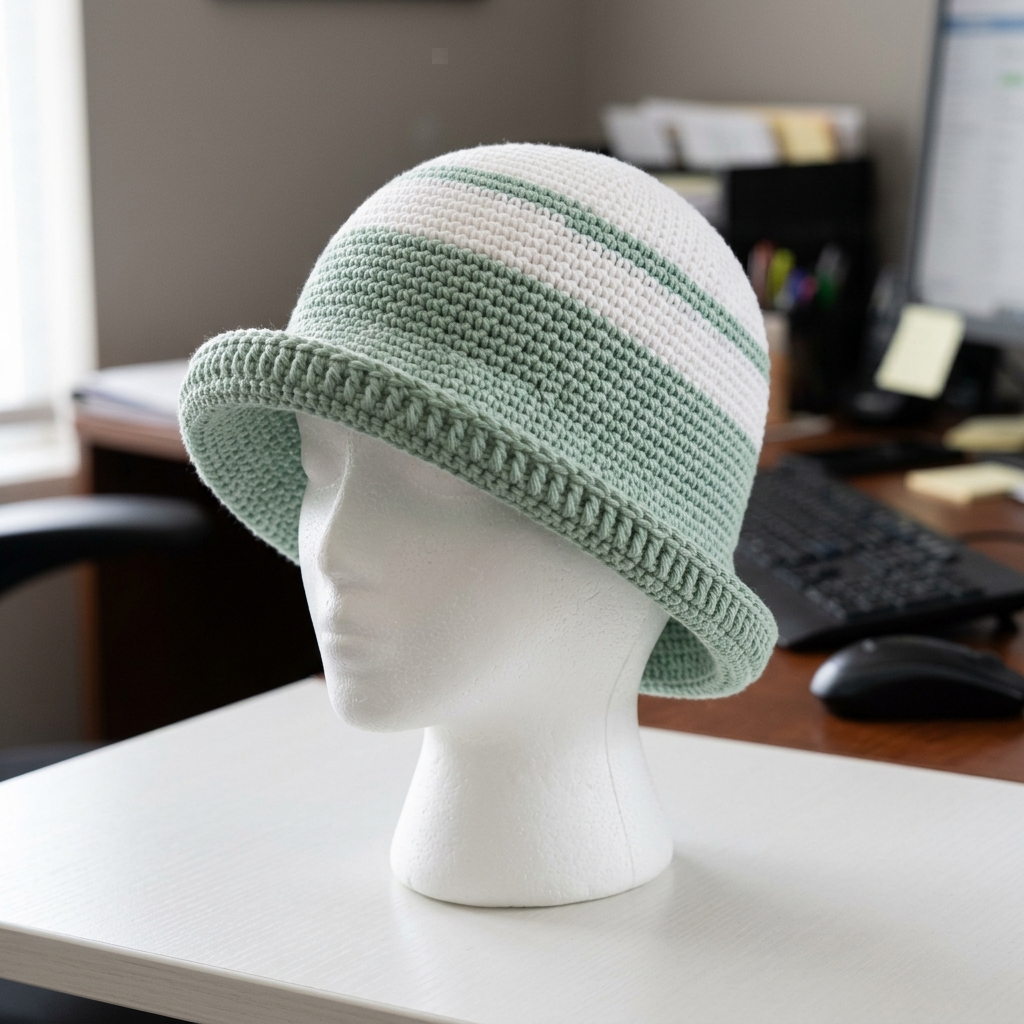
You should now have three distinct color blocks: sage, cream, sage. The body of your hat is complete.
Brim Section
Here is where the magic happens. The brim is worked in increases similar to the crown, but we add a special technique to create that gorgeous rolled edge.
Round 31: Working in BLO (back loop only), sc in each st around. (72 sts)
*This back loop only round creates a natural fold line. The brim will flip up at this ridge.*
Round 32: *Sc 11, inc* repeat around. (78 sts)
Round 33: Sc in each st around. (78 sts)
Round 34: *Sc 12, inc* repeat around. (84 sts)
Round 35: Sc in each st around. (84 sts)
Round 36: *Sc 13, inc* repeat around. (90 sts)
Round 37: Sc in each st around. (90 sts)
Round 38: *Sc 14, inc* repeat around. (96 sts)
Rounds 39 to 42: Sc in each st around. (96 sts)
*4 rounds even*
Finishing Round: Sl st in next st. Fasten off and weave in ends.
Brim Edge Detail
Looking at the finished hat, you will notice a decorative ridge running around the brim. This is created by that BLO round we worked at Round 31. When you flip the brim up, the unused front loops create a subtle texture line.
For an even more defined edge, you can optionally work a round of slip stitches through the front loops of Round 31 from the outside. This is purely decorative and completely optional.
Finishing Your Crochet Sun Hat
Weave in all your yarn tails securely. I like to weave through several stitches, then double back in the opposite direction. This keeps ends from popping out after washing.
Blocking (optional but recommended):
For cotton yarn, I recommend wet blocking to help the brim hold its shape. Soak your finished hat in cool water for about 15 minutes. Gently squeeze out excess water. Do not wring. Shape the hat over a bowl or balloon that matches your head size and let it dry completely.
If you want an even stiffer brim, you can use fabric stiffener spray after blocking.
Sizing Adjustments
For a smaller hat (20 inch circumference): Stop the crown increases at Round 11 (66 sts) and work the body with 66 stitches throughout. Adjust brim increases accordingly.
For a larger hat (23 inch circumference): Add one more increase round to the crown before starting the body. You will have 78 stitches to work with.
Tips for Success
Tension consistency is key. Try to keep your stitches even throughout. If you tend to crochet tighter when nervous, take a breath and relax your hands.
Do not skip the stitch marker. In continuous rounds, it is incredibly easy to lose track of where you are. Trust me on this one.
Try it on as you go. After completing the body section, pop the hat on your head (or a mannequin head if you have one) to check the fit before starting the brim.
Cotton yarn has no stretch. Unlike acrylic, cotton does not give much. Make sure your gauge is accurate.
Make It Your Own
This beginner friendly crochet pattern is wonderfully adaptable. Try different color combinations. Make the stripes thicker or thinner. Add more stripes. Use variegated yarn for a completely different look.
You could also add embellishments like a crocheted flower, a ribbon band, or even some simple embroidery around the brim.
Wrapping Up
Thank you so much for choosing this Mint Stripe Summer Sun Hat crochet pattern for your next project. I genuinely hope you enjoy making it as much as I enjoyed designing it. There is something special about wearing a handmade hat, and this one is going to get you so many compliments.
When you finish yours, I would absolutely love to see it. Tag me on Instagram or share your photos in our Facebook group. Nothing makes my day quite like seeing your beautiful creations out in the world.
Happy crocheting, friend. You have got this.
