
A delicate lace hair kerchief keeps your hair back beautifully while adding a romantic, vintage touch to any outfit. This triangular kerchief uses fine cotton thread, basic double crochet stitches, and simple chain spaces to create an airy diamond mesh that drapes perfectly over your hair.
Get the Ad-Free PDF Pattern
You can find the free pattern below, or you can purchase the ad-free printable PDF from my shop.
Get the Printable PDF →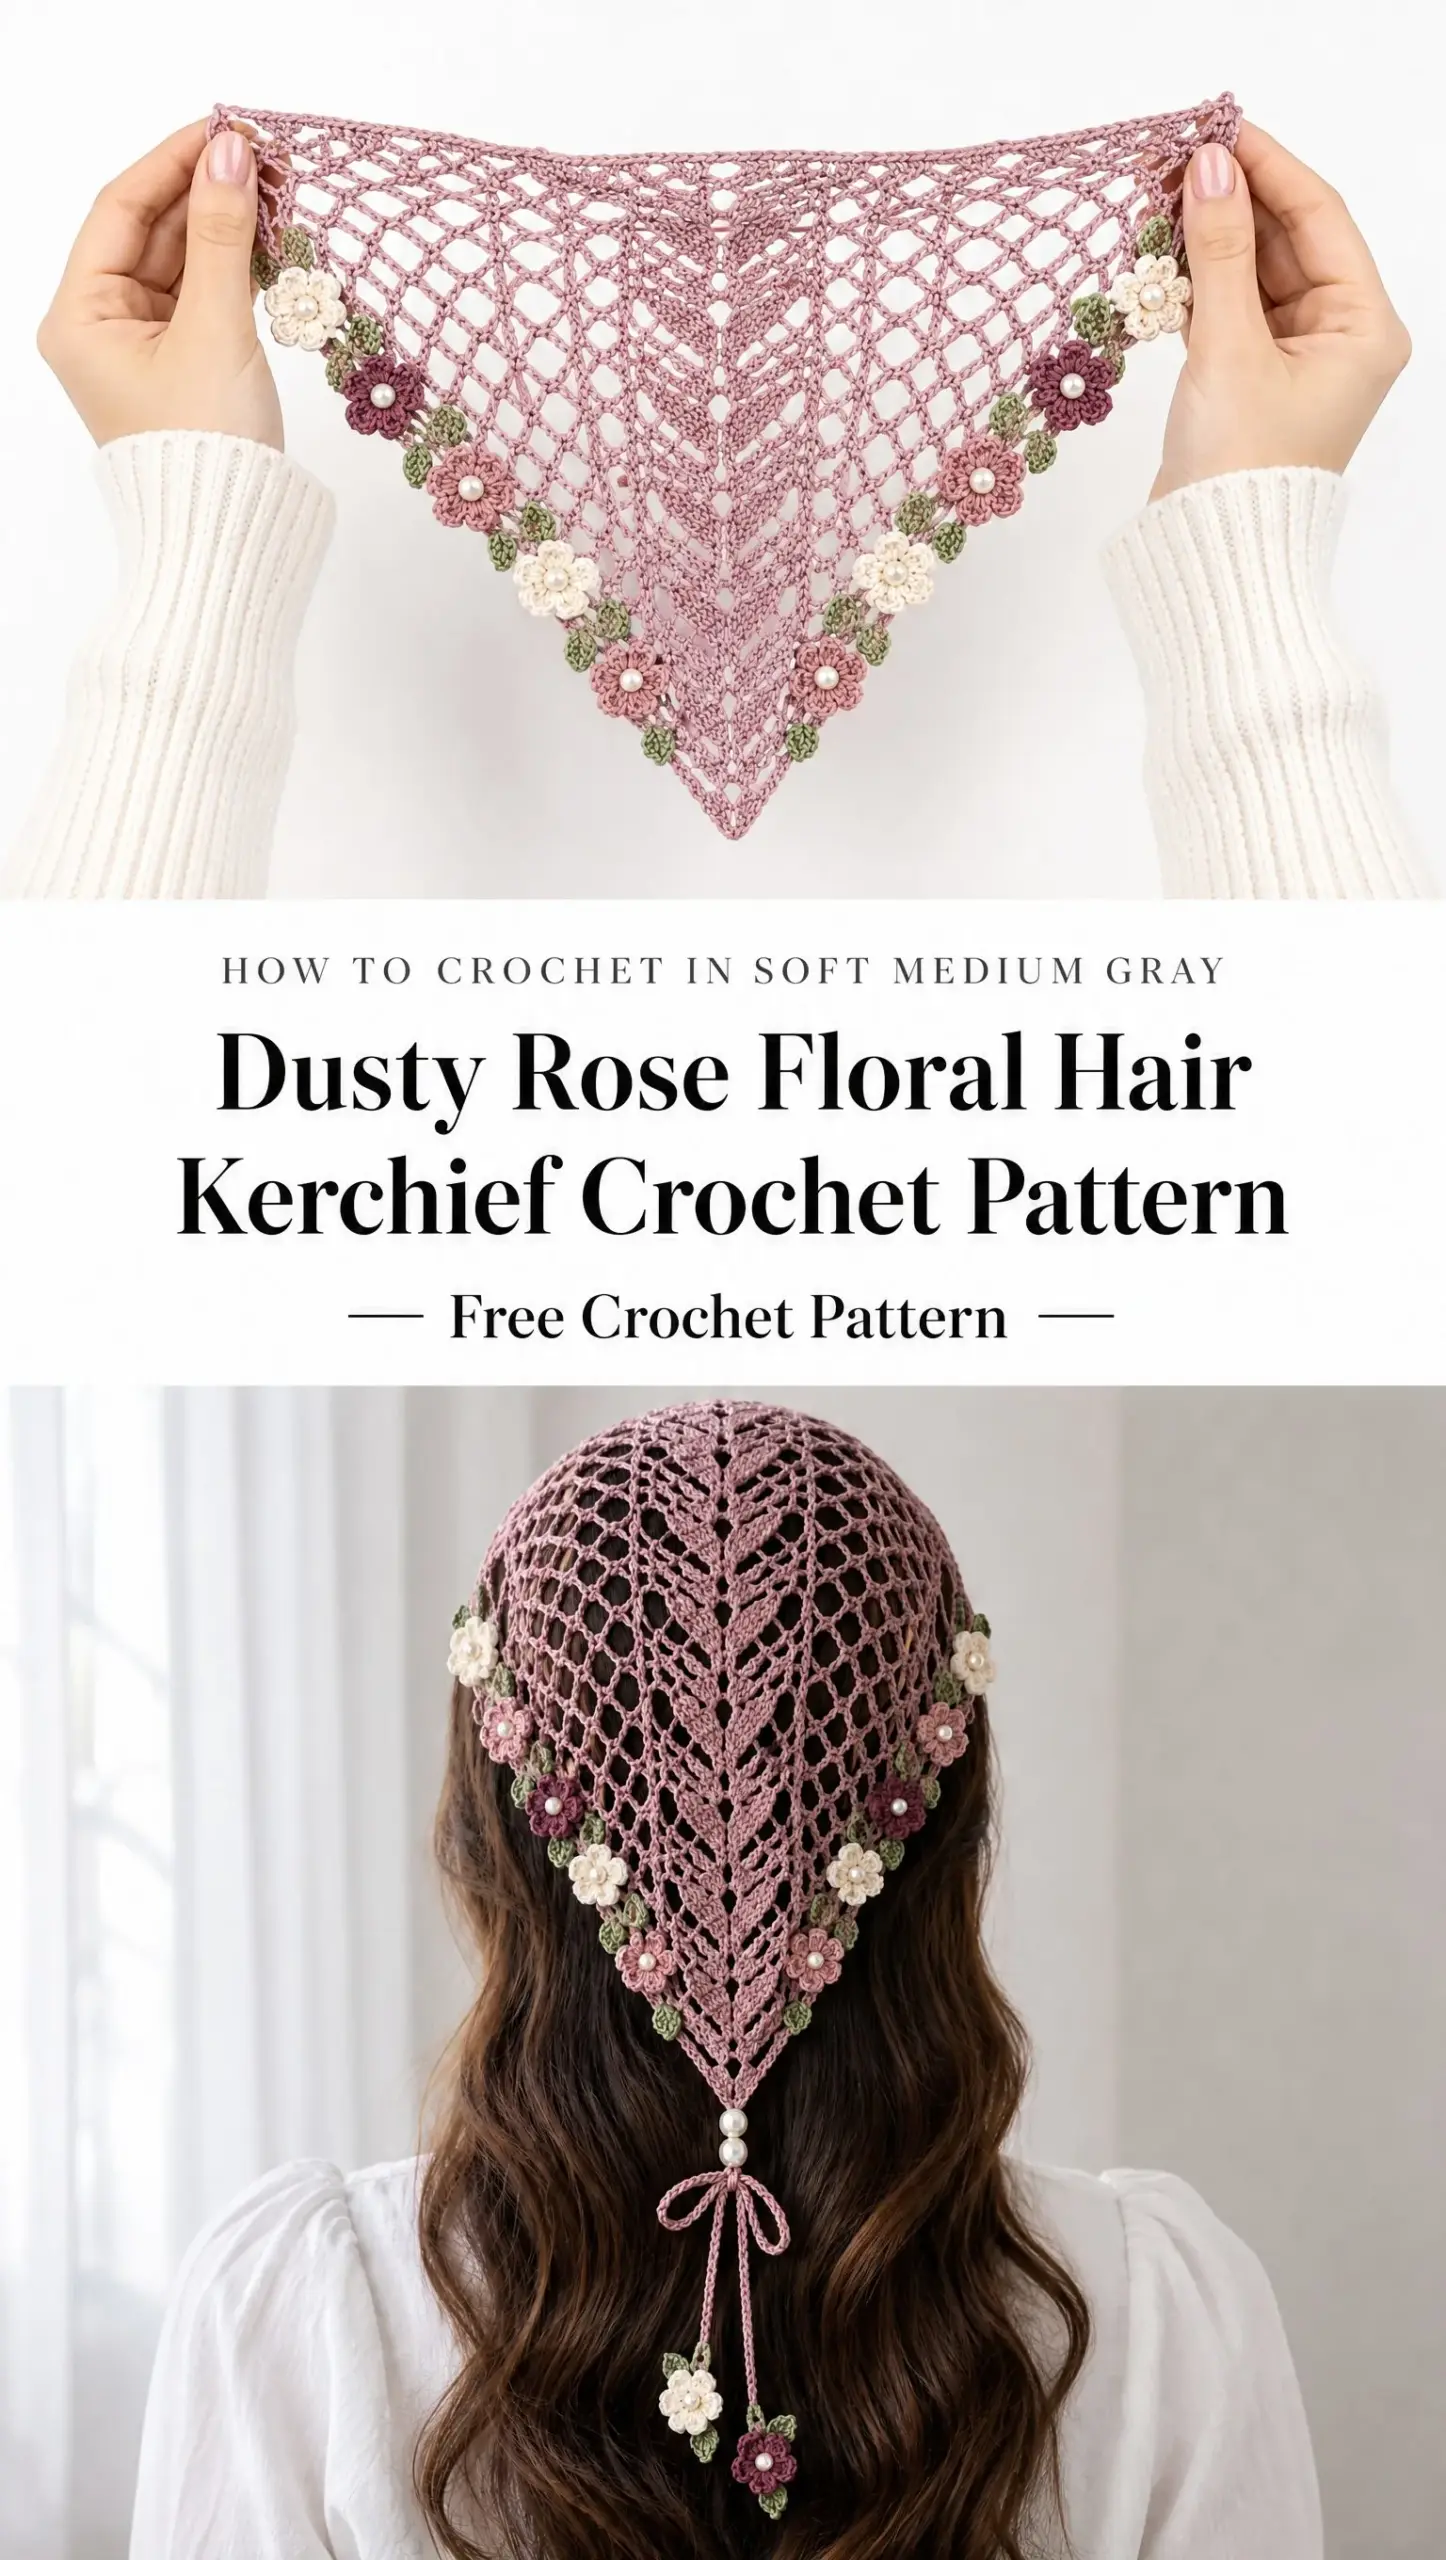
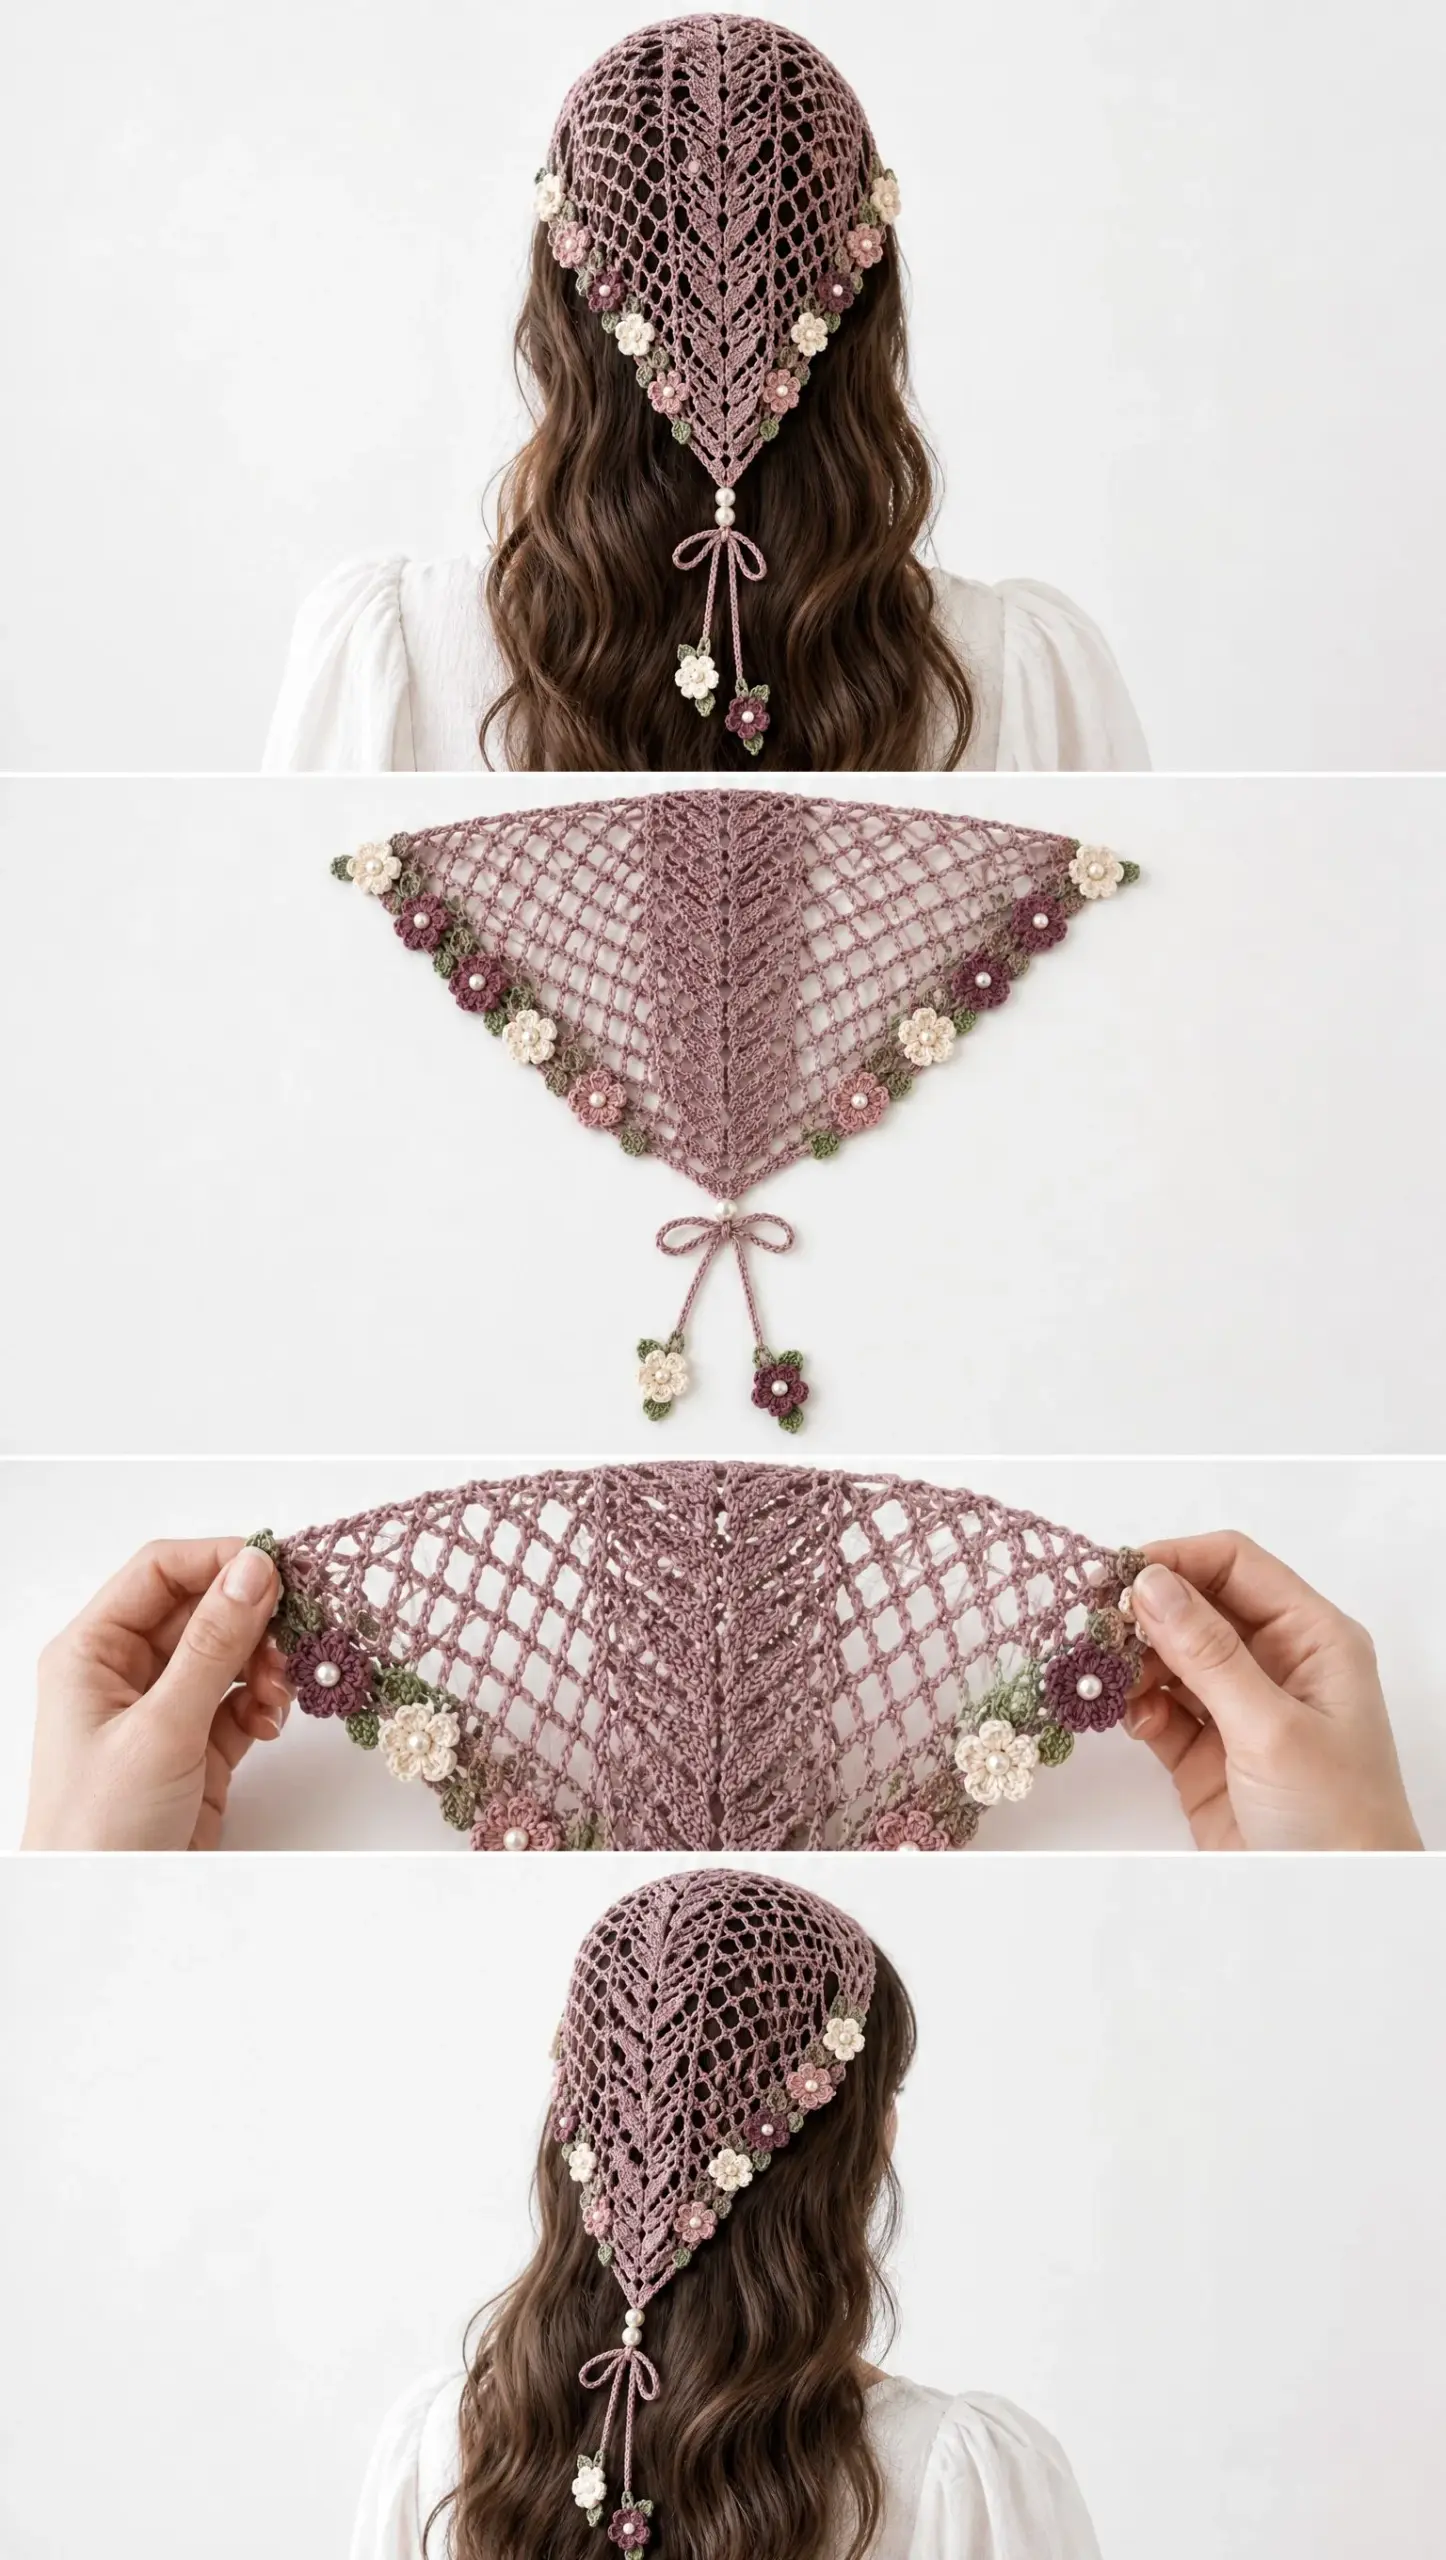
The design features a central feather-like spine running down the back, sweet five-petal flowers along the edges, and pearl bead accents at the point. It works up faster than you might expect and makes a thoughtful handmade gift for someone who loves cottagecore or feminine accessories.
Whether you want something pretty for a summer wedding, a boho addition to your wardrobe, or a special project to practice your lace skills, this kerchief delivers on all fronts. Let me walk you through every step.
About This Pattern
This hair kerchief is worked from the crown downward in increasing rows. You start with a small ring at the top and gradually expand outward, creating a triangle shape that fits comfortably over the back of your head. The central spine is maintained throughout while the side mesh sections grow wider with each row.
Finished Measurements:
Skill Level: Intermediate
You should be comfortable with chain spaces, double crochet, increases, lace shaping, working in rows, crochet flowers, and simple applique attachment before starting this project.
Materials You Will Need
Gathering your supplies before you begin makes the whole process smoother. Here is everything you need:
Yarn:
Tools:
Size 10 cotton thread gives you that classic lace weight that blocks beautifully and holds its shape. If you have never worked with thread this fine before, do not worry. The stitches are all familiar ones, just smaller. Take your time and keep your tension relaxed.
Gauge
Approximately 22 double crochet stitches by 12 rows equals 10 by 10 cm (4 by 4 inches) in double crochet mesh.
Gauge is not critical for this project but will affect the final size. If your kerchief is coming out much smaller or larger than expected, try adjusting your hook size. A larger hook creates a more open, drapey fabric while a smaller hook makes tighter, denser lace.
Abbreviations
Before we dive into the pattern, let me define all the abbreviations you will see:
Special Stitches
Leaf Spine Motif: A decorative V-shaped lace section made with tall stitches and chain spaces. This creates the beautiful feather-like pattern running down the center back of the kerchief.
Flower Motif: Five-petal crochet flowers with pearl bead centers. These are made separately and sewn on during assembly.
Main Kerchief Pattern
Now for the fun part. Grab your dusty rose thread and your steel hook, and let us create something beautiful.
Row 1
Chain 6. Join with slip stitch to form a ring.
Chain 3 (this counts as your first double crochet). Work 2 double crochet, chain 2, then 3 double crochet into the ring. Turn your work.
You now have a small shell with a chain space in the center. This chain space becomes your central spine.
Row 2
Chain 3. Work 2 double crochet in the first stitch. Double crochet across to the center chain 2 space. In the center space, work (2 dc, ch 2, 2 dc). Double crochet across the remaining stitches. Work 3 double crochet in the last stitch. Turn.
This row introduces the increase pattern. You are adding stitches at both edges AND at the center, which is what creates the triangle shape.
Row 3
Chain 3. Work double crochet across each stitch. In the center space, work (2 dc, ch 2, 2 dc). Continue increasing at the center and both edges. Turn.
See how the triangle is already starting to take shape? The center spine stays consistent while everything else expands outward.
Rows 4 Through 20
Repeat Row 3 while introducing mesh sections.
To create the airy diamond mesh that makes this kerchief so lightweight and pretty, work: chain 1, skip 1 stitch, double crochet in the next stitch across the open areas.
At the center spine, every fourth row, work: double crochet, chain 2, double crochet in the center space.
To create the leaf ribs that form the decorative spine, work 3 double crochet, chain 2, 3 double crochet around the center openings.
Continue until your triangle reaches approximately 55 cm or 21.5 inches in length.
Helpful Tip: Place a stitch marker in your center chain space at the start. This makes it much easier to find as your work grows. I also like to count my stitches every few rows to make sure my increases are staying symmetrical.
Border Edging
The border gives your kerchief a polished, finished look with scallops and picots. Do not skip this step.
Round 1
Work single crochet evenly around both sloping sides and the bottom point. Try to keep your stitches consistent and not too tight.
Round 2
Create scallops by working (sc, ch 3, sc) in selected edge spaces. Space these evenly along the sides for a balanced look.
Round 3
Add picot details for extra texture: single crochet, chain 3, slip stitch into the first chain of that chain 3, single crochet.
Picots are those little bumps that give lace edgings their delicate appearance. They look complicated but are actually quite simple once you get the rhythm.
Tie and Bead Detail
At the point of your kerchief, attach two cream pearl beads securely using your tapestry needle and matching thread.
Make a Cord:
Chain 80 to 100 stitches.
Work slip stitches back along the entire chain. This creates a nice firm cord that ties into a bow easily.
Attach the cord as a bow tie at the point of the kerchief.
Create Two Hanging Tails:
These hanging charms with flowers at the ends give the kerchief its romantic, whimsical character.
Five-Petal Flower Pattern
These sweet little flowers are the perfect finishing touch. You will make them in three different colors.
With your flower color:
Chain 5. Join with slip stitch to form a ring.
For each petal: Work (sc, hdc, 3 dc, hdc, sc) into the ring.
Repeat five times total to create five petals.
Pull the center closed tightly.
Sew a pearl bead in the center of each flower.
Make the following flowers:
The different colored flowers create visual interest when arranged along the edges. Feel free to adjust the quantities based on how full you want your borders to look.
Leaf Pattern
With olive green yarn:
Chain 8.
Slip stitch back along the chain.
Work small increases on both sides to create a pointed leaf shape.
Make 10 to 12 leaves total.
These leaves nestle beside the flower clusters and add a touch of greenery that makes the floral elements pop.
Assembly
This is where everything comes together. Take your time with this step for the best results.
1. Block the kerchief gently into a triangular shape (see blocking instructions below)
2. Sew flowers evenly along both side edges
3. Add leaves beside each flower cluster
4. Attach beads at the point
5. Add the cord bow and hanging floral charms
6. Weave in all ends securely
Placement Tip: Before sewing anything permanently, lay out your flowers and leaves on the blocked kerchief. Play with the arrangement until you find spacing that looks balanced. I like to alternate colors and keep roughly equal distances between clusters.
Blocking Instructions
Blocking transforms your kerchief from "nice" to "stunning." Do not skip this step.
Pin your damp kerchief to shape on a blocking mat. Use plenty of pins along the edges to get crisp, straight lines.
Allow to dry completely. This might take 24 hours or more depending on humidity.
Do not stretch the flowers during blocking. Pin around them rather than through them.
Care Instructions
Your beautiful kerchief deserves proper care.
Hand wash in cool water with a gentle detergent.
Lay flat to dry, reshaping as needed.
Store folded away from direct sunlight to prevent fading.
Troubleshooting
If the triangle curls:
If flowers appear loose:
If lace looks uneven:
Pattern Notes and Tips for Success
Working with fine cotton thread can feel intimidating at first, but these tips will help:
Good lighting is essential. Thread this fine requires you to see clearly. Work near a window during the day or invest in a good craft lamp.
Take breaks. Your hands and eyes will tire more quickly when working at this scale. Step away regularly.
Count your stitches. With lace work, one missed increase can throw off your entire triangle shape. Get in the habit of counting at the end of each row.
Use stitch markers liberally. Mark your center spine, your edge stitches, and anywhere else that helps you stay oriented.
Embrace imperfection. Handmade lace has character. Small variations in tension actually add to the vintage charm of the finished piece.
I hope you absolutely love making this romantic hair kerchief. It is the kind of project that looks far more complicated than it actually is, which makes it extra satisfying to wear.
If this pattern inspires you, save it to your Pinterest boards so you can find it when you are ready to start. And please leave a comment below if you make one. I would love to hear how yours turns out!
Want a Quick & Easy Printable Version?
Get a clean, beautifully formatted PDF of this pattern — easy to follow step by step, ready to print or save on any device. No scrolling, no distractions, just the pattern.
Get the Printable PDF →