
Today’s guide is all about the Crochet Invisible Knot, a technique that feels almost like a secret whispered between two strands of yarn, smooth and barely-there against your fingertips. Pull up your favorite skein and let’s make something beautifully seamless together.
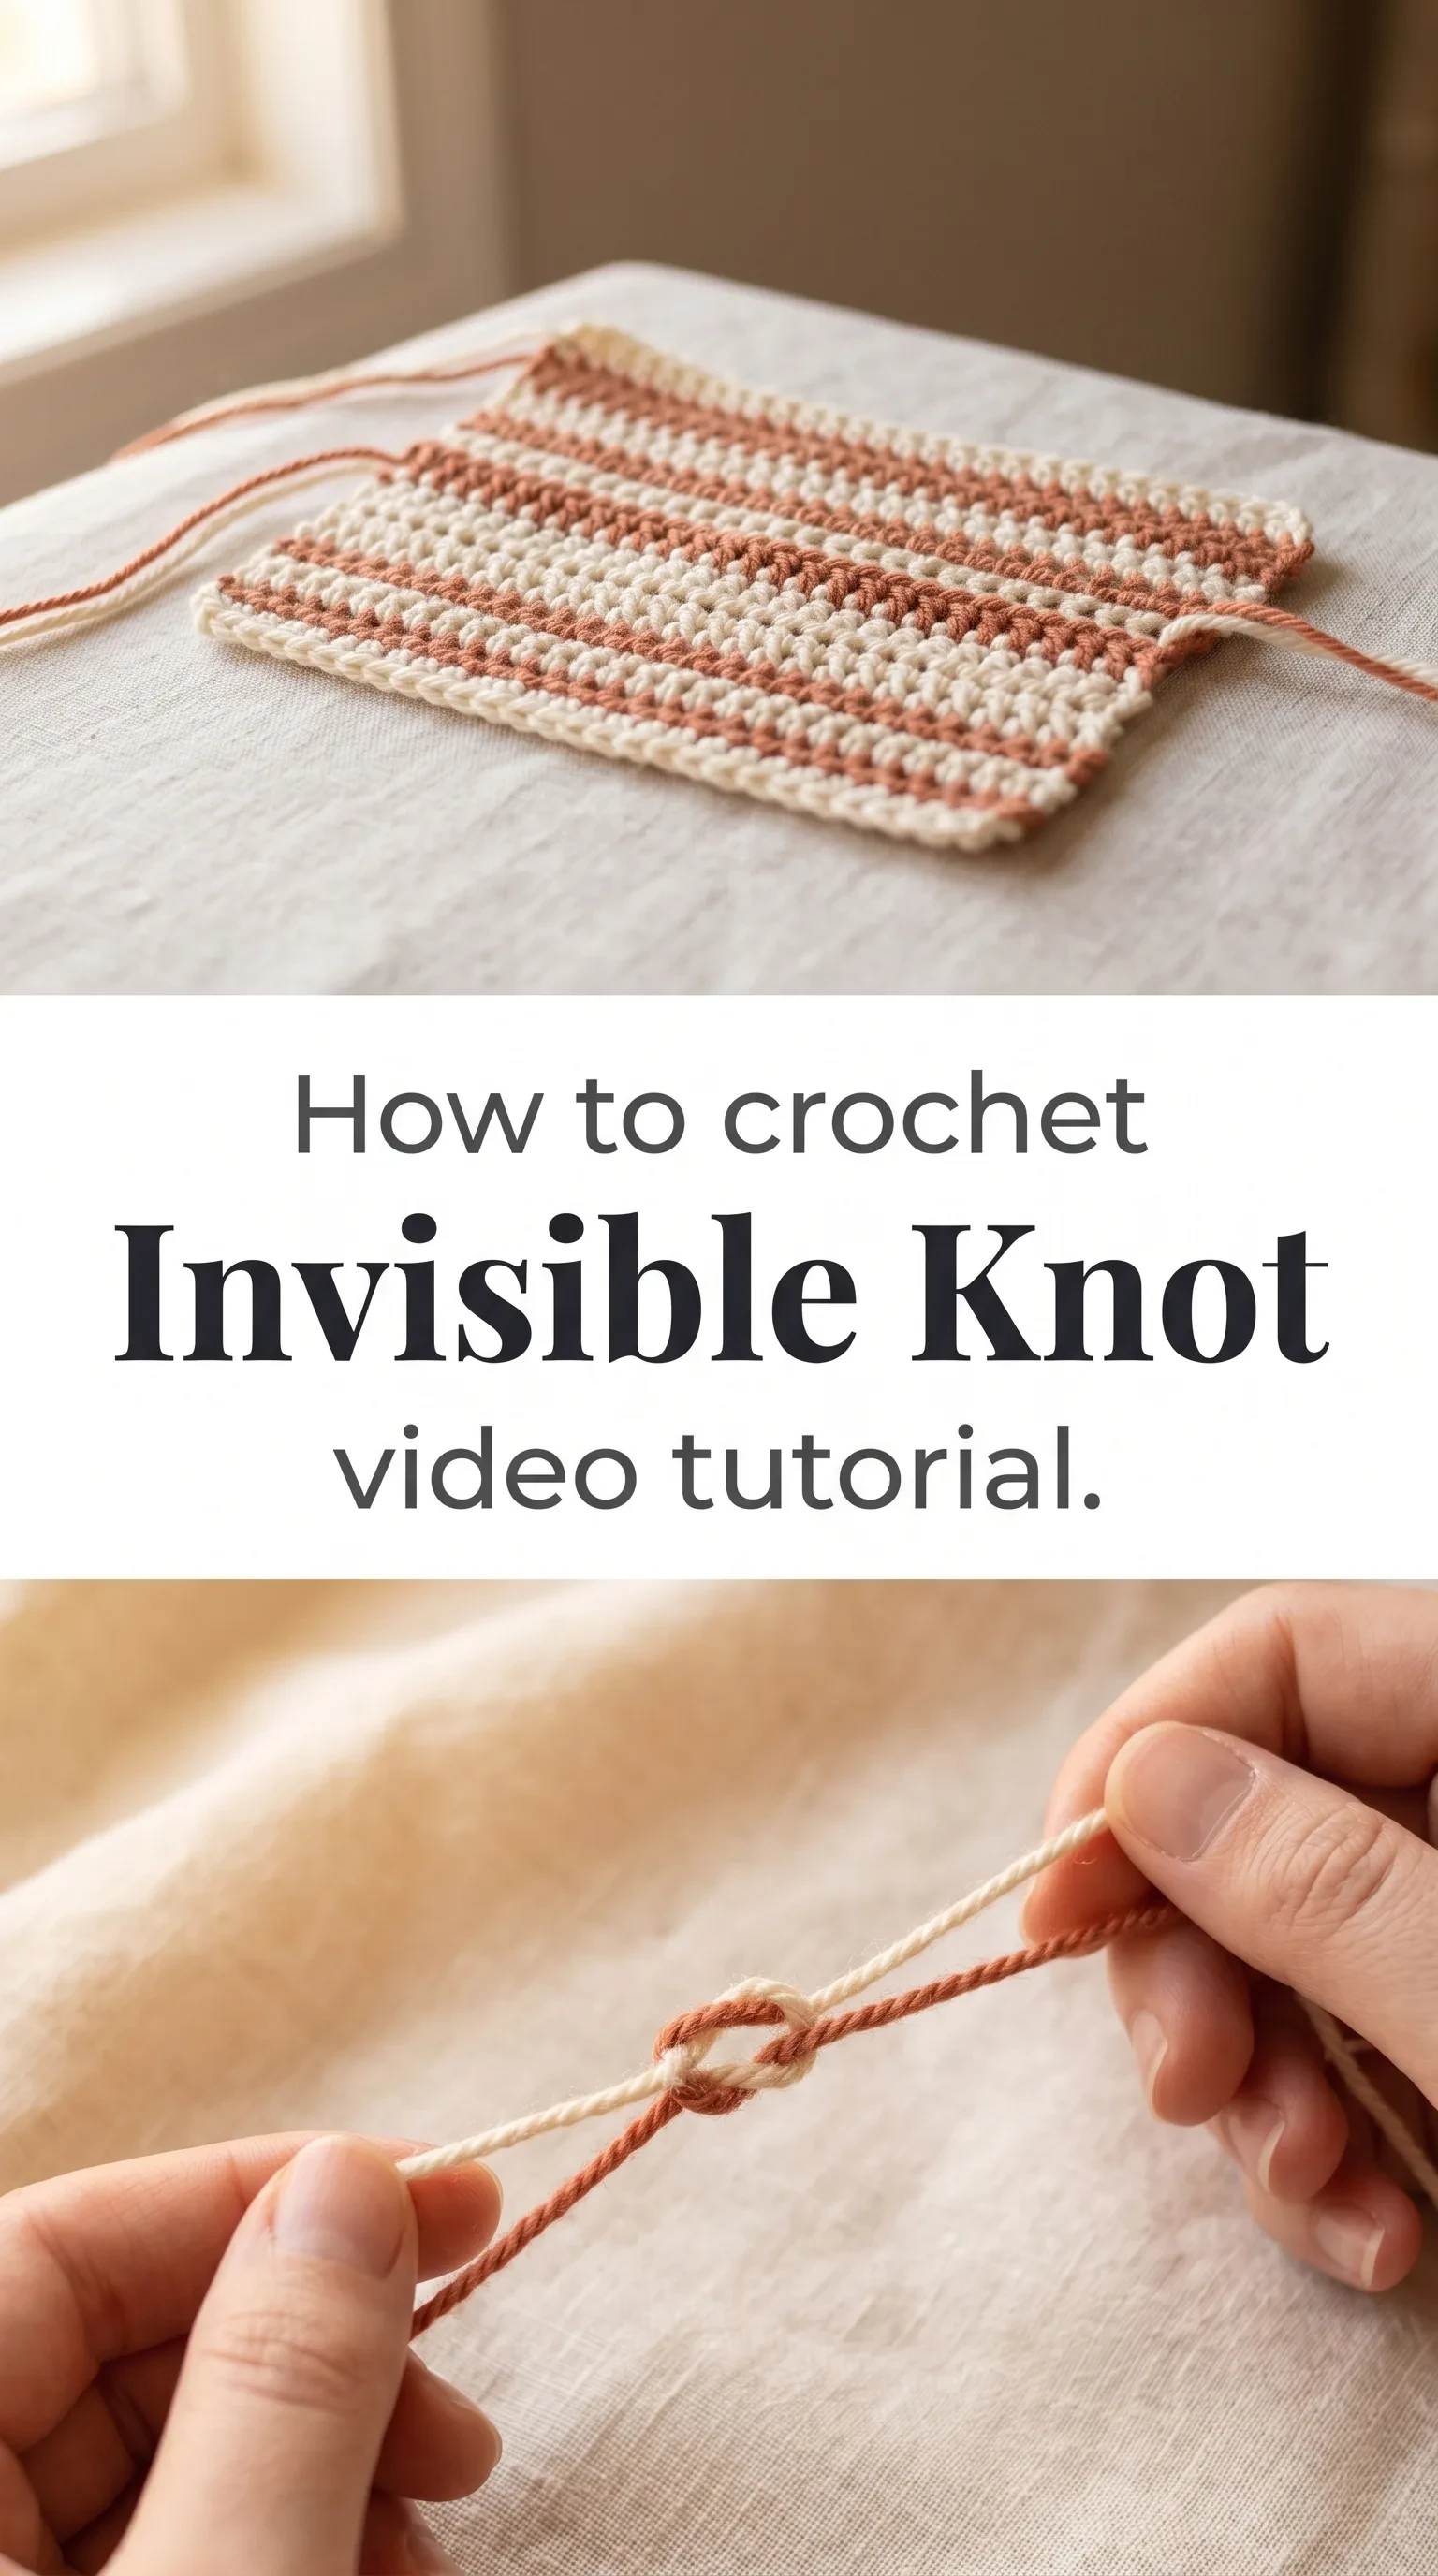
The Invisible Knot
The Crochet Invisible Knot is one of those techniques that quietly changes the way you work, the kind of small discovery that makes your finished pieces look considered, polished, and genuinely handcrafted. It sits at the junction of two yarn ends with almost no bulk, no visible lump, no telltale sign that two strands were ever separate at all. This technique is for the maker who notices the details, who runs their fingers along the back of a finished piece and wants to feel nothing but the soft, even surface of their work. Whether you are joining a new color mid-row or weaving in ends on a delicate shawl, the result is airy yet structured, holding firm without the stiffness of a traditional knot.
Invisible Knot Related Posts:
- Crochet Shoulder Bag: A Versatile Everyday Essential
- Crochet Mesh Tote: A Breezy Summer Essential
- How to Crochet a Beautuful Table Runner For Round Table
- Crochet Hair Scrunchie: A Sweet and Playful Accessory
The beauty of the Crochet Invisible Knot is how quietly it works across every color palette you love. Imagine joining a deep burgundy to a soft cream in a striped throw, or connecting a dusty rose to a warm terracotta in a color-blocked bag, with no interruption in the visual flow between the two. It is equally at home in a monochrome project as it is in a bold, multi-color piece, because the knot never competes with the yarn, it simply disappears into it.
Materials and Tools
For practicing the Crochet Invisible Knot, a smooth DK weight yarn in two contrasting colors gives you the clearest view of what your hands are doing, making it much easier to learn the movement before moving on to finer or textured fibers. A 4mm crochet hook is an ideal starting point, giving you enough control without feeling cramped as you manipulate the two strands through each other. Once you are comfortable with the technique, it translates beautifully to fingering weight yarns in natural fibers like merino or bamboo, where the knot’s near-invisibility really sings against a finely worked fabric. Keep a blunt tapestry needle nearby as well, since it helps ease the tails into place once the knot is formed and ensures everything lies flat and secure.
Stitch by Stitch
The Crochet Invisible Knot relies on a small handful of fundamental movements that any beginner can build on.
BULLET:SC Single Crochet The foundational stitch that typically surrounds the invisible join, creating an even, tight fabric that helps the knot disappear completely into the work.
BULLET:YO Yarn Over The simple act of wrapping the working yarn over your hook, used here to understand how tension affects how snugly the knot holds between two strands.
BULLET:SS Slip Stitch A low-profile stitch often used at the point of joining rounds or rows, and a close cousin to the invisible knot in terms of its ability to blend into the fabric.
BULLET:DC Double Crochet A taller stitch frequently used in the projects where the invisible knot earns its place most, particularly in colorwork blankets and garments worked in rows.
Once you understand the meditative rhythm of moving one strand through another with steady, unhurried hands, the whole technique begins to feel less like a technical exercise and more like a quiet, satisfying ritual.
Construction
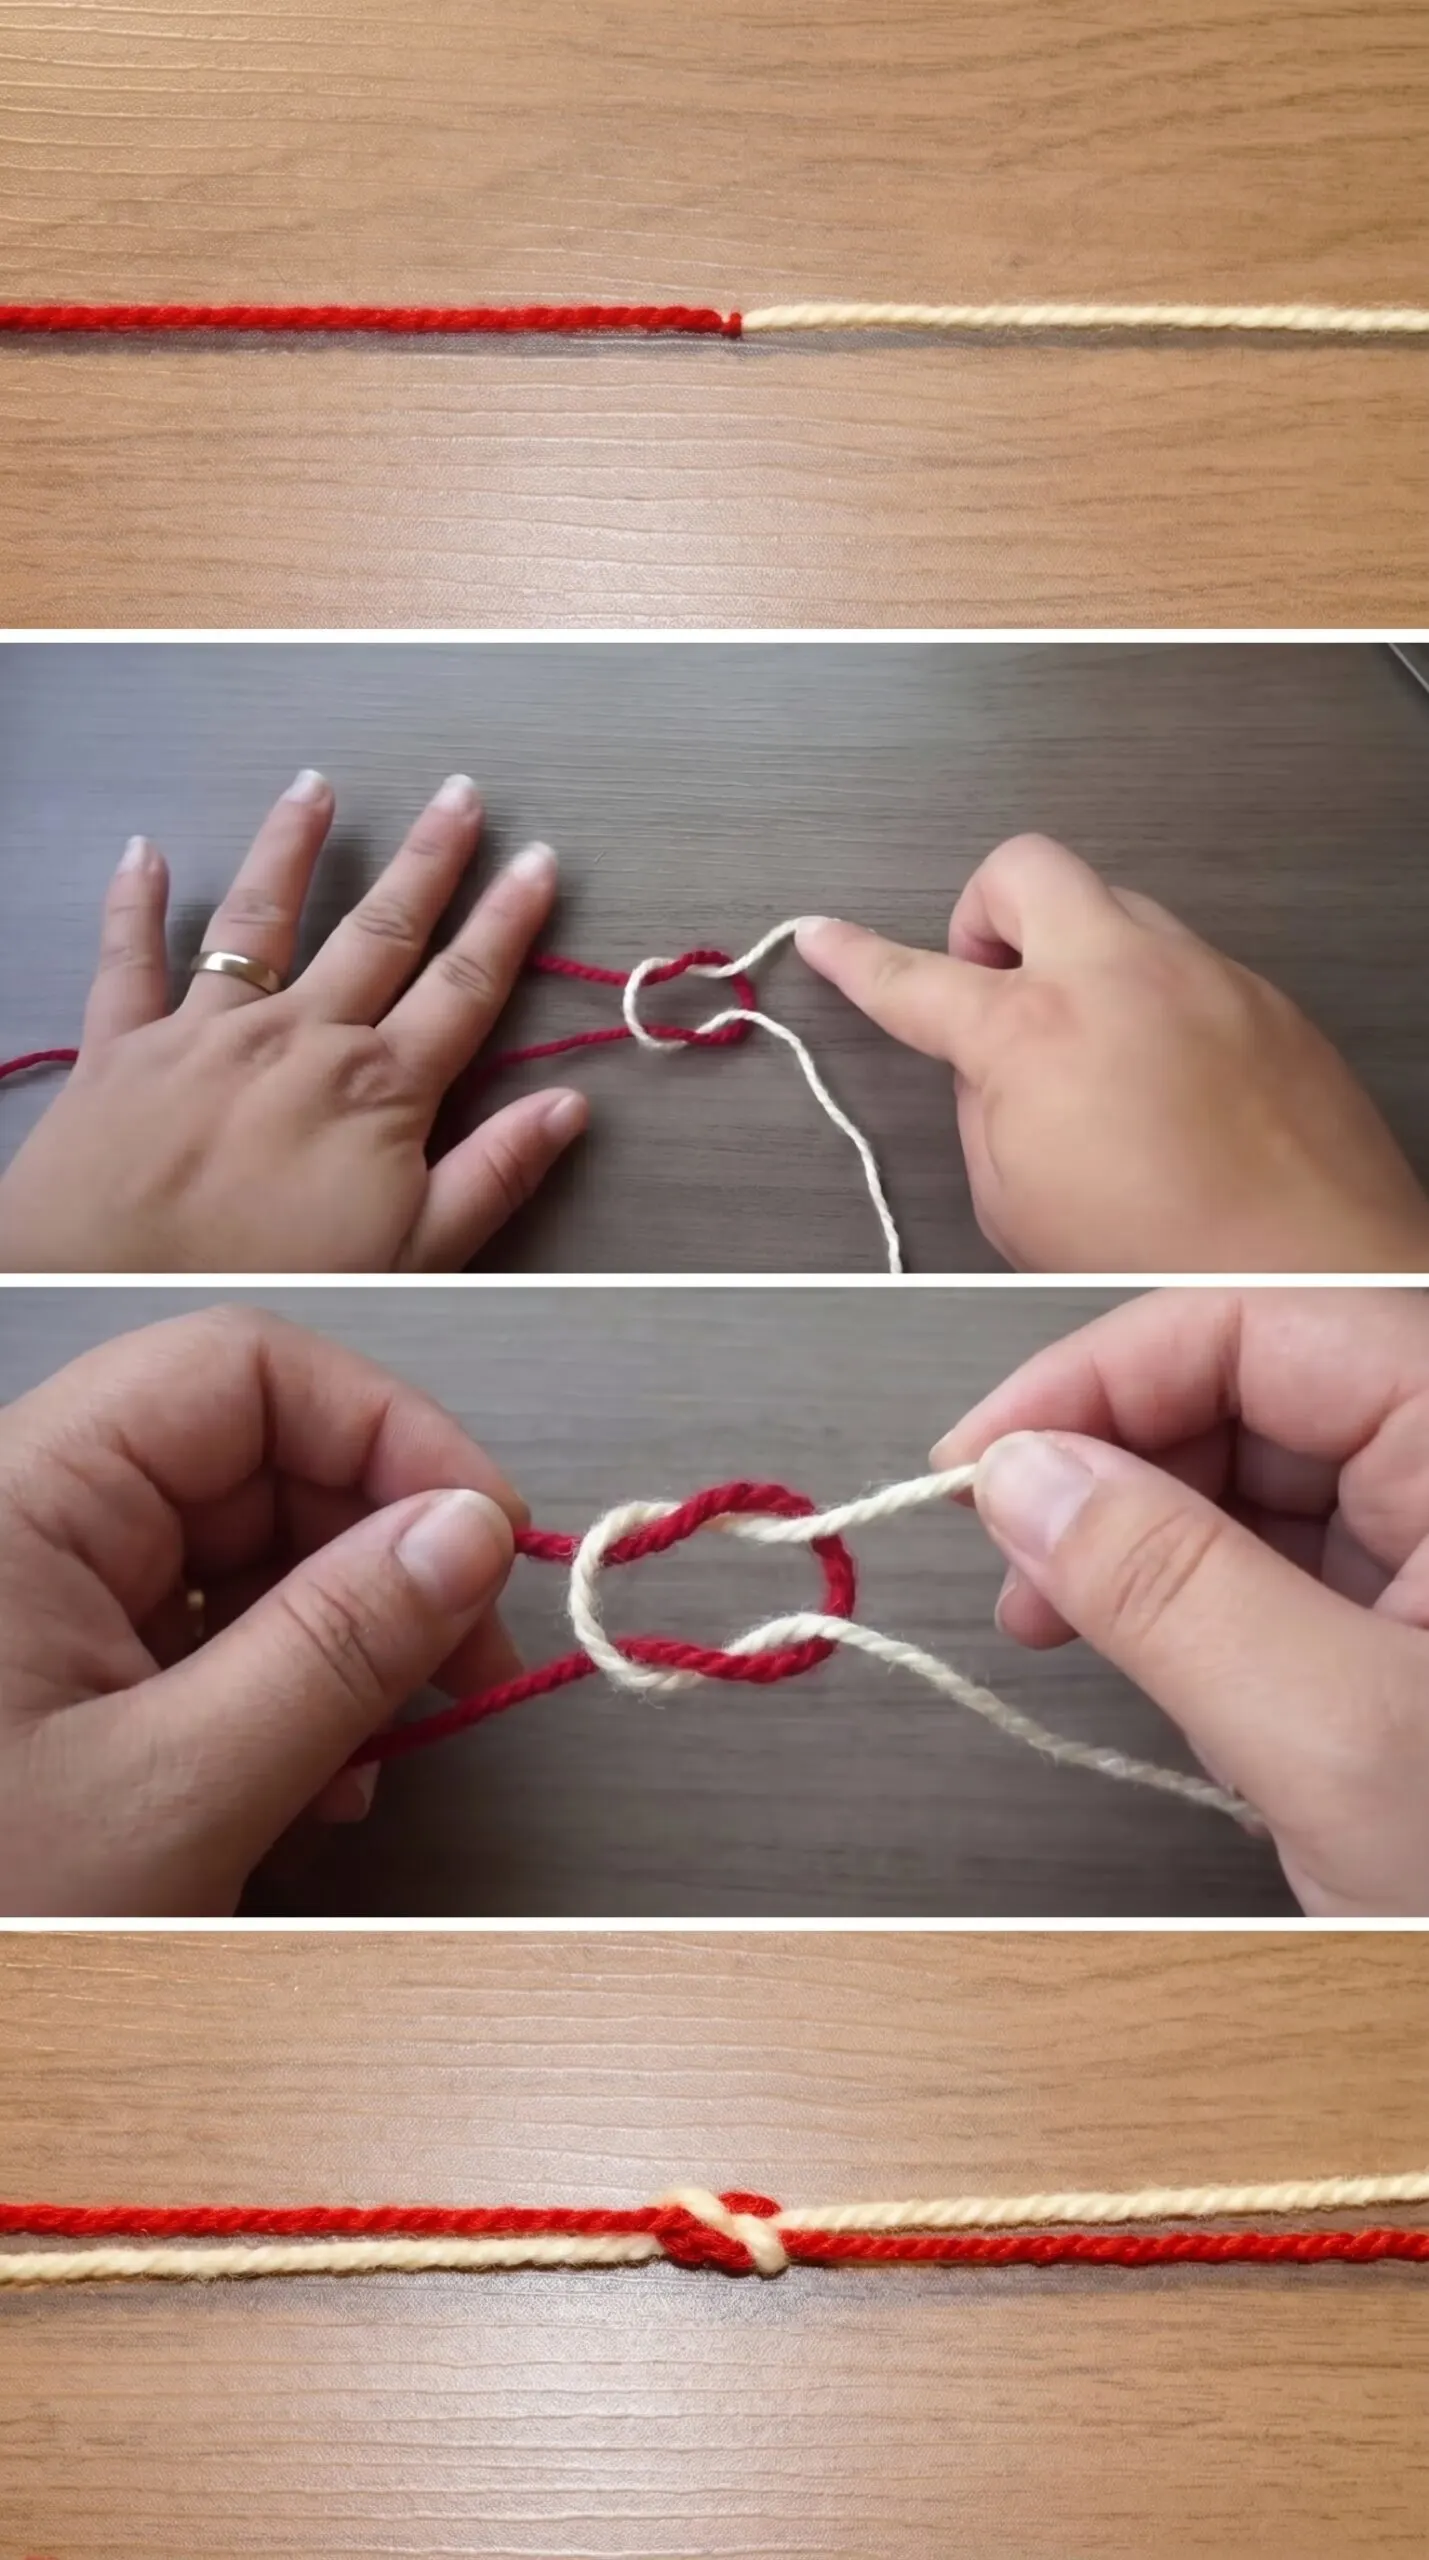
The Crochet Invisible Knot is not a stitch that builds a fabric on its own, but rather a finishing and joining method worked at a specific moment in your construction, typically at the end of a color section, at the close of a round, or when attaching a new skein mid-project. You will work with the two yarn tails, threading them through each other in a precise sequence that locks them together without adding visible mass to the surface of your work. Because the technique is worked by hand with no hook required at the joining moment itself, it is genuinely accessible to beginners who have just learned to crochet and want cleaner results from the very start. For a customisation tip, try using it not only to join colors but to close the final round of an amigurumi head or a stuffed toy, where a seamless finish makes the whole piece look professionally crafted.
Wearing Your Invisible Knot
A project finished with the Crochet Invisible Knot carries a quiet confidence in the way it looks worn or displayed, with no loose ends catching the light or puckering at color changes. Imagine a striped crochet bucket hat with color transitions so clean they look almost woven, or a color-blocked market bag where the burgundy meets the cream in a single, unbroken line. These are the small details that make someone reach out to touch your work and ask, with genuine curiosity, how you made it.
Keeping Your Knot Invisible Over Time
Once you have worked a Crochet Invisible Knot into your project, a little mindful care will ensure it stays secure and smooth through years of use and washing. Hand washing in cool water with a gentle wool wash is the kindest choice, especially for merino or natural fiber projects, as agitation and heat can cause the tails to migrate or loosen over time. After washing, lay the piece flat on a clean towel and block it gently to its finished dimensions, which also helps the joined area settle evenly into the surrounding fabric. When storing finished pieces, fold them without stretching the join points, and keep them in a breathable cotton bag away from direct sunlight to preserve both the fiber and the color integrity at those seamless junctions.
Every time you finish a project with a join so clean it disappears, you are honoring the craft in the truest sense, choosing slowness and care over shortcuts. Save this post to your favorite Pinterest board and share your invisible knot projects with the hashtag so we can celebrate your seamless work together.
Follow us on Pinterest and subscribe to the Newsletter so you don’t miss a thing!
Tutorial and photos of this invisible knot by: Realza Crochet.
