
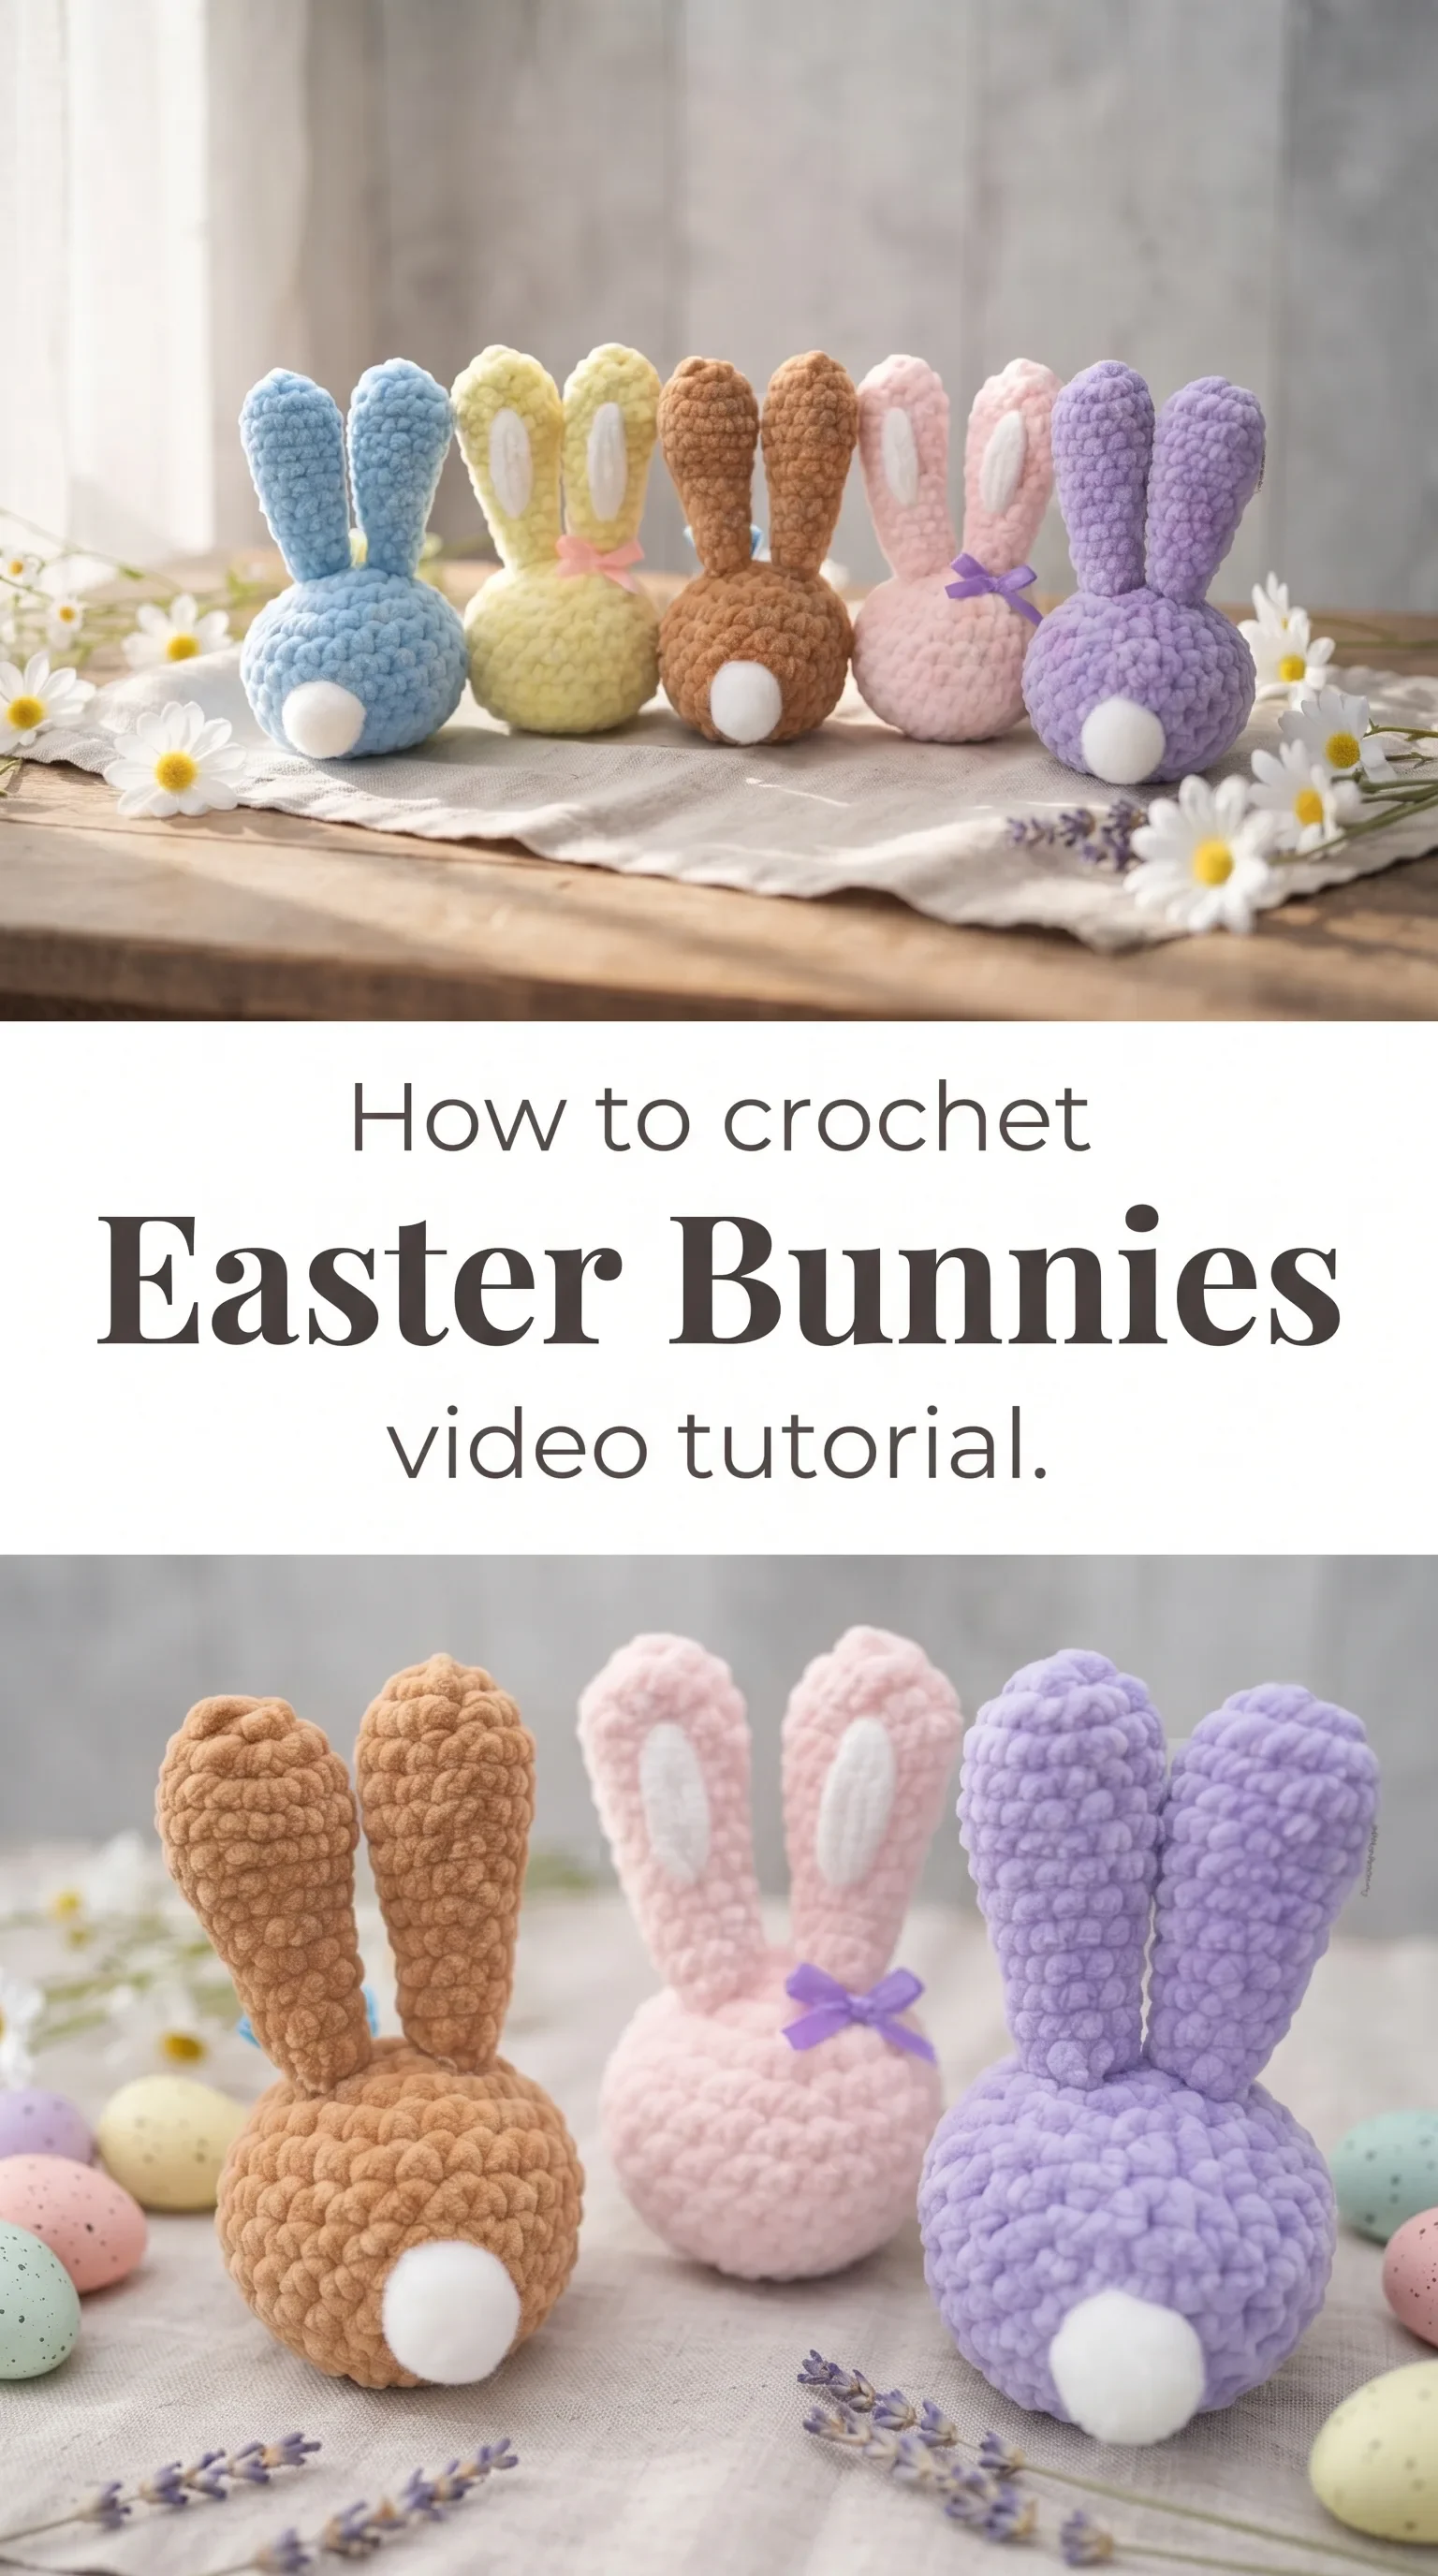
Today’s guide is all about bringing soft, cloud-like Crochet Easter Bunnies to life using velvety chenille yarn that feels like holding a handful of spring itself. Gather your hook and your favourite pastel skein, and let this be the sweet little make you’ve been waiting for.
The Easter Bunnies
These Crochet Easter Bunnies carry a kind of gentle nostalgia, the sort that belongs on a windowsill catching the pale light of an April morning or nestled inside a wicker basket lined with tissue paper. Each bunny is worked in the round to form two distinct shapes, a plump spherical body and a narrow elongated head, that fit together with a satisfying solidity. The inner ear panels are crocheted separately in white and give each bunny a soft contrast that reads as quietly refined rather than cartoonish. They are equally charming as Easter decor, gift toppers, or keepsakes for children who deserve something made with real intention.
Easter Bunnies Related Posts:
- Crochet German Shell Table Runner: An Elegant Dining Essential
- Crochet Ruched Popcorn Bag: A Charming Handmade Tote
- Crochet Handbag: A Chic and Timeless Accessory
- Crochet Green Tea Cupcake Bag: A Charming Whimsical Tote
The colour palette shown in the tutorial is a dream of spring pastels: powder blue, butter yellow, warm caramel brown, blush pink, and dusty lavender, but there is nothing stopping you from reaching for sage green, ivory, or even a soft terracotta if your aesthetic runs warmer. Each bunny wears a tiny satin ribbon bow at its neck, and that single detail shifts the whole piece from simple amigurumi to something with a whisper of elegance. Mix and match your palette to suit a colour-coordinated Easter display or let each bunny be its own cheerful individual.
Materials and Tools
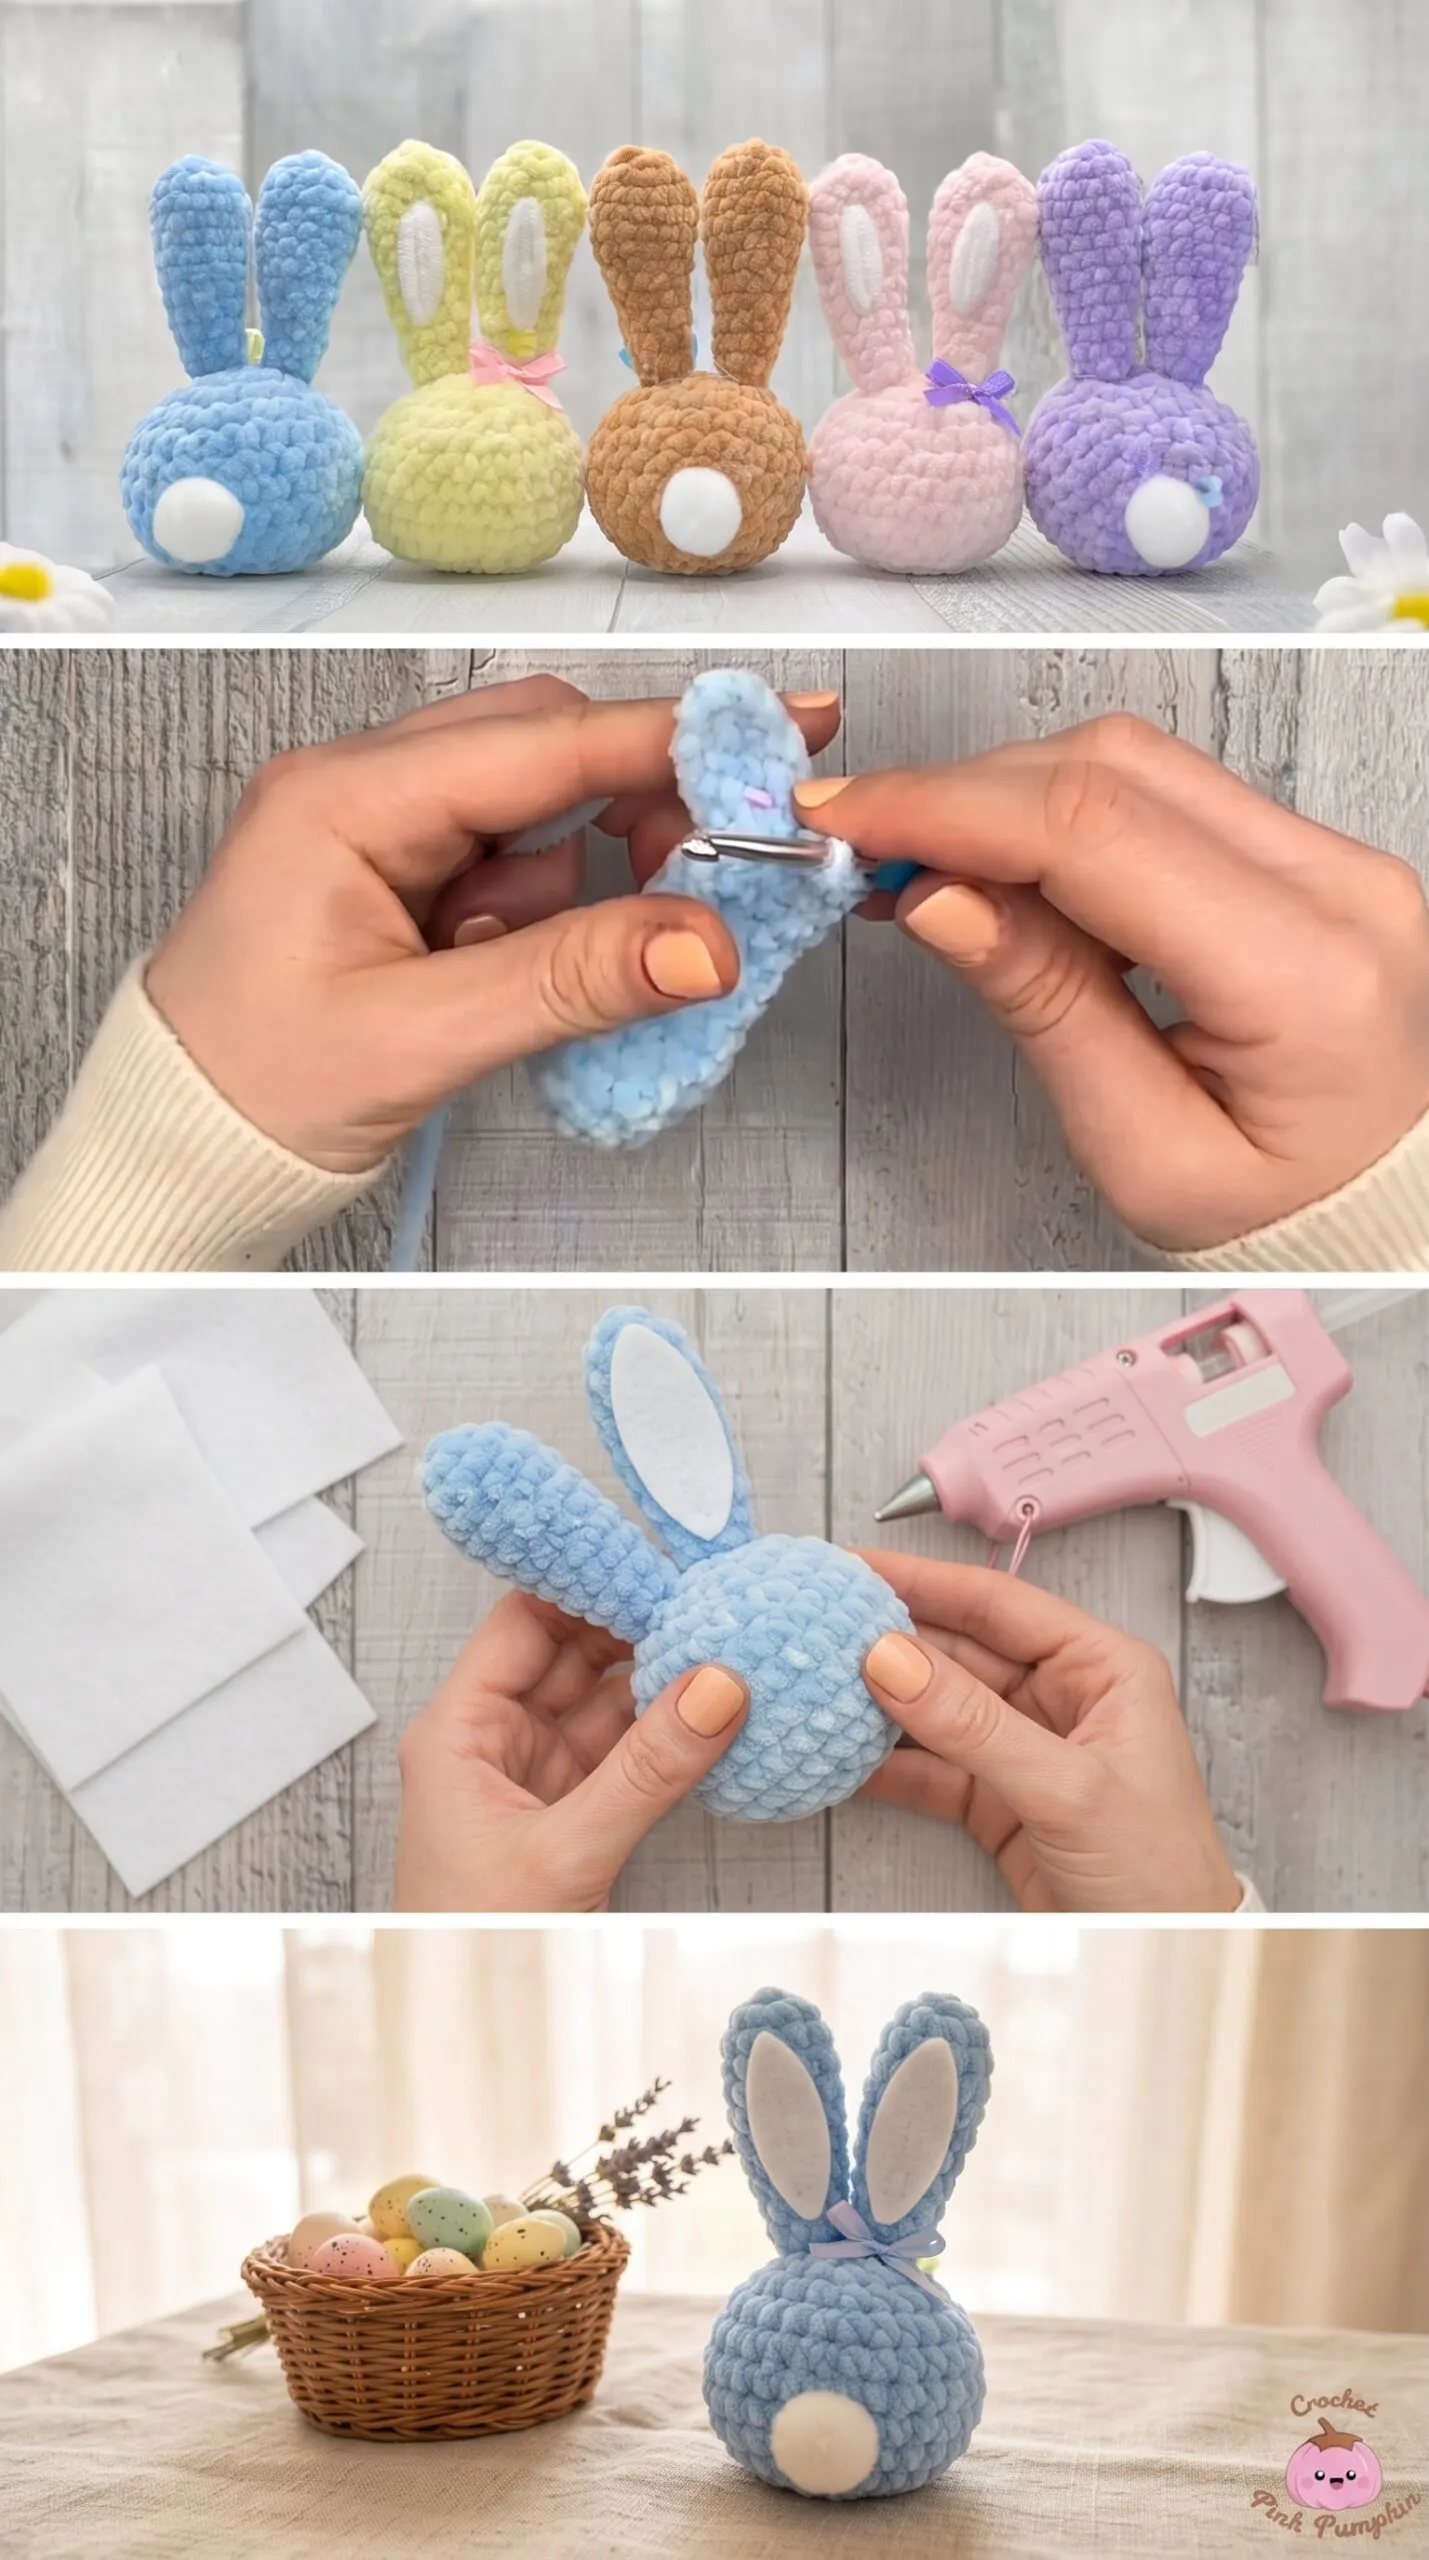
The key to the irresistibly plush texture of these Crochet Easter Bunnies is chenille yarn, specifically a bulky weight chenille that crochets up into that dense, velvety surface you can see in every frame of the tutorial. A 5mm hook is recommended to keep your tension firm enough that the stuffing does not show through while still allowing the yarn to breathe and puff. For the inner ear panels, a small piece of white felt or a contrasting white chenille works beautifully, and the tutorial demonstrates attaching these with a pink hot glue gun, which keeps the process clean and beginner-accessible. You will also need polyester fiberfill for stuffing, small satin ribbon bows, and a stitch marker to keep track of your rounds.
Stitch by Stitch
These Crochet Easter Bunnies are built on a small and approachable set of stitches that any beginner can learn within the first sitting.
BULLET:MR (Magic Ring) The foundation of every piece, this adjustable loop lets you close the centre of your circle with no visible hole at the start of each round.
BULLET:SC (Single Crochet) The primary stitch used throughout both the body and the head, creating that tight, even fabric that holds the stuffing perfectly.
BULLET:INC (Increase) Two single crochets worked into the same stitch to expand your circle outward and build the rounded shape of the body.
BULLET:DEC (Invisible Decrease) Two stitches worked together to reduce the round and shape the top of the head and the closing of the body neatly without visible gaps.
Working continuous rounds of SC with increases and decreases settles into a meditative rhythm almost immediately, the kind of quiet, repetitive motion that makes an afternoon feel both productive and genuinely restful.
Construction
Each element of these Crochet Easter Bunnies is made separately and then assembled, which means you are always working small, manageable pieces rather than one intimidating project. The body is a large amigurumi sphere built by increasing to a maximum stitch count and then decreasing back down, stuffed firmly before closing. The head is a smaller version of the same process, and the ears are two identical elongated tubes crocheted in the main colour with a white inner panel attached flat against the front. Assembly is done by sewing the head to the body and the ears to the top of the head, and if you want to personalise your bunny, swapping the ribbon colour is the simplest and most effective customisation you can make.
Wearing Your Easter Bunnies
Crochet Easter Bunnies like these look quietly enchanting arranged as a centrepiece on a spring dining table, each one in a different pastel standing at varying heights beside candles and foraged branches. They also make deeply personal gifts tucked into Easter baskets, especially when you match the bunny colour to the recipient’s favourite shade. Finish yours and you will find it almost impossible not to immediately cast on a second.
Keeping Your Bunnies Looking Fresh Season After Season
Because these bunnies are made with chenille yarn, they are best kept away from machine washing, as agitation can cause chenille to worm, which means fibres pull out of the core and create a fuzzy, uneven surface. If a bunny picks up a small mark, a barely damp cloth pressed gently against the spot and left to air dry flat is usually all it takes to refresh the fabric. Store your finished Crochet Easter Bunnies in a breathable cotton bag or a box lined with tissue paper between seasons, away from direct sunlight which can fade those beautiful pastel tones over time. Keeping them dust-free is as simple as a light pat with a dry cloth before displaying them each spring.
You made something soft and full of care, and that matters far more than any imperfect stitch you might find if you look too closely. The full video tutorial from Crochet Pink Pumpkin walks you through every round with warmth and clarity, so save this post to Pinterest and come back to it whenever you are ready to begin.
Follow us on Pinterest and subscribe to the Newsletter so you don’t miss a thing!
Tutorial and photos of this easter bunnies by: Crochet Pink Pumpkin.
