
Soft, chunky and built from bold blocks of colour, this crossbody bag turns a simple crochet technique into a fashionable everyday companion.
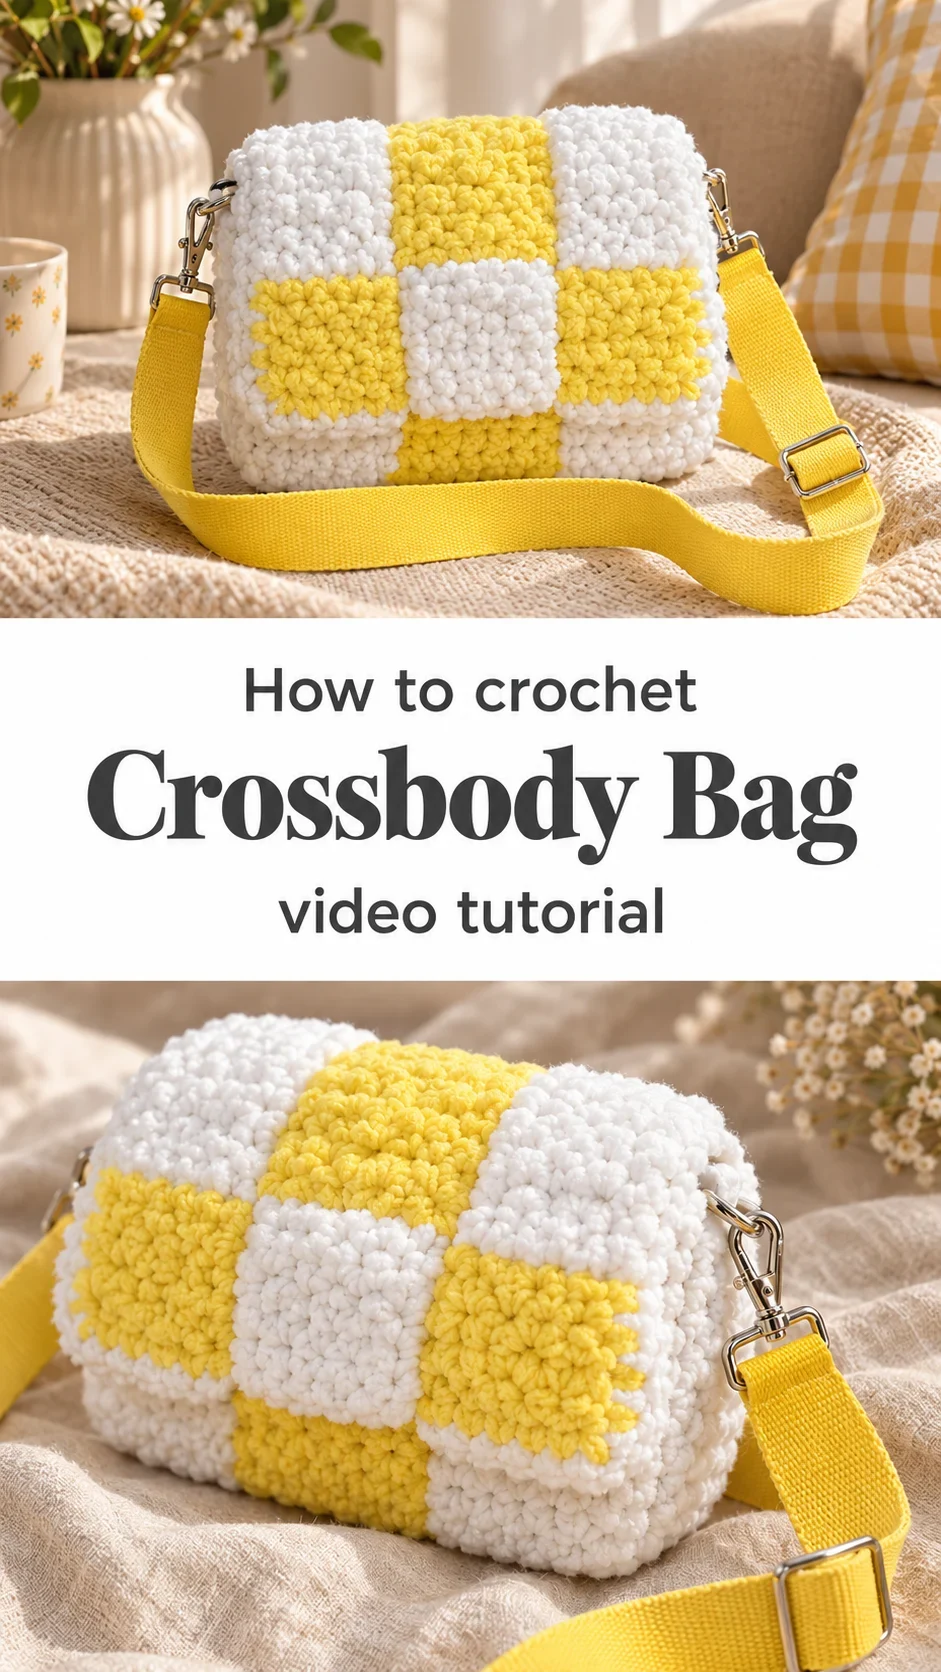
The Crochet Crossbody Bag
The crochet crossbody bag is a small, structured carryall designed to sit comfortably across the body and keep your hands free. What sets this design apart is its checkered, woven-looking surface: square blocks worked in contrasting shades are joined so the fabric seems to be made of stacked, interlaced panels. In the photos, one version pairs fluffy cream and butter yellow in a bold checkerboard, while another is worked in a soft blush tone with a more textured, puffy look. Both carry a flat, boxy silhouette and a matching shoulder strap, making them ideal for errands, weekend outings or a casual dinner.
Bridge paragraph: Wear it low on the hip for a relaxed look, or tuck it under the arm for something more polished. Because the bag is compact, it also works well as a gift for a friend who loves handmade accessories. Making one builds confidence with block construction and the joining techniques used in many larger projects.
Crossbody Bag Related Posts:
- Crochet Corner Square: A Timeless Classic Design
- Crochet Rectangular Table Runner: A Timeless Home Accent
- Crochet Puffy Valentine Heart: A Sweet Handmade Treasure
- Crochet Valdivia Cowl: A Warm and Timeless Essential
Materials
To make a crossbody bag like this, you will need a super bulky or chunky plush yarn in at least two colours, which gives the fabric its cushiony body and keeps the blocks from looking flimsy. A plush, velvety yarn is especially suited to this design because its loft hides small stitch irregularities and produces the soft, rounded edges seen in the photos. Choose a hook size recommended on the yarn label, then go up or down a size to achieve a firm fabric that holds its shape. A tapestry needle is essential for weaving in ends and joining blocks neatly. You will also need a strap in a matching or contrasting colour, along with a clasp or ring hardware to attach it to the bag. Stitch markers help keep track of block placement, and scissors complete the list.
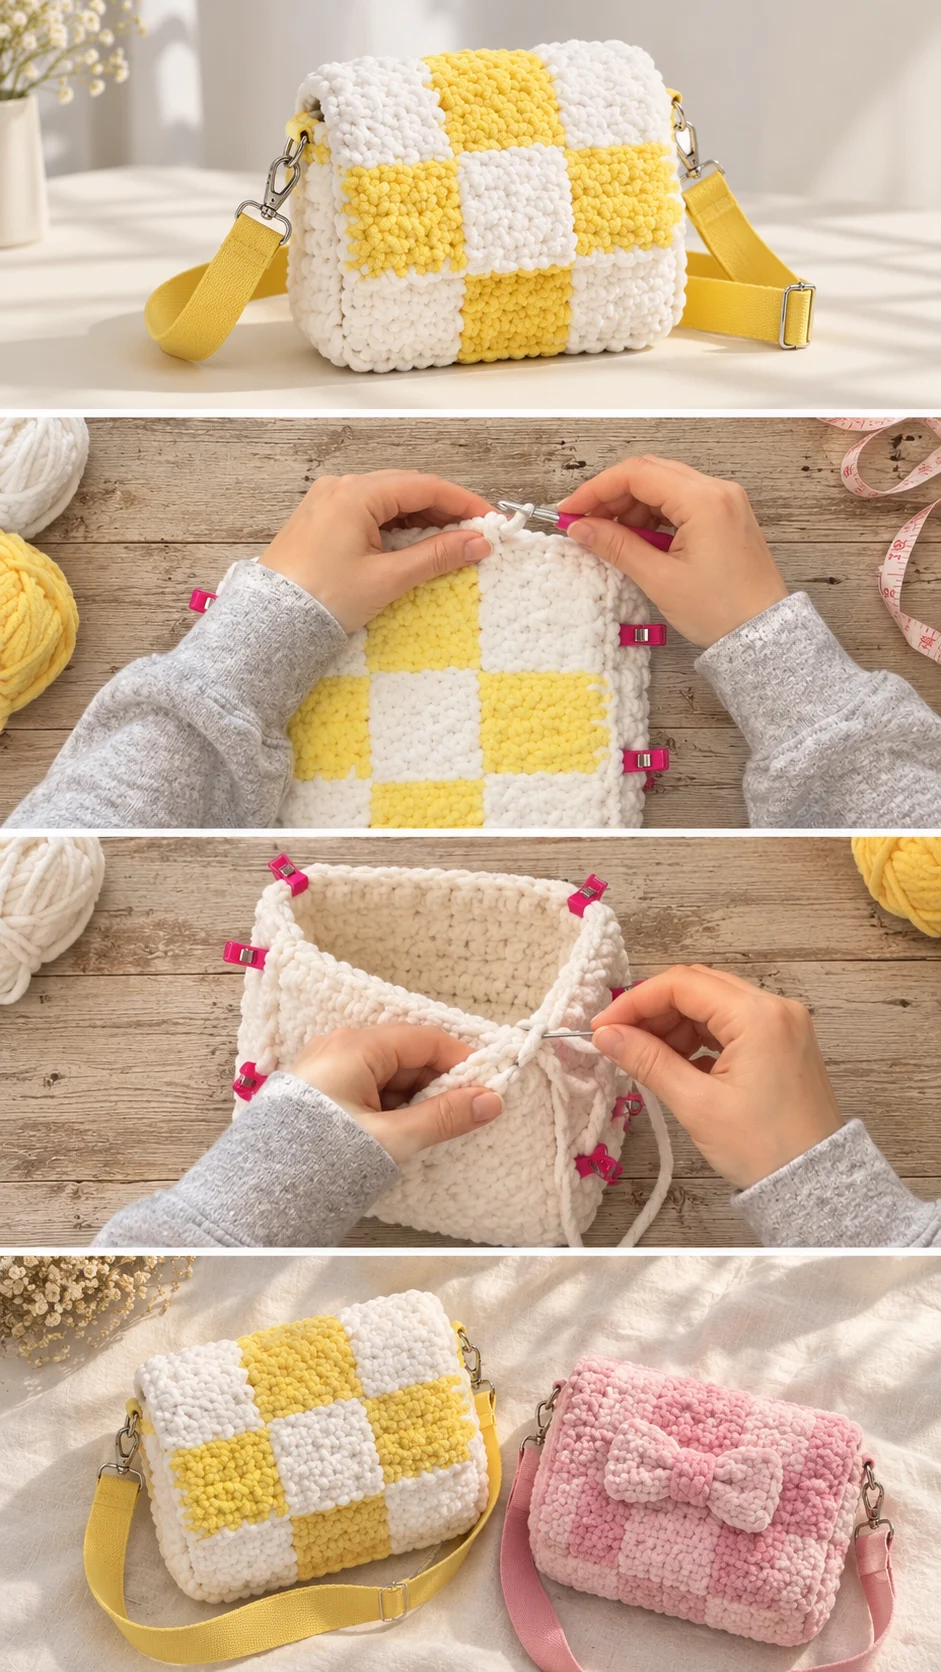
Understanding the Block Structure
The bag is built from individual square panels rather than worked in one continuous piece. Each block is joined to its neighbours so the colours alternate in a checkerboard arrangement. This approach creates the stacked, three-dimensional look visible in the images and gives the bag its boxy shape. Working in blocks also makes the project easier to manage, since you can work on one piece at a time.
Keeping the Checkerboard Crisp
When joining blocks, place contrasting colours carefully so the pattern stays even. If the checkerboard begins to look uneven, unpick the last join and reposition the block before continuing.
Choosing Yarn and Colour
Plush yarn is the most forgiving choice. It makes a dense, soft fabric that hides stitch texture and keeps the bag from sagging. A firmer cotton blend will give a crisper, more structured bag but a less cuddly feel. Avoid very thin or stretchy yarns, which will lose their shape under the weight of everyday items.
For colour, the photos suggest two strong directions: a bright, cheerful pairing of white and pale yellow, or a softer, neutral palette of blush and cream. Both feel fresh and easy to coordinate with a wardrobe. Consider choosing one colour that reflects your personal style and a second that complements it.
Skill Level and Techniques
This project suits confident beginners who have already made a few simple squares. The stitches are basic, but the joining and strap attachment require patience and care. The most demanding step is keeping every block the same size, because small differences add up across the bag and affect the final shape. Work with steady tension and check your measurements as you go.
Styling Your Crossbody Bag
In the photos, the bag is shown held up against a neutral grey outfit, which lets the colours stand out. Try pairing the yellow version with denim and a white tee for a playful look, or the blush version with a camel coat for a softer, more elegant effect. The bag also works with a sundress in summer, where its textured surface contrasts beautifully with lightweight fabric. For a cosy winter outfit, a chunky knit sweater and jeans make a relaxed partner.
Finishing Tips for a Polished Bag
Weave in all ends securely on the inside of the bag so they do not work loose with use. Block the finished panels lightly if the edges curl, which helps the squares sit flat when joined. Check that the strap is attached firmly at both ends, since the bag will carry weight. If the sides bow outward, add an extra row of single crochet around the base to pull the shape back into line.
Fixing a Floppy Base
If the bag will not stand up, switch to a tighter hook for the base panel or add a stiffened insert. This keeps the bottom flat and the body upright.
Caring for Your Crossbody Bag
Because plush yarn can collect dust and flatten over time, spot clean the bag with a damp cloth where possible. If you must wash it, hand wash in cool water with a gentle detergent, press out excess water without wringing, and reshape it while damp. Lay it flat to dry away from direct heat, which can stiffen the fibres and dull the colours. Store it in a cloth bag so the surface stays soft.
Following the Video Tutorial
The video tutorial shows the block construction and joining in detail. Watch closely for the hand position on the joining stitches, since this is where most beginners find the process tricky. Pause and replay as needed, and follow the order of work shown in the video, completing each block before moving to the next. Taking your time with the first few blocks will make the rest feel much easier.
A Bright Handmade Companion
This crochet crossbody bag combines practical shape with eye-catching colour and texture. Choose a plush yarn, keep your blocks even, and finish the edges neatly, and you will have a bag that feels both special and useful. Its soft structure and playful checkerboard make it a rewarding project for any crocheter ready to try something new.
Video tutorial by Crochet Pink Pumpkin (@crochetpinkpumpkin), available on their channel.
Watch the full tutorial on Crochet Pink Pumpkin’s channel for step-by-step guidance on building your crossbody bag.
Follow us on Pinterest and subscribe to the Newsletter so you don’t miss a thing!
Tutorial and photos of this crossbody bag by: Crochet Pink Pumpkin.
