
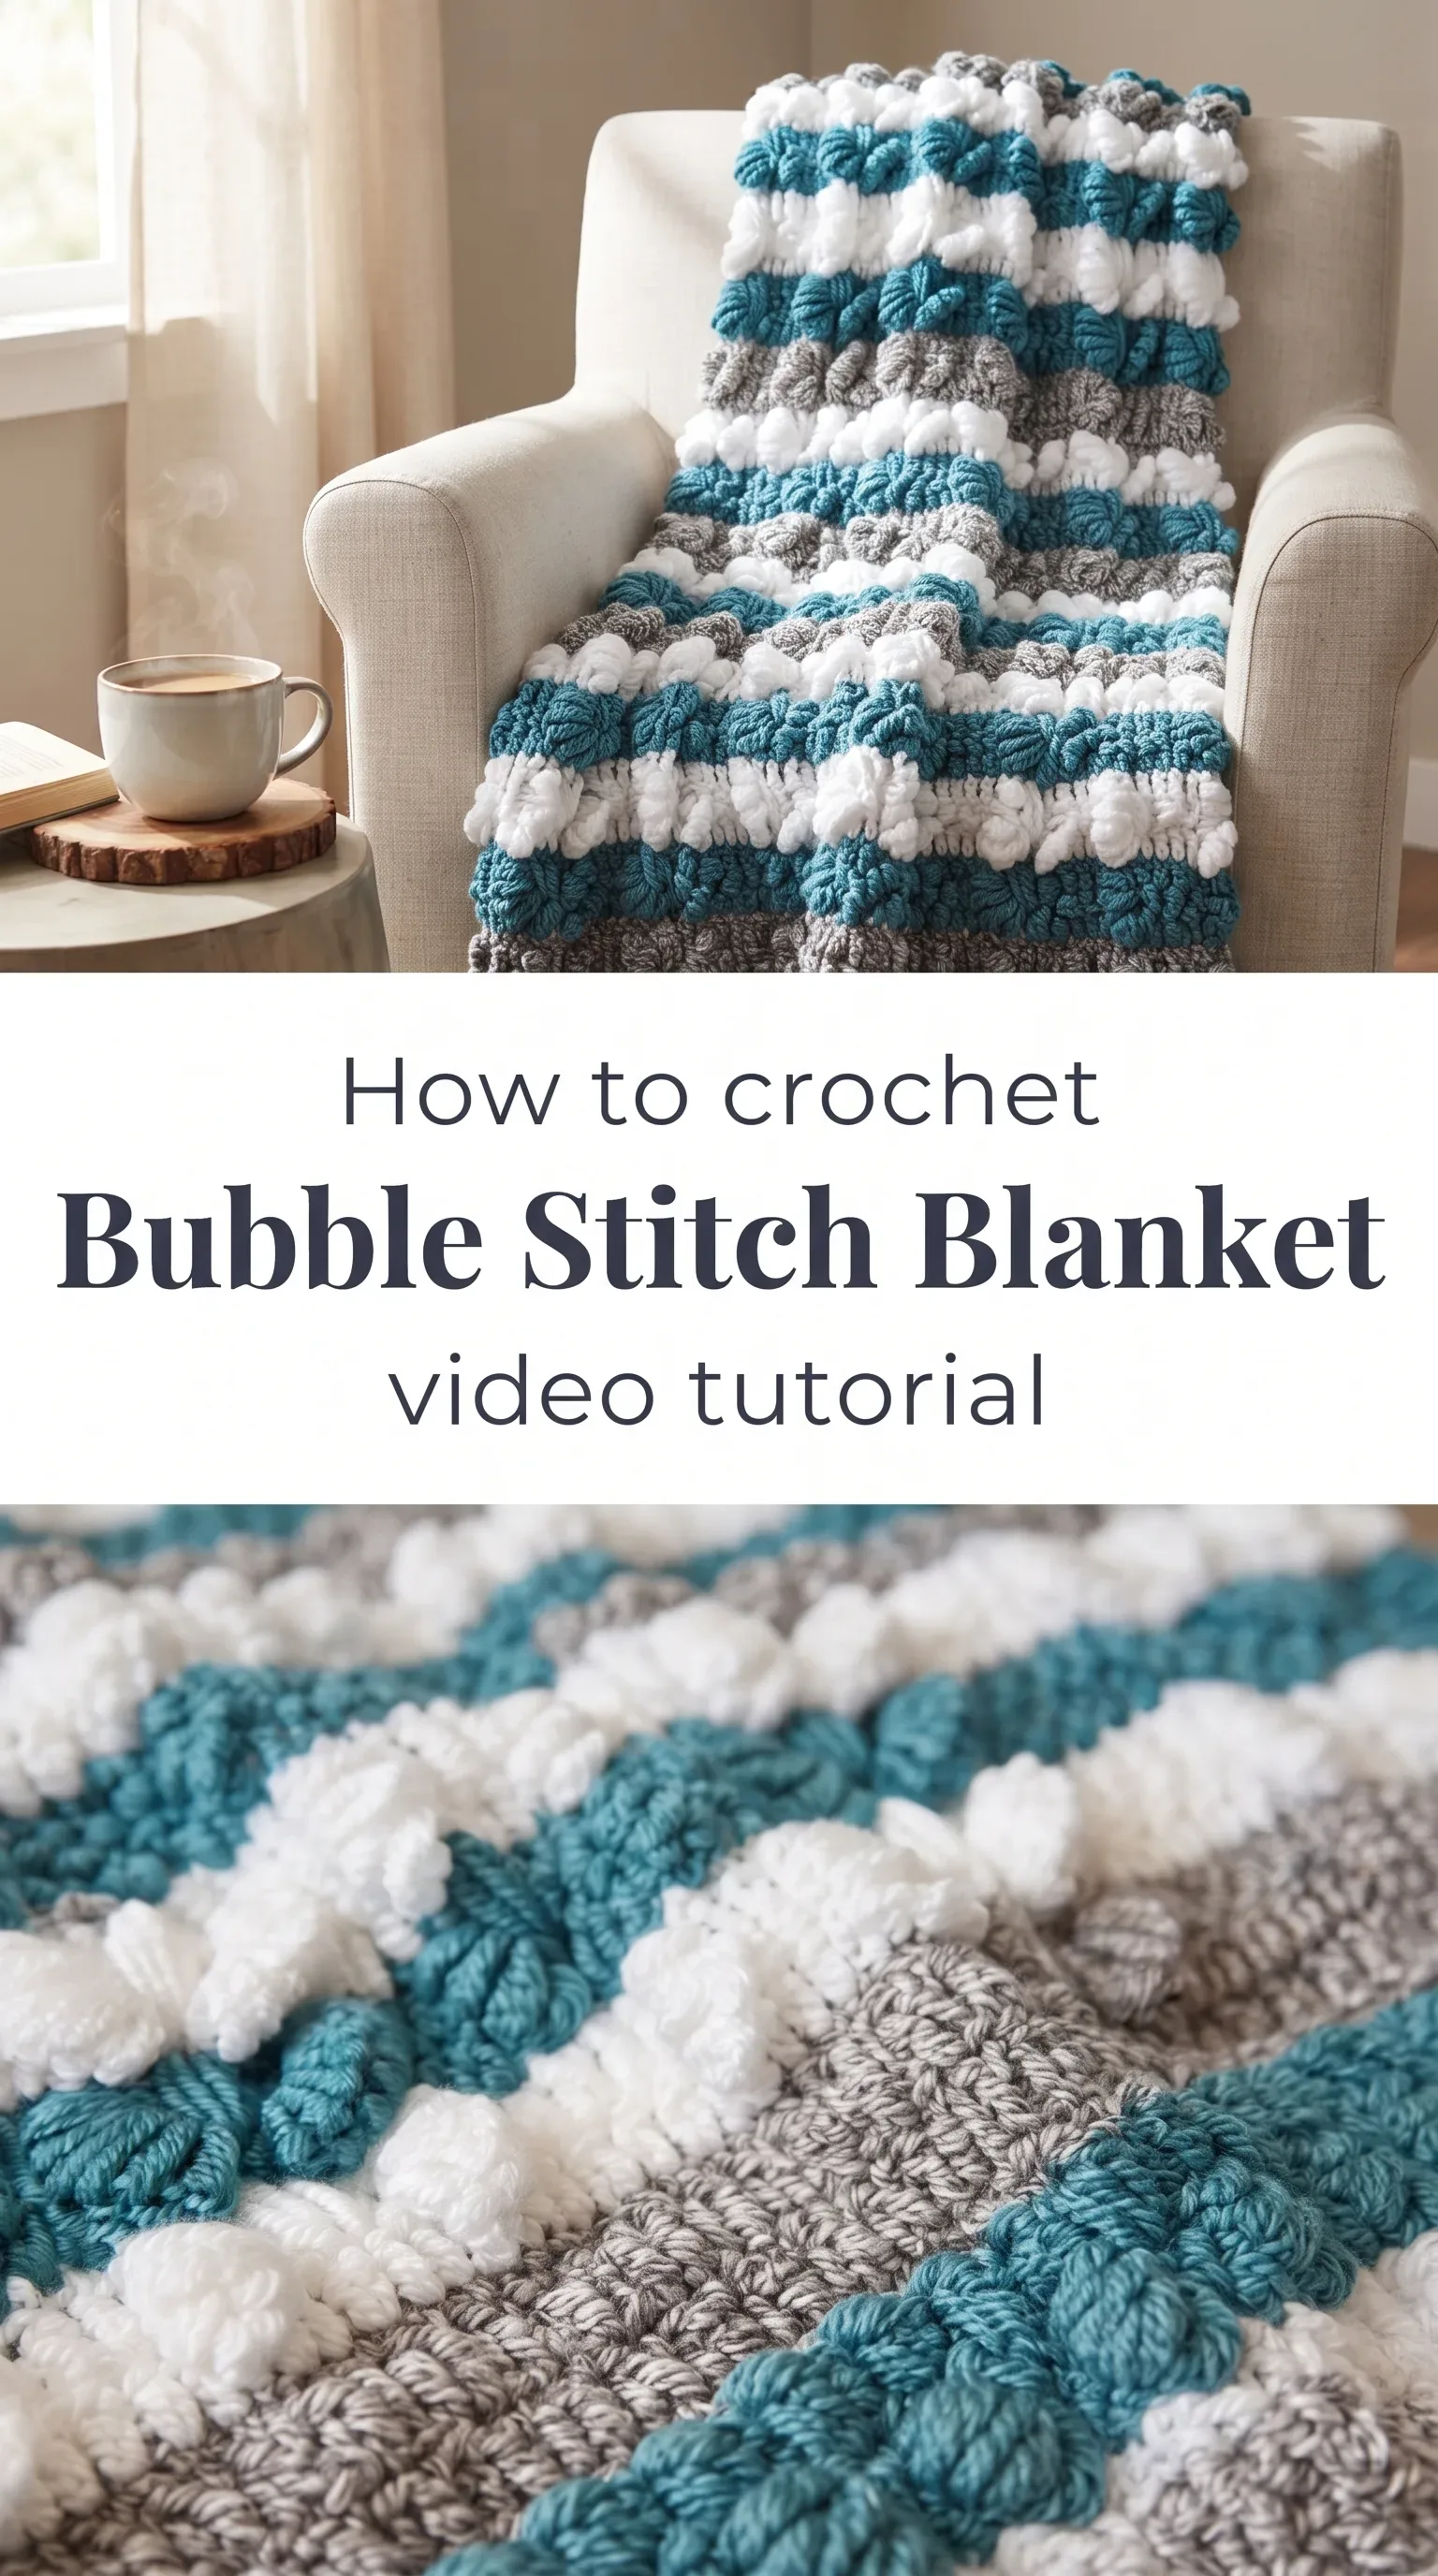
I am absolutely obsessed with this Crochet Bubble Stitch Blanket tutorial from Ayşenin Örgü Modelleri, and once you see those plump, pillowy clusters blooming across the fabric, you will completely understand why. The three-color striped version in teal, white, and grey is genuinely one of the most visually satisfying textures I have ever seen worked in worsted weight yarn.
The Bubble Stitch Blanket
A Crochet Bubble Stitch Blanket carries a kind of quiet drama that you feel before you even pick it up. Those rounded, puffed clusters sit in neat rows, airy yet structured, creating a surface that looks almost sculptural from across the room. This is a project for the crafter who wants something cozy enough to curl under on a grey afternoon but beautiful enough to drape over a sofa arm as a living statement piece. Whether you are making it for a nursery, a reading nook, or as a cherished gift, it gives back warmth in every sense of the word.
Stitch Blanket Related Posts:
- Crochet Lace Stitch: A Delicate and Timeless Design
- Crochet German Shell Table Runner: An Elegant Dining Essential
- Crochet Santa Claus: A Festive Holiday Treasure
- Crochet Green Tea Cupcake Bag: A Charming Whimsical Tote
The color palette shown in this tutorial is genuinely inspired: a heathered grey, a crisp white, and a deep teal that shifts the mood of the whole piece from classic to contemporary. You could just as easily lean into dusty sage, warm cream, and terracotta for an earthy palette, or work the entire Crochet Bubble Stitch Blanket in a single tonal yarn for something more understated and grown-up. The stripe structure means swapping colors feels natural and even satisfying, rather than fiddly.
Materials and Tools
For a blanket with this kind of definition and loft, you want a smooth worsted weight yarn that will let those bubble clusters hold their shape without flattening after a few washes. A wool-acrylic blend is an excellent choice here because it gives you the bounce and memory that make the puff stitches pop, while keeping the finished piece washable and practical. The tutorial works beautifully with a 4mm hook, which keeps the fabric firm enough to show off the texture without pulling too tight. A locking stitch marker tucked into your working row will save you from losing count mid-stripe, which is one small tool that earns its place in your project bag every single time.
Stitch by Stitch
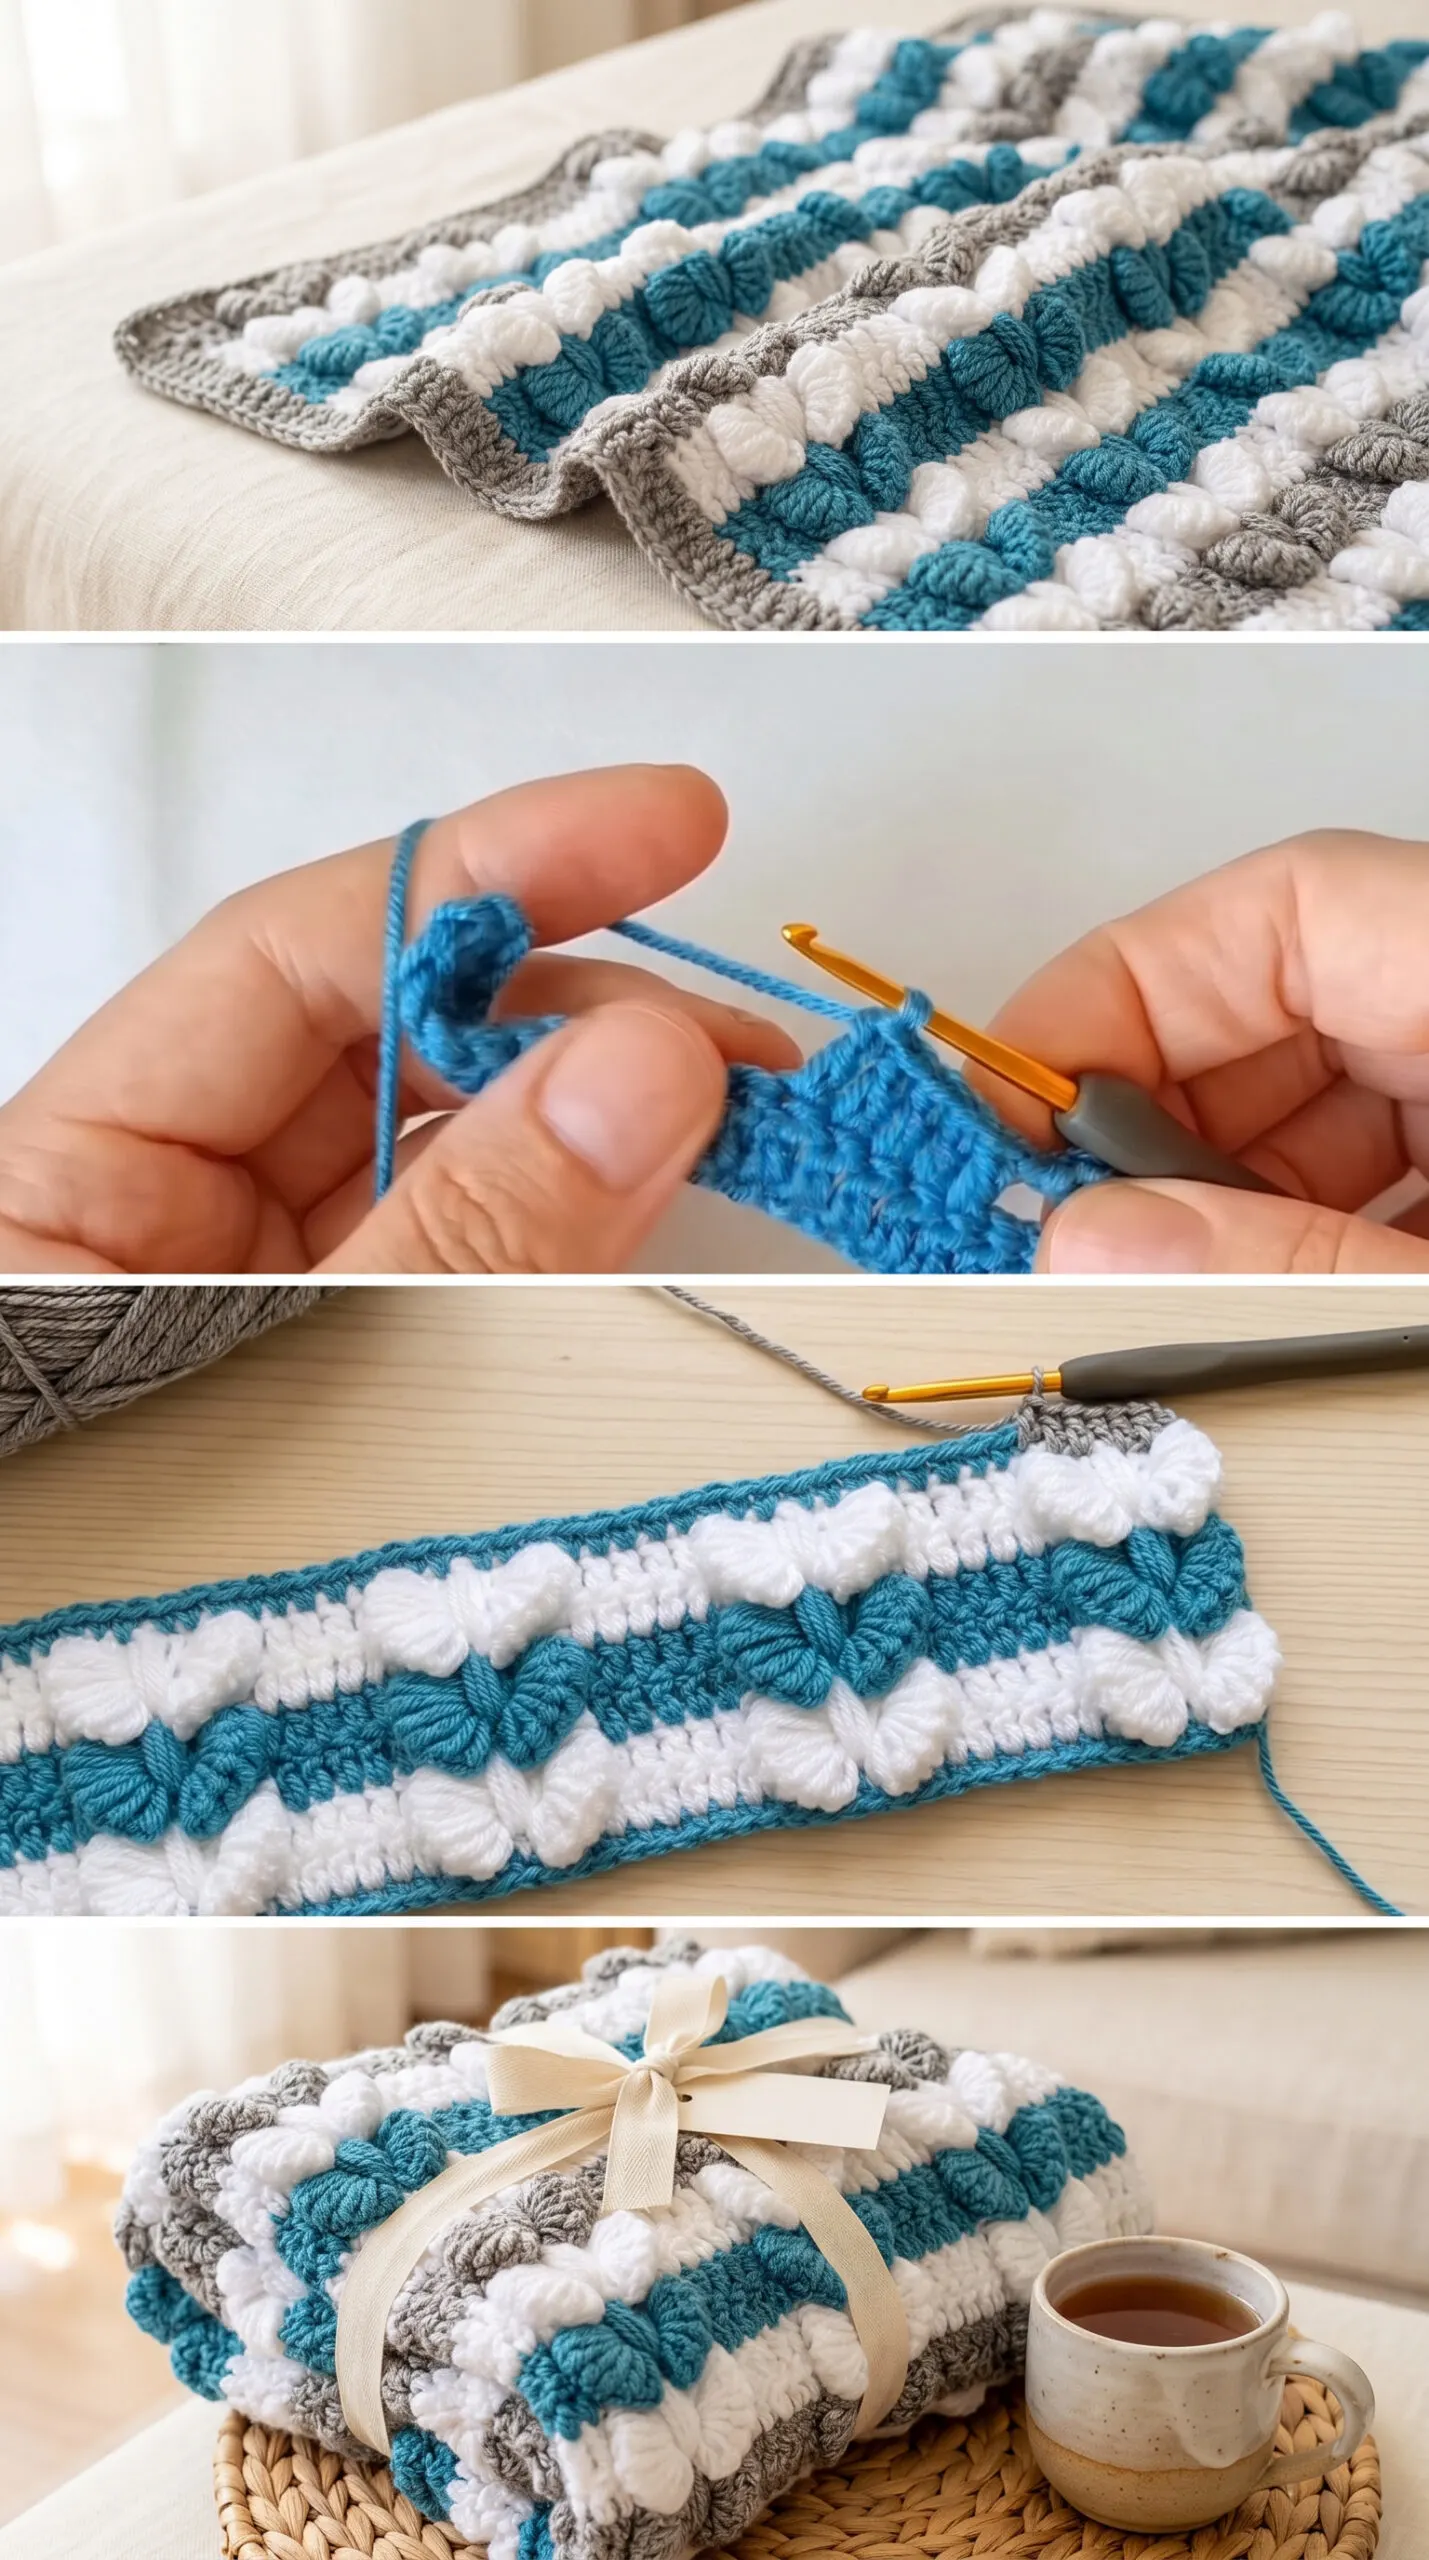
The Crochet Bubble Stitch Blanket draws on a short but satisfying vocabulary of stitches.
BULLET:SC (Single Crochet) The foundational stitch that creates the firm, flat rows between each row of bubbles, anchoring the texture and giving the blanket its structural backbone.
BULLET:DC (Double Crochet) Used to build height within the puff clusters, the DC is worked multiple times into the same stitch to begin gathering the bubble shape.
BULLET:YO (Yarn Over) The repeated yarn-over motion is what creates the plump, gathered quality of each bubble, pulling loops together for that signature rounded finish.
BULLET:Puff Stitch (Bobble variation) A cluster of partially completed DCs worked into a single stitch and closed together, forming the three-dimensional bubble that defines the entire pattern.
Working through those puff stitches settles into a genuinely meditative rhythm once your hands learn the sequence, and you will find yourself moving through rows almost without thinking, watching the texture build like something organic and inevitable.
Construction
The Crochet Bubble Stitch Blanket is worked flat in rows, which makes it wonderfully beginner-friendly because you never have to think about joins or rounds. You begin with a foundation chain in your first color, then alternate rows of single crochet with rows of puff stitch clusters, changing colors at the end of each full stripe to build that bold horizontal band effect. The pattern has a satisfying repetition that makes it easy to track your progress and scale confidently, so adding or subtracting foundation chains lets you move between a lap blanket and a full throw without any complicated math. If you want to personalize your version, try widening one color stripe to create a bold central band, which gives the whole piece a graphic, intentional quality.
Wearing Your Bubble Stitch Blanket
Drape the finished blanket over your shoulders on an early autumn morning with a mug of something warm, and you will wonder how you spent so many years without one. It lives equally well folded at the foot of a bed, layered over a linen sofa throw, or bundled up as the softest handmade gift for a new baby or a friend who deserves something made with real intention. Every time you use it, you will feel that texture under your hands and remember the meditative hours that made it.
Washing and Storing Your Bubble Stitch Blanket
Because those puff clusters are built from multiple loops pulled together, gentle care will keep them rounded and full wash after wash. Hand washing in cool water with a mild wool wash is ideal for a wool-acrylic blend, then lay the blanket flat on a clean towel and ease it back into shape before leaving it to dry away from direct heat. Blocking a Crochet Bubble Stitch Blanket is less about pinning and more about smoothing, so just pat each stripe into alignment while the fabric is damp and the bubbles will bloom back to their original fullness. Store it folded rather than rolled to preserve those clusters, and keep it in a breathable cotton bag if it is going away for a season.
Every stitch you place in a project like this one is a small, generous act, and the finished Crochet Bubble Stitch Blanket is proof of what patient, loving hands can make from a skein of yarn and a single hook. If this pattern is calling to you, watch the full video tutorial from Ayşenin Örgü Modelleri for the complete stitch-by-stitch guidance, then save this article to your Pinterest boards so you can come back to it every time you need a little handmade inspiration.
Follow us on Pinterest and subscribe to the Newsletter so you don’t miss a thing!
Tutorial and photos of this bubble stitch blanket by: AYŞENİN ÖRGÜLERİ.
