
A light, low-key crochet bottom with open mesh panels and tie sides, made for warm days by the water and easy to layer under a cover-up.
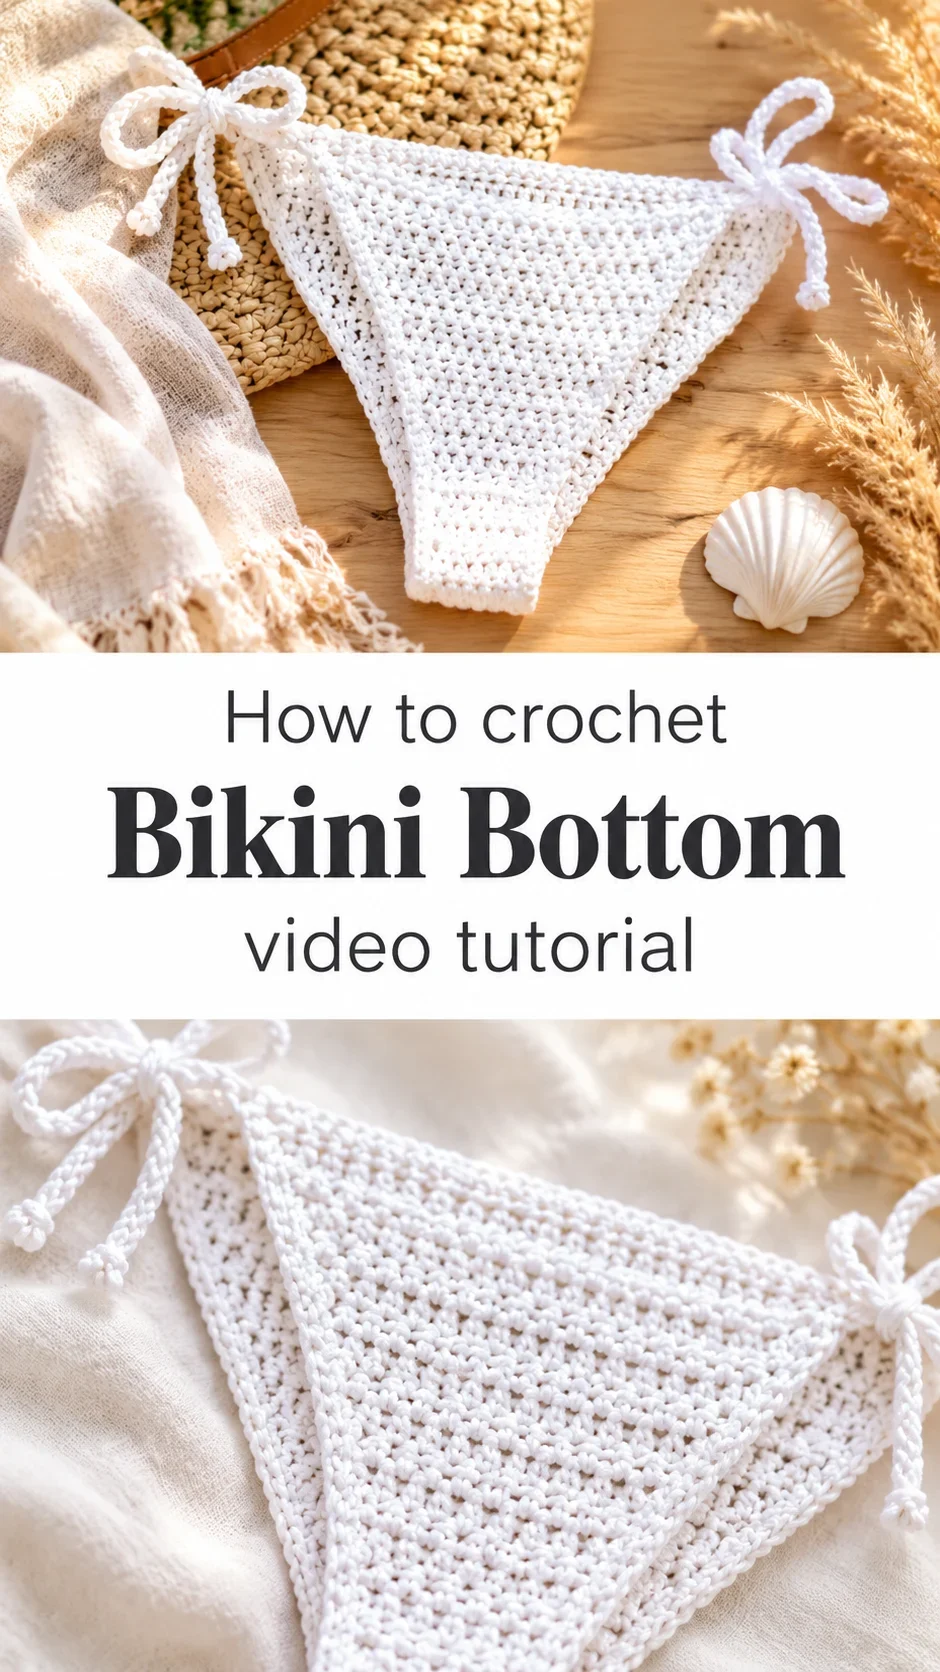
The Crochet Bikini Bottom
The crochet bikini bottom is a tie-side brief in soft white, built from a dense central panel that sits low at the front and back and open mesh fabric along the sides. The shape is simple and close-fitting, with the centre panel tapering into a wide band at the lower edge. Seen flat, the piece looks like two triangles joined by a firm, solid middle, which gives it both support and a clean line. Where the cords meet the fabric at each hip, they are worked into the edge so that the ties feel like part of the garment rather than an afterthought. It is a project that rewards careful shaping and a steady hand. Because the fabric is so open at the sides, every stitch shows, which makes it both a pleasure to look at and a good test of your tension.
The bottom suits a wide range of summer plans, from a day at a lake to a poolside lunch. Wear it alone with a sun hat and sandals, or pair it with a loose linen shirt tied at the waist. It also works as a base layer under a crochet cover-up, where the mesh side panels peek through and add to the texture of the outfit. As a handmade gift it is especially welcome for a friend heading on a trip, since it packs flat and dries quickly. Making one also builds real confidence with shaping, joining and working cords, skills you can carry into other swimwear and lightweight garments.
Bikini Bottom Related Posts:
- Crochet Bunny Egg Bag: A Charming Festive Keepsake
- Crochet Owl Pocket: A Whimsical Forest Charmer
- Crochet Halter Top: A Breezy Summer Essential
- Crochet Oval Doily: A Timeless Handcrafted Accent
Materials
You will need a cotton yarn in a fine to light weight, chosen for its ability to hold shape when wet and dry quickly after a swim. Cotton blends with a little elastane can add stretch, which helps the bottom sit comfortably against the body, but pure cotton gives a crisp, classic look. A small crochet hook sized to your yarn label is the main tool; many makers go down a size from the label to keep the fabric firm enough that the centre panel does not stretch out of shape. Because the ties are worked as long cords, a stitch marker and a tapestry needle for weaving in ends are essential. Choose a yarn colour that suits you, though the white shown in the photos gives a fresh, sunlit look that is hard to beat. Scissors and a measuring tape complete the kit.
Understanding the Shape of the Bottom
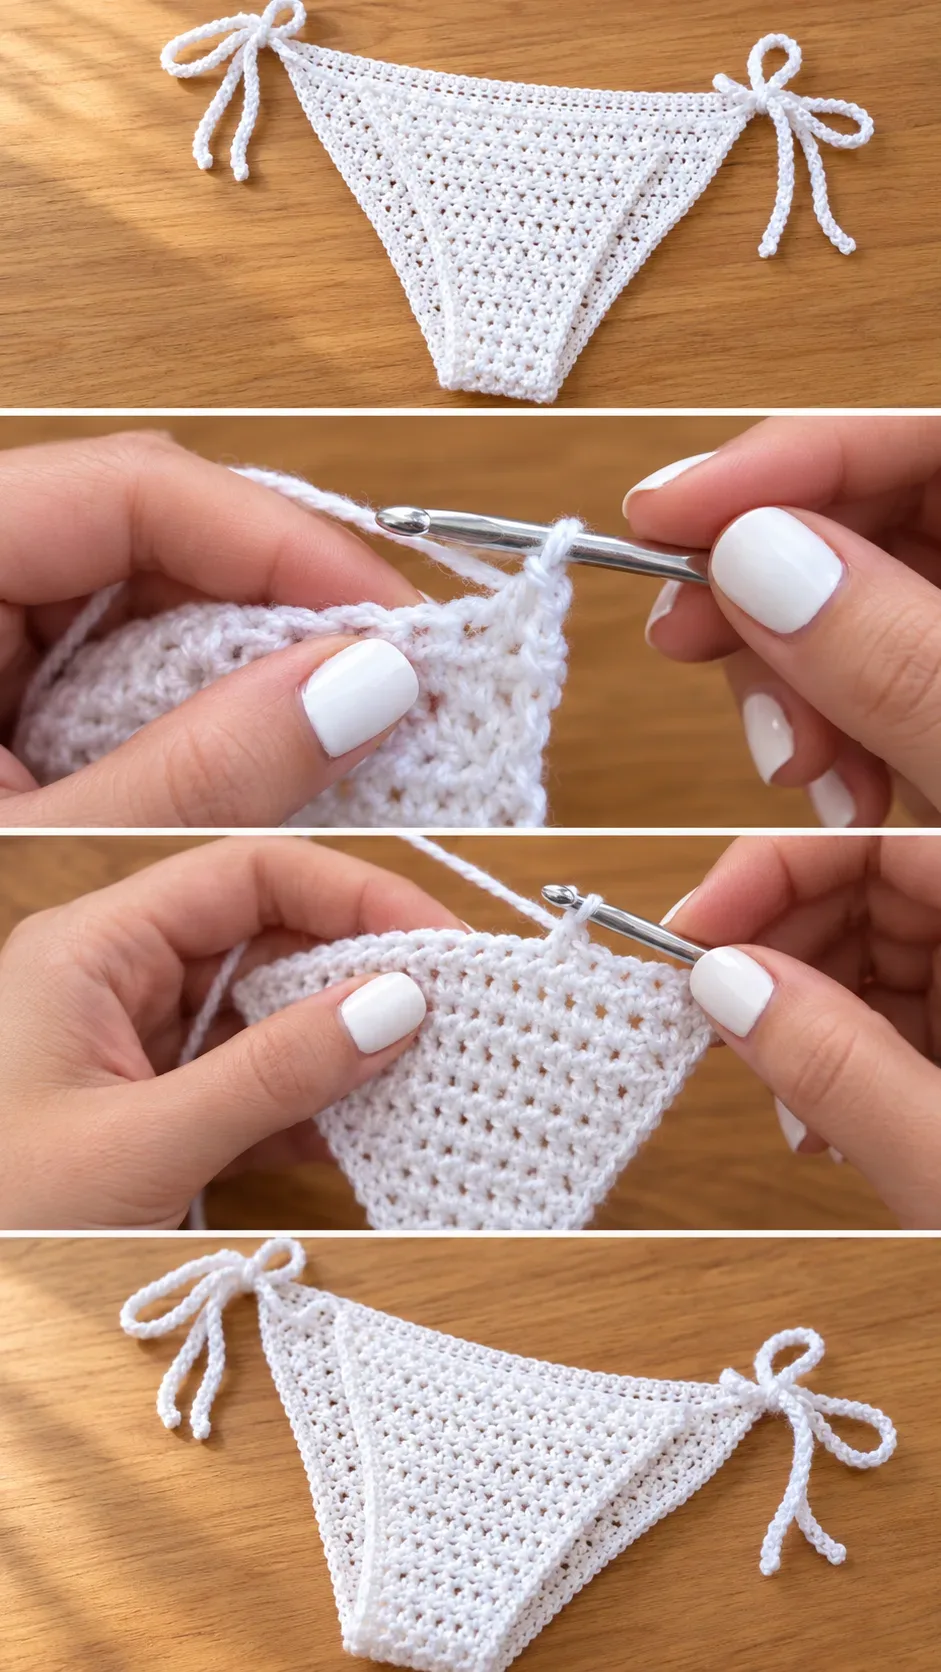
The bottom is built around a central panel that carries most of the garment’s structure. The side sections are worked in open mesh and grow from the panel’s edges, so the balance between solid and open fabric is what gives the piece its silhouette. Shaping happens at the front and back as the panel narrows toward the hip, and this is where the bottom either hugs well or sags. Take time to check the fit as you go rather than relying on the finished measurements alone, since mesh stretches differently from solid fabric.
Keeping the Centre Panel Firm
If the central panel looks loose or wavy, the hook is likely too large or the stitches are worked too loosely. Switch to a smaller hook for the panel alone and keep the side mesh on the original size if you like the airy look. This gives a supportive centre without making the whole bottom stiff.
Choosing Your Yarn and Colour
Cotton is the most reliable choice for swimwear. It handles chlorine and sea water reasonably well and holds its shape better than acrylic, which can sag and feel heavy once wet. A cotton-blend with a little stretch makes the ties more forgiving and the fit more comfortable, while a plain mercerised cotton gives a smoother, more polished finish. Avoid thick or fuzzy yarns, which trap water and stretch unpredictably in the mesh.
For colour, white and cream read as classic and sunny, and they show the stitch pattern beautifully. Soft sage, sand or sky blue are good alternatives that still feel summery. A bold colour can look striking, but test a small swatch first, since some dyes bleed when wet.
Finishing Tips for a Neat, Comfortable Fit
Weave in every end carefully along the inside of the panel, where it will not rub against the skin. Take extra care with the points where the cords join the fabric, as these take the most pull when the bottom is worn and tied. A quick steam or light blocking can even out the mesh and settle the shape, but use gentle pressure, especially on the open sides. If the side edges ripple, the mesh may be worked too tightly in places; unpick a row and recount your sections before continuing. If the bottom feels too snug once finished, loosen the tie cords slightly by working them a little longer, which also gives you more room to adjust the fit.
Caring for Your Crochet Bikini Bottom
Rinse the bottom in cool water after every swim, especially in salt or chlorinated water, to protect the fibres. Wash it by hand with a mild detergent and lay it flat to dry away from direct heat, which can stiffen cotton and distort the mesh. Do not wring it out; press gently between towels instead. Store it flat or loosely folded so the ties do not tangle and the shape holds.
Following the Video Tutorial
The video tutorial by the creator linked below walks through the construction step by step. Watch closely at the points where the centre panel shapes toward the hip, and pause to check your progress against what is shown. The hand position on the mesh stitches is worth studying, since small changes in how you hold the yarn make a visible difference to the open fabric. Replay the sections on joining the cords so you can see exactly where each tie starts and ends. Work at a relaxed pace, and do not hesitate to rewind whenever a step feels unclear.
A Breezy Handmade Summer Piece
The crochet bikini bottom is a simple, airy project that rewards careful shaping and good yarn choice. Get the centre panel firm, keep the mesh even, and finish the ties neatly, and you will have a piece you can wear all summer long. Pause often, check the fit as you go, and enjoy the first warm day you wear it.
Video tutorial by the featured creator, linked below.
Watch the tutorial here: crochet bikini bottom video tutorial
Follow us on Pinterest and subscribe to the Newsletter so you don’t miss a thing!
Tutorial and photos of this bikini bottom by: Krystal Everdeen.
