
I’ve been looking for the perfect cozy pants pattern for ages. Something fun, something different, something that would make me actually want to stay home and relax. This cow print crochet pants pattern is exactly what I was searching for.
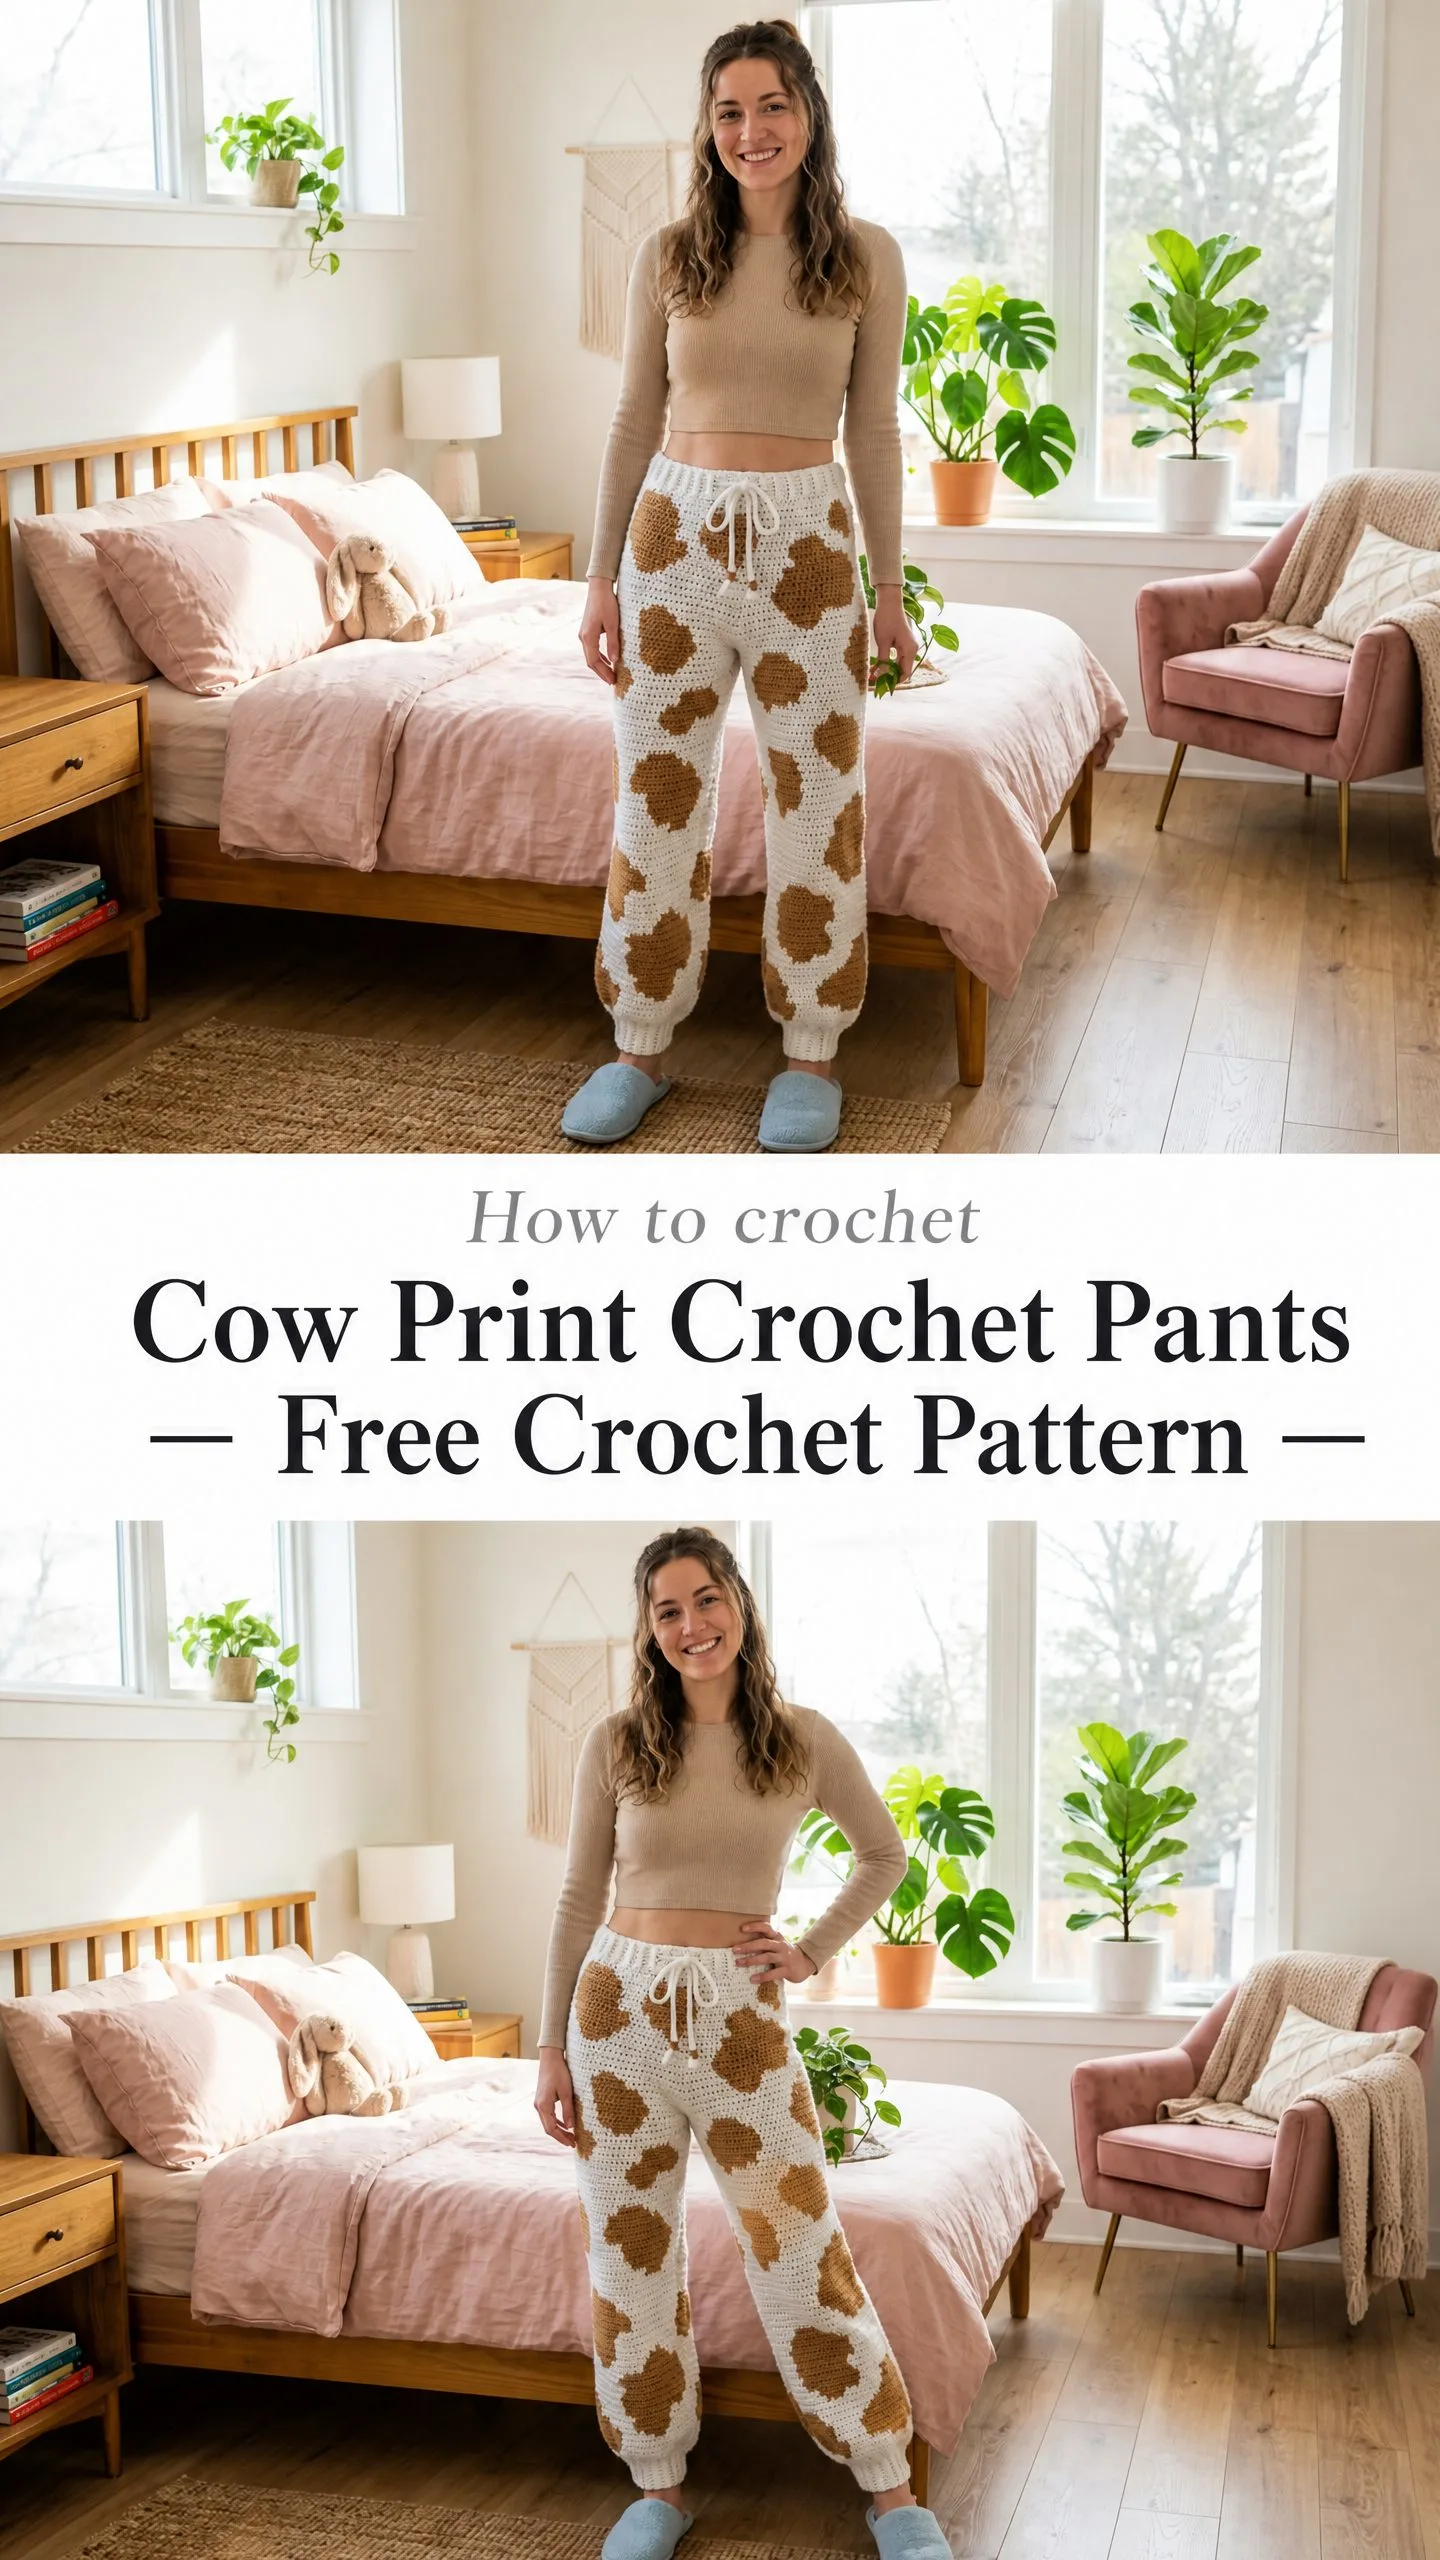
The warm caramel and cream color palette takes the classic cow print and gives it a modern, earthy twist. These jogger-style pants feature an all-over colorwork design that looks impressive but follows a straightforward chart repeat. If you’ve been wanting to try tapestry crochet on a garment, this is your sign.
Fair warning: this is not a weekend project. We’re talking 40 to 60 hours of work depending on your size and colorwork experience. But the result? Absolutely worth every stitch. Let me walk you through everything you need to know.
What Makes These Cow Print Crochet Pants Special
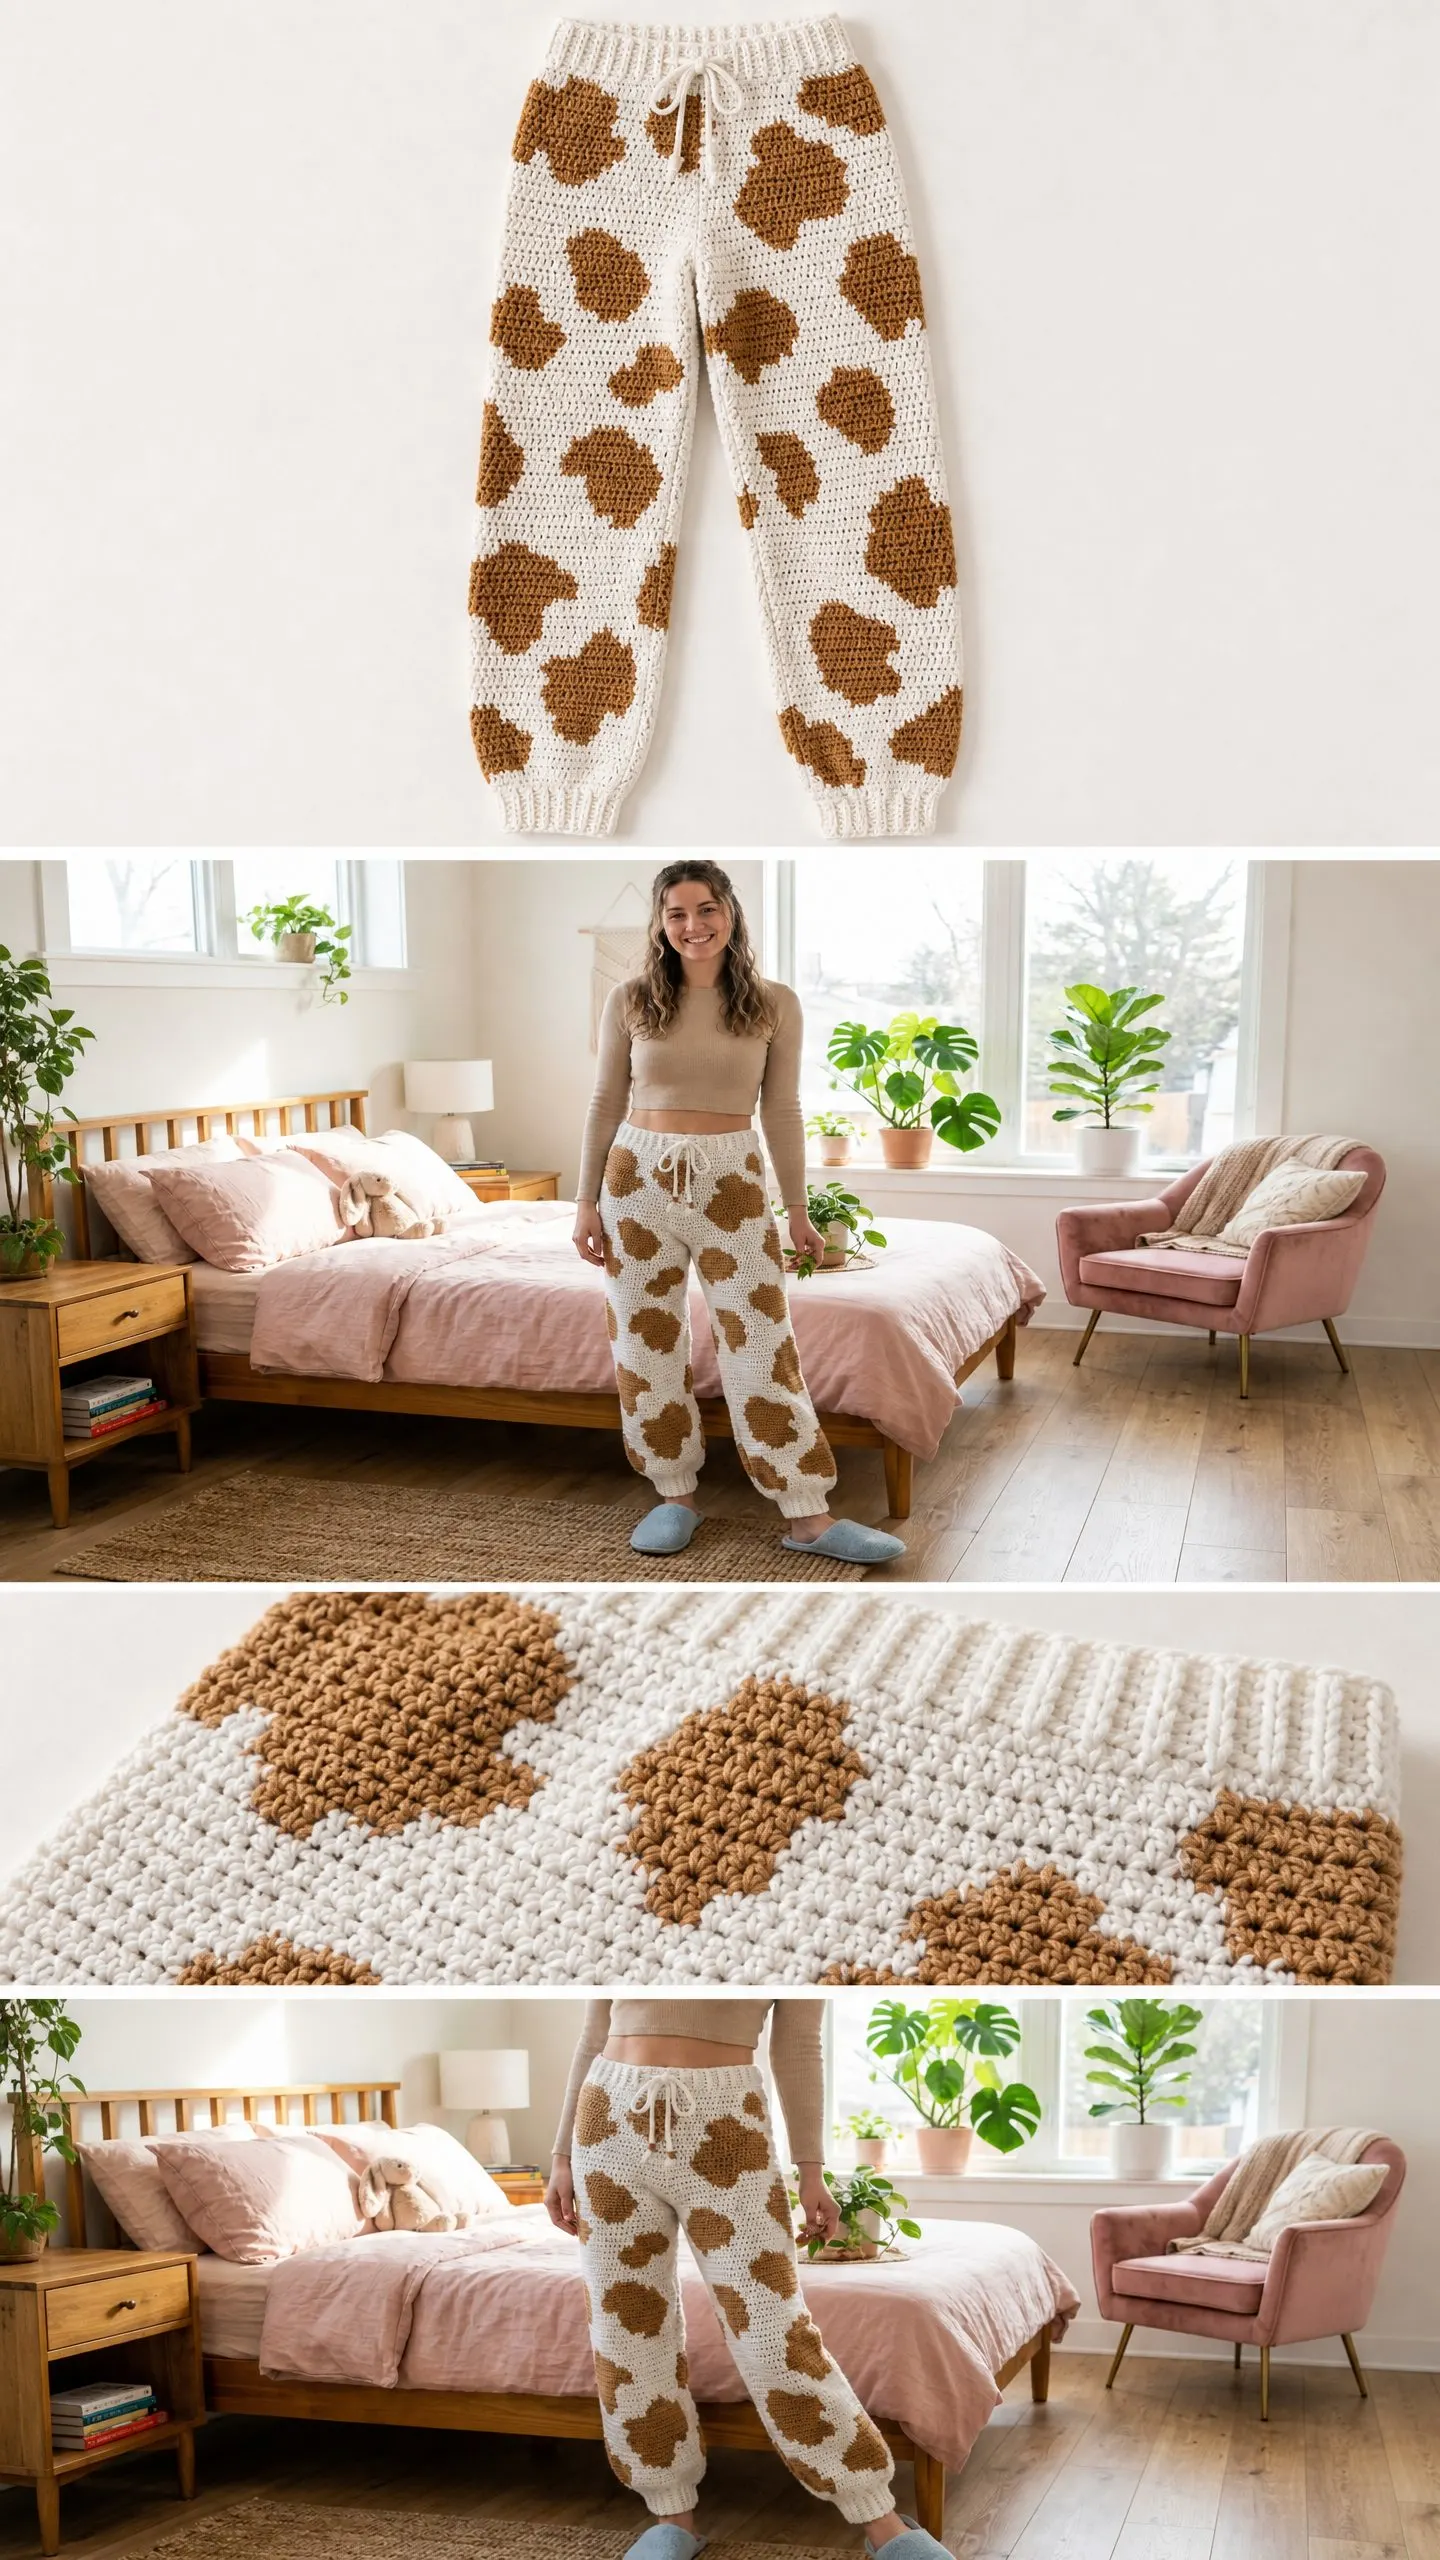
These pants are constructed using the tapestry crochet method, which means you carry the unused color inside your stitches as you work. This creates a thick, cozy fabric with no messy floats on the inside. The finished garment has a relaxed, slightly oversized fit with a mid-rise waist.
The construction is smart and logical. You work in the round from the waistband down to the crotch, then split into two separate legs. Each leg continues in joined rounds down to the ankle. A ribbed waistband with a drawstring closure and ribbed ankle cuffs complete that classic jogger silhouette.
The colorwork chart is a 16-stitch by 20-row repeat. The spot placement is intentionally irregular to mimic natural cow print. You’ll rotate the repeat placement by 8 stitches every 20 rows to prevent the spots from aligning vertically. This keeps everything looking organic and realistic.
Skill Level and Time Commitment
This crochet pattern is rated intermediate to advanced. You should be comfortable with working in the round, reading a colorwork chart, tapestry crochet with two colors, and basic garment shaping. If you’ve completed at least two garments and one colorwork project, you’ll find this manageable.
Complete beginners, please don’t start here. Practice tapestry single crochet (sc) on a swatch first. Get comfortable carrying yarn and switching colors before committing to a full garment. Trust me on this one.
Time estimate is approximately 40 to 60 hours depending on your experience level and the size you’re making. This is a big project, so pace yourself. Maybe put on a good podcast or audiobook and enjoy the process.
Materials You’ll Need
Yarn
Yarn A (Cream): Worsted weight, approximately 700 (750, 800, 875, 950, 1050) yards / 640 (685, 730, 800, 870, 960) meters
Yarn B (Caramel / Warm Brown): Worsted weight, approximately 500 (550, 600, 650, 725, 800) yards / 460 (500, 550, 595, 665, 730) meters
Suggested Yarn Options
Lion Brand Wool-Ease (80% acrylic, 20% wool) in Fisherman and Caramel works beautifully. It has excellent stitch definition for colorwork with a slight halo that softens the look. Machine washable too.
Paintbox Yarns Simply DK held double gives a softer, drapier fabric ideal for loungewear. Try Pure White and Mustard Yellow or Soft Caramel.
WeCrochet Brava Worsted in Cream and Camel offers excellent color consistency and is very affordable for a large project.
Substitution note: Any smooth worsted weight yarn (weight 4) will work. Avoid fuzzy or textured yarns as they will obscure the colorwork. Look for yarns with good stitch definition and consistent twist.
Hooks
Notions
Gauge
Using J / 6.0 mm hook and single crochet in tapestry method with two colors carried:
16 sts x 18 rows = 4 in x 4 in / 10 cm x 10 cm
Please, please make a gauge swatch. With a garment this size, being off by even half a stitch per inch adds up to inches of difference in the finished piece.
Gauge swatch instructions: With Yarn A and J hook, chain (ch) 22. Row 1: single crochet (sc) in 2nd ch from hook and each ch across. (21 sc) Rows 2 through 22: ch 1, turn, sc in each stitch (st) across. (21 sc) After Row 22, practice tapestry sc by introducing Yarn B for at least 10 rows. Block your swatch gently with steam or wet blocking before measuring.
Adjust hook size up if your swatch is too small, down if too large.
Ribbing gauge using I / 5.5 mm hook: 18 sts x 20 rows = 4 in x 4 in / 10 cm x 10 cm in back loop only single crochet ribbing
Finished Sizes
All instructions are written for size XS with changes for S, M, L, XL, 2XL in parentheses where they differ. When only one number appears, it applies to all sizes.
Size XS: Hip circumference 34 in / 86 cm, inseam 28 in / 71 cm, total length 38 in / 97 cm
Size S: Hip circumference 37 in / 94 cm, inseam 28 in / 71 cm, total length 38 in / 97 cm
Size M: Hip circumference 40 in / 102 cm, inseam 29 in / 74 cm, total length 39 in / 99 cm
Size L: Hip circumference 43 in / 109 cm, inseam 29 in / 74 cm, total length 39 in / 99 cm
Size XL: Hip circumference 46 in / 117 cm, inseam 30 in / 76 cm, total length 40 in / 102 cm
Size 2XL: Hip circumference 50 in / 127 cm, inseam 30 in / 76 cm, total length 40 in / 102 cm
Finished measurements include approximately 2 to 4 in / 5 to 10 cm of positive ease. Choose your size based on your actual hip measurement. If you’re between sizes, size up for a more relaxed fit or size down for a more fitted look.
Abbreviations
Let me define all the terms you’ll encounter:
Special Techniques
Tapestry Single Crochet
This technique lets you carry one color inside your stitches while working with the other. It creates a thick, even fabric and hides all floats.
Step 1: Before beginning a section where you will switch colors, lay the unused yarn along the top of the previous row or round.
Step 2: Insert your hook into the next stitch as normal, making sure the carried yarn is resting on top of the row below and will be encased by the new stitch.
Step 3: With the working yarn, yarn over and pull up a loop through the stitch and over the carried yarn.
Step 4: Yarn over and pull through 2 loops to complete the sc. The carried yarn is now encased inside the completed stitch.
Step 5: When the chart calls for a color change, switch to the other yarn on the final yarn over of the last stitch before the new color begins. Work the sc until 2 loops remain on hook, then drop the current color to the back, pick up the new color, and yarn over with the new color to complete the stitch.
Step 6: The dropped color is now the carried yarn. Continue encasing it in subsequent stitches until needed again.
Keep tension consistent when carrying yarn. The carried yarn should not pull or pucker the fabric. Practice on a swatch before beginning the garment.
Ribbing Stitch
All ribbing is worked back and forth in rows to create strips, which are then seamed into tubes.
Step 1: With I hook, ch a number of stitches equal to the desired height of the ribbing.
Step 2: Sc in 2nd ch from hook and each ch across.
Step 3: Ch 1, turn. Sc in blo of each st across.
Step 4: Repeat Step 3 for the desired number of rows until the ribbing strip reaches the required length.
The blo sc creates visible ridges that mimic knit ribbing and provide stretch.
Colorwork Chart
The cow print pattern is a 16-stitch by 20-row repeat. Use C for Cream (Yarn A) and B for Caramel (Yarn B). Read all chart rounds from right to left since you’re working in the round with the right side always facing you.
Chart Repeat (16 sts x 20 rows):
Row 1: C C C C C C C C C C C C C C C C
Row 2: C C B B B B C C C C B B C C C C
Row 3: C B B B B B B C C B B B B C C C
Row 4: C B B B B B B C C B B B B C C C
Row 5: C B B B B B B C C C B B C C C C
Row 6: C C B B B B C C C C C C C C C C
Row 7: C C C C C C C C C C C C C C B B
Row 8: C C C C C C C C B B B B C B B B
Row 9: C C C B B C C C B B B B B B B B
Row 10: C C B B B B C C B B B B B B B B
Row 11: C C B B B B C C C B B B B B B C
Row 12: C C C B B C C C C C B B B B C C
Row 13: C C C C C C C C C C C C C C C C
Row 14: B B B C C C C C C C C C C C C C
Row 15: B B B B B C C C C C C C B B B C
Row 16: B B B B B B C C C C C B B B B C
Row 17: C B B B B B C C C C B B B B B C
Row 18: C C B B B C C C C C B B B B C C
Row 19: C C C C C C C C C C C C C C C C
Row 20: C C C C C C C C C C C C C C C C
Shift the starting position by 8 stitches every full 20-row sequence to randomize spot placement and prevent a grid-like appearance.
Pattern Instructions
Section 1: Waistband
The waistband is worked as a flat ribbing strip using the I / 5.5 mm hook, then seamed into a tube.
With I hook and Yarn A, ch 9.
Setup Row: Sc in 2nd ch from hook and in each ch across. (8 sc)
Ribbing Row: Ch 1, turn. Sc in blo of each st across. (8 sc)
Repeat the Ribbing Row until the strip measures:
Seam the short ends together using a sl st seam or mattress stitch to form a tube. The 8-stitch height of the ribbing becomes the waistband height (approximately 1.75 in / 4.5 cm).
Set the waistband aside.
Section 2: Main Body
Switch to J / 6.0 mm hook for all main body rounds.
Starting stitch counts by size:
Foundation:
With J hook and Yarn A, ch 129 (145, 161, 177, 193, 209). Sl st to first ch to form a ring, being careful not to twist.
Round 1 (foundation sc round, Yarn A only): Ch 1, sc in same st as join and in each ch around. Sl st to first sc to join. (128, 144, 160, 176, 192, 208 sc)
Place BOR marker in the first st and a side marker at the halfway point: st 64 (72, 80, 88, 96, 104).
Eyelet Round for Drawstring:
Round 2 (Eyelet Round): Ch 1. (Sc in next 5 sts, ch 2, sk 2 sts) x 18 (20, 22, 25, 27, 29) times, sc in rem 2 (4, 6, 1, 6, 2) sts. Sl st to first sc.
Round 3 (Restore Round, Yarn A): Ch 1. Sc in each sc and 2 sc in each ch-2 sp around. Sl st to first sc. (128, 144, 160, 176, 192, 208 sc)
Main Body Colorwork:
Begin tapestry colorwork. Introduce Yarn B on Round 4 following the chart.
Rounds 4 through 23 (Chart Rows 1 through 20, first repeat): Work in tapestry sc following the chart. On each round, the 16-st chart repeat is worked 8 (9, 10, 11, 12, 13) times around. Sl st to join at end of each round. (128, 144, 160, 176, 192, 208 sc each round)
Round 24 begins the second chart repeat. Shift the starting position of the chart by 8 stitches to the left (work 8 sts of plain Yarn A first, then begin the chart from stitch 1).
Rounds 24 through 43 (Chart Rows 1 through 20, second repeat, offset by 8 sts): Work in tapestry sc following the chart with 8-stitch offset. (128, 144, 160, 176, 192, 208 sc each round)
Round 44 begins the third chart repeat. Return the chart to its original starting position (no offset). Continue alternating between offset and non-offset repeats every 20 rounds.
Continue working until the body measures approximately:
Crotch Shaping
Identify the back center point (midpoint between your BOR marker and your side marker on the back half). Place a marker at this point.
Crotch Gusset Round 1: Work in tapestry sc following chart to back center marker. Inc in next st, sc in next 4 sts, inc in next st. Continue in tapestry sc to end of round. Sl st to join. (130, 146, 162, 178, 194, 210 sc)
Crotch Gusset Round 2: Work in tapestry sc following chart around. No increases this round. (130, 146, 162, 178, 194, 210 sc)
Crotch Gusset Round 3: Work to 3 sts before first gusset inc position. Inc, sc in 8 sts, inc. Continue to end. Sl st to join. (132, 148, 164, 180, 196, 212 sc)
Crotch Gusset Round 4: Work even in tapestry sc. (132, 148, 164, 180, 196, 212 sc)
Crotch Gusset Round 5: Work to 3 sts before. Inc, sc in 12 sts, inc. Continue to end. Sl st to join. (134, 150, 166, 182, 198, 214 sc)
Crotch Gusset Round 6: Work even. (134, 150, 166, 182, 198, 214 sc)
Section 3: Attaching the Waistband
Hold the waistband tube against the top of the main body tube with WS facing each other. Using Yarn A and the I hook, sl st through both layers all the way around the top edge to join the waistband to the body.
Checkpoint: With the waistband attached, the full pants tube from waistband top to crotch division should measure approximately:
Section 4: Dividing for Legs
Count your stitches and divide them in half. Mark the halfway points on both sides (these are your side seams).
Adjusted leg starting stitch counts:
Work the body half stitches, then ch enough stitches for the crotch bridge such that body-half sts + bridge sts = target leg count. On the following round, sc in each ch of the bridge as regular stitches.
Work Leg 1 fully before beginning Leg 2. Attach yarn to the opposite side of the body for Leg 2 and work identically.
Section 5: Leg Shaping and Colorwork
Both legs are worked identically. The leg tapers from the upper thigh to the ankle by working gradual decreases every 10 to 12 rounds.
Target ankle stitch count before cuff:
Total stitches to decrease per leg:
Work decrease rounds every 10 (10, 10, 8, 8, 6) rounds, placing one sc2tog at each side seam position.
Continue working in tapestry sc following the colorwork chart until the leg measures approximately 27 to 29 in / 69 to 74 cm before the cuff.
Section 6: Ankle Cuffs
Switch to I / 5.5 mm hook. Work 8 rounds of sc in blo around the ankle opening, joining each round with a sl st.
Alternatively, work a ribbing strip as you did for the waistband and attach it to the ankle opening using the same sl st seam method.
Fasten off. Weave in all ends.
Section 7: Finishing
Thread the drawstring cord through the eyelet round at the waistband. Add cord stoppers or large beads to the ends if desired.
Weave in all remaining ends. Block gently if needed to even out the colorwork tension.
Tips for Success
Keep your tension consistent. Tapestry crochet can get tight if you pull the carried yarn too snugly. Check your work every few rounds and adjust if needed.
Use a row counter. With 20-row chart repeats and alternating offsets, it’s easy to lose your place. A row counter is your best friend on this project.
Take breaks. This is a marathon, not a sprint. Your hands will thank you for pacing yourself.
Check your work. Every 10 rounds or so, lay your work flat and make sure the colorwork is reading correctly. It’s much easier to fix mistakes early.
You Did It!
Thank you so much for choosing this cow print crochet pants pattern for your next big project. I know it’s a commitment, but the finished result is truly something special. Cozy, unique, and completely handmade by you.
If you love this pattern, I’d be thrilled if you saved it to your Pinterest boards so you can find it again later. And please, if you make these pants, drop a comment below or tag me on Instagram. I absolutely love seeing your finished projects and hearing about your colorwork adventures. Happy crocheting!
