This elegant black clutch bag with tassel fringe is exactly the kind of project that makes people ask, “Wait, you *made* that?” The structured body, decorative tassels, and chunky chain strap give it a high-end boutique look. But I promise you can absolutely make this yourself.
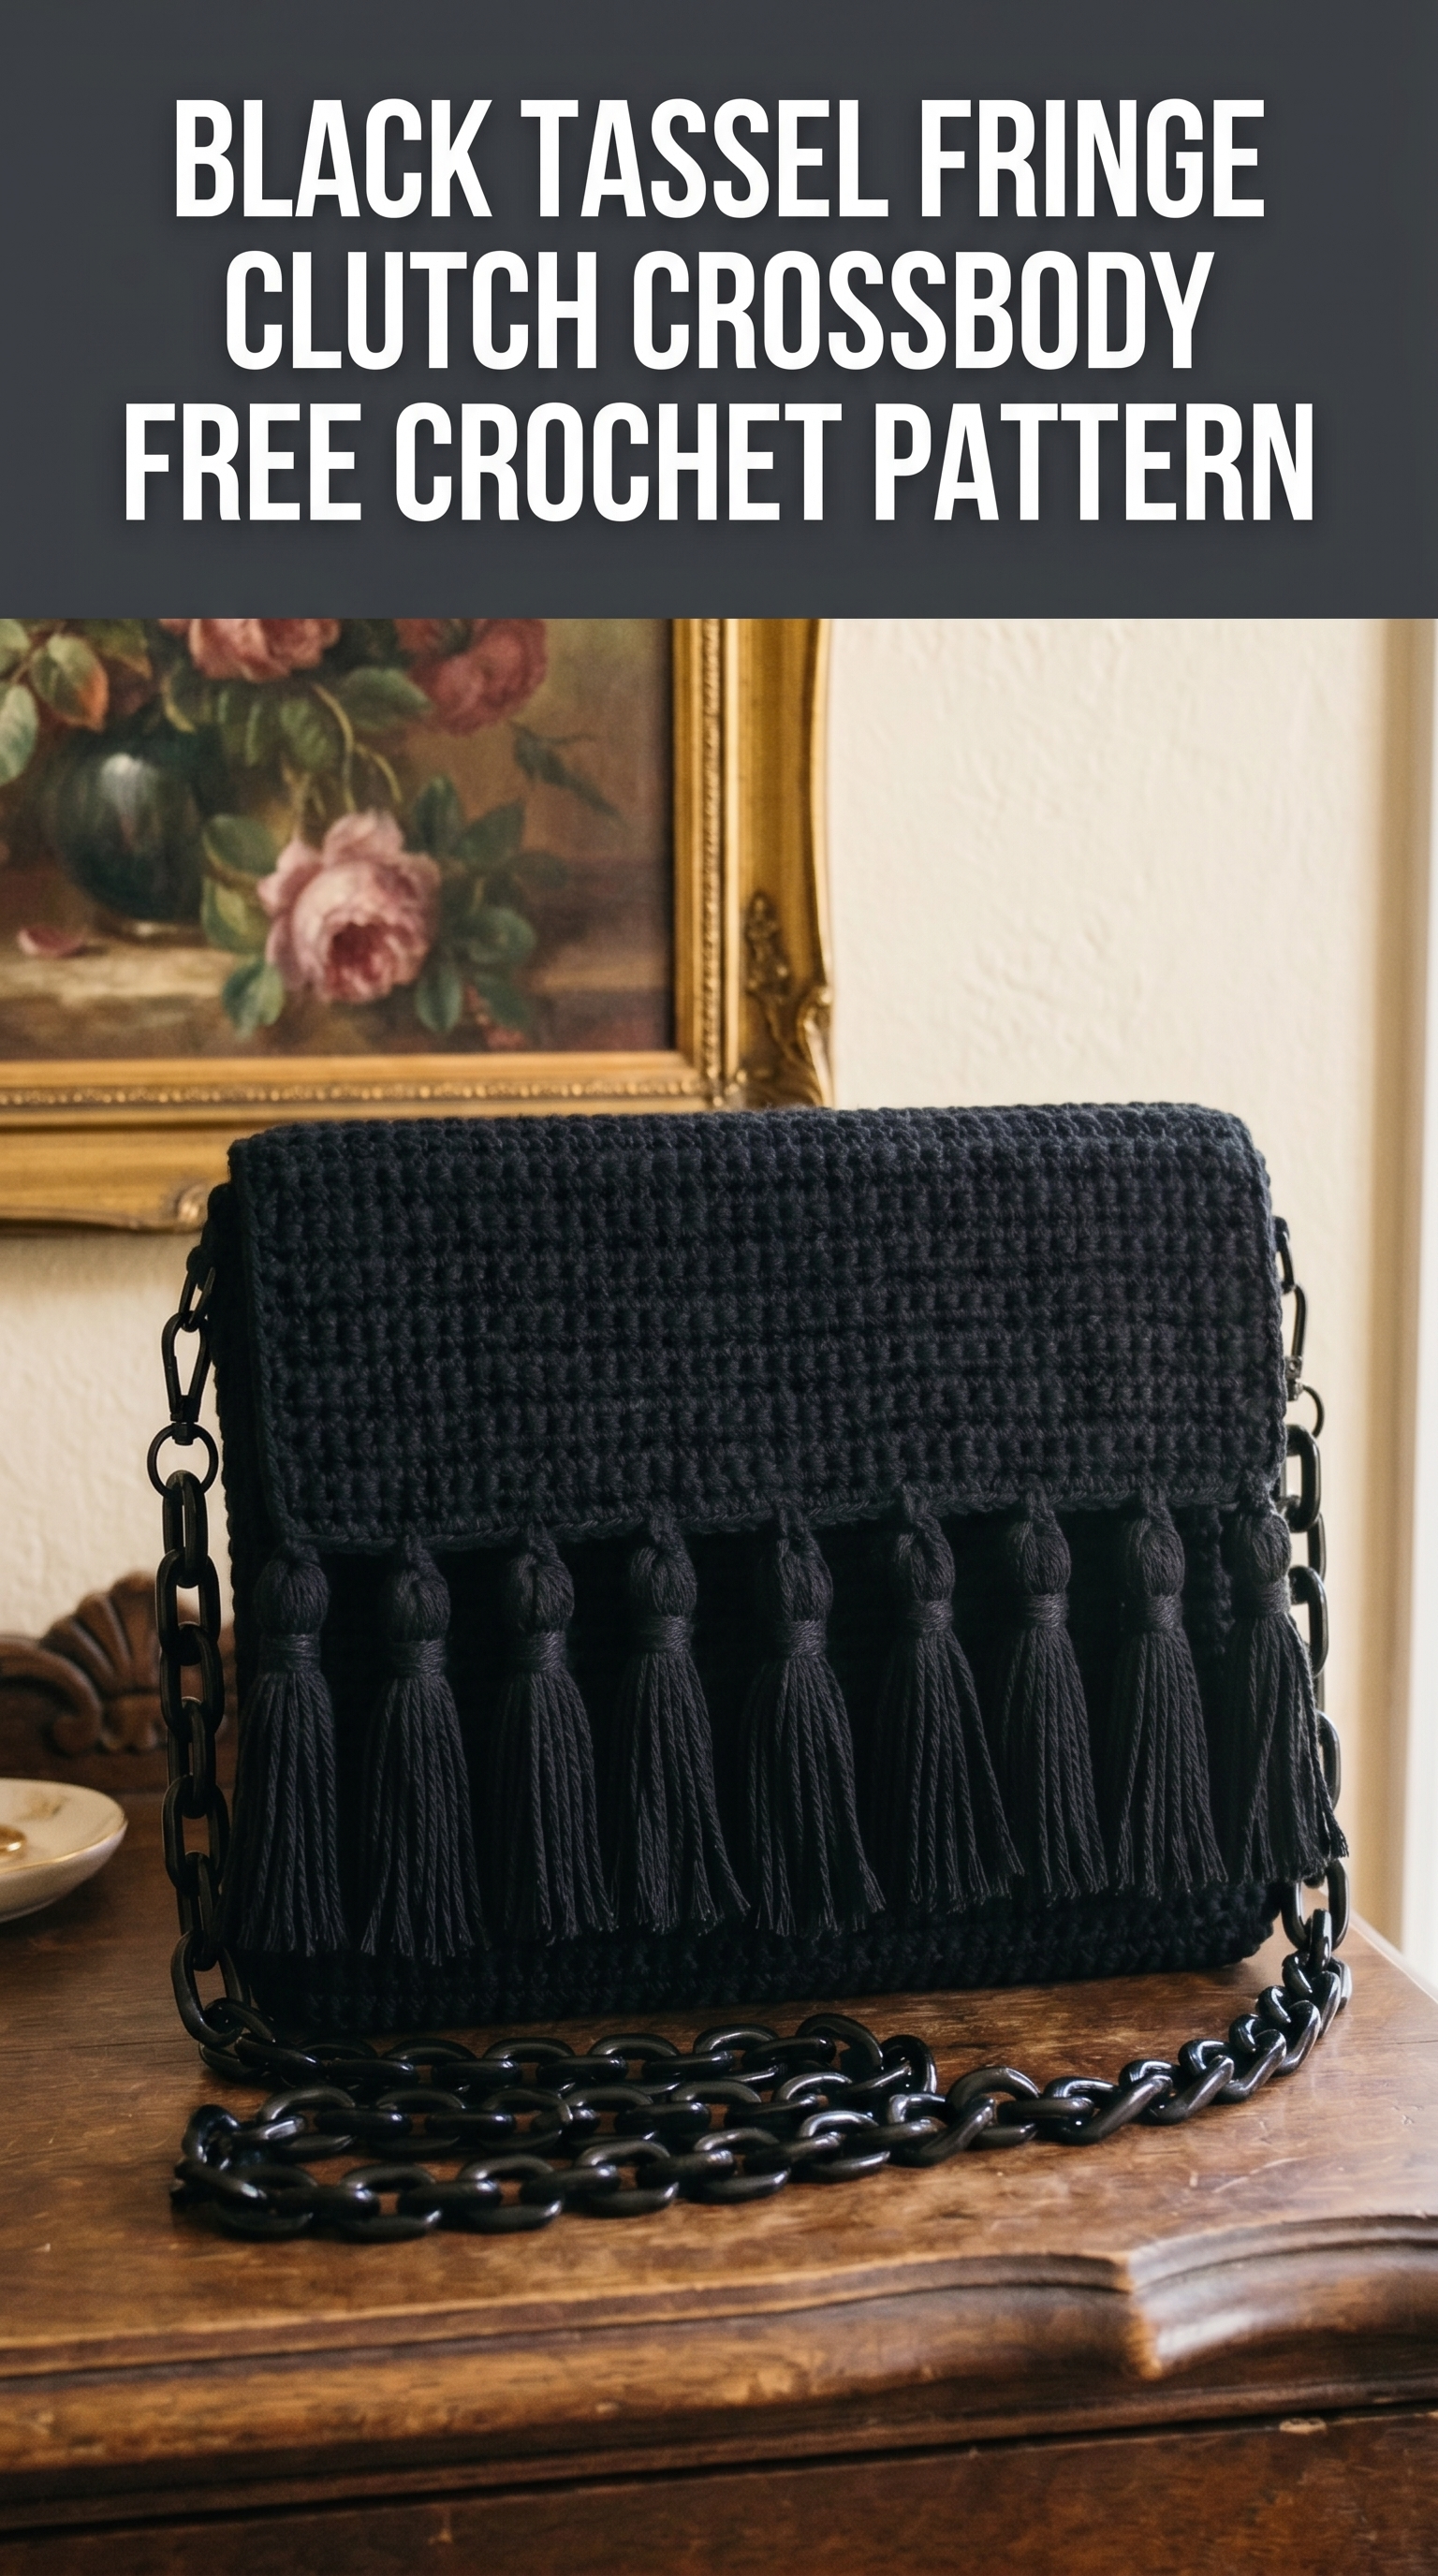
If you can work basic crochet stitches in rows and follow along step by step, you have everything you need. This crochet pattern walks you through the entire process, from the first chain to attaching that gorgeous fringe.
Let me show you how to create your own black tassel fringe clutch crossbody bag.
Why This Crochet Clutch Bag Pattern Works
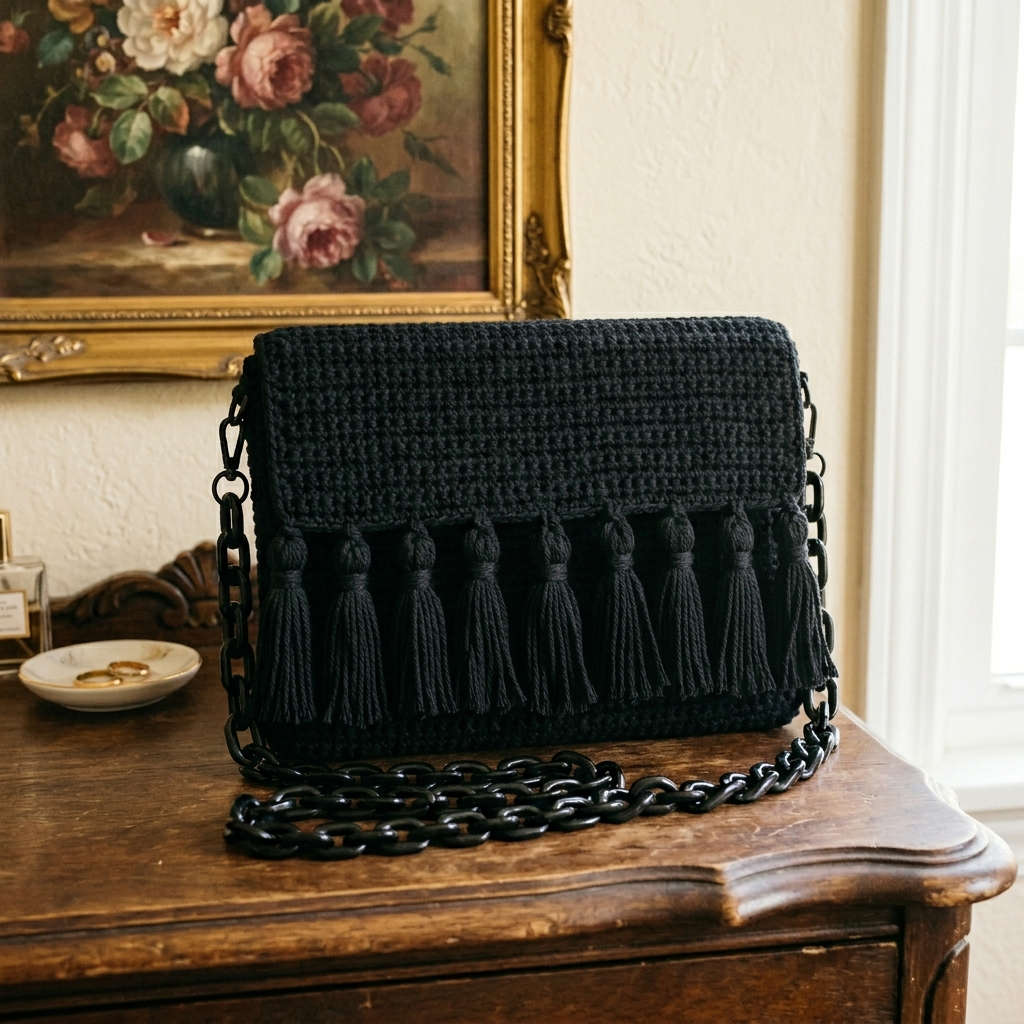
This bag hits the sweet spot between simple construction and striking results. The body uses a textured stitch pattern that creates those neat horizontal ridges you see in the photo. It looks complex but relies on stitches you probably already know.
The rectangular shape means no tricky shaping or increases to worry about. You work flat panels, seam them together, and add the decorative elements at the end.
What makes this bag special:
The finished bag measures approximately 9 inches wide by 6 inches tall when folded. Perfect for essentials like your phone, cards, keys, and lipstick.
Materials You Will Need
Gather these supplies before you start. Having everything ready makes the process so much smoother.
Yarn:
Hook:
Notions:
Optional additions:
Skill Level and Techniques
This crochet tutorial is intermediate beginner friendly. You should be comfortable with:
Stitches used in this pattern:
Chain (ch): The foundation stitch. Yarn over, pull through the loop on your hook.
Single Crochet (sc): Insert hook into stitch, yarn over and pull up a loop (2 loops on hook), yarn over and pull through both loops.
Single Crochet Through Back Loop Only (sc BLO): Work a regular single crochet, but insert your hook under only the back loop of the stitch below instead of both loops. This creates the ridged texture you see in the finished bag.
If you have never worked in the back loop only, do not worry. I explain it fully in the pattern below.
Gauge Information
Gauge: 16 stitches and 18 rows = 4 inches in single crochet through back loop only
Gauge matters for this project because it affects your final bag size. If your gauge is off, your bag will be too big or too small.
Work a quick swatch before starting. Chain 20, work 20 rows in sc BLO, then measure. Adjust your hook size up or down as needed.
Understanding Back Loop Only Crochet
This is the technique that gives the bag its beautiful ridged texture. Here is exactly how it works.
Every crochet stitch has two loops at the top that look like a little V. When you work normally, you insert your hook under both loops. When you work back loop only (BLO), you insert your hook under just the loop that sits furthest from you.
The front loop (the one closest to you) stays unworked and creates that raised horizontal ridge on the right side of your fabric.
Pro tip: The ridges should appear on the side facing you as you work. If they are forming on the back, you are accidentally working in the front loop instead.
Black Tassel Fringe Clutch Crossbody Crochet Pattern Instructions
Now for the step by step pattern. Take your time and count your stitches at the end of each row until you get into a rhythm.
Main Body Panel (Make 1)
The body is worked as one long rectangle that folds into the bag shape.
Row 1: Ch 37. Sc in 2nd ch from hook and in each ch across. Turn. (36 sts)
Row 2: Ch 1 (does not count as a stitch throughout). Sc BLO in each st across. Turn. (36 sts)
Rows 3 through 54: Repeat Row 2. (36 sts)
You should have a rectangle approximately 9 inches wide and 12 inches tall.
Fasten off and weave in your ends.
Checking your work: Count your stitches every few rows. You should always have exactly 36 stitches. If you have more or less, you likely added or skipped a stitch at the row edges.
Folding and Seaming the Bag
This is where your rectangle becomes a bag. Lay your panel flat with the ridges facing up (this is your right side).
Step 1: Fold the bottom edge up about 5 inches. This creates the pocket of the bag.
Step 2: Fold the top edge down to create the flap. The flap should overlap the front of the bag by about 2 inches.
Step 3: Using your tapestry needle and matching yarn, whip stitch the side seams closed from the bottom fold up to where the flap begins. Work through both layers, keeping your stitches neat and even.
Whip stitch refresher: Hold the two edges together. Insert your needle from back to front through both layers, pull yarn through, then repeat. Space your stitches about 1/4 inch apart.
Leave the flap unattached so it opens and closes freely.
Tassel Fringe (Make 9)
The tassels are what really make this bag special. They are easier to make than they look.
Step 1: Cut a piece of cardboard about 3 inches tall.
Step 2: Wrap yarn around the cardboard 25 times. More wraps equal fuller tassels. Less wraps equal thinner tassels. Adjust to your preference.
Step 3: Cut a 10-inch length of yarn. Thread it under the wrapped yarn at the top of the cardboard and tie a tight knot. This is your hanging loop.
Step 4: Carefully slide the wrapped yarn off the cardboard.
Step 5: Cut through all the loops at the bottom.
Step 6: Cut another 8-inch length of yarn. Wrap it tightly around the tassel about 1/2 inch below the top knot, wrapping 5 to 6 times. Tie securely. This creates the “neck” of the tassel.
Step 7: Trim the bottom of the tassel so all the strands are even.
Step 8: Repeat to make 9 tassels total.
Helpful hint: Making tassels is weirdly meditative. Put on a show and make them assembly line style. Wrap all 9 first, then tie all the tops, then do all the necks.
Attaching the Tassel Fringe
Space your 9 tassels evenly across the flap, about 1 inch up from the bottom edge of the flap.
To attach each tassel:
Thread the two hanging loop ends onto your tapestry needle. Insert the needle from front to back through the fabric, pull the yarn through, then tie a secure knot on the inside of the bag. Trim excess.
Space the tassels approximately 1 inch apart. The exact spacing depends on your gauge, so lay them out first before attaching to make sure they look even.
Adding the Chain Strap
The chain strap transforms this from a clutch to a crossbody. You can find acrylic chains at craft stores, Amazon, or bag hardware suppliers.
Step 1: Attach a jump ring or D-ring to each top corner of the bag. You can either sew it directly to the side seam or create a small crocheted loop to hold it.
To make a chain attachment loop (optional):
Ch 8, join to the corner of your bag with a slip stitch, sl st back across the chain to reinforce. Fasten off. Thread your D-ring through this loop before closing it.
Step 2: Attach your chain to the D-rings. Most chains have lobster clasps or open links that make this easy.
Strap length tip: Hold the chain up to your body before cutting or attaching to find your ideal length. Crossbody length is typically 45 to 50 inches. Shoulder length is around 25 to 30 inches.
Optional Finishing Touches
Want to take your bag to the next level? Consider these additions.
Fabric lining: Cut two pieces of fabric to match your front and back panels. Sew them together, slip inside the bag, and hand stitch around the top edge. Lining hides your yarn ends and adds polish.
Magnetic snap: Install a magnetic closure on the flap and body before seaming for a secure close.
Blocking: Wet block your panels before assembly for crisp, professional edges.
Fabric stiffener: Spray the finished bag with fabric stiffener if you want extra rigidity.
Troubleshooting Common Issues
My bag is floppy: Your gauge is likely too loose. Try going down a hook size or switching to a stiffer yarn like 100% cotton.
My ridges are on the wrong side: Double check that you are working in the back loop, not the front loop.
My tassels look sparse: Add more wraps when making them. 30 to 35 wraps creates a very full tassel.
The sides do not line up when seaming: Count your rows. Both side edges should have the same number of rows.
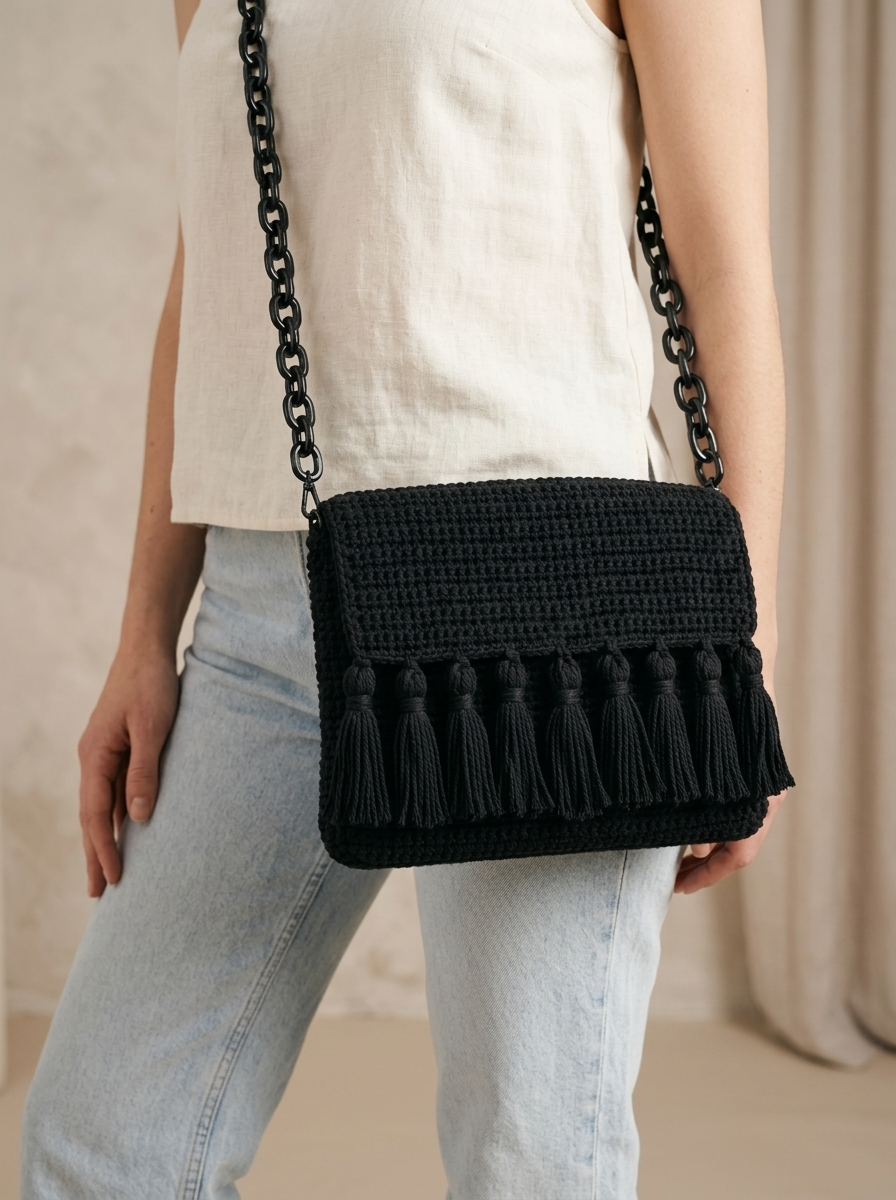
Styling Your Black Tassel Fringe Clutch Crossbody
This bag goes with everything. Wear it crossbody for hands-free convenience, or remove the chain and carry it as an evening clutch.
The black color keeps it versatile, but imagine this design in:
Once you make one, you will want to make more.
You Made It
Thank you so much for choosing this pattern for your next project. I genuinely hope you love making this bag as much as I loved designing it.
When you finish yours, I would absolutely love to see it. Tag me on Instagram or share your photo in my Facebook group. Seeing your creations is honestly the best part of sharing patterns.
Happy crocheting, friend. You have got this.
