This barrel bag uses basic single crochet worked in the round. Two crocheted discs frame rose printed fabric panels on each end. Gold hardware and wrapped handles give it a polished finish. If you can make a magic ring and crochet a flat circle, you can make this bag.
Get the Ad-Free PDF Pattern
You can find the free pattern below, or you can purchase the ad-free printable PDF from my shop.
Get the Printable PDF →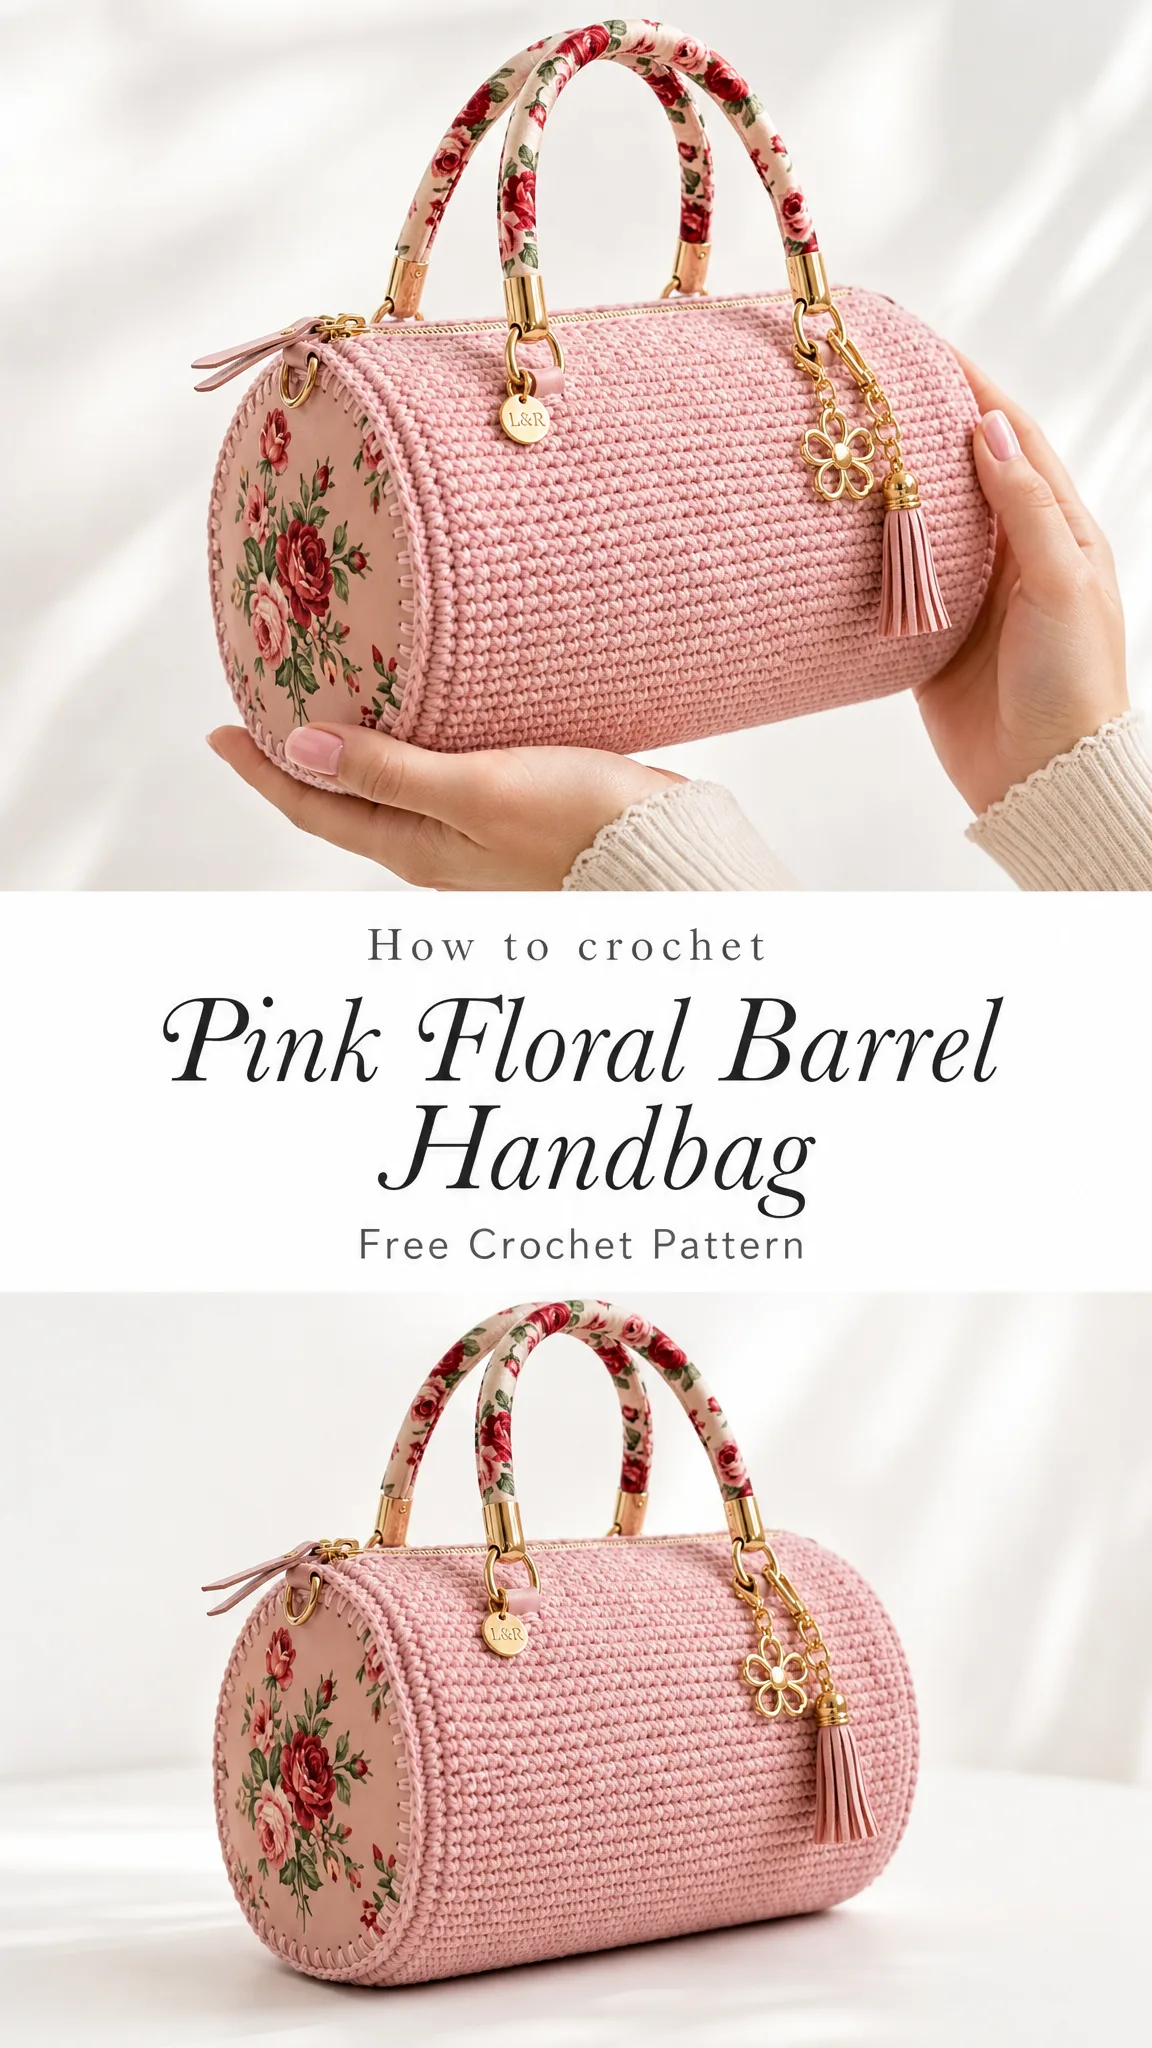
The Floribelle Barrel Bag pairs soft blush pink cotton yarn with pretty floral accents for a handbag that looks like it came from a boutique. The construction is straightforward. You will crochet two flat circles for the ends, one straight tube for the body, then seam everything together and add the finishing touches.
Why This Pattern Works for Confident Beginners
Every single round of this bag uses plain single crochet (sc). That means you insert your hook, yarn over, pull through, yarn over again, and pull through both loops. No fancy stitches to learn. No complicated colorwork.
The step up from true beginner level comes in the finishing. You will whip stitch the end circles to the body, attach a zipper by hand, and secure hardware. These tasks require patience and attention to detail rather than advanced crochet skills. Take your time with the seams. They give the bag its professional, boutique quality finish.
Materials and Tools You Will Need
Yarn
You need worsted weight or Aran weight cotton yarn in a soft blush pink. Plan for approximately 400 yards (365 meters) total. This works out to roughly two skeins depending on your brand.
Good yarn choices include:
Any sturdy worsted or Aran cotton works well. Avoid soft, drapey acrylic. This bag relies on firm fabric to hold its barrel shape.
Hooks and Notions
Hardware and Trims
Gauge and Sizing Information
Gauge: 16 sc by 18 rounds equals 4 inches (10 cm), worked firmly in single crochet.
A tight, dense fabric is the goal here. It keeps the barrel from sagging under the weight of your belongings. Please make a swatch before starting. Work a flat 4 inch square in single crochet and check your gauge. If your fabric feels loose or floppy, go down a hook size.
Finished Measurements
| Measurement | Size |
|---|---|
| Finished length | 7.5 inches (19 cm) |
| Finished diameter | 5.25 inches (13.3 cm) |
| Body circumference | 16.5 inches (42 cm) |
The project takes approximately 8 to 12 hours to complete, depending on your pace.
Abbreviations and Stitch Guide
This pattern uses US crochet terms. If you typically work from UK patterns, remember that US single crochet equals UK double crochet.
Special Stitches Explained
Magic Ring (MR): Loop yarn over your fingers with the tail behind the working yarn. Work round 1 into the loop, then pull the tail to close the hole completely.
Increase (inc): Work 2 single crochet stitches into the same stitch. This adds one stitch to your count.
Foundation Single Crochet (FSC): A chain and its first sc worked together in one motion. This gives you a flexible starting edge without needing a separate base chain.
Invisible Decrease (inv dec): Insert your hook into the front loops only of the next 2 stitches. Yarn over and pull through those 2 loops. Yarn over and pull through both remaining loops. This creates one neat decrease that blends into the fabric.
Whip Stitch Seam: Hold both edges together. Pass the needle through both edge loops from front to back. Repeat evenly around for the visible decorative join you see on the finished bag.
The End Circles: Make Two
These two flat discs frame the floral panels and become the round ends of your barrel. Work in continuous spiral rounds. Do not join or turn at the end of each round. Place a stitch marker in the first stitch and move it up as you work each round.
| Round | Instruction | Stitch Count |
|---|---|---|
| 1 | 6 sc in MR | 6 |
| 2 | inc in each st around | 12 |
| 3 | [1 sc, inc] repeat 6 times | 18 |
| 4 | [2 sc, inc] repeat 6 times | 24 |
| 5 | [3 sc, inc] repeat 6 times | 30 |
| 6 | [4 sc, inc] repeat 6 times | 36 |
| 7 | [5 sc, inc] repeat 6 times | 42 |
| 8 | [6 sc, inc] repeat 6 times | 48 |
| 9 | [7 sc, inc] repeat 6 times | 54 |
| 10 | [8 sc, inc] repeat 6 times | 60 |
| 11 | [9 sc, inc] repeat 6 times | 66 |
Fasten off the first disc, leaving a long tail for seaming later. Repeat all 11 rounds for the second disc.
Checkpoint: Each disc should be completely flat and measure approximately 5.25 inches (13.3 cm) across with 66 stitches around the edge. If your disc cups upward, your tension is too tight. Try relaxing or going up a hook size. If it ruffles, your tension is too loose. Go down a hook size.
Attaching the Floral Panels
1. Center a 5 inch (12.7 cm) printed panel on the wrong side of one disc.
2. Pin in place, then whip stitch the panel’s edge to round 11 using sewing thread. Leave the crochet rim showing as a pretty border around the floral fabric.
3. Repeat for the second disc.
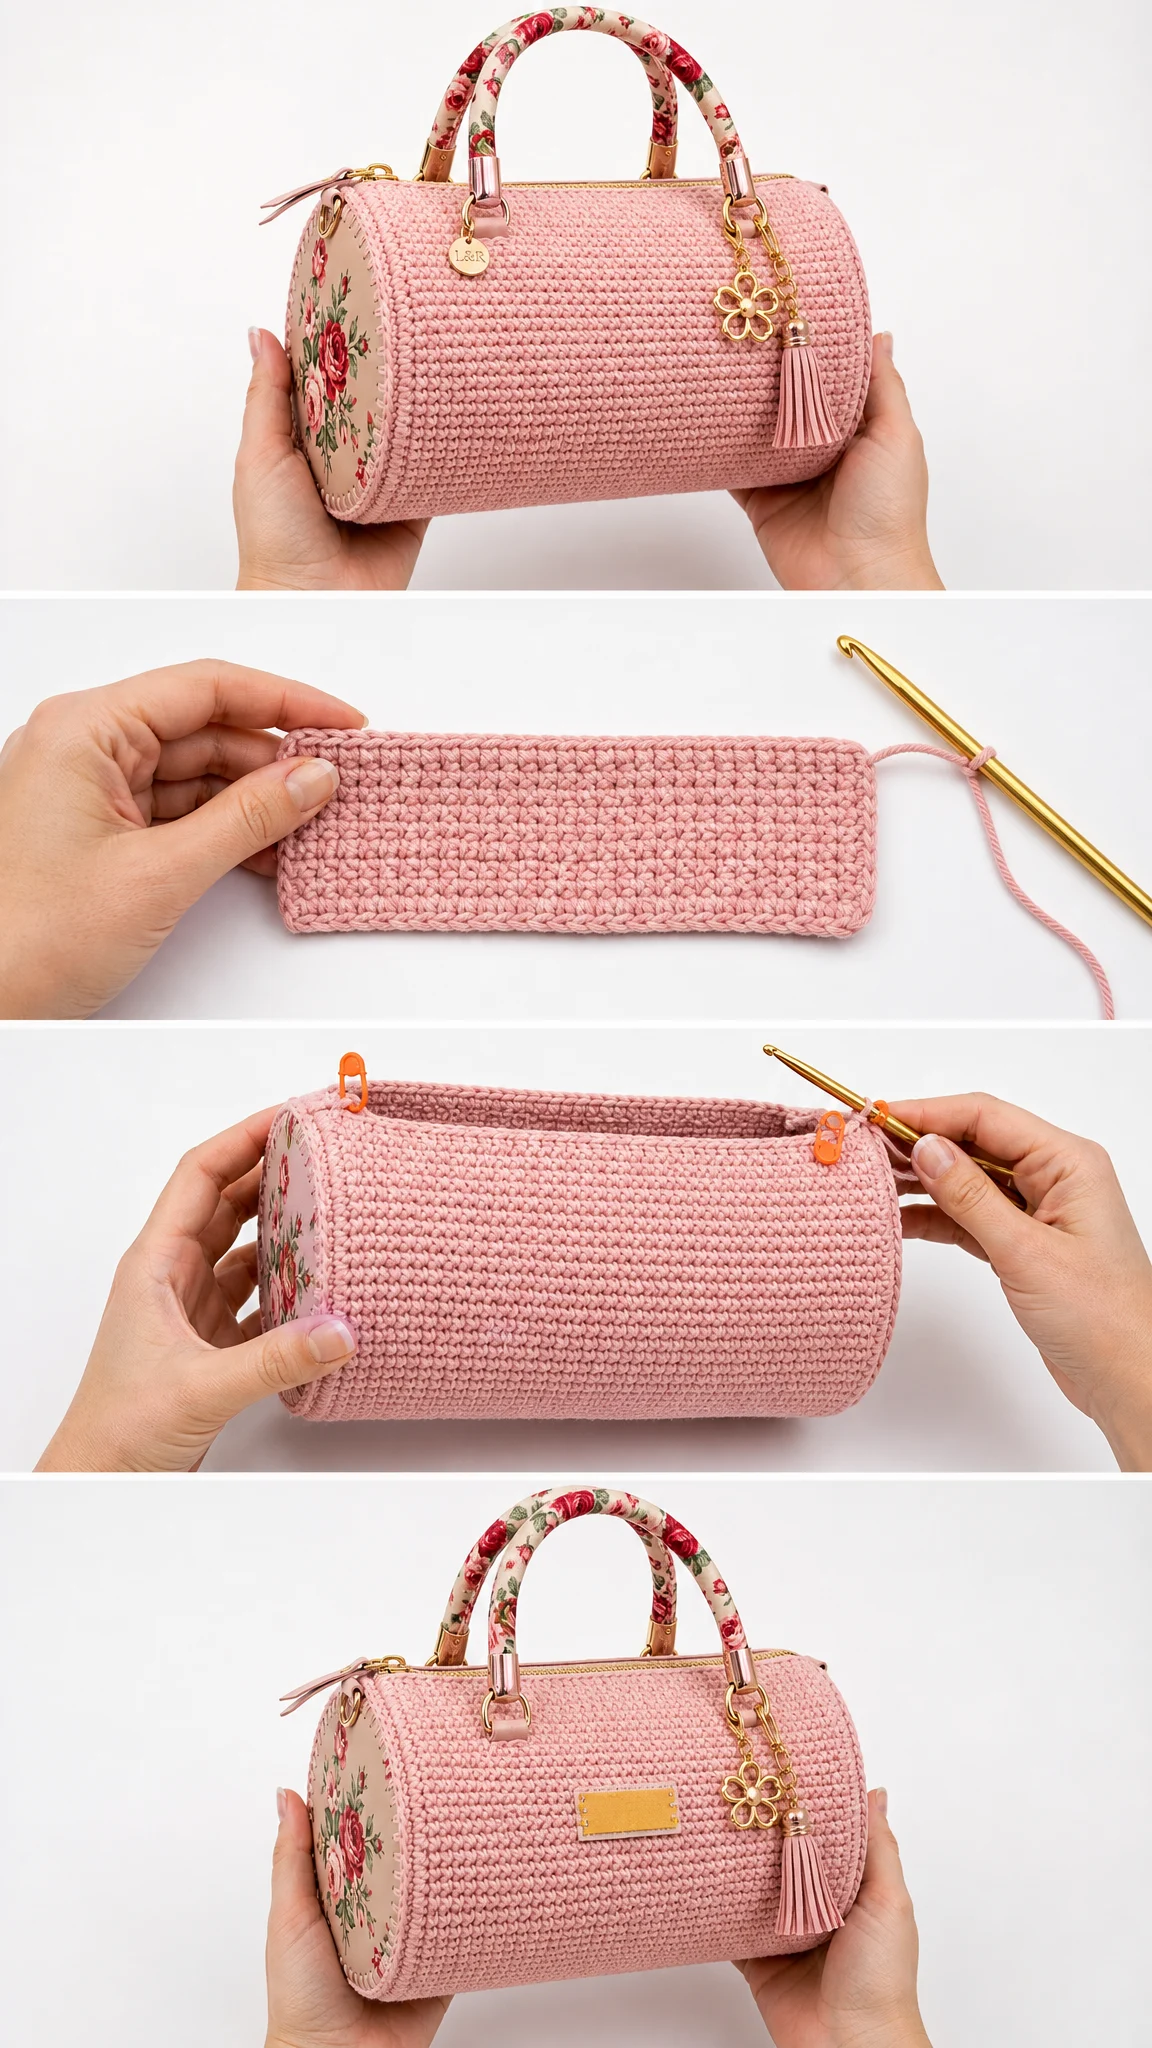
The Barrel Body
The body is a simple straight tube of single crochet. It uses the same 66 stitch count as the discs so the pieces meet edge to edge with no puckering.
Foundation Round
Work 66 FSC (foundation single crochet). Without twisting, join with a slip stitch to the first stitch to form a ring. You now have 66 sc in a circle.
Place a marker in the first stitch.
Rounds 1 through 34
Work sc in each st around with no increases and no decreases. Maintain 66 stitches every round.
Because there is no shaping, the tube grows straight up. Tug gently after each round so they stack evenly.
After round 34, your tube should measure approximately 7.5 inches (19 cm) long and 16.5 inches (42 cm) around.
Fasten off, leaving a tail for seaming.
Checkpoint: Lay the tube flat. It should measure 8.25 inches (21 cm) wide when folded, which is half of 16.5 inches. Both open ends should have exactly 66 stitches, matching each disc perfectly for 1 to 1 seaming.
Assembly and Hardware
Step 1: Join the End Circles to the Body
1. Hold one disc against one open end of the tube with edges aligned. Your 66 disc stitches will match up with the 66 body stitches.
2. Whip stitch all the way around using the matching yarn tail. This creates the decorative ridge you see on the finished bag.
3. Before fully closing the second end, this is the moment to add a fabric lining if you want one.
4. Attach the second disc the same way.
Step 2: Install the Zipper
1. Mark a 9 to 10 inch (23 to 25 cm) opening along the top of one long side.
2. Hand sew the zipper tape under the top edge with small backstitches. Ease the fabric so the body lies smooth.
Step 3: Attach Handles and Rings
1. Position the two wrapped handles symmetrically across the zipper.
2. Secure the gold handle caps to the body with rivets, or stitch the base tabs firmly through the fabric.
3. Attach the 4 D rings at the handle bases. Clip the removable strap to the end rings.
Step 4: Add the Charm
Clip the tassel and flower charm to a front D ring. Place it wherever it pleases you, either centered or off to one side.
Size Customization Options
| If You Want | Do This |
|---|---|
| A longer barrel | Add rounds to the body in pairs. Each 2 rounds adds approximately 0.5 inch (1 cm) |
| A wider bag | Add disc rounds. Each round adds 6 stitches and requires bigger panels |
| A firmer bag | Add a fabric lining with interfacing inside |
Finishing and Care Instructions
Blocking
Cotton barely needs blocking. You can gently steam the discs flat before assembly if needed. Lightly stuff the finished barrel with tissue paper to set its round shape for a day.
Care Guidelines
Troubleshooting Common Issues
| Problem | Solution |
|---|---|
| Disc cups upward | Tension too tight. Go up a hook size or relax your grip |
| Disc ruffles | Tension too loose. Go down a hook size |
| Bag sags | Add a lining with interfacing. Check that gauge is firm |
| Ends don’t match tube | Recount. Both must be exactly 66 stitches |
| Seam puckers | Space whip stitches evenly, one per stitch |
Tips for Left Handed Crocheters
Work every round in the mirror image. Read increase placements right to left and turn your circle clockwise instead of counterclockwise. The stitch counts stay identical.
Final Notes on This Crochet Barrel Bag Pattern
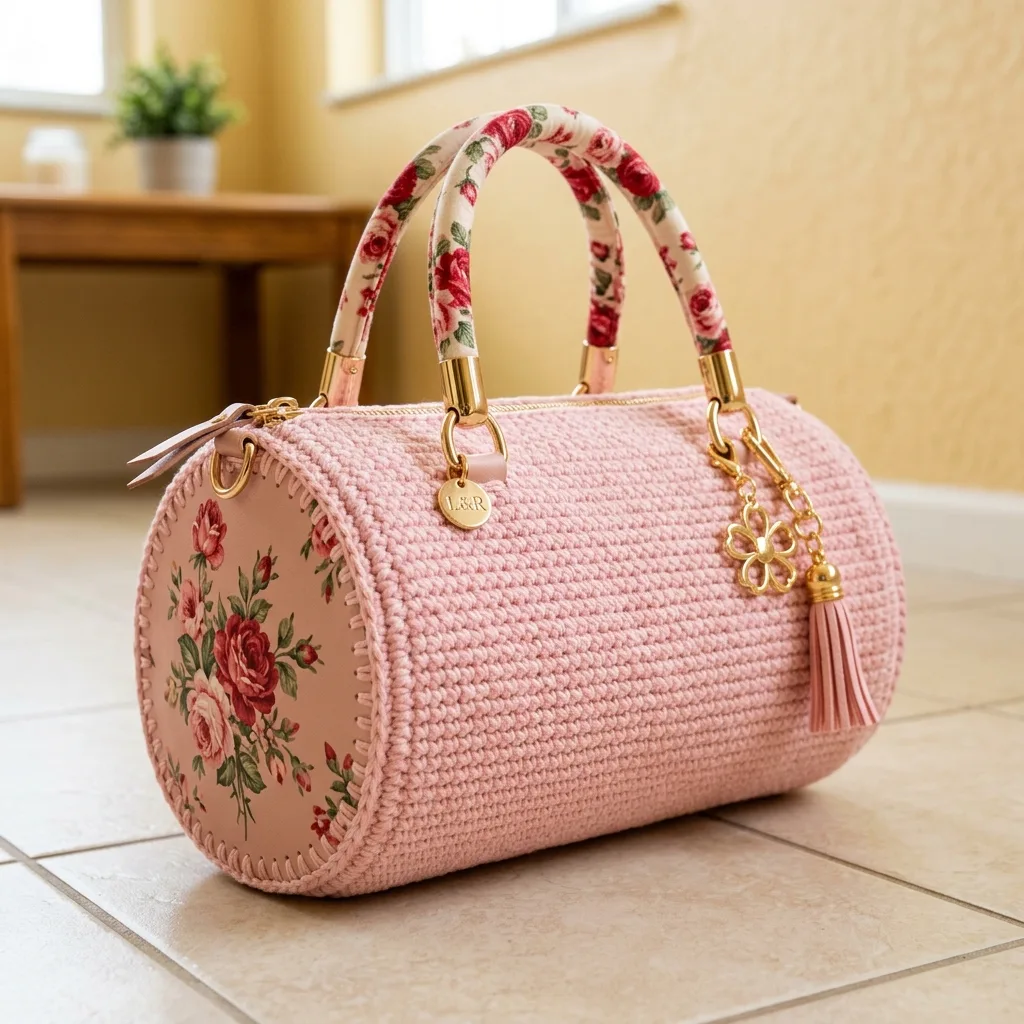
This structured cylindrical handbag makes a lovely gift or a treat for yourself. The single crochet fabric holds up beautifully to everyday use, and the gold hardware elevates the whole look. I designed every checkpoint in this pattern to help your bag come together smoothly.
Your finished bag should measure 7.5 inches (19 cm) long and 5.25 inches (13.3 cm) across the ends. It should stand firmly as a little barrel with a smooth top zipper.
Work at a calm pace and enjoy the process. The repetitive single crochet rounds are wonderfully meditative, and watching the barrel take shape is so satisfying.
I hope you love making this pink floral barrel handbag as much as I loved designing it. If you want to come back to this pattern later, go ahead and save it to your Pinterest boards. And please leave a comment below if you make one. I would absolutely love to see your finished bags!
Want a Quick & Easy Printable Version?
Get a clean, beautifully formatted PDF of this pattern — easy to follow step by step, ready to print or save on any device. No scrolling, no distractions, just the pattern.
Get the Printable PDF →