A cute little backpack can hold everything you need for a day out while keeping your hands free. This hot pink daisy drawstring backpack uses simple granny squares, basic single crochet stitches, and cheerful appliqué daisies to create something practical and pretty. It works up in about 10 to 16 hours over a few sittings, making it a satisfying weekend project. The finished bag measures 8 inches wide by 8 inches tall by 2¾ inches deep, perfect for carrying essentials without weighing you down. Whether you are making this for yourself, a teen in your life, or as a handmade gift, this pattern delivers a project that looks impressive but stays beginner friendly.
Get the Ad-Free PDF Pattern
You can find the free pattern below, or you can purchase the ad-free printable PDF from my shop.
Get the Printable PDF →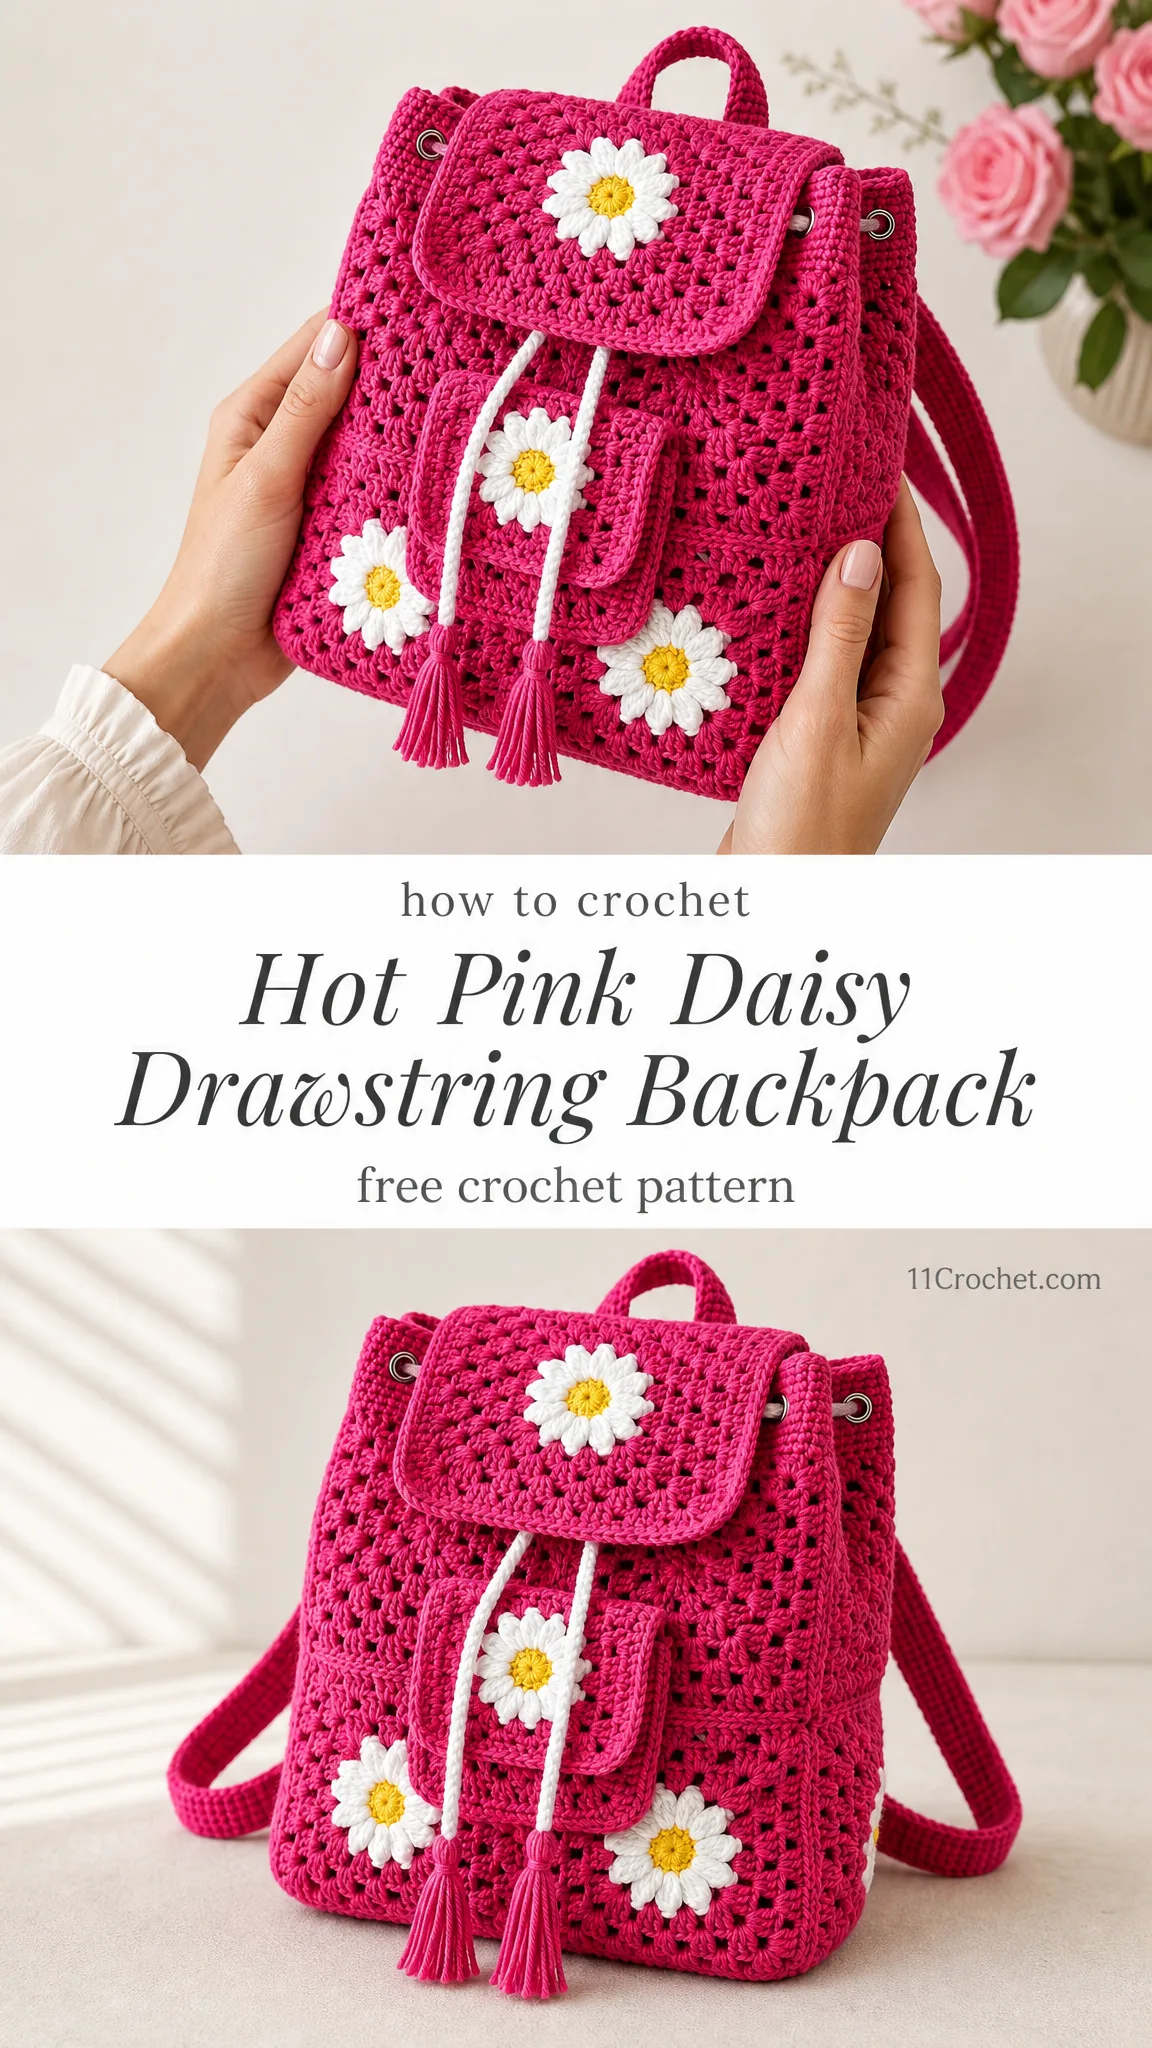
Why You Will Love This Crochet Backpack Pattern
This granny square backpack combines classic crochet techniques with modern style. The construction is straightforward: you make 34 individual squares, join them into a boxy shape, add straps and a drawstring band, then finish with adorable daisy appliqués. If you can make a basic granny square, you can absolutely make this bag.
The hot pink cotton yarn gives the backpack a vibrant, eye-catching look, while the white and yellow daisies add a sweet springtime touch. Cotton yarn is ideal here because it holds its shape well and feels lightweight on your shoulders.
What makes this pattern especially approachable is the repetition. You are making the same simple three-round square 34 times. By the fifth or sixth square, your hands will know exactly what to do. That repetitive rhythm is perfect for crocheting while watching TV or chatting with friends.
Materials You Will Need
Gathering your supplies before you start keeps the process smooth. Here is everything you need:
Yarn (Worsted Weight #4, Cotton or Cotton Blend):
Hook:
Notions:
Suggested Yarn Brands
Any smooth worsted weight cotton works beautifully for this project. Here are some excellent options:
Substitution tip: Mercerized cotton gives crisp daisies and helps the bag hold its shape. A cotton-acrylic blend feels softer and lighter if you prefer a more relaxed drape.
Gauge
Getting gauge right matters for this project because it determines your final bag size.
One granny square should measure 2¾ inches / 7 cm square after 3 rounds.
For plain single crochet fabric: 16 stitches × 18 rows = 4 inches / 10 cm.
Please swatch first! Make one granny square and measure it. If your square is larger than 2¾ inches, try a smaller hook. If it is smaller, go up a hook size. Matching gauge keeps your finished bag close to the dimensions shown.
Abbreviations (US Terms)
This pattern uses US crochet terminology. Here is a quick reference:
UK crocheters: In UK terms, sc = dc and dc = tr. All other abbreviations remain the same.
Special Stitches Explained
Granny Cluster (3-DC Cluster)
This is the building block of your squares. Work 3 double crochet stitches into the same chain space. Between clusters along a side, chain 1. In each corner space, work (3 dc, ch 2, 3 dc) to create the corner turn.
Daisy Petal
Into one stitch, work: slip stitch, chain 3, 2 double crochet, chain 3, slip stitch. All of these go into the same stitch. This creates one rounded petal. You will repeat this in every stitch around to form the complete flower.
Left-handed makers: Work every round in the mirror direction (left to right). Granny squares and daisies are symmetrical, so your pieces will match the photos perfectly.
Pattern Notes Before You Begin
How to Make the Granny Squares
Make 34 squares total in your hot pink main color. Each square has just three quick rounds.
Round 1
Chain 4, join with a slip stitch to form a ring. Chain 3 (this counts as your first double crochet), work 2 dc in the ring, then [ch 2, 3 dc in ring] three times, ch 2, slip stitch to the top of the ch-3 to join.
Stitch count: 4 clusters
Round 2
Slip stitch into the next ch-2 corner space. Chain 3, work (2 dc, ch 2, 3 dc) in the same corner. In each remaining corner, work (3 dc, ch 2, 3 dc), with ch 1 between corners. Join with a slip stitch.
Stitch count: 8 clusters
Round 3
In each corner space, work (3 dc, ch 2, 3 dc). Along each side, work 3 dc in the ch-1 space with ch 1 on either side. Join, fasten off, and leave a tail for seaming.
Stitch count: 12 clusters
Checkpoint
Each finished square should measure about 2¾ inches / 7 cm across and lie perfectly flat. If your squares are curling or uneven, blocking will help tremendously.
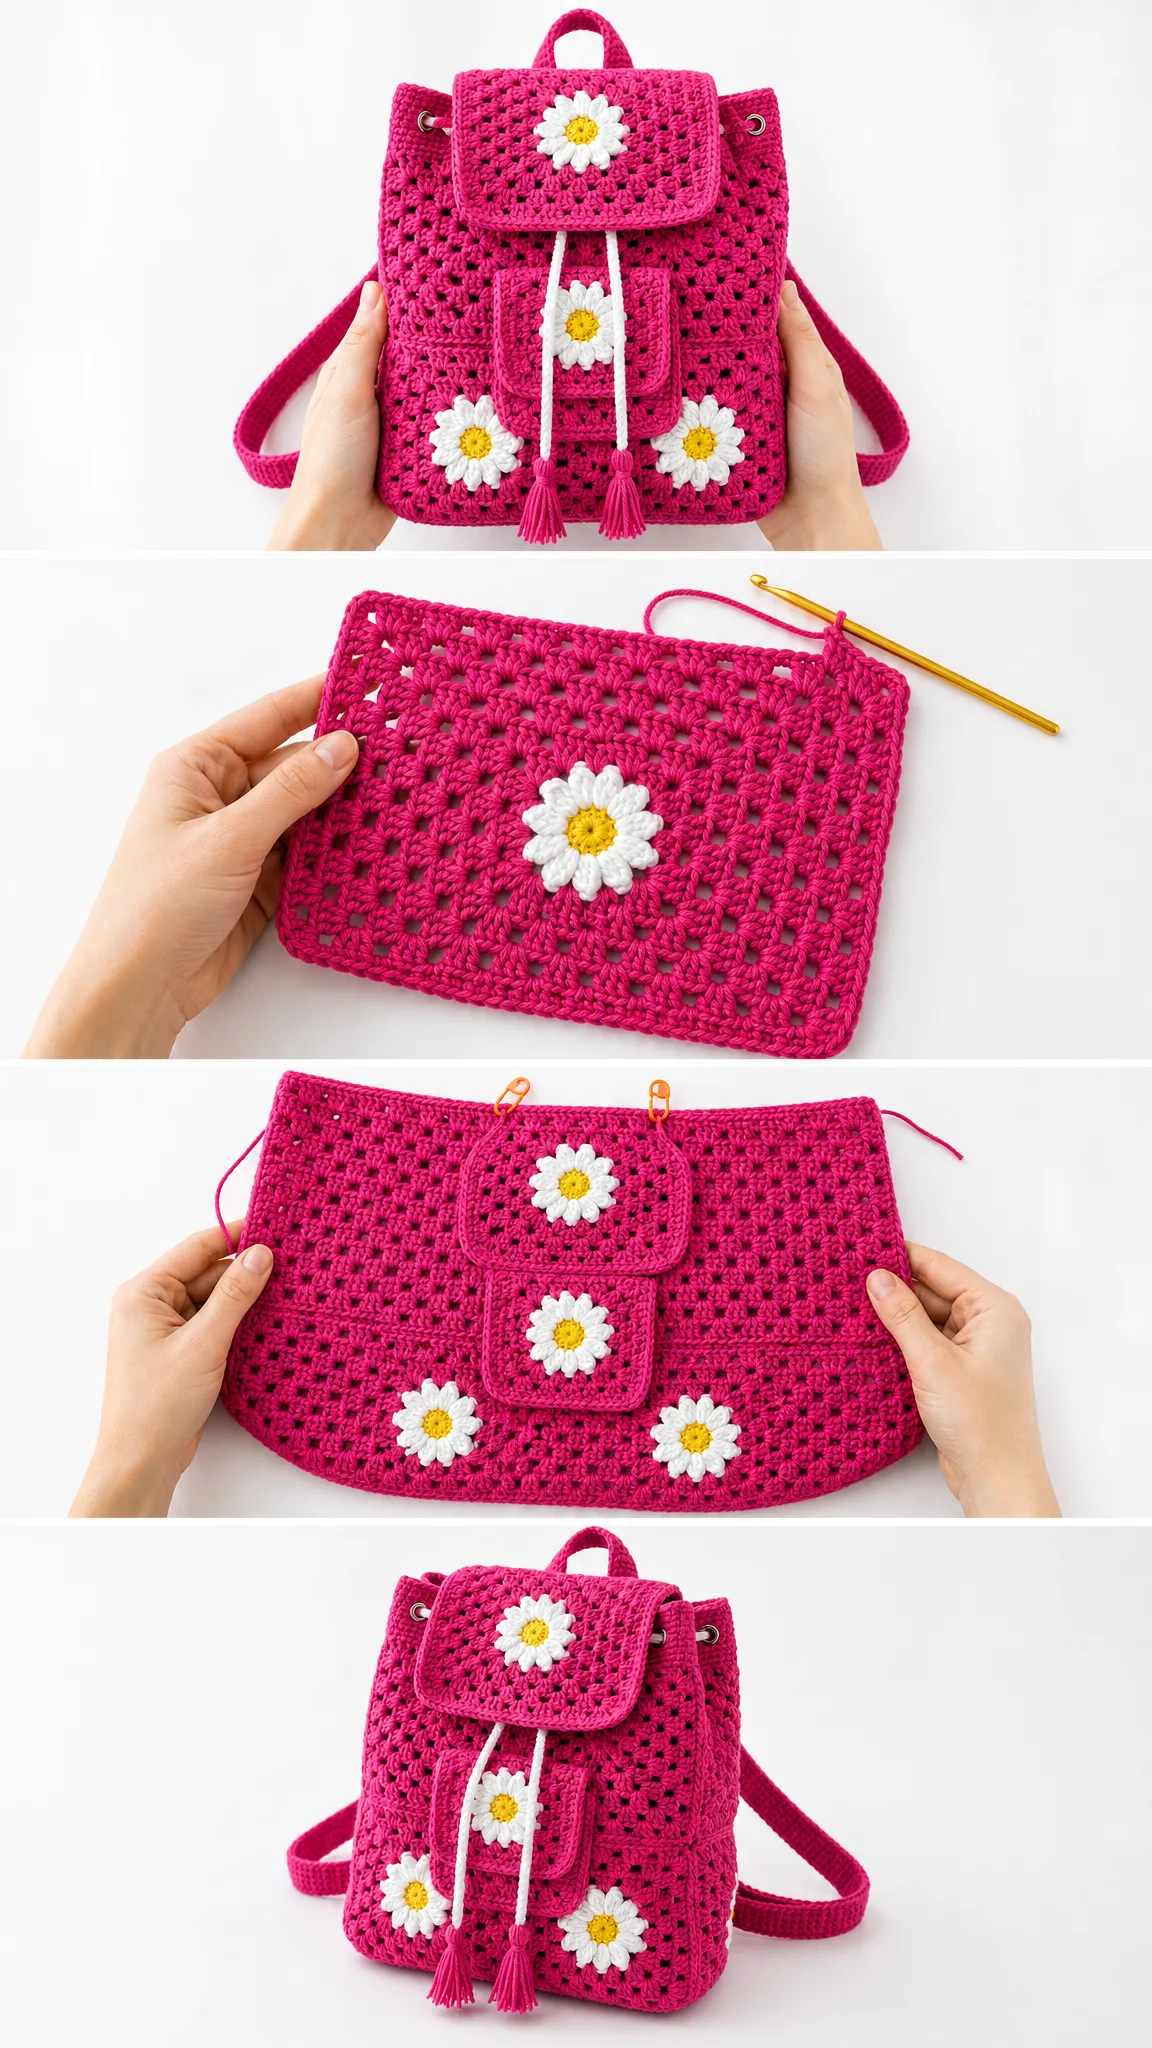
Building the Body, Base, and Flap
Now comes the fun part: turning your pile of squares into an actual backpack!
Step 1: Lay Out Your Panels
Organize your 34 squares into these groupings:
Step 2: Join the Squares
Hold two squares with wrong sides together. You have two joining options:
Option A (crochet join): Single crochet through both back loops along the edge.
Option B (sewn join): Whip stitch with a tapestry needle using your yarn tails.
Build the front, back, and side panels first by joining squares into their respective arrangements.
Step 3: Box It Up
Seam the base to the lower edges of the front, back, and side panels. Then close the four vertical side seams to form an open-topped box. Your backpack body should now stand on its own.
Step 4: Attach the Flap
Join your remaining 6 squares into a 3×2 rectangle. Seam the top edge of this rectangle to the back top edge of your body. The flap should fold over the opening.
Checkpoint
Your assembled body should measure about 8 inches wide, 8 inches tall, and 2¾ inches deep. It should stand on its own when filled.
Making the Daisies
Make 5 daisies total. These cheerful flowers are what give this backpack its personality!
Round 1 (Yellow)
Work 6 sc in a magic ring, join with a slip stitch.
Stitch count: 6 sc
Round 2 (Yellow)
Work 2 sc in each stitch around, join with a slip stitch. Fasten off yellow.
Stitch count: 12 sc
Round 3 (White)
Join white yarn. In each stitch, work one petal: (sl st, ch 3, 2 dc, ch 3, sl st). Repeat around.
Stitch count: 12 petals
Fasten off and weave in ends. Your daisy is complete!
Creating the Straps and Loop
Shoulder Straps (Make 2)
Chain 11. Single crochet in the 2nd chain from hook and across.
Row count: 10 sc
Continue working in rows until your strap measures approximately 22 inches / 56 cm, or your desired length.
Top Carry Loop
Work a small rectangle: 6 sc wide × approximately 3½ inches long.
Making the Drawstring Band
The drawstring band creates the cinched top of your backpack.
Round 1
Join yarn at the top opening. Single crochet evenly around the entire opening, aiming for 84 sc total. Join.
Round 2 (Eyelet Round)
Work [4 sc, ch 2, skip 2] around to create eyelets.
Stitch count: 14 eyelets
Round 3
Work 1 sc in each sc and 2 sc in each ch-2 space around. Join and fasten off.
Drawstring and Tassels
Make a 30-inch chain or twisted cord. Weave it through the eyelets. Tie a tassel to each end for a playful finish.
Tassel tip: Wrap yarn around a small piece of cardboard about 20 times, tie at the top, cut the bottom, and wrap yarn around the top to create the tassel head.
Assembly and Finishing
Step 1: Attach the Straps
Sew the two shoulder straps to the back panel. Position the tops near the upper edge and the bottoms at the base seam, angling them slightly outward.
Step 2: Add the Carry Loop
Stitch the carry loop centered at the top back edge, between the strap tops.
Step 3: Create and Attach the Pocket
Take your remaining single square and add a short sc gusset around three sides (bottom and two sides). Sew the pocket centered on the front panel.
Step 4: Appliqué the Daisies
Position and stitch your 5 daisies:
Use your tapestry needle and matching yarn to sew them securely in place.
Step 5: Final Finishing
Weave in all remaining ends. Block the bag lightly with a damp cloth and let it dry over a box or stuffed shape to help it hold its structure.
Final Checkpoint
Care Instructions
Hand wash your backpack in cool water. Reshape while damp and dry flat. Avoid wringing, which can distort the shape. A light steam helps restore crispness if needed.
Size Customization Tips
Want a bigger bag? Add a column or row of squares to each panel. Each square adds approximately 2¾ inches to your dimensions.
For the straps, simply work more or fewer rows to adjust the length to your preference.
Troubleshooting Common Issues
Squares vary in size? Block them all to match before joining. Pin each square to the correct dimensions on a blocking mat, spritz with water, and let dry.
Bag will not stand up on its own? Try mercerized cotton, which is stiffer, or add a fabric liner for structure.
Floppy top? Work the drawstring band with slightly tighter tension.
Final Thoughts on This Crochet Backpack Pattern
This hot pink daisy drawstring backpack crochet pattern proves that practical projects can also be absolutely adorable. The granny square construction keeps things interesting without being overwhelming, and those sweet daisy appliqués add a handmade charm that store-bought bags simply cannot match.
Whether you are new to crocheting bags or you have made dozens, this project offers just the right balance of simplicity and creativity. The repetitive squares are perfect for building muscle memory, while the assembly process teaches valuable construction skills you can use on future projects.
I hope you love making this backpack as much as I enjoyed designing it. The bright pink really does make me smile every time I see it, and those little daisies feel like carrying a tiny garden wherever you go.
If you make this backpack, I would absolutely love to see it! Save this pattern to your Pinterest boards so you can find it when you are ready to start, and please drop a comment below sharing your color choices or any questions you have along the way. Happy crocheting!
Want a Quick & Easy Printable Version?
Get a clean, beautifully formatted PDF of this pattern — easy to follow step by step, ready to print or save on any device. No scrolling, no distractions, just the pattern.
Get the Printable PDF →