Looking for a handmade gift that feels special without taking weeks to complete? This adorable strawberry charm bracelet works up in just a few hours and uses tiny amounts of yarn from your stash. The pattern combines basic amigurumi techniques with simple flower construction, making it perfect for confident beginners ready to try miniature work. Whether you’re making it for yourself, a friend, or a summer craft fair, this sweet little bracelet delivers big impact with minimal effort.
Why You’ll Love This Crochet Strawberry Bracelet Pattern
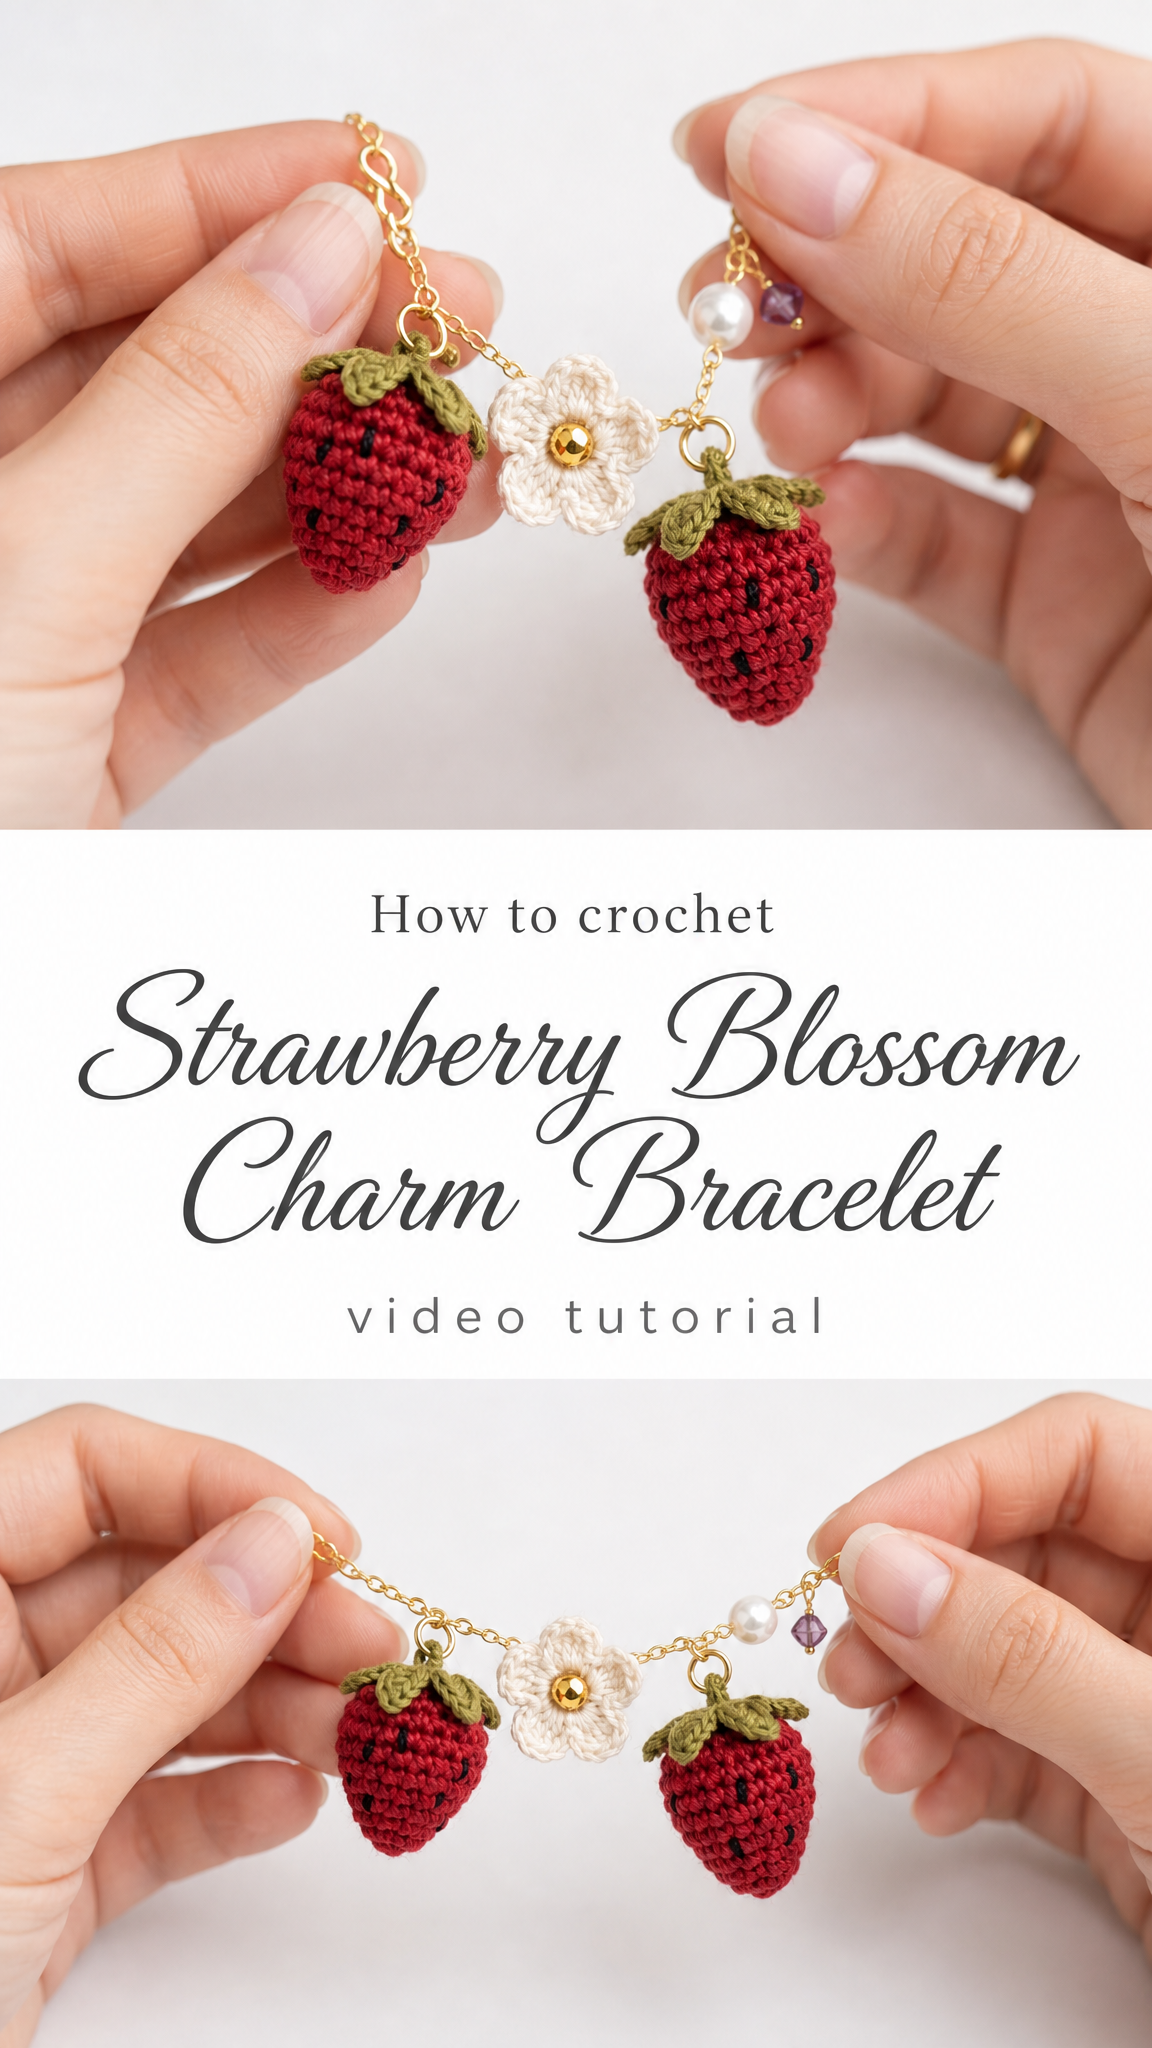
This crochet strawberry bracelet pattern brings together everything I adore about miniature crochet. The tiny stuffed strawberries dangle from a delicate gold chain alongside a sweet five-petal blossom. Black embroidered seeds add realistic detail, while olive green leaves give each berry an authentic look.
The best part? You only need scraps of yarn. If you’ve been holding onto small amounts of red, green, and cream thread, this is your project.
What makes this pattern special:
The finished bracelet has a cottage core aesthetic that’s absolutely on trend. Pair it with a sundress or give it to the strawberry lover in your life.
Skill Level
Intermediate beginner. You should be comfortable with working in the round and basic amigurumi increases and decreases. The pieces are small, which can feel fiddly at first, but the stitch counts are low and forgiving.
If you’ve never worked with crochet thread before, don’t worry. I’ll walk you through the adjustments. The techniques themselves are straightforward.
Finished Dimensions
Your dimensions may vary slightly based on your tension and yarn choice. Miniature work tends to run a bit larger or smaller depending on how tightly you crochet.
Materials Needed
Yarn
You’ll use less than 5 yards of each color. This is a true stash buster project.
Hook
Use whatever hook gives you a tight, sturdy fabric. Gaps will show stuffing, so err on the smaller side.
Notions
Abbreviations and Stitch Definitions
Let me break down every stitch you’ll encounter in this crochet tutorial.
Magic ring (MR): An adjustable starting loop that closes completely, leaving no hole. Wrap yarn around fingers, insert hook, pull up loop, chain one, then work stitches into the ring. Pull tail to close.
Chain (ch): Yarn over, pull through loop on hook. Creates foundation or adds height.
Single crochet (sc): Insert hook into stitch, yarn over and pull up a loop (2 loops on hook), yarn over and pull through both loops. This is your main stitch.
Increase (inc): Work 2 single crochet stitches into the same stitch. This adds one stitch to your count. If a stitch had 6 stitches and you work an increase, you now have 7.
Invisible decrease (inv dec): Insert hook through front loops only of next 2 stitches, yarn over, pull through both front loops, yarn over, pull through both loops on hook. Creates a neater decrease than standard method.
Slip stitch (sl st): Insert hook, yarn over, pull through stitch and loop on hook in one motion. Used to join or move across stitches invisibly.
Half double crochet (hdc): Yarn over, insert hook, yarn over and pull up loop (3 loops on hook), yarn over and pull through all 3 loops.
Double crochet (dc): Yarn over, insert hook, yarn over and pull up loop, yarn over and pull through 2 loops, yarn over and pull through remaining 2 loops.
Fasten off (FO): Cut yarn, pull tail through final loop to secure.
Step by Step Crochet Pattern
Strawberry Body (Make 2)
You’ll work these in continuous rounds. Use a stitch marker to track the beginning of each round.
With red yarn:
Round 1: Make a magic ring, work 6 sc into ring. Pull tight to close. (6 sts)
Round 2: Inc in each st around. (12 sts)
Round 3: *Sc 1, inc* repeat around. (18 sts)
Round 4: Sc in each st around. (18 sts)
Round 5: Sc in each st around. (18 sts)
Round 6: *Sc 1, inv dec* repeat around. (12 sts)
Begin stuffing now. Add small amounts of fiberfill, packing firmly but not overstuffing. The strawberry should feel solid with a slight give.
Round 7: *Inv dec* repeat around. (6 sts)
Add more stuffing if needed to fill the top.
Round 8: *Inv dec* 3 times. (3 sts)
Fasten off, leaving a 6 inch tail. Thread tail through remaining stitches and pull tight to close. Weave in end but leave a small loop at the top for attaching the leaves later.
Embroidering the Seeds
Thread a tapestry needle with black yarn or embroidery floss. Create small straight stitches scattered across the strawberry body in a diagonal pattern. Real strawberries have seeds arranged in slightly offset rows, so don’t overthink the placement.
Work approximately 8 to 12 seeds per strawberry. Secure thread inside the body and trim close.
This step transforms a plain red ball into an instantly recognizable strawberry. Take your time here.
Strawberry Leaves and Stem (Make 2)
With olive green yarn:
Chain 7.
Row 1: Starting in 2nd ch from hook, sl st, sc, hdc, dc, hdc, sc. (6 sts worked along chain)
You’ve created one leaf. Now continue directly into the next leaf without fastening off.
Chain 6.
Row 2: Starting in 2nd ch from hook, sl st, sc, hdc, dc, hdc. (5 sts)
Chain 6.
Row 3: Starting in 2nd ch from hook, sl st, sc, hdc, dc, hdc. (5 sts)
Slip stitch into the base of the first leaf to join all three leaves together.
For the stem: Chain 4, fasten off leaving a long tail.
The chain creates a small stem and attachment loop.
Attaching Leaves to Strawberry
Thread the long tail from your leaves onto a tapestry needle. Position the leaf cluster at the top of the strawberry where you closed the body. Stitch securely through the center of the leaf cluster and into the top of the strawberry several times.
The chain stem should stick up slightly. This is where you’ll attach your jump ring.
Weave in remaining ends inside the strawberry body.
Strawberry Blossom Flower (Make 1)
With cream yarn:
Round 1: Make a magic ring, ch 3 (counts as first dc), work 9 dc into ring, sl st to top of ch 3 to join. Pull ring closed. (10 dc total)
Round 2 (petals): *Ch 3, dc in same st, dc in next st, ch 3, sl st in same st as last dc* repeat around 5 times. (5 petals)
Fasten off and weave in ends.
The flower should have 5 rounded petals arranged evenly around the center.
Adding the Flower Center
Thread a needle with matching thread. Sew a small gold bead to the center of the flower, going through the bead several times to secure. The metallic bead adds sparkle and authenticity, as real strawberry blossoms have yellow centers.
Bracelet Assembly
Now for the jewelry portion. Don’t skip the jewelry pliers. They make this process much easier and protect your findings.
Step 1: Open a jump ring by twisting the ends apart sideways, not pulling apart. Never open jump rings by pulling, as this weakens them.
Step 2: Thread the jump ring through the chain loop at the top of one strawberry’s stem.
Step 3: Slide the jump ring onto your bracelet chain, positioning the strawberry approximately 1.5 inches from the clasp end.
Step 4: Close the jump ring by twisting the ends back together until they meet with no gap.
Step 5: Repeat with the second strawberry, positioning it 1.5 inches from the opposite end.
Step 6: Attach the flower to the center of the bracelet using another jump ring through the back of the flower’s center stitches.
Optional Embellishments
The bracelet in the photos includes additional beads on the chain for extra charm. To add these:
These additions are completely optional but elevate the finished piece.
Pattern Tips for Best Results
Tension matters. Work tightly to prevent stuffing from showing through. If you see white fiberfill peeking out, try a smaller hook.
Stuff as you go. With pieces this small, it becomes difficult to stuff properly after closing. Add filling in stages.
Quality findings make a difference. Invest in gold-plated or gold-filled findings rather than cheap brass. They won’t tarnish or turn skin green.
Block your flower. Pin the blossom flat and spritz with water or fabric stiffener. Let dry completely before attaching to the bracelet. This helps the petals lie flat and look professional.
Customization Ideas
This crochet pattern adapts beautifully to different looks:
The possibilities are genuinely endless once you master the basic strawberry shape.
Care Instructions
Hand wash gently if needed and lay flat to dry. Avoid machine washing, as the stuffed pieces may not dry properly inside. Store in a jewelry box away from direct sunlight to prevent fading.
Make This Strawberry Charm Bracelet Today
This strawberry blossom charm bracelet crochet pattern combines adorable miniature amigurumi with wearable jewelry for a truly unique accessory. The step by step instructions make it accessible for adventurous beginners, while the delicate finished product impresses even experienced crafters.
I hope you enjoy making this sweet little bracelet as much as I enjoyed designing it. Thank you so much for choosing this pattern. If you make one, I would absolutely love to see it. Tag me on Instagram or share in my Facebook group so I can admire your work.
If this strawberry bracelet pattern caught your eye, go ahead and save it to your Pinterest boards so you can find it when you’re ready to start. And please drop a comment below if you give it a try. I love hearing how your projects turn out and seeing the color combinations you choose.
