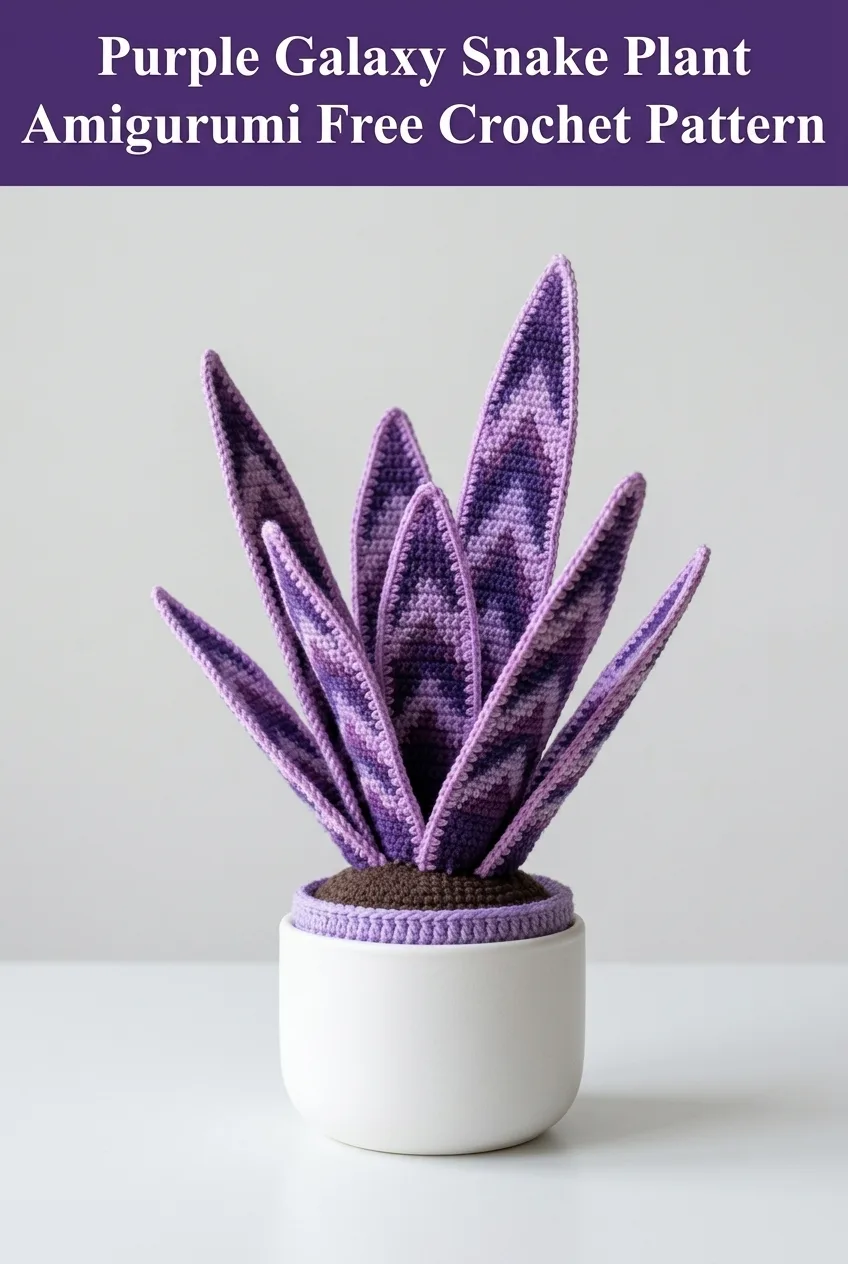
I call this one the Purple Galaxy, and honestly, it has been sitting in my pattern notebook for almost two years. I originally designed it for my sister who has a talent for killing every houseplant she touches. She loved the idea of a snake plant but knew it would not survive a month in her care. So I sketched out this little beauty during a quiet weekend, played with some variegated purple yarn I had been hoarding, and created something that would never need watering. The variegated yarn creates those beautiful chevron-like color shifts you see in the leaves, and every single one turns out slightly different. That is part of the magic of working with self-striping yarn.
About This Purple Galaxy Snake Plant Crochet Pattern
This crochet snake plant amigurumi sits perfectly in a small decorative pot and looks stunning on a desk, bookshelf, or windowsill. The finished plant measures approximately 8 to 10 inches tall from the base of the pot cover to the tips of the tallest leaves. You will create seven individual leaves of varying heights, a simple soil topper, and a ribbed pot cover that slides over any small ceramic or plastic container.
The construction uses basic amigurumi techniques throughout. Each leaf is worked flat in rows, then folded and seamed to create that lovely three-dimensional pointed shape. If you can work single crochet and basic increases and decreases, you can absolutely make this pattern. I would rate this as an easy to intermediate project, perfect for someone who has made a few amigurumi pieces and wants to try something a little different.
What I love most about this crochet tutorial is how forgiving it is. The variegated yarn does all the heavy lifting for visual interest. You do not need to change colors or follow a complicated chart. Just crochet, and watch the pattern emerge.
Materials Needed
Yarn:
The variegated yarn creates those beautiful light and dark purple waves you see in the leaves. Look for a yarn that shifts between deep purple, medium violet, and light lavender for the best effect.
Hook:
A smaller hook than typically recommended for worsted weight creates a tighter fabric. This prevents stuffing from showing through and gives your leaves a nice firm structure.
Notions:
Abbreviations and Stitch Definitions
Let me walk you through every stitch you will need for this step by step crochet pattern.
ch = chain: Yarn over, pull through the loop on your hook. This creates the foundation for most crochet work.
sc = single crochet: Insert hook into stitch, yarn over and pull up a loop (two loops on hook), yarn over and pull through both loops.
inc = increase: Work two single crochet stitches into the same stitch. This adds one stitch to your count.
dec = decrease (invisible decrease): Insert hook through the front loops only of the next two stitches, yarn over and pull through both front loops (two loops on hook), yarn over and pull through both loops. This creates a nearly invisible decrease.
sl st = slip stitch: Insert hook into stitch, yarn over and pull through both the stitch and the loop on your hook in one motion.
BLO = back loop only: Work into only the back loop of the stitch instead of both loops. This creates a ribbed texture.
FO = fasten off: Cut yarn and pull the tail through the final loop to secure.
Gauge
Gauge is not critical for this project since it is decorative. However, working at approximately 5 single crochet stitches and 5 rows per inch will give you leaves that match the sizing in this pattern.
Pattern Notes Before You Begin
A few things that will help you succeed with this beginner friendly crochet pattern:
Each leaf is worked flat in rows, creating a long pointed triangle shape. You will make two identical pieces for each leaf, then whipstitch them together with the contrasting edging yarn while stuffing lightly as you go.
The leaves vary in height to create that natural staggered look. I have written out three sizes: tall, medium, and short. You will make two tall leaves, three medium leaves, and two short leaves.
Do not overstuff the leaves. You want them to have some body but still remain relatively flat, just like a real snake plant leaf. A little stuffing goes a long way.
When seaming with the light lavender edging yarn, work your stitches through both layers evenly. This creates that beautiful contrasting border you see in the finished piece.
Crochet Snake Plant Pattern Instructions
Tall Leaf (Make 4 pieces for 2 complete leaves)
Using variegated purple yarn and 3.5mm hook.
Row 1: Ch 2, sc 1 in second ch from hook. (1 st)
Row 2: Ch 1, turn, inc in the st. (2 sts)
Row 3: Ch 1, turn, sc across. (2 sts)
Row 4: Ch 1, turn, inc in first st, sc in last st. (3 sts)
Row 5: Ch 1, turn, sc across. (3 sts)
Row 6: Ch 1, turn, sc in first st, inc in next st, sc in last st. (4 sts)
Row 7: Ch 1, turn, sc across. (4 sts)
Row 8: Ch 1, turn, inc in first st, sc to end. (5 sts)
Row 9: Ch 1, turn, sc across. (5 sts)
Row 10: Ch 1, turn, sc to last st, inc in last st. (6 sts)
Rows 11-12: Ch 1, turn, sc across. (6 sts)
Row 13: Ch 1, turn, inc in first st, sc to end. (7 sts)
Rows 14-16: Ch 1, turn, sc across. (7 sts)
Row 17: Ch 1, turn, sc to last st, inc in last st. (8 sts)
Rows 18-22: Ch 1, turn, sc across. (8 sts)
Row 23: Ch 1, turn, inc in first st, sc to end. (9 sts)
Rows 24-30: Ch 1, turn, sc across. (9 sts)
FO, leaving a long tail for seaming on one piece, short tail on the other.
Medium Leaf (Make 6 pieces for 3 complete leaves)
Using variegated purple yarn and 3.5mm hook.
Row 1: Ch 2, sc 1 in second ch from hook. (1 st)
Row 2: Ch 1, turn, inc in the st. (2 sts)
Row 3: Ch 1, turn, sc across. (2 sts)
Row 4: Ch 1, turn, inc in first st, sc in last st. (3 sts)
Row 5: Ch 1, turn, sc across. (3 sts)
Row 6: Ch 1, turn, sc in first st, inc in next st, sc in last st. (4 sts)
Row 7: Ch 1, turn, sc across. (4 sts)
Row 8: Ch 1, turn, inc in first st, sc to end. (5 sts)
Rows 9-10: Ch 1, turn, sc across. (5 sts)
Row 11: Ch 1, turn, sc to last st, inc in last st. (6 sts)
Rows 12-14: Ch 1, turn, sc across. (6 sts)
Row 15: Ch 1, turn, inc in first st, sc to end. (7 sts)
Rows 16-20: Ch 1, turn, sc across. (7 sts)
FO, leaving a long tail for seaming on one piece, short tail on the other.
Short Leaf (Make 4 pieces for 2 complete leaves)
Using variegated purple yarn and 3.5mm hook.
Row 1: Ch 2, sc 1 in second ch from hook. (1 st)
Row 2: Ch 1, turn, inc in the st. (2 sts)
Row 3: Ch 1, turn, sc across. (2 sts)
Row 4: Ch 1, turn, inc in first st, sc in last st. (3 sts)
Row 5: Ch 1, turn, sc across. (3 sts)
Row 6: Ch 1, turn, sc in first st, inc in next st, sc in last st. (4 sts)
Rows 7-8: Ch 1, turn, sc across. (4 sts)
Row 9: Ch 1, turn, inc in first st, sc to end. (5 sts)
Rows 10-12: Ch 1, turn, sc across. (5 sts)
Row 13: Ch 1, turn, sc to last st, inc in last st. (6 sts)
Rows 14-16: Ch 1, turn, sc across. (6 sts)
FO, leaving a long tail for seaming on one piece, short tail on the other.
Assembling the Leaves
Hold two matching leaf pieces together with wrong sides facing each other. The wrong sides go inside so your seaming shows on the outside as a decorative element.
Thread your tapestry needle with light lavender yarn. Starting at the bottom wide edge, whipstitch around the entire perimeter of the leaf. Work through both layers with each stitch.
When you are about two-thirds of the way around, pause and stuff the leaf lightly. Remember, just a small amount of stuffing. You want the leaf to have dimension but remain fairly flat.
Continue whipstitching until you reach your starting point. Secure and weave in ends.
Repeat for all seven leaves.
Soil Topper
Using dark brown yarn and 3.5mm hook, work in continuous rounds.
Round 1: Create a magic ring, sc 6 into the ring. (6 sts)
Round 2: Inc in each st around. (12 sts)
Round 3: *Sc 1, inc* repeat around. (18 sts)
Round 4: *Sc 2, inc* repeat around. (24 sts)
Round 5: *Sc 3, inc* repeat around. (30 sts)
Round 6: *Sc 4, inc* repeat around. (36 sts)
If your pot is larger, continue increasing in this pattern until the circle fits snugly inside the top of your pot.
Sl st to next st. FO and weave in ends.
Pot Cover
Using medium purple or lavender yarn and 3.5mm hook.
Measure the circumference of your pot. Chain enough stitches to wrap around it comfortably. For a 3-inch diameter pot, chain approximately 32. Make sure your chain count is even.
Row 1: Sc in second ch from hook and across. (31 sts or your chain count minus 1)
Rows 2-12: Ch 1, turn, sc in BLO across. (31 sts)
Working in the back loop only creates those beautiful horizontal ribs you see in the finished pot cover.
Continue until your ribbed piece is tall enough to cover your pot, approximately 2.5 to 3 inches.
FO, leaving a long tail. Fold the piece into a tube and whipstitch the short edges together to form a cylinder. Slide over your pot.
Final Assembly
Now comes the fun part. You get to arrange your plant.
Place the soil topper inside the top of your pot, brown side up. If needed, stuff a bit of fiberfill underneath to help it sit at the right height.
Poke small holes in the center of the soil topper with your tapestry needle or a pencil. Insert the base of each leaf through these holes, arranging them in a natural staggered pattern. Place taller leaves toward the center and back, shorter leaves around the edges.
You can secure the leaves in place by stitching through the soil topper with matching yarn, or simply let them rest in the holes if the fit is snug enough.
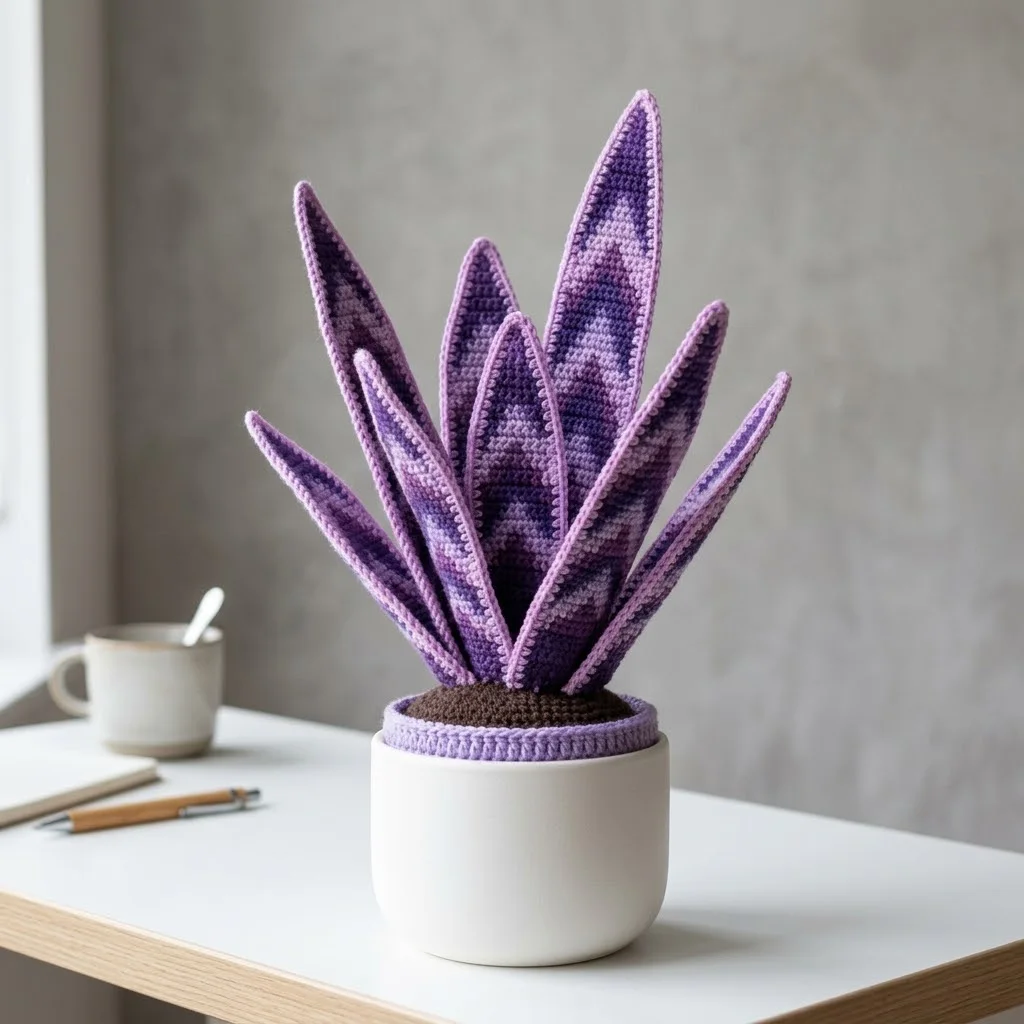
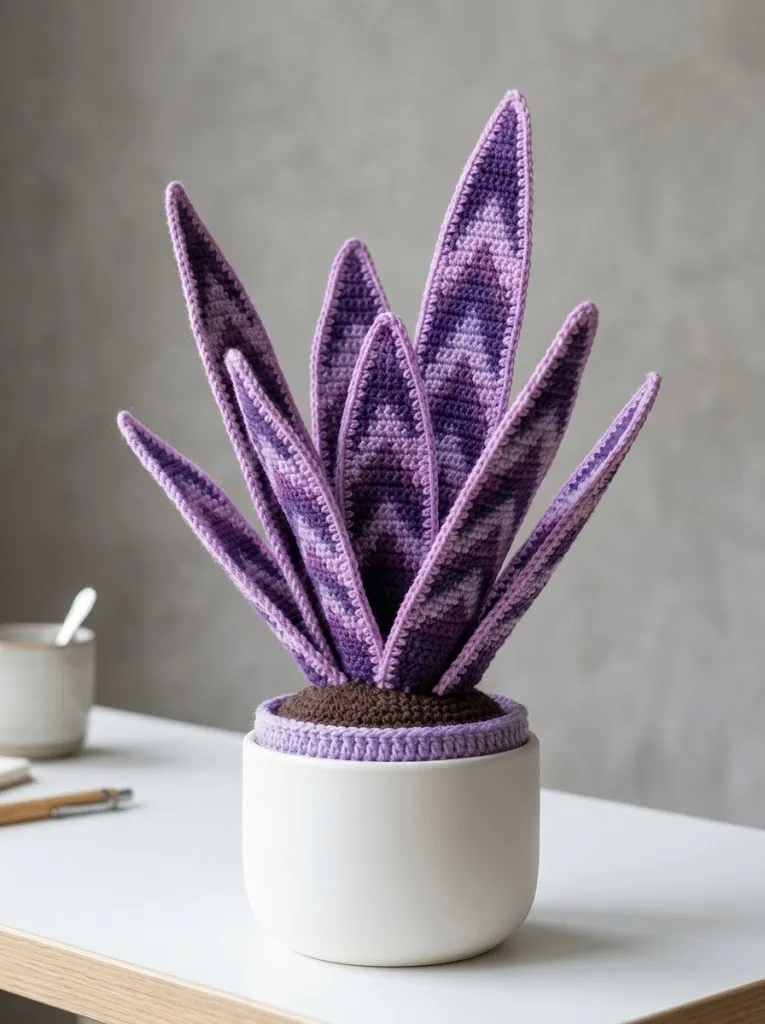
Slide the pot cover over your ceramic or plastic container, and your Purple Galaxy Snake Plant is complete.
Tips for Customizing Your Crochet Snake Plant
This pattern works beautifully in so many color combinations. Try deep green variegated yarn for a realistic look, or go bold with blues, pinks, or even rainbow self-striping yarn.
You can make more or fewer leaves depending on how full you want your plant to look. Nine or ten leaves create a very lush arrangement.
For a larger statement piece, use bulky weight yarn and a 5mm hook. Your plant will be significantly bigger, perfect for a floor planter.
Thank You for Making the Purple Galaxy
I hope you love making this crochet snake plant amigurumi as much as I loved designing it. Every time I see one on a friend’s desk or spot a photo someone has shared, it makes my whole day.
If you make your own Purple Galaxy, I would absolutely love to see it. Tag me on Instagram or share a photo in my Facebook group. Seeing your finished projects truly is the best part of sharing patterns.
If you enjoyed this crochet pattern, save it to your Pinterest boards so you can find it whenever you are ready to start. And please leave a comment below if you make one. I read every single comment and love hearing how your projects turn out.
