This little bag is about to become your favorite warm weather accessory. The Terracotta Sunset Tassel Crossbody combines a structured rectangular body with playful tassels and an antique brass chain strap that gives it serious boutique vibes. If you can work single crochet in rows, you can absolutely make this crochet pattern. I promise.
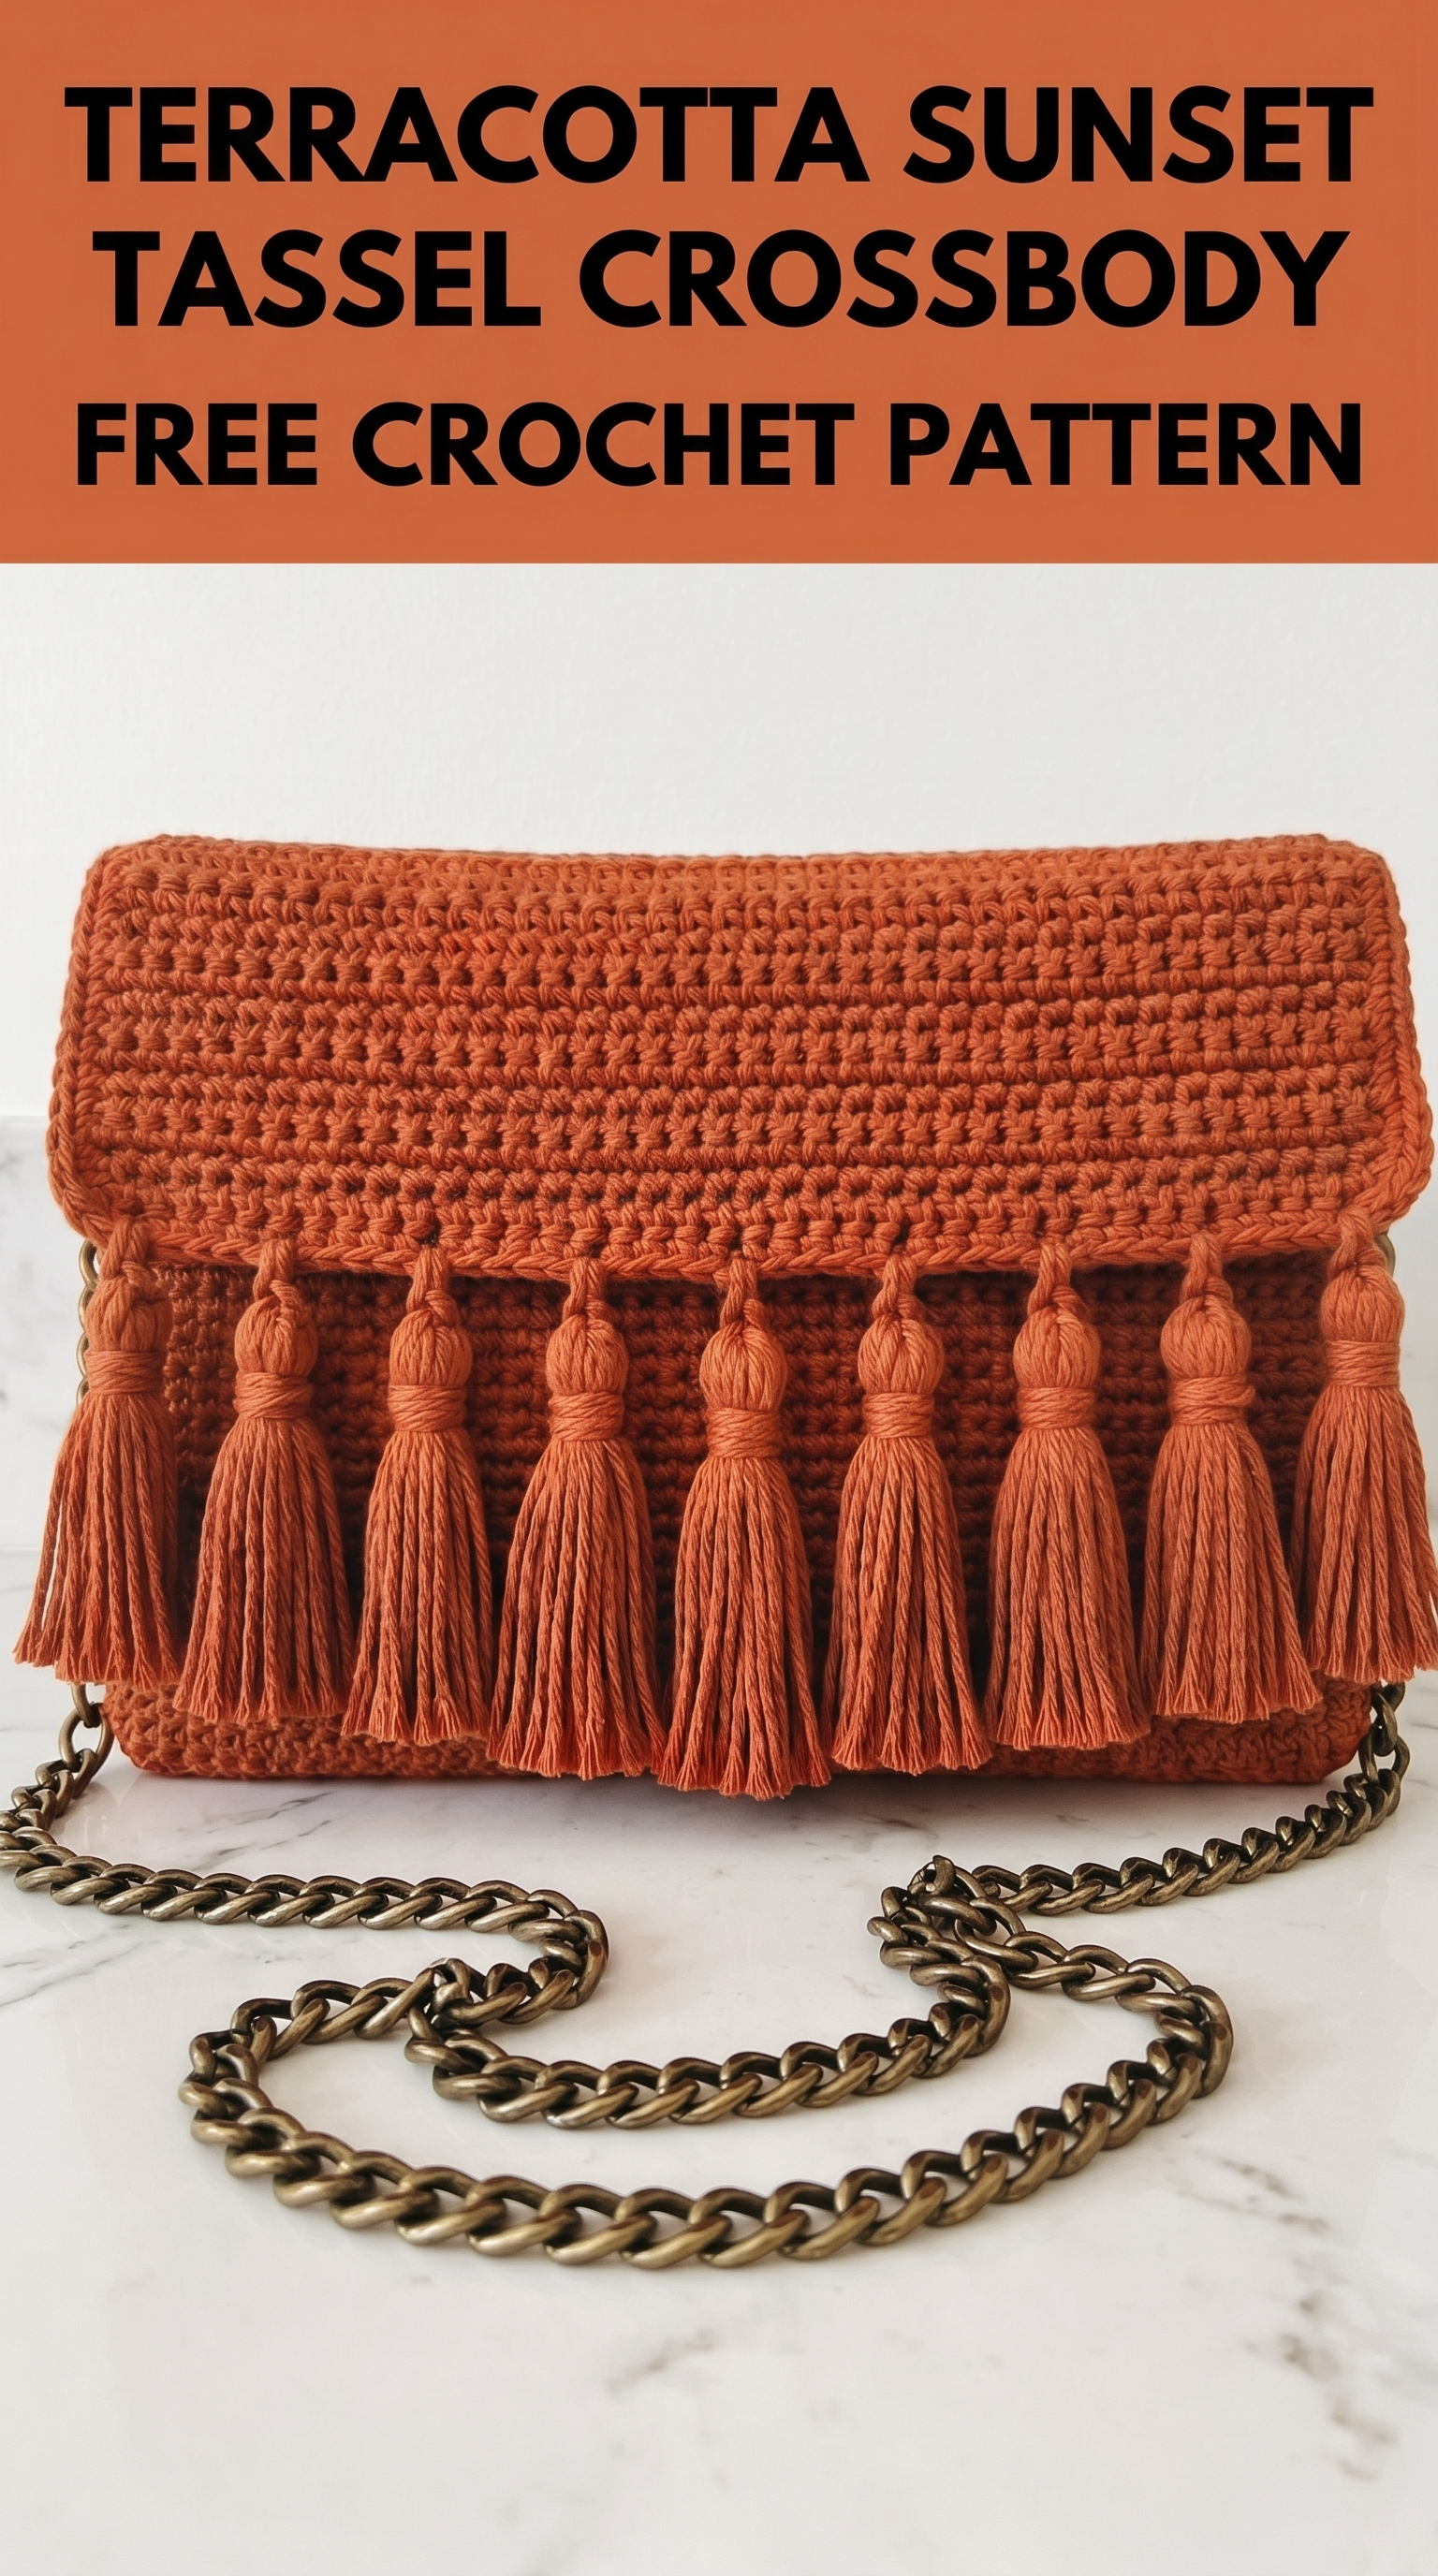
What makes this crossbody special is the combination of textures. You have got that dense, sturdy fabric from tight single crochet stitches. Then you have got the movement and bohemian flair from those chunky tassels dancing along the front. And that chain strap? It elevates the whole thing from craft project to statement piece.
Let me walk you through exactly how to recreate this bag from scratch.
Why This Crochet Pattern Works So Well
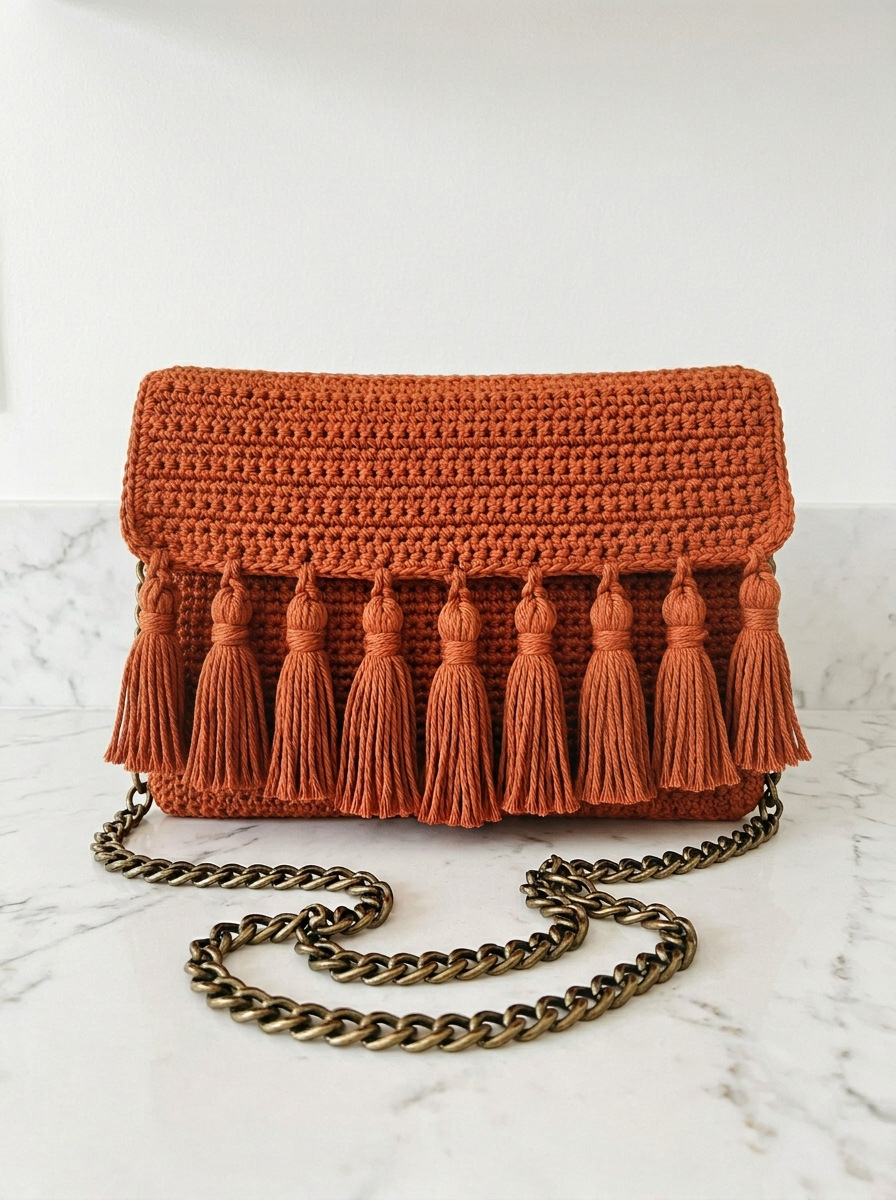
I designed this crossbody to hit that sweet spot between stylish and practical. The finished bag measures approximately 8 inches wide by 6 inches tall with a 2 inch gusset depth. That is enough room for your phone, cards, keys, lipstick, and a few other essentials without becoming a bottomless pit where things disappear.
The tight stitch gauge creates a fabric that holds its shape beautifully. No sagging. No stretching out after a few uses. This bag keeps its structure whether you are wearing it to brunch or taking it out for date night.
And those tassels? They are not just decorative. They add weight to the front flap, which helps it stay closed without a clasp or magnetic snap. Though you can absolutely add hardware if you prefer extra security.
Materials You Will Need
Gather these supplies before you start. Having everything ready makes the whole process smoother.
Yarn:
Hook:
Notions:
Skill Level and Stitches Used
This crochet tutorial is beginner friendly with just a few techniques to master. If you have completed a dishcloth or simple scarf, you are ready for this project.
Abbreviations and Definitions:
Gauge (Please Check This)
18 stitches and 20 rows = 4 inches in single crochet
I know gauge swatches feel tedious. But for a bag that needs to hold its shape, getting close to this gauge matters. If your fabric feels loose or floppy, go down a hook size. If it feels so tight you can barely get your hook through, go up a size.
Step by Step Crochet Pattern Instructions
The Base
The bag is constructed starting with a rectangular base, then working up the sides in continuous rounds, and finally adding a separate flap.
Row 1: Ch 37. Sc in 2nd ch from hook and in each ch across. (36 sts)
Rows 2 through 10: Ch 1, turn. Sc in each st across. (36 sts)
You should now have a rectangle approximately 8 inches by 2 inches. This forms the bottom of your bag.
The Body
Now we will work up the sides in joined rounds. This is where your bag starts taking shape.
Setup Round: Do not turn. Instead, rotate your work 90 degrees. You are going to work around the entire perimeter of your base rectangle.
Round 1: Ch 1. Work 10 sc evenly along the short edge, 36 sc along the starting chain edge, 10 sc along the second short edge, and 36 sc along your last row. Sl st to first sc to join. (92 sts)
Place a stitch marker in the first stitch of the round. Move it up as you go.
Rounds 2 through 24: Ch 1. Sc in each st around. Sl st to first sc to join. (92 sts)
At this point, your bag body should measure approximately 5 inches tall from the base. The sides will naturally fold up from the base to create your bag shape.
Creating the Ridge Detail
That horizontal line you see near the top of the bag? That comes from working in the back loop only for one round.
Round 25: Ch 1. Working in BLO, sc in each st around. Sl st to join. (92 sts)
This creates a defined ridge that separates the body from where the flap will fold over.
Rounds 26 through 28: Ch 1. Sc in each st around. Sl st to join. (92 sts)
Fasten off. Weave in your end.
The Flap
The flap is worked separately and then attached. This gives you a clean fold line and professional finish.
Row 1: Ch 37. Sc in 2nd ch from hook and in each ch across. (36 sts)
Rows 2 through 18: Ch 1, turn. Sc in each st across. (36 sts)
Your flap should measure approximately 8 inches wide by 3.5 inches tall.
Edging Row: Ch 1. Do not turn. Work 1 round of sc evenly around the entire flap, working 3 sc in each corner to keep it flat. Sl st to join. Fasten off.
Attaching the Flap
Line up the top edge of your flap with the back panel of your bag body, just above the ridge line you created. The flap should fold over toward the front.
Using your tapestry needle and a length of yarn, whip stitch the flap securely to the back of the bag. Take your time here. You want this seam strong since it bears the weight of the flap every time you open the bag.
Making the Tassels
The tassels are what give this crossbody its personality. You will make 9 tassels for the front.
For each tassel:
1. Wrap yarn around your 3 inch cardboard piece approximately 25 to 30 times.
2. Slide a 6 inch piece of yarn under the top of the wraps and tie tightly. This becomes your attachment loop.
3. Cut the bottom of the wraps.
4. About half an inch down from the top, wrap another piece of yarn tightly around the bundle several times and tie securely. This creates that little knot or neck at the top of each tassel.
5. Trim the bottom evenly.
Repeat until you have 9 tassels. Trim any uneven ends so they all match.
Attaching the Tassels
Space your tassels evenly across the front of the bag, positioning them about 1 inch below the ridge line. I placed mine approximately 0.75 inches apart.
Thread the attachment loop of each tassel through a stitch on the bag front, then pull the tassel body through the loop to secure. Pull snug.
Adding the Chain Strap
Attach your D rings or jump rings to each side of the bag at the top corners. You can either crochet small loops to hold them or carefully stitch them directly to the bag using strong thread.
Thread your antique brass chain through the rings. Most purse chains come with clasps already attached, so you just clip them onto your rings.
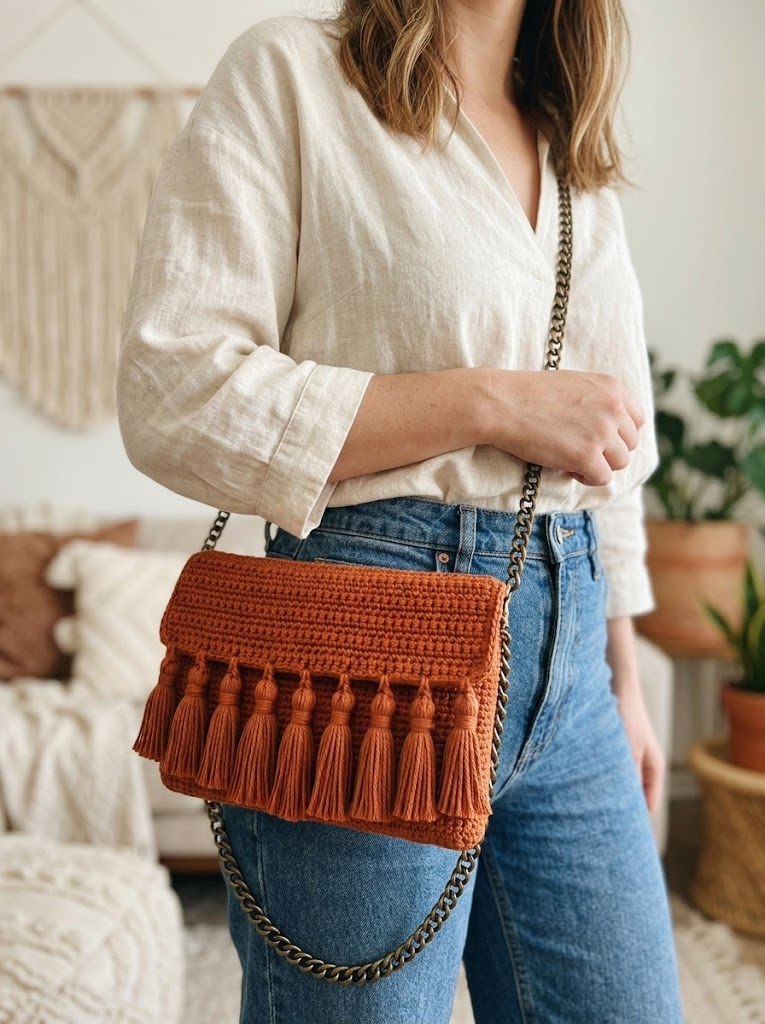
The chain length I recommend gives you a crossbody drop of about 22 to 24 inches. Adjust based on your height and preference.
Optional Finishing Touches
Lining: For extra durability and a polished interior, cut a piece of cotton fabric to fit inside your bag and hand stitch it in place. This also prevents smaller items from poking through the stitches.
Magnetic Snap: If you want your flap to stay closed securely, add a small magnetic snap to the underside of the flap and corresponding spot on the bag front before attaching the lining.
Blocking: Lightly steam block your finished bag to even out any tension inconsistencies. Stuff it with tissue paper and let it dry completely.
Troubleshooting Common Issues
Bag feels too floppy: Your gauge is likely too loose. Try again with a smaller hook or tighter tension. Cotton yarn should create a fabric that almost feels stiff.
Sides are uneven: Count your stitches at the end of every round while learning. It is easy to accidentally skip a stitch or add extras at the corners.
Tassels look sparse: Wrap more yarn when making each tassel. The ones in the photo use a generous amount of yarn for that full, chunky look.
Flap does not fold neatly: Make sure your ridge round in BLO is positioned correctly. That ridge acts as a natural fold line.
Styling Your Terracotta Sunset Tassel Crossbody
This bag works year round but really shines in spring and summer. The terracotta shade pairs beautifully with white linen, denim, olive green, cream, and mustard yellow. Wear it crossbody for hands free convenience or shorten the chain and carry it as a shoulder bag.
The tassels add movement and catch the light when you walk. They are a conversation starter. Get ready for compliments.
You Did It
Thank you so much for choosing this Terracotta Sunset Tassel Crossbody crochet pattern for your next project. I genuinely hope you love making it as much as I loved designing it.
When you finish yours, I would absolutely love to see it. Tag me on Instagram or share your photos in my Facebook group. Seeing your finished bags in different colors and yarn choices is one of my favorite parts of sharing patterns.
Happy crocheting, friend. You have got this.
