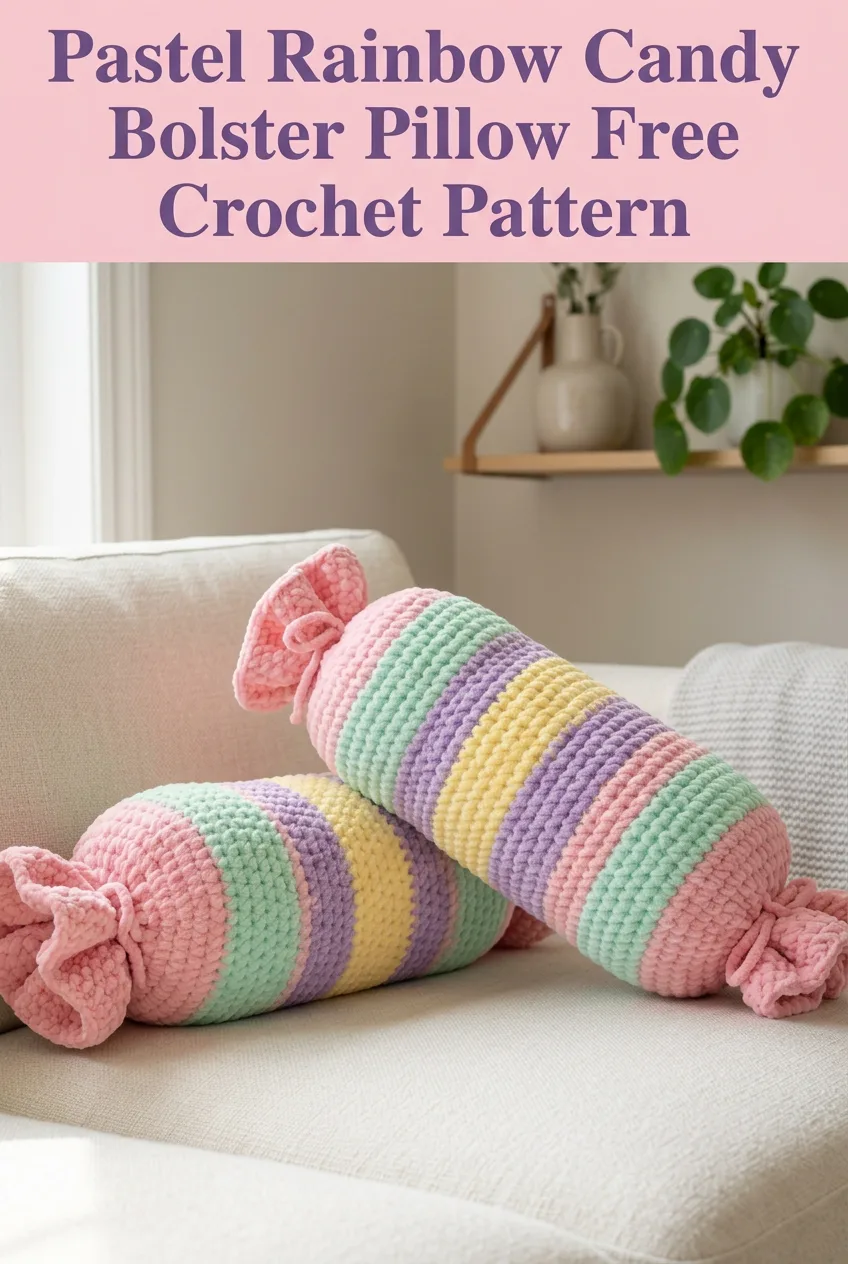
Looking for a whimsical pillow that doubles as adorable room decor? This pastel rainbow candy bolster pillow works up quickly using chunky chenille yarn and basic single crochet stitches. It makes a perfect gift for kids, teens, or anyone who loves playful home accessories. The construction is beginner friendly, and you only need to know how to crochet in the round. Whether you are making this for a nursery, a reading nook, or a sweet sixteen gift, this pillow is sure to bring smiles.
Why You Will Love This Candy Pillow Pattern
This oversized candy pillow looks impressive, but the construction is surprisingly simple. You are essentially crocheting a tube, stuffing it, and gathering the ends to create that classic wrapped candy shape. The chenille yarn does most of the work, giving you that plush, squishy texture without complicated stitches.
I designed this pillow to be a stash buster for those jumbo skeins of velvet or chenille yarn that seem to multiply in our craft rooms. The stripe sequence is completely customizable, so you can match any color scheme or use up partial skeins from other projects.
Best of all? The entire pillow works up in a single evening if you have some dedicated crochet time. It is the kind of project that feels productive and fun without being mentally exhausting.
Skill Level
Beginner to Easy Intermediate
If you can chain, single crochet, and work in continuous rounds, you have all the skills needed for this pattern. The only slightly tricky part is managing the bulky chenille yarn, which can be slippery. I will walk you through tips for that below.
Finished Dimensions
Approximately 18 inches long by 7 inches in diameter (not including the gathered candy twist ends)
The finished pillow with the twisted ends measures roughly 24 inches from tip to tip. Your exact size may vary depending on your tension and how firmly you stuff the pillow.
Materials Needed
Yarn
Chunky chenille or velvet yarn, approximately 250 to 300 yards total
Based on the pillow in the photos, you will need:
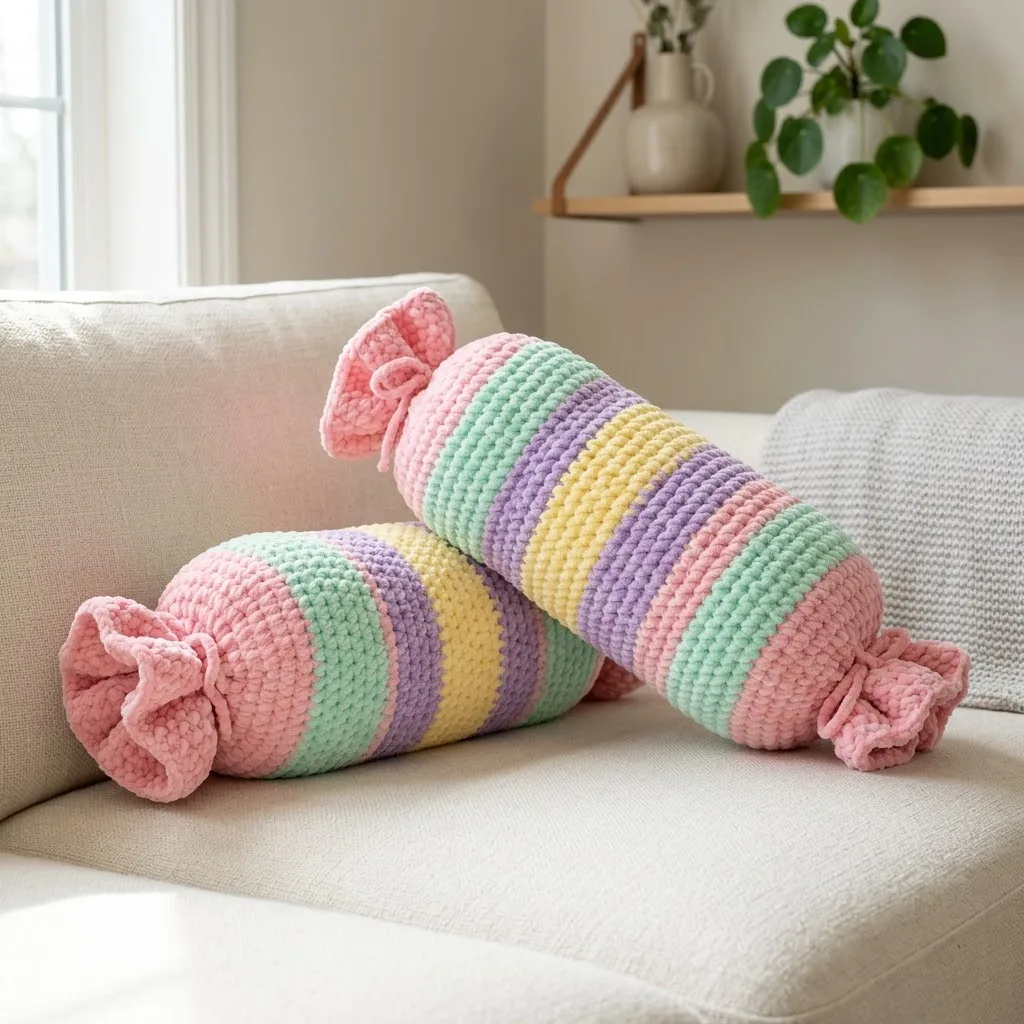
Recommended yarn: Bernat Blanket yarn, Loops & Threads Chunky Chenille, or any super bulky (weight 6) chenille yarn. These yarns create that signature plush, squishy texture you see in the photos.
Hook
Size 8mm (L/11) crochet hook
You may need to go up or down a hook size depending on your personal tension. The fabric should be dense enough that stuffing does not show through, but not so tight that the yarn feels stiff.
Additional Supplies
Gauge
10 single crochet stitches and 10 rows = 4 inches in single crochet worked in continuous rounds
Gauge is flexible for this project. A slightly looser gauge will create a larger, squishier pillow. A tighter gauge will make a firmer, smaller pillow. Just make sure your stitches are tight enough that the white stuffing will not peek through.
Abbreviations and Stitch Definitions
Let me walk you through every stitch and term used in this pattern:
Ch = Chain. Wrap yarn over hook, pull through loop on hook. This creates the foundation to build your stitches on.
Sl st = Slip stitch. Insert hook into stitch, yarn over, pull through both the stitch and the loop on your hook in one motion. Used to join rounds or move across stitches invisibly.
Sc = Single crochet. Insert hook into stitch, yarn over and pull up a loop (2 loops on hook), yarn over and pull through both loops. This is your main stitch for the entire pillow.
Inc = Increase. Work 2 single crochet stitches into the same stitch. This adds one stitch to your count.
Dec = Decrease. Insert hook into next stitch and pull up a loop, insert hook into following stitch and pull up a loop (3 loops on hook), yarn over and pull through all 3 loops. This subtracts one stitch from your count.
St(s) = Stitch(es)
Rnd = Round
BLO = Back loop only. Instead of inserting your hook under both loops of a stitch, insert it under only the back loop (the one farther from you). This creates a subtle ridge texture.
Pattern Notes Before You Begin
Working in continuous rounds: This pattern is worked in a spiral without joining at the end of each round. Place a stitch marker in the first stitch of each round and move it up as you go. This helps you keep track of where each round begins.
Changing colors: When switching to a new color, complete the last stitch of the old color until you have 2 loops on your hook. Then yarn over with the new color and pull through to complete the stitch. This keeps your color changes neat.
Chenille yarn tips: This yarn can be slippery and likes to split. Work slowly, make sure your hook goes through the center of each stitch, and keep your tension consistent. If you find stitches hard to see, work in good lighting and use your fingers to feel for each stitch.
Stuffing tips: Stuff the pillow firmly but not rock hard. You want it to be huggable and squishy. Add stuffing gradually as you work the second half of the pillow, rather than trying to stuff it all at the end.
Pastel Rainbow Candy Bolster Pillow Pattern Instructions
First Candy Twist End (Pink)
This section creates the gathered "wrapper" end of the candy.
With pink yarn and 8mm hook:
Rnd 1: Create a magic ring, work 6 sc into the ring, pull tight. Do not join. Place stitch marker. (6 sts)
*If you are not comfortable with magic rings, you can chain 2 and work 6 sc into the second chain from hook instead.*
Rnd 2: Inc in each st around. (12 sts)
Rnd 3: *Sc 1, inc* repeat around. (18 sts)
Rnd 4: *Sc 2, inc* repeat around. (24 sts)
Rnd 5: *Sc 3, inc* repeat around. (30 sts)
Rnd 6: *Sc 4, inc* repeat around. (36 sts)
Rnds 7 to 12: Sc in each st around. (36 sts) Work 6 rounds even.
This creates the gathered tube section that looks like twisted candy wrapper.
Transition to Main Body
Rnd 13: Working in BLO only, sc in each st around. (36 sts)
*This back loop only round creates the ridge where the wrapper meets the candy body. It is a small detail that adds to the realistic candy appearance.*
Main Candy Body with Stripes
Now you will create the colorful striped section. Follow this stripe sequence, or customize with your own color order:
Pink Section:
Rnds 14 to 16: With pink, sc in each st around. (36 sts) Work 3 rounds.
Mint Green Section:
Rnds 17 to 22: Change to mint green, sc in each st around. (36 sts) Work 6 rounds.
Lavender Section:
Rnds 23 to 28: Change to lavender, sc in each st around. (36 sts) Work 6 rounds.
Yellow Section:
Rnds 29 to 34: Change to yellow, sc in each st around. (36 sts) Work 6 rounds.
Lavender Section:
Rnds 35 to 40: Change to lavender, sc in each st around. (36 sts) Work 6 rounds.
Mint Green Section:
Rnds 41 to 46: Change to mint green, sc in each st around. (36 sts) Work 6 rounds.
Pink Section:
Rnds 47 to 49: Change to pink, sc in each st around. (36 sts) Work 3 rounds.
Transition to Second Candy Twist
Rnd 50: Working in BLO only, sc in each st around. (36 sts)
*This creates the matching ridge on the opposite end.*
At this point, stuff the main body of the pillow firmly with fiberfill. Push the stuffing into all areas and make sure the pillow feels evenly filled.
Second Candy Twist End (Pink)
Continue with pink yarn:
Rnds 51 to 56: Sc in each st around. (36 sts) Work 6 rounds even.
Add more stuffing now, filling the end section loosely. You want this section slightly less firm so it can be gathered.
Rnd 57: *Sc 4, dec* repeat around. (30 sts)
Rnd 58: *Sc 3, dec* repeat around. (24 sts)
Rnd 59: *Sc 2, dec* repeat around. (18 sts)
Rnd 60: *Sc 1, dec* repeat around. (12 sts)
Rnd 61: Dec around. (6 sts)
Fasten off leaving a 12 inch tail. Thread the tail through a yarn needle, weave through the front loops of the remaining 6 stitches, and pull tight to close. Weave in the end securely.
Creating the Gathered Candy Twist Look
This is the fun part that transforms your tube into a candy shape!
For each end of the pillow:
Cut a piece of pink yarn approximately 24 inches long. Thread it through your yarn needle.
Locate the BLO ridge round at the base of the twist section. Using your yarn needle, weave the yarn in and out through the front loops you left exposed when you worked in BLO. Go all the way around the circumference.
Pull both ends of the yarn firmly to gather the fabric. This cinches the end and creates that classic candy wrapper pinch. Tie the yarn in a secure knot, then tie it again. Trim the ends to about 3 inches and tuck them inside the pillow, or leave them as decorative ties.
Repeat for the other end.
Finishing Touches
Weave in all remaining yarn tails securely. With chenille yarn, I recommend weaving tails through at least 8 to 10 stitches and then doubling back for security.
Fluff and shape your candy pillow. Squeeze and manipulate the stuffing until the pillow looks evenly filled. Adjust the gathered ends so they look symmetrical.
Customization Ideas
Different stripe patterns: Try ombre fading from dark to light, two tone stripes, or rainbow sequence in ROY G BIV order.
Solid color version: Skip the stripes entirely for a classic wrapped candy look.
Mini candy pillows: Use worsted weight yarn and a 5mm hook to create smaller versions. These make adorable ornaments or decorations.
Holiday colors: Red and green for Christmas, pastels for Easter, orange and black for Halloween. The possibilities are endless.
Add faces: Embroider simple kawaii faces on the center stripe for an amigurumi style pillow.
Troubleshooting Common Issues
My stitches are uneven: Chenille yarn is tricky at first. Try slowing down and making sure each stitch is fully formed before moving to the next.
I can see the stuffing through my stitches: Your tension may be too loose. Try going down one hook size, or stuff more gently.
The ends will not gather: Make sure you are weaving through the exposed front loops from the BLO rounds. Pull firmly and evenly around the entire circumference.
My pillow is too small or too big: Adjust your hook size or add/subtract rounds from each stripe section.
Care Instructions
Spot clean with mild soap and water for best results. If machine washing is necessary, place the pillow in a mesh laundry bag and wash on gentle cycle with cold water. Air dry flat, reshaping while damp. Do not put in the dryer, as heat can damage chenille fibers.
I hope you love making this pastel rainbow candy bolster pillow as much as I loved designing it. It really is one of those projects that looks complicated but comes together so easily once you get started. Thank you for choosing this pattern for your next crochet project!
If you make this candy pillow, I would absolutely love to see it. Tag me on Instagram or share a photo in my Facebook group. Seeing your finished projects genuinely makes my day.
If this pattern inspired you, go ahead and save it to your Pinterest boards so you can find it when you are ready to start. And if you do make one, please leave a comment below. I love hearing which colors you chose and seeing how each pillow turns out!
