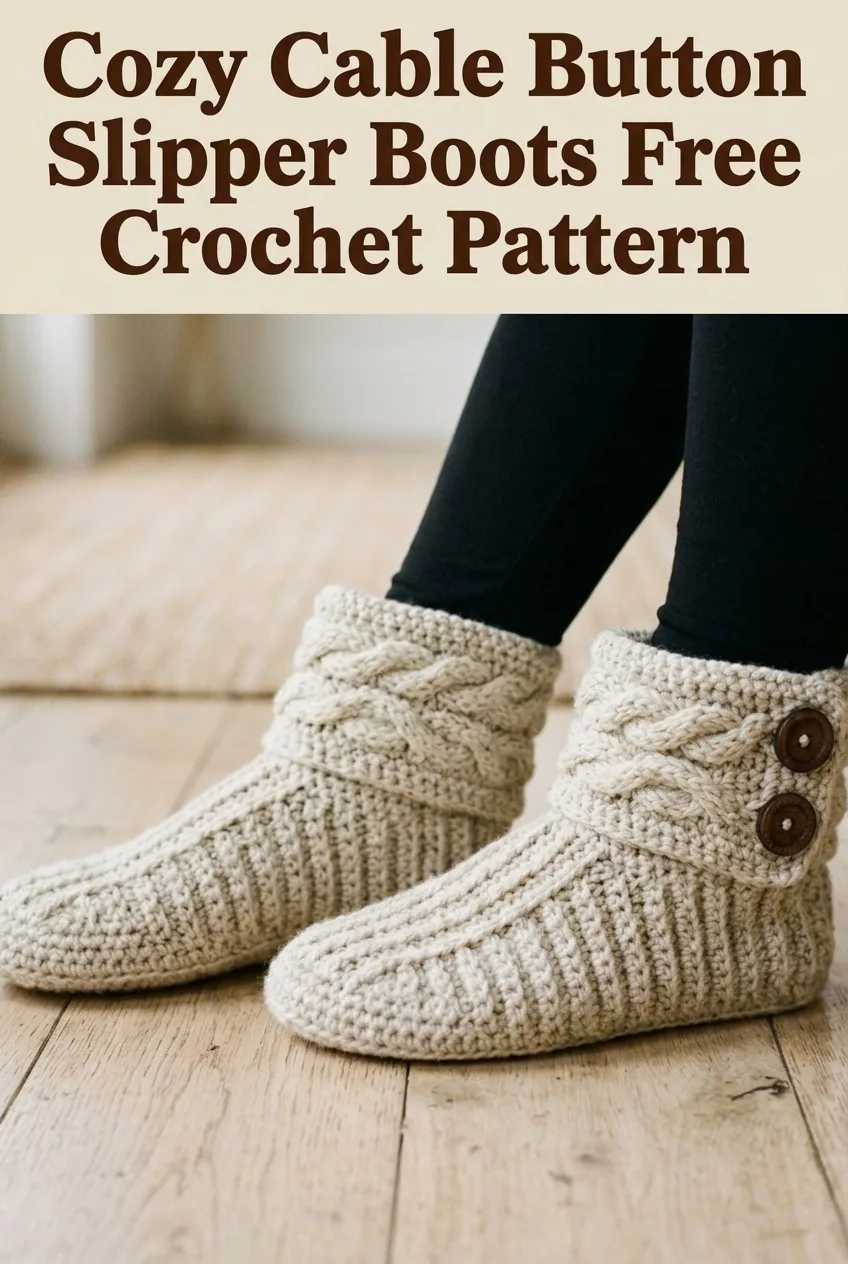
If you have been searching for a project that keeps your feet toasty while looking absolutely gorgeous, these cable button slipper boots are exactly what you need. The combination of ribbed texture and braided cable detail creates slippers that feel like a warm hug for your feet. They work up using worsted weight yarn and basic stitches that come together in a surprisingly straightforward way. Perfect for gifting during the holidays or keeping for yourself on chilly mornings, these boots make an excellent weekend project for intermediate crocheters ready to try something with a bit more visual interest.
Why You Will Love This Crochet Slipper Boot Pattern
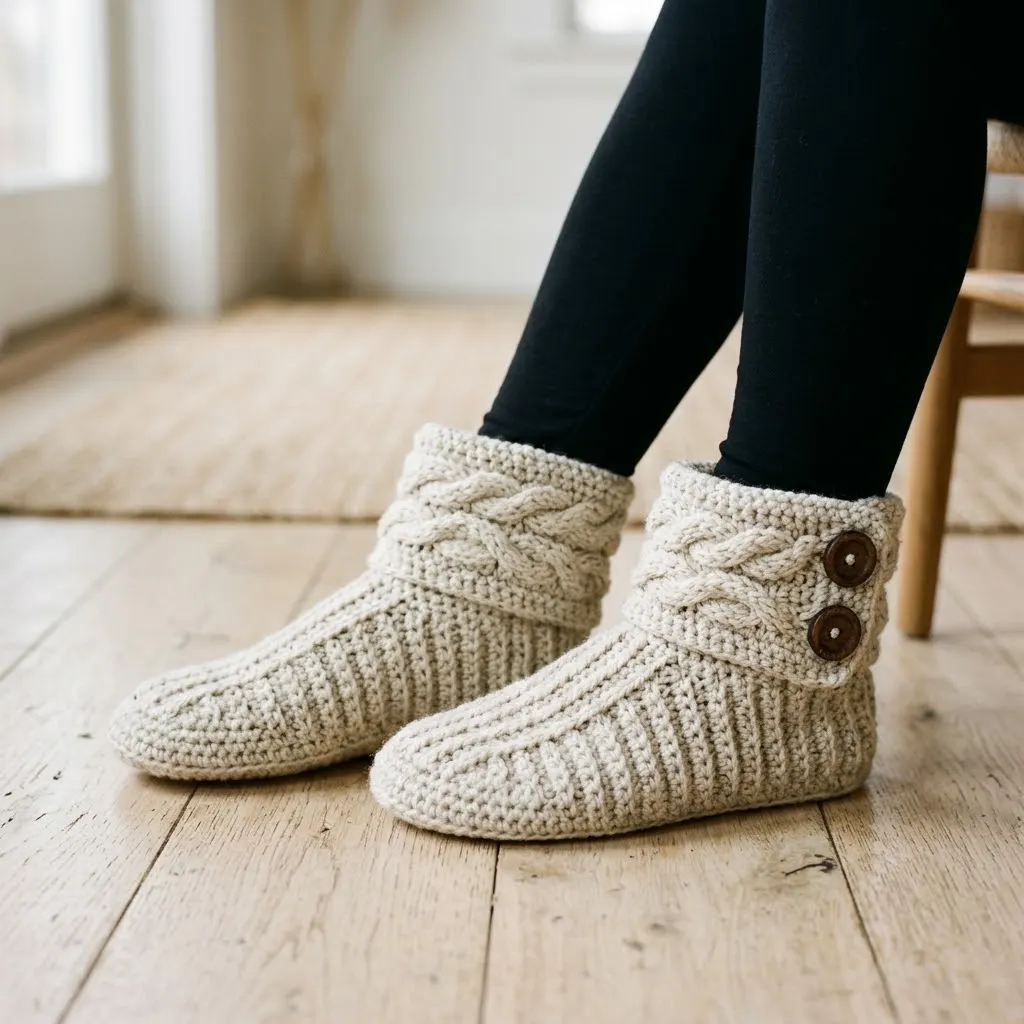
These slipper boots combine comfort with cottage core style in the best possible way. The ribbed body creates natural stretch that hugs your foot and ankle without feeling restrictive. Meanwhile, the cable cuff adds that classic handmade charm that makes everyone ask where you bought them.
I designed these with practicality in mind. The construction happens in pieces, so you can work on sections during short crafting sessions. The buttons are not just decorative either. They actually help cinch the cuff for a custom fit around your ankle.
What really makes this crochet pattern special is how the techniques layer together. You will practice your ribbing skills, learn a simple cable method using post stitches, and assemble everything into a polished finished project.
Skill Level
Intermediate
This crochet tutorial requires comfort with basic stitches plus front post and back post techniques. If you have never worked cables before, do not worry. I will walk you through every step. The construction involves multiple pieces sewn together, so basic seaming skills help too.
Finished Measurements
These slipper boots fit a women’s medium foot (approximately US size 7 to 8). The finished sole measures roughly 9.5 inches long. Boot height from sole to top of cuff measures approximately 6 inches.
To adjust sizing: Add or subtract rows in the sole section, and modify the number of rows in the foot portion before starting the cuff.
Materials Needed
Yarn:
Hook:
Notions:
Gauge
14 stitches and 16 rows = 4 inches in single crochet ribbing pattern
Gauge matters for fit. Take time to check yours before starting. If your gauge runs tight, go up a hook size. If it runs loose, go down a hook size.
Abbreviations and Stitch Definitions
Before we dive into the step by step instructions, let me define every stitch you will use in this pattern.
Ch = Chain. Wrap yarn over hook and pull through the loop on your hook. This creates the foundation for most crochet projects.
Sl st = Slip stitch. Insert hook into stitch, yarn over, pull through both the stitch and the loop on your hook in one motion. Used for joining and invisible movement.
Sc = Single crochet. Insert hook into stitch, yarn over and pull up a loop (2 loops on hook), yarn over and pull through both loops. The shortest basic stitch.
Hdc = Half double crochet. Yarn over, insert hook into stitch, yarn over and pull up a loop (3 loops on hook), yarn over and pull through all 3 loops.
Dc = Double crochet. Yarn over, insert hook into stitch, yarn over and pull up a loop (3 loops on hook), yarn over and pull through 2 loops, yarn over and pull through remaining 2 loops.
BLO = Back loop only. Instead of inserting your hook under both loops of the V at the top of a stitch, insert only under the back loop (the one farther from you). This creates ribbed texture.
FPdc = Front post double crochet. Yarn over, insert hook from front to back to front around the post (vertical part) of the stitch below, complete as a regular double crochet. Creates raised texture on the front of your work.
BPdc = Back post double crochet. Yarn over, insert hook from back to front to back around the post of the stitch below, complete as a regular double crochet. Creates raised texture on the back of your work.
Skip = Miss the indicated stitch and work into the next one.
Special Technique: Simple Crochet Cable
The cable effect in this pattern comes from crossing front post stitches over each other. Here is how to work the 4-stitch cable cross:
1. Skip the next 2 stitches
2. Work FPdc around each of the following 2 stitches
3. Working in front of the stitches you just made, go back and work FPdc around each of the 2 skipped stitches
This creates the braided appearance. The first time feels awkward, but it becomes intuitive quickly. Take your time and do not pull too tightly.
Pattern Instructions
This crochet slipper boot pattern is worked in separate pieces, then assembled. You will make the sole first, then the ribbed foot and ankle section, followed by the cable cuff. Everything gets sewn together at the end.
Sole (Make 2)
The sole uses single crochet worked in rows with increases at the toe and heel for shaping.
Row 1: Ch 6. Sc in 2nd ch from hook and in each ch across. (5 sc)
Row 2: Ch 1, turn. 2 sc in first st, sc in next 3 sts, 2 sc in last st. (7 sc)
Row 3: Ch 1, turn. 2 sc in first st, sc in next 5 sts, 2 sc in last st. (9 sc)
Rows 4 through 6: Ch 1, turn. Sc in each st across. (9 sc)
Row 7: Ch 1, turn. 2 sc in first st, sc in next 7 sts, 2 sc in last st. (11 sc)
Rows 8 through 22: Ch 1, turn. Sc in each st across. (11 sc)
Row 23: Ch 1, turn. Sc2tog, sc in next 7 sts, sc2tog. (9 sc)
Row 24: Ch 1, turn. Sc2tog, sc in next 5 sts, sc2tog. (7 sc)
Row 25: Ch 1, turn. Sc2tog, sc in next 3 sts, sc2tog. (5 sc)
Fasten off, leaving a long tail for seaming.
Ribbed Foot and Ankle Section (Make 2)
This section creates the stretchy ribbed texture you see covering most of the boot. It is worked flat in rows, then seamed up the back.
Foundation: Ch 12.
Row 1: Sc in 2nd ch from hook and in each ch across. (11 sc)
Rows 2 through 56: Ch 1, turn. Sc in BLO of each st across. (11 sc)
Working in the back loop only creates the vertical ribbed lines. Keep your tension consistent for even ribbing.
For the toe shaping:
Row 57: Ch 1, turn. Sc2tog in BLO, sc in BLO of next 7 sts, sc2tog in BLO. (9 sc)
Row 58: Ch 1, turn. Sc2tog in BLO, sc in BLO of next 5 sts, sc2tog in BLO. (7 sc)
Row 59: Ch 1, turn. Sc2tog in BLO, sc in BLO of next 3 sts, sc2tog in BLO. (5 sc)
Row 60: Ch 1, turn. Sc2tog in BLO, sc in BLO, sc2tog in BLO. (3 sc)
Fasten off, leaving a long tail.
Cable Cuff (Make 2)
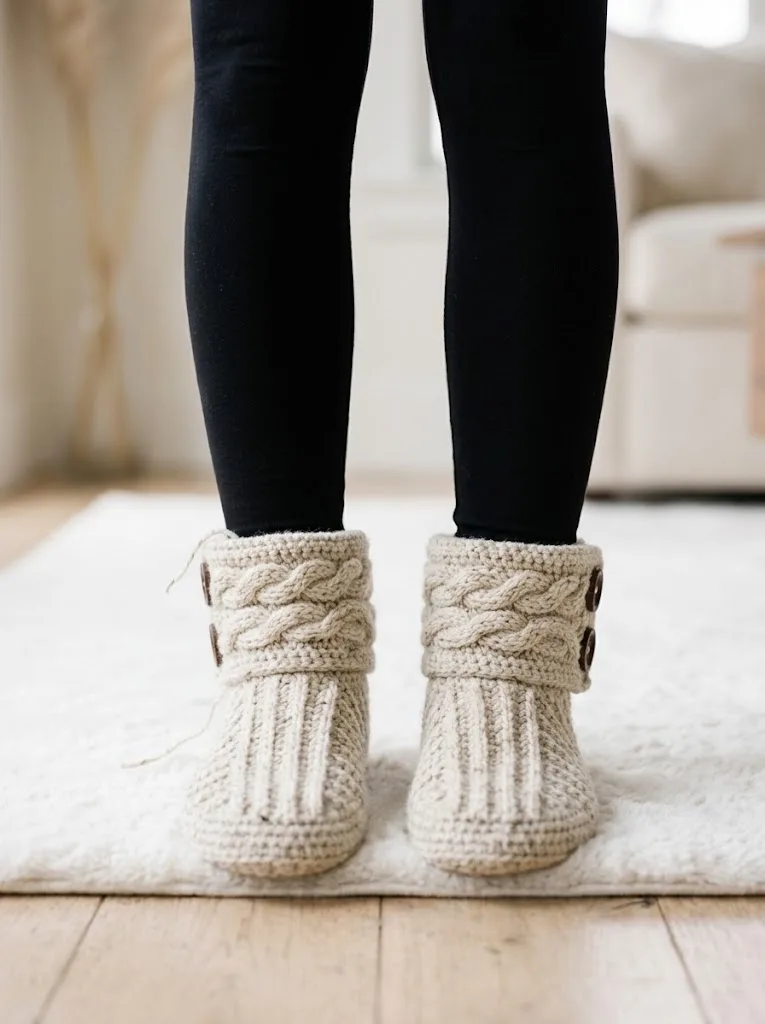
The cuff showcases the gorgeous braided cable detail. This section attaches to the top of the ribbed portion.
Foundation: Ch 33.
Row 1 (Wrong Side): Dc in 4th ch from hook and in each ch across. (31 dc, counting turning ch as first dc)
Row 2 (Right Side, Cable Row): Ch 2, turn. Dc in next 3 sts, *work 4-stitch cable cross over next 4 sts, dc in next 4 sts*, repeat from * to * twice more, work 4-stitch cable cross over next 4 sts, dc in last 4 sts. (31 sts)
Row 3: Ch 2, turn. Dc in each st across. (31 dc)
Row 4: Repeat Row 2.
Row 5: Repeat Row 3.
Row 6: Repeat Row 2.
Row 7: Repeat Row 3.
Fasten off, leaving a long tail for seaming.
The cable rows alternate with plain double crochet rows to let the texture pop without overwhelming the design.
Assembly Instructions
Now comes the satisfying part where everything comes together into a wearable boot.
Step 1: Seam the ribbed section
Fold the ribbed foot and ankle piece in half lengthwise with right sides together. Using your tapestry needle and a length of matching yarn, whip stitch or mattress stitch the back seam from the ankle down to where the toe shaping begins. Leave the toe open for now.
Step 2: Attach sole to ribbed section
Pin the sole to the bottom opening of the ribbed tube, matching the toe decreases to the front of the sole and the heel area to the back. The ribbed section should stretch slightly to fit around the sole edge. Whip stitch all the way around, easing the pieces together.
Step 3: Close the toe
Thread your tapestry needle with the tail from the toe decreases. Weave through the remaining stitches and pull gently to close the toe opening. Secure with a few extra stitches.
Step 4: Attach the cable cuff
Position the cable cuff around the top edge of the ribbed section with the right side facing out. The cuff should overlap slightly at the side (this is where your buttons will go). Pin in place, then whip stitch the bottom edge of the cuff to the top edge of the ribbed ankle section.
Step 5: Add buttons
Mark button placement on the cuff overlap. Sew two buttons to each boot, spacing them evenly. The natural gaps in the cable stitches serve as buttonholes, so you do not need to create separate holes.
Step 6: Weave in all ends
Turn boots inside out and weave in every tail securely. Trim excess yarn close to the work.
Helpful Tips for Success
Cable tension: Do not pull your cable stitches too tight. They need room to cross over each other without puckering. If your cables look bunched, try loosening up on those specific stitches.
Blocking: A light steam block helps even out any uneven stitches and makes the cables pop. Do not press directly on the cables, as this flattens them.
Yarn choice matters: Acrylic and acrylic blends work wonderfully for washable slippers. Wool adds warmth but requires careful washing. Avoid slippery yarns like bamboo or silk blends, as they do not hold the cable definition as well.
Non-slip soles: Consider adding fabric paint dots or purchased non-slip sole grips to the bottom for safety on hard floors. This is especially important if gifting to someone with slick flooring.
Customization Ideas
Longer boot: Add more rows to the ribbed section before starting toe decreases for a higher ankle.
Different buttons: Swap wooden buttons for vintage brass, coconut shell, or covered fabric buttons to change the whole vibe.
Color blocking: Work the sole and ribbed section in one color, then switch to a contrasting shade for the cable cuff.
Pompom accent: Skip the buttons entirely and add a pompom to each side of the cuff for a playful look.
Why Cables Look Harder Than They Are
If you have avoided cable crochet because it seems intimidating, these slipper boots make an excellent first project. The cable repeat is short, so you get lots of practice in a small space. Plus, any small mistakes tend to disappear once the fabric relaxes.
The secret is that cables are just post stitches worked out of order. Once you understand that you are simply skipping stitches and going back for them, the whole technique clicks into place.
Perfect for Gift Giving
These crochet slipper boots make thoughtful handmade gifts for birthdays, holidays, housewarmings, or just because. The classic cream color works for anyone, but you could easily customize in the recipient’s favorite shade.
Pair them with a cozy candle or hot cocoa mix for a complete relaxation gift basket. They photograph beautifully too, which makes them popular for craft fairs and online shops.
Thank you so much for choosing this pattern for your next project. I truly hope these cozy cable slipper boots bring warmth to your feet and joy to your crafting time. If you make a pair, I would absolutely love to see them. Tag me on Instagram or share a photo in my Facebook group so I can cheer you on.
If this crochet slipper boot pattern is calling your name, save it to your Pinterest boards so you can find it when you are ready to cast on. And please drop a comment below if you make these. I read every single one and your feedback means the world to me. Happy crocheting, friend!
