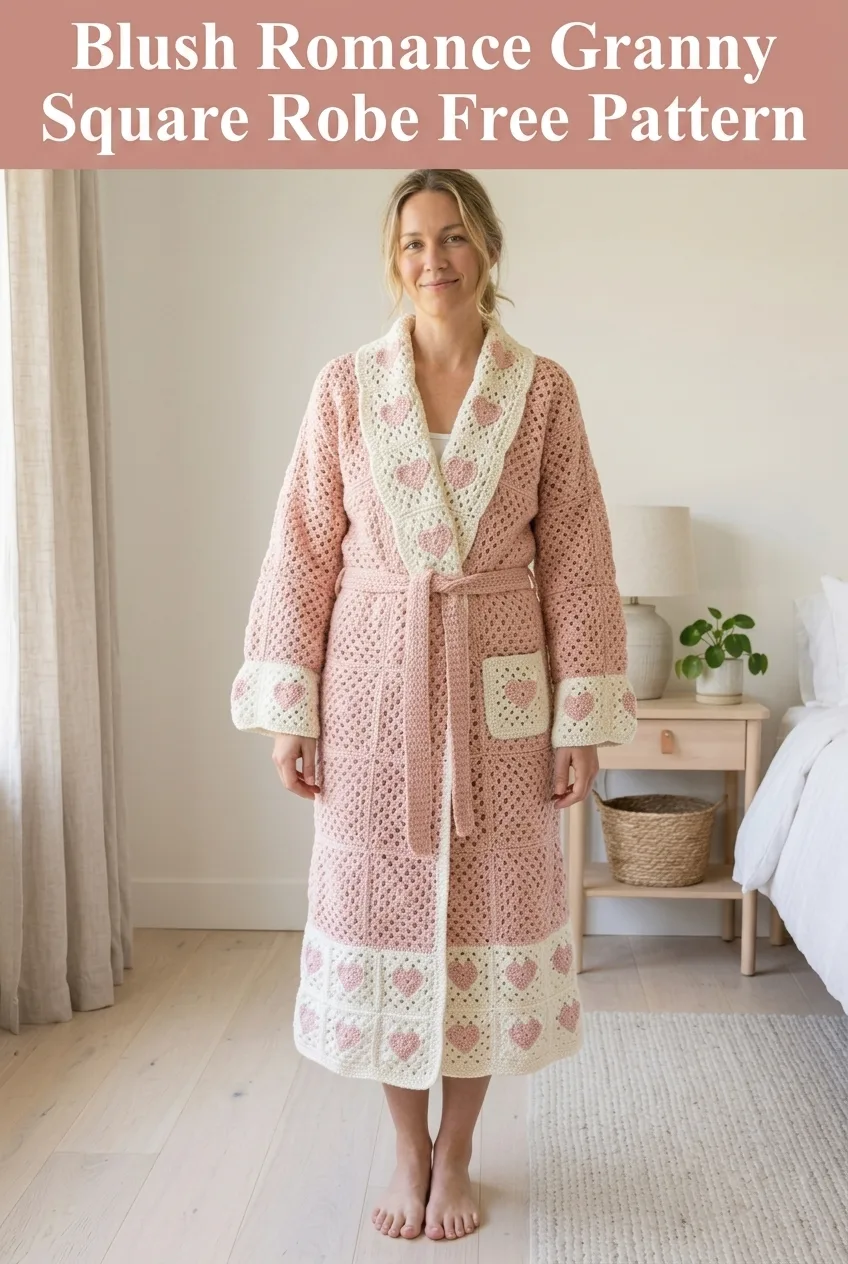
THIS is the crochet robe you have been waiting for! I am SO excited to share this pattern because it combines two of my absolute favorite things: classic granny squares and cozy wearable projects. You can make this stunning full-length robe in about a week of dedicated stitching, and let me tell you, the result looks like you spent months on it. Perfect for gifting to someone special, treating yourself, or creating a bridal party keepsake that will be treasured for years.
Why You Will Love This Granny Square Robe Crochet Pattern
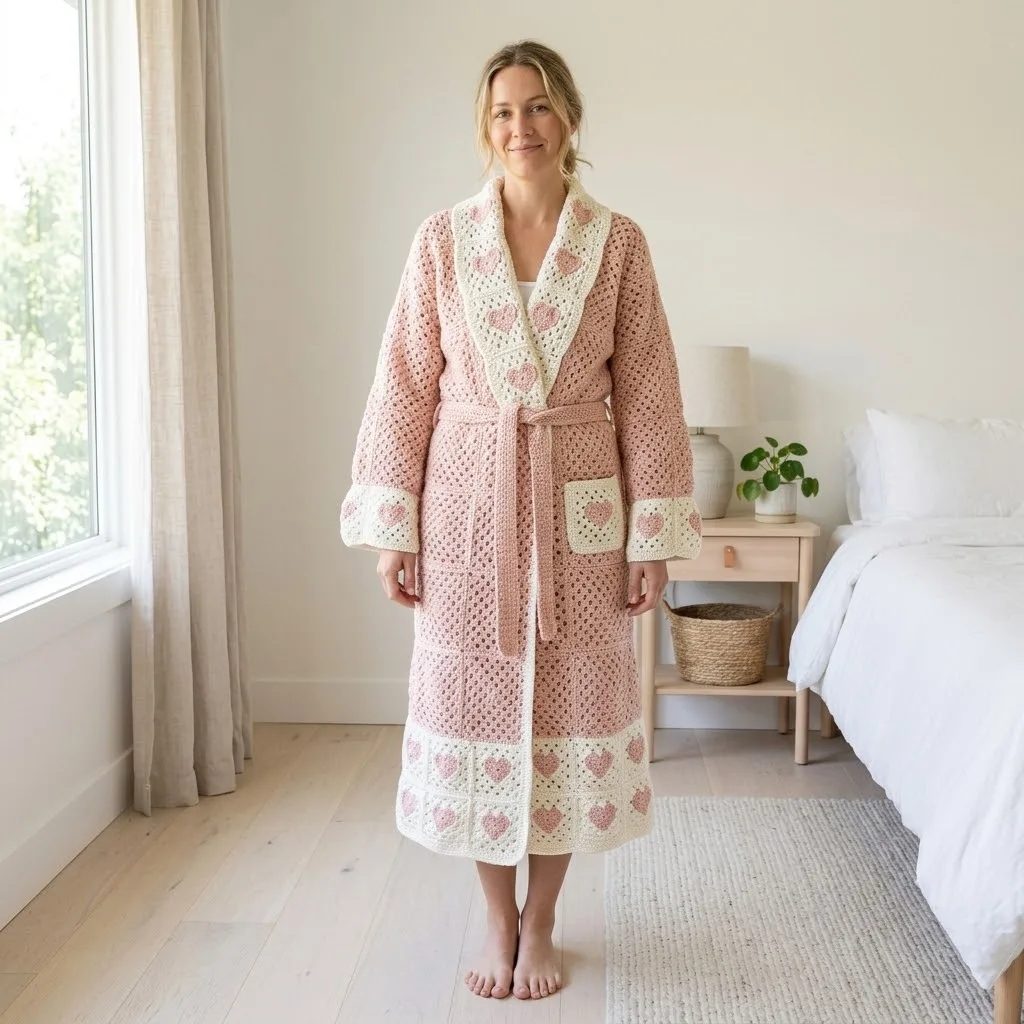
This romantic robe features a beautiful combination of solid granny squares and heart motif granny squares that create visual interest without overwhelming complexity. The blush pink and cream color palette gives it a soft, feminine feel that looks absolutely gorgeous in person.
The construction is more approachable than you might think. You will make individual granny squares, join them strategically, and then add simple finishing details like the shawl collar and tie belt. If you can make a basic granny square and know how to seam, you can absolutely make this robe.
Skill level: Intermediate. You should be comfortable with granny squares and basic garment assembly.
Finished measurements: This pattern creates a robe approximately 48 inches long from shoulder to hem, with a 22 inch back width. The sleeves measure about 24 inches from shoulder to cuff.
Materials Needed for Your Crochet Robe
Yarn:
I recommend a soft acrylic blend or cotton blend for this project. You want something that drapes nicely and feels comfortable against the skin. Look for yarn with good stitch definition so your granny squares look crisp and clean.
Hook: 5.0mm (H/8) crochet hook, or size needed to obtain gauge
Notions:
Gauge: One solid granny square should measure approximately 4 inches by 4 inches after blocking. One heart motif square should also measure 4 inches by 4 inches. Take time to check your gauge before starting. This ensures your robe fits properly.
Abbreviations and Stitch Definitions
Let me walk you through every stitch you will need. If you are newer to crochet, read through this section before starting.
Ch = Chain. Wrap yarn over hook, pull through loop on hook. This creates your foundation and spaces between stitches.
Sl st = Slip stitch. Insert hook, yarn over, pull through both loops at once. Used for joining and moving across stitches without adding height.
Sc = Single crochet. Insert hook, yarn over, pull up a loop (2 loops on hook), yarn over, pull through both loops. A short, tight stitch.
Dc = Double crochet. Yarn over, insert hook, yarn over, pull up a loop (3 loops on hook), yarn over, pull through 2 loops, yarn over, pull through remaining 2 loops. This is your main stitch for granny squares.
3-dc cluster = Three double crochet stitches worked into the same stitch or space. This creates the signature granny square grouping.
Ch-sp = Chain space. The gap created by chain stitches where you will work into on the next round.
Solid Granny Square Pattern (Make 48 in Color A)
These form the main body of your robe. The solid pink squares create the sleeves, back, and front panels.
Round 1: With Color A, make a magic ring. Ch 3 (counts as first dc throughout), 2 dc into ring, ch 2, *3 dc into ring, ch 2* repeat 3 more times. Sl st to top of ch-3 to join. (12 dc, 4 ch-2 corner spaces)
Round 2: Sl st to corner ch-2 space. Ch 3, 2 dc in same corner space, ch 1, 3 dc in same corner space (first corner made), *ch 1, work (3 dc, ch 2, 3 dc) in next corner space* repeat around. Ch 1, sl st to top of ch-3 to join. (24 dc, 4 ch-2 corners, 4 ch-1 side spaces)
Round 3: Sl st to corner space. Ch 3, 2 dc in same corner, ch 2, 3 dc in same corner, *ch 1, 3 dc in next ch-1 space, ch 1, work (3 dc, ch 2, 3 dc) in corner space* repeat around. Ch 1, 3 dc in last ch-1 space, ch 1, sl st to join. (36 dc)
Round 4: Sl st to corner space. Ch 3, 2 dc in same corner, ch 2, 3 dc in same corner, *ch 1, 3 dc in next ch-1 space* twice, ch 1, work (3 dc, ch 2, 3 dc) in corner space, repeat around. Sl st to join. Fasten off. (48 dc)
Weave in ends. Your square should measure approximately 4 inches.
Heart Motif Granny Square Pattern (Make 24)
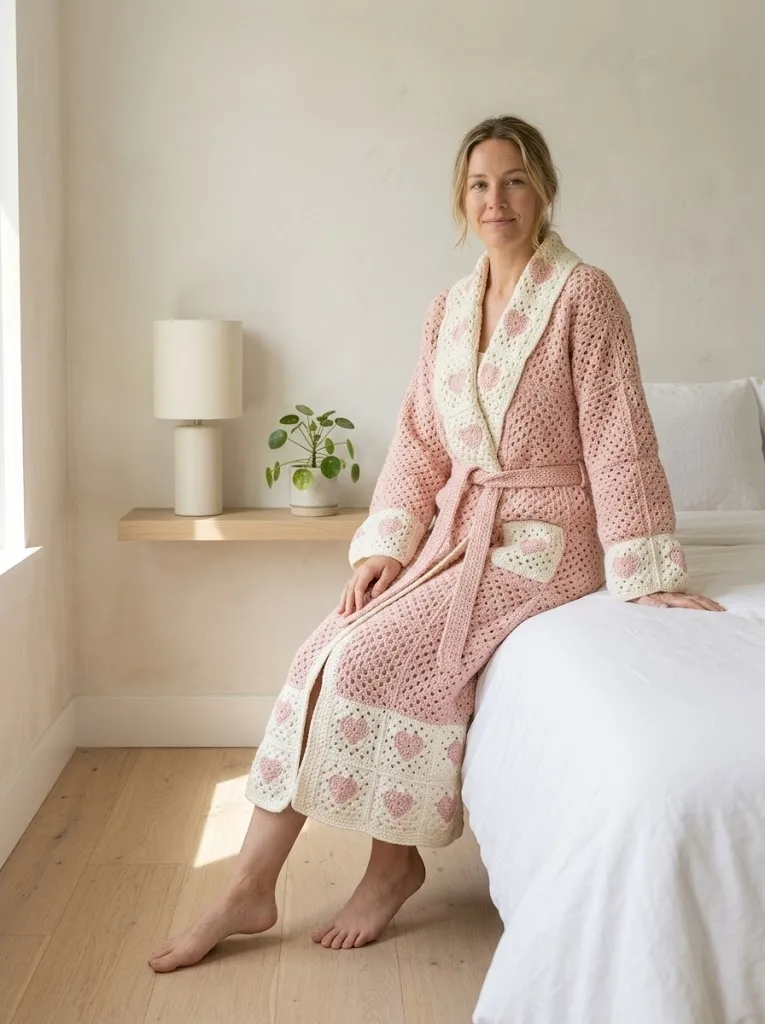
These charming heart squares add romantic detail to your robe. They appear on the shawl collar, hem band, cuffs, and pockets.
Heart Center (worked first):
Round 1: With Color A (blush), make a magic ring. Ch 1, 6 sc into ring. Sl st to join. (6 sc)
Round 2: Ch 1, 2 sc in each st around. Sl st to join. (12 sc)
Round 3: Ch 1, *sc in next st, 2 sc in next st* repeat around. Sl st to join. (18 sc)
Round 4: Working in rows now to shape the heart top. Sc in first 4 sts, ch 1, turn. Sc in 4 sts, ch 1, turn. Sc2tog, sc, sc2tog. Fasten off. Rejoin yarn 4 sts from the opposite side and repeat to create the second heart lobe.
Heart Bottom: Rejoin yarn at center bottom of heart. Sc evenly down one side (about 5 sc), work 3 sc in the point, sc evenly up the other side (about 5 sc). Fasten off.
Surrounding Granny Border (Color B, cream):
Round 1: Join Color B at any point of your heart. Working around the entire heart shape, ch 3, 2 dc in same space, *ch 1, skip about 1/2 inch, 3 dc in next space* repeat around heart, placing (3 dc, ch 2, 3 dc) at each of the 4 corners of your square. Sl st to join.
Round 2: Continue with granny square rounds as written for the solid square, Rounds 3 and 4. Your heart will be centered in the cream granny border.
Do not worry if your first heart square looks a little wonky. The heart motif takes practice. Your second and third ones will look much better, I promise.
Robe Construction and Assembly
Now comes the exciting part. You will join your squares to create the robe pieces.
Back Panel
Arrange 12 solid pink squares in a 3 wide by 4 tall rectangle. Join squares using the flat slip stitch join method or whip stitch. Work from wrong side for an invisible seam.
To flat join: Hold two squares with right sides together. Working through both layers, sl st through both loops of each stitch along one edge. This creates a flat, sturdy seam.
Front Panels (Make 2)
Each front panel uses 6 solid pink squares arranged 2 wide by 3 tall. Join as directed for back panel.
Sleeves (Make 2)
Each sleeve uses 8 solid pink squares arranged in a 2 by 4 strip. Join along the long edges to create a tube.
Hem Band
Arrange 8 heart motif squares in a single row. Join side by side. This decorative band attaches to the bottom of your robe.
Shawl Collar
Arrange 8 heart motif squares in a single strip. This forms your romantic collar detail.
Cuffs (Make 2)
Each cuff uses 2 heart motif squares joined side by side, then joined into a circle.
Pockets (Make 2)
Each pocket is a single heart motif square. Set these aside for now.
Joining the Robe Pieces
Step 1: Attach front panels to back panel at shoulders. Leave the outer squares at the top free for the sleeve openings. Your shoulder seams should span one square width each.
Step 2: Attach sleeves to the body. The sleeve tube joins to the front and back panels at the shoulder area.
Step 3: Sew side seams from bottom of armhole to hem on each side.
Step 4: Attach hem band. The heart motif strip joins to the bottom edge of the body.
Step 5: Attach shawl collar. Starting at the right front hem, join the collar strip up around the neckline and down to the left front hem.
Step 6: Attach cuffs to sleeve bottoms.
Step 7: Position pockets on front panels at hip height. Whip stitch around three sides, leaving the top open.
Belt Pattern
Row 1: With Color A, ch 201 (or desired length for your size). Sc in 2nd ch from hook and each ch across. Ch 1, turn. (200 sc)
Rows 2 through 6: Sc in each st across. Ch 1, turn.
After Row 6, fasten off and weave in ends. Your belt should measure approximately 60 inches long and 1.5 inches wide.
Finishing Your Crochet Robe
Blocking: For the best results, block each square before assembly, or block the finished robe on a flat surface. Spritz with water, pin to measurements, and let dry completely.
Weaving ends: Take your time with this step. A beautiful project deserves clean finishing. Weave each end through at least 2 inches of stitches in a matching color area.
Optional edging: Add a single round of single crochet in Color A around the entire front opening and collar for a more polished look.
Care Instructions
This crochet robe deserves gentle care to keep it looking beautiful for years.
Tips for Success with This Crochet Pattern
Start with your gauge swatch. I know it feels tedious, but proper gauge makes the difference between a robe that fits and one that does not.
Count your stitches. At the end of each round, verify your stitch count matches the pattern. Catching mistakes early saves frogging later.
Use stitch markers. Place markers at corners and joining points to keep track of your progress.
Embrace imperfection. Handmade items have character. Small variations in your squares add to the charm.
This Blush Romance Granny Square Robe pattern creates a truly special piece. Whether you make it for yourself or someone you love, every stitch carries care and intention. The combination of classic granny square technique with romantic heart motifs makes this a crochet tutorial you will return to again and again.
I would absolutely love to see your finished robes! Tag me on Instagram or share in our Facebook group so I can celebrate your beautiful work. Happy crocheting, friend.
If you loved this crochet robe pattern, do me a favor and pin it to your Pinterest boards so you can find it easily when you are ready to start. And please drop a comment below if you make one. Seeing your creations truly makes my day!
