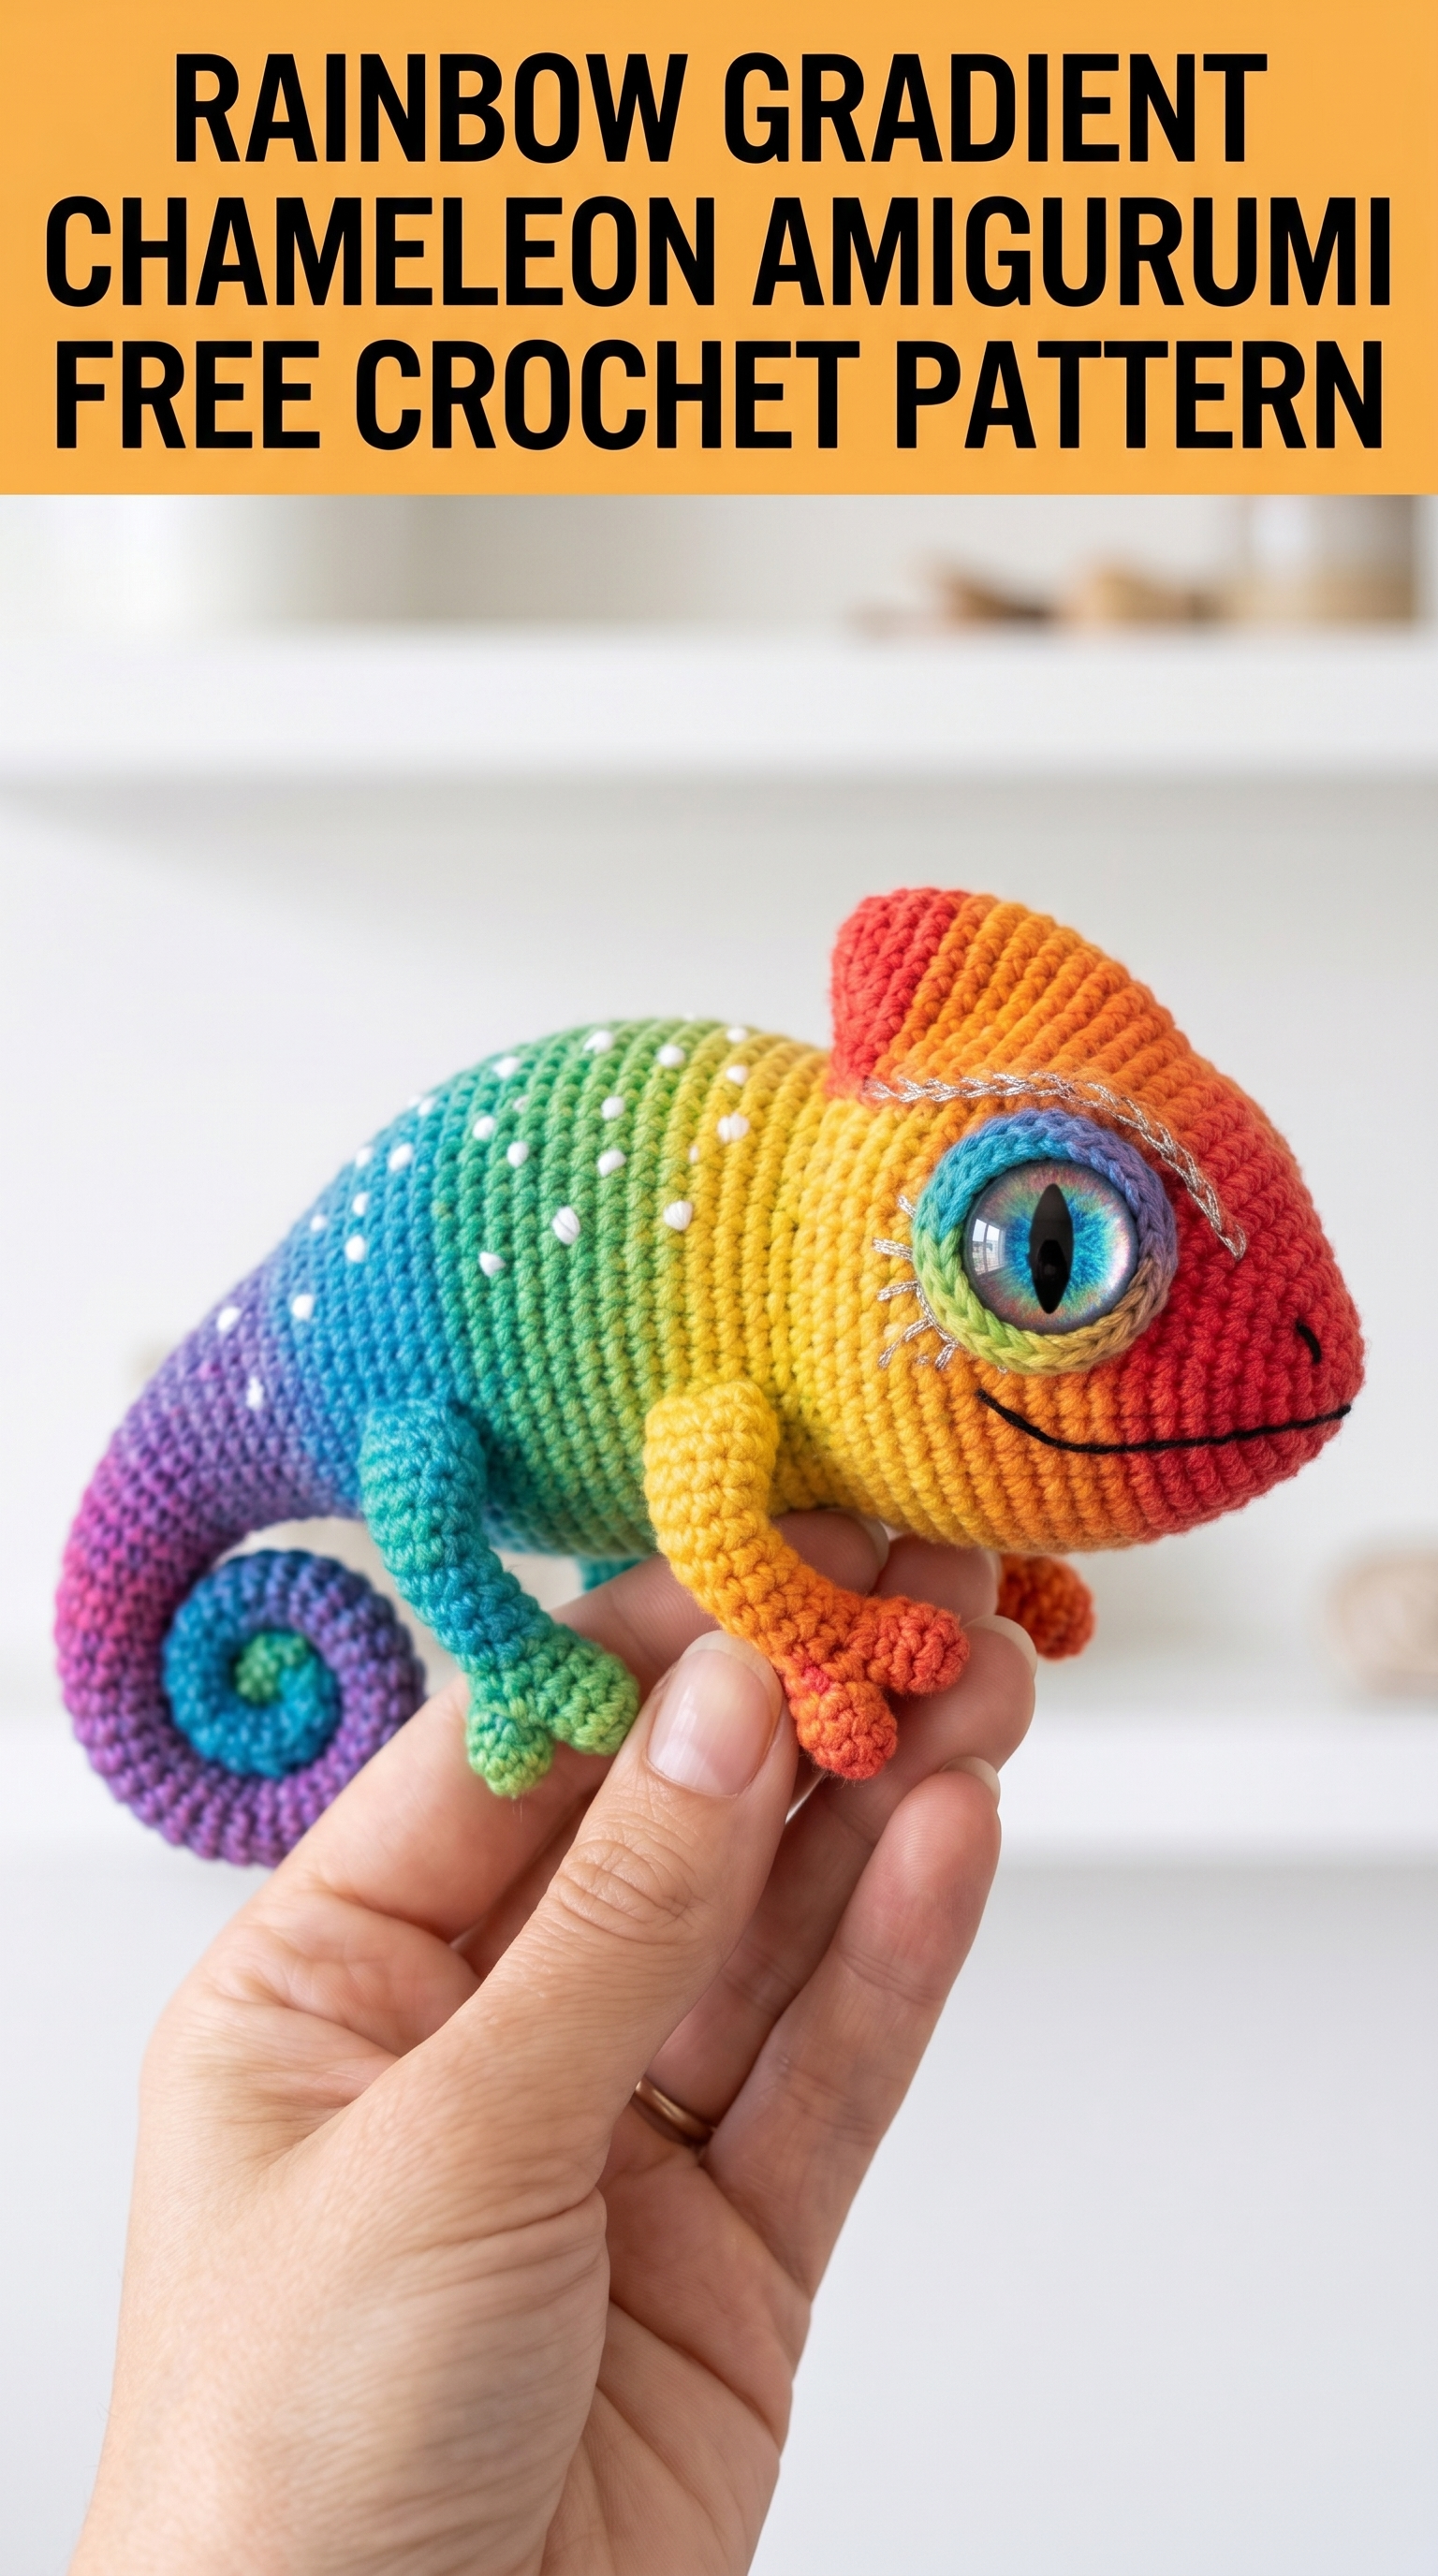
This adorable rainbow chameleon amigurumi is about to become your new favorite project. I designed this little guy to showcase a stunning gradient color transition from warm reds and oranges at the head all the way through to deep purples at the curled tail. The result is a palm-sized chameleon that looks far more complicated than it actually is.
If you have basic amigurumi experience and know how to work in continuous rounds, you can absolutely make this. The color changes happen gradually, so there is no tricky colorwork to stress about. Just simple increases, decreases, and strategic yarn swaps.
Let me walk you through everything you need to create your own rainbow chameleon from start to finish.
Why This Rainbow Chameleon Crochet Pattern Works So Well
What makes this amigurumi chameleon special is the seamless gradient effect. Instead of stripes or blocks of color, the shades blend into each other naturally. Red flows into orange. Orange melts into yellow. Yellow transitions to green, then teal, blue, and finally purple at that signature curled tail.
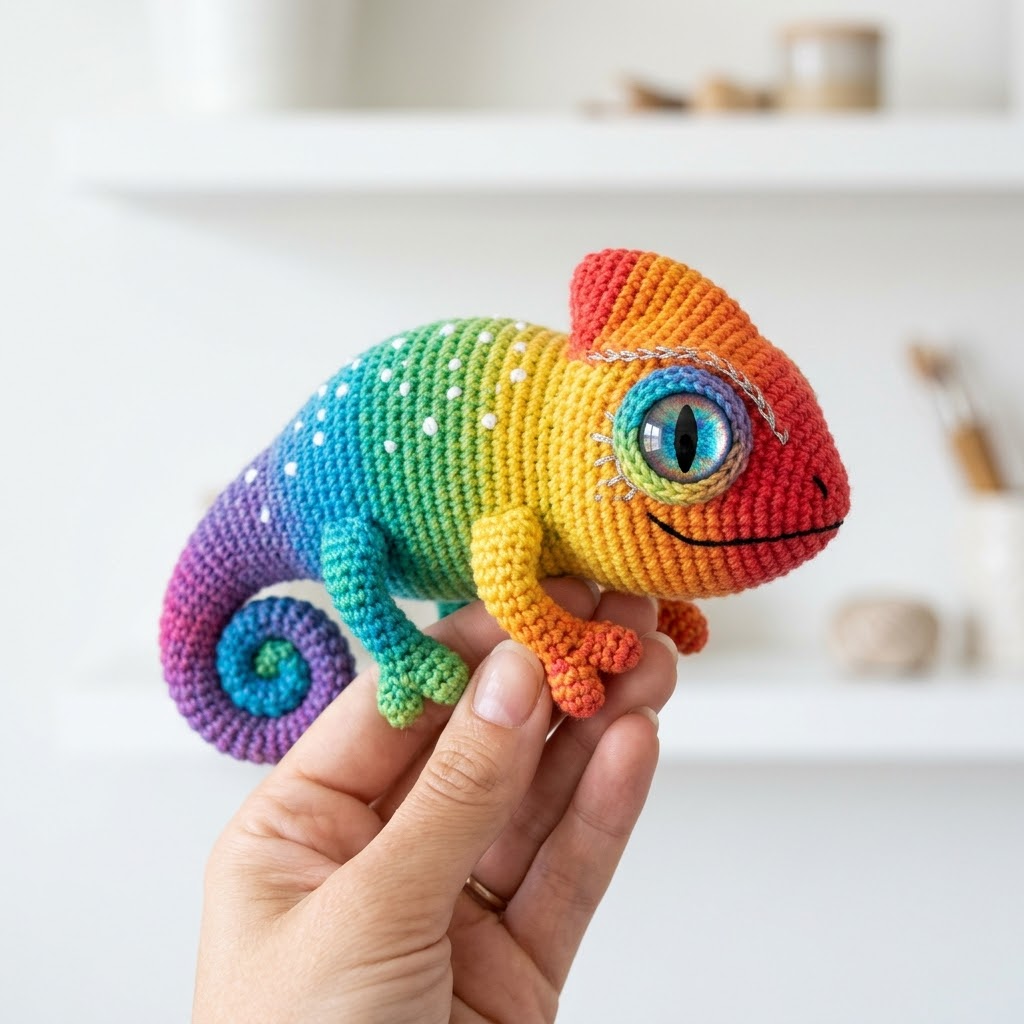
The body is worked in one continuous piece with the head, which eliminates extra seaming. The legs, tail, and eyes are made separately and attached. Those gorgeous glass-look eyes really bring the whole piece to life.
Finished size is approximately 5 inches long and 3 inches tall, perfect for fitting in your palm.
Materials You Will Need
Yarn:
– Red
– Orange
– Yellow
– Lime green
– Teal or turquoise
– Blue
– Purple
I recommend cotton or cotton blend yarn for crisp stitch definition. Mercerized cotton works beautifully for that slight sheen you see in the photos.
Hook:
Using a smaller hook than recommended for your yarn weight creates a tighter fabric. This prevents stuffing from showing through, which is essential for amigurumi.
Notions:
Skill Level and Techniques Used
This pattern is intermediate level. You should be comfortable with:
If you have never made amigurumi before, I recommend practicing a simple ball shape first to get comfortable with shaping.
Abbreviations
Stitch Counts and Color Placement Notes
This chameleon uses color transitions that happen every few rounds. Here is the general color placement from head to tail:
Change colors by completing the last yarn over of a stitch with the new color. This creates a clean transition.
The Pattern
Head and Body (worked as one piece)
Start with red yarn.
Rnd 1: 6 sc in MR (6 sts)
Rnd 2: Inc in each st around (12 sts)
Rnd 3: [Sc 1, inc] 6 times (18 sts)
Rnd 4: [Sc 2, inc] 6 times (24 sts)
Rnd 5: [Sc 3, inc] 6 times (30 sts)
Rnd 6: [Sc 4, inc] 6 times (36 sts)
Change to orange on last stitch of round 6.
Rnd 7-8: Sc in each st around (36 sts)
This creates the widest part of the head. Now we begin shaping.
Rnd 9: [Sc 4, invdec] 6 times (30 sts)
Change to yellow on last stitch.
Rnd 10: Sc in each st around (30 sts)
Rnd 11: [Sc 3, invdec] 6 times (24 sts)
Rnd 12-14: Sc in each st around (24 sts)
This section forms the neck and upper body. Insert safety eyes between rounds 5 and 6, spaced about 8 stitches apart. The eye placement is slightly toward the sides of the head, giving that classic chameleon look.
Change to lime green.
Rnd 15: Sc in each st around (24 sts)
Rnd 16: [Sc 2, invdec] 6 times (18 sts)
Begin stuffing the head firmly at this point. Continue stuffing as you work.
Rnd 17-20: Sc in each st around (18 sts)
Change to teal.
Rnd 21: [Sc 1, invdec] 6 times (12 sts)
Rnd 22-24: Sc in each st around (12 sts)
Change to blue.
Rnd 25: [Sc 2, invdec] 3 times (9 sts)
Rnd 26-28: Sc in each st around (9 sts)
Stuff the body section. Do not overstuff. You want it firm but still slightly squeezable.
Change to purple.
Rnd 29-32: Sc in each st around (9 sts)
Rnd 33: [Sc 1, invdec] 3 times (6 sts)
Fasten off, leaving a long tail. Close the opening by weaving through front loops of remaining stitches and pulling tight.
Curled Tail
Start with teal yarn.
Rnd 1: 4 sc in MR (4 sts)
Rnd 2-4: Sc in each st around (4 sts)
Change to blue.
Rnd 5-8: Sc in each st around (4 sts)
Change to purple.
Rnd 9-14: Sc in each st around (4 sts)
Fasten off, leaving a long tail for sewing. The tail will naturally curl as you work due to the tight gauge. Shape it into a spiral after stuffing lightly.
Sew the tail to the back end of the body, curving it underneath.
Front Legs (make 2)
Start with orange yarn.
Rnd 1: 5 sc in MR (5 sts)
Rnd 2: Inc in each st around (10 sts)
Rnd 3-4: Sc in each st around (10 sts)
Rnd 5: [Sc 1, invdec, sc 2] 2 times (8 sts)
Rnd 6-8: Sc in each st around (8 sts)
Fasten off, leaving a tail for sewing. Stuff lightly. Flatten the opening and sew to sides of body near the neck area.
Back Legs (make 2)
Start with green yarn.
Rnd 1: 5 sc in MR (5 sts)
Rnd 2: Inc in each st around (10 sts)
Rnd 3-4: Sc in each st around (10 sts)
Rnd 5: [Sc 1, invdec, sc 2] 2 times (8 sts)
Change to teal.
Rnd 6-9: Sc in each st around (8 sts)
Fasten off and attach to lower body, positioning so the chameleon can sit or perch.
Eye Surrounds (make 2)
These raised rings go around the safety eyes.
Start with teal yarn.
Rnd 1: 6 sc in MR (6 sts)
Rnd 2: Inc in each st around (12 sts)
Rnd 3: Working in back loops only, sc in each st around (12 sts)
Rnd 4: Sc in each st around (12 sts)
Fasten off. Slip over the safety eye post before attaching the backing. This creates that domed, bulging eye effect chameleons are famous for.
Decorative Details
White dots: Using white yarn and your yarn needle, create French knots or small embroidered dots scattered across the teal and green sections of the body. Space them randomly for a natural spotted effect.
Mouth: Using black yarn, embroider a simple curved line from under the eye toward the front of the snout.
Eye sparkle: If using glass cabochon eyes, the built-in iris gives that lifelike depth. If using plain safety eyes, you can add a tiny white French knot for a sparkle effect.
Assembly Tips
1. Pin before sewing. Position all pieces with sewing pins before committing. Step back and check proportions.
2. Use matching yarn colors for invisible seams. Where pieces meet at color transitions, match your sewing yarn to whichever color is dominant.
3. Stuff legs lightly so they remain poseable. Overstuffed legs will stick out stiffly.
4. Curve the tail while the piece is still soft. You can wet block it gently to hold the spiral shape.
Troubleshooting Common Issues
My color transitions look choppy: Complete your last yarn over with the new color on the stitch before the one where you want the new color to appear. This shifts the color change slightly and creates smoother blending.
The eyes look crooked: Insert both eye posts before securing either backing. Adjust until symmetrical, then lock them in place.
My chameleon will not sit up: Flatten the bottom of the body slightly by understuffing that area. Weight the base with a few glass beads if needed.
Customization Ideas
This pattern is incredibly versatile. Try these variations:
Final Thoughts on This Amigurumi Chameleon Crochet Pattern
This rainbow chameleon combines approachable techniques with a stunning visual result. The gradient effect looks advanced but happens naturally through simple color changes every few rounds. Those expressive eyes and the curled tail give this little guy so much personality.
I hope this step by step crochet tutorial gave you everything you need to bring your own chameleon to life. Take your time with the color transitions and trust the process. The magic really comes together during assembly.
Thank you so much for choosing this pattern. I genuinely appreciate you being here and trusting me with your crafting time.
When you finish your chameleon, I would absolutely love to see it. Tag me on Instagram or share in my Facebook group. Seeing your creations is honestly the best part of my day.
Happy crocheting, and enjoy watching those rainbow colors come to life under your hook.
