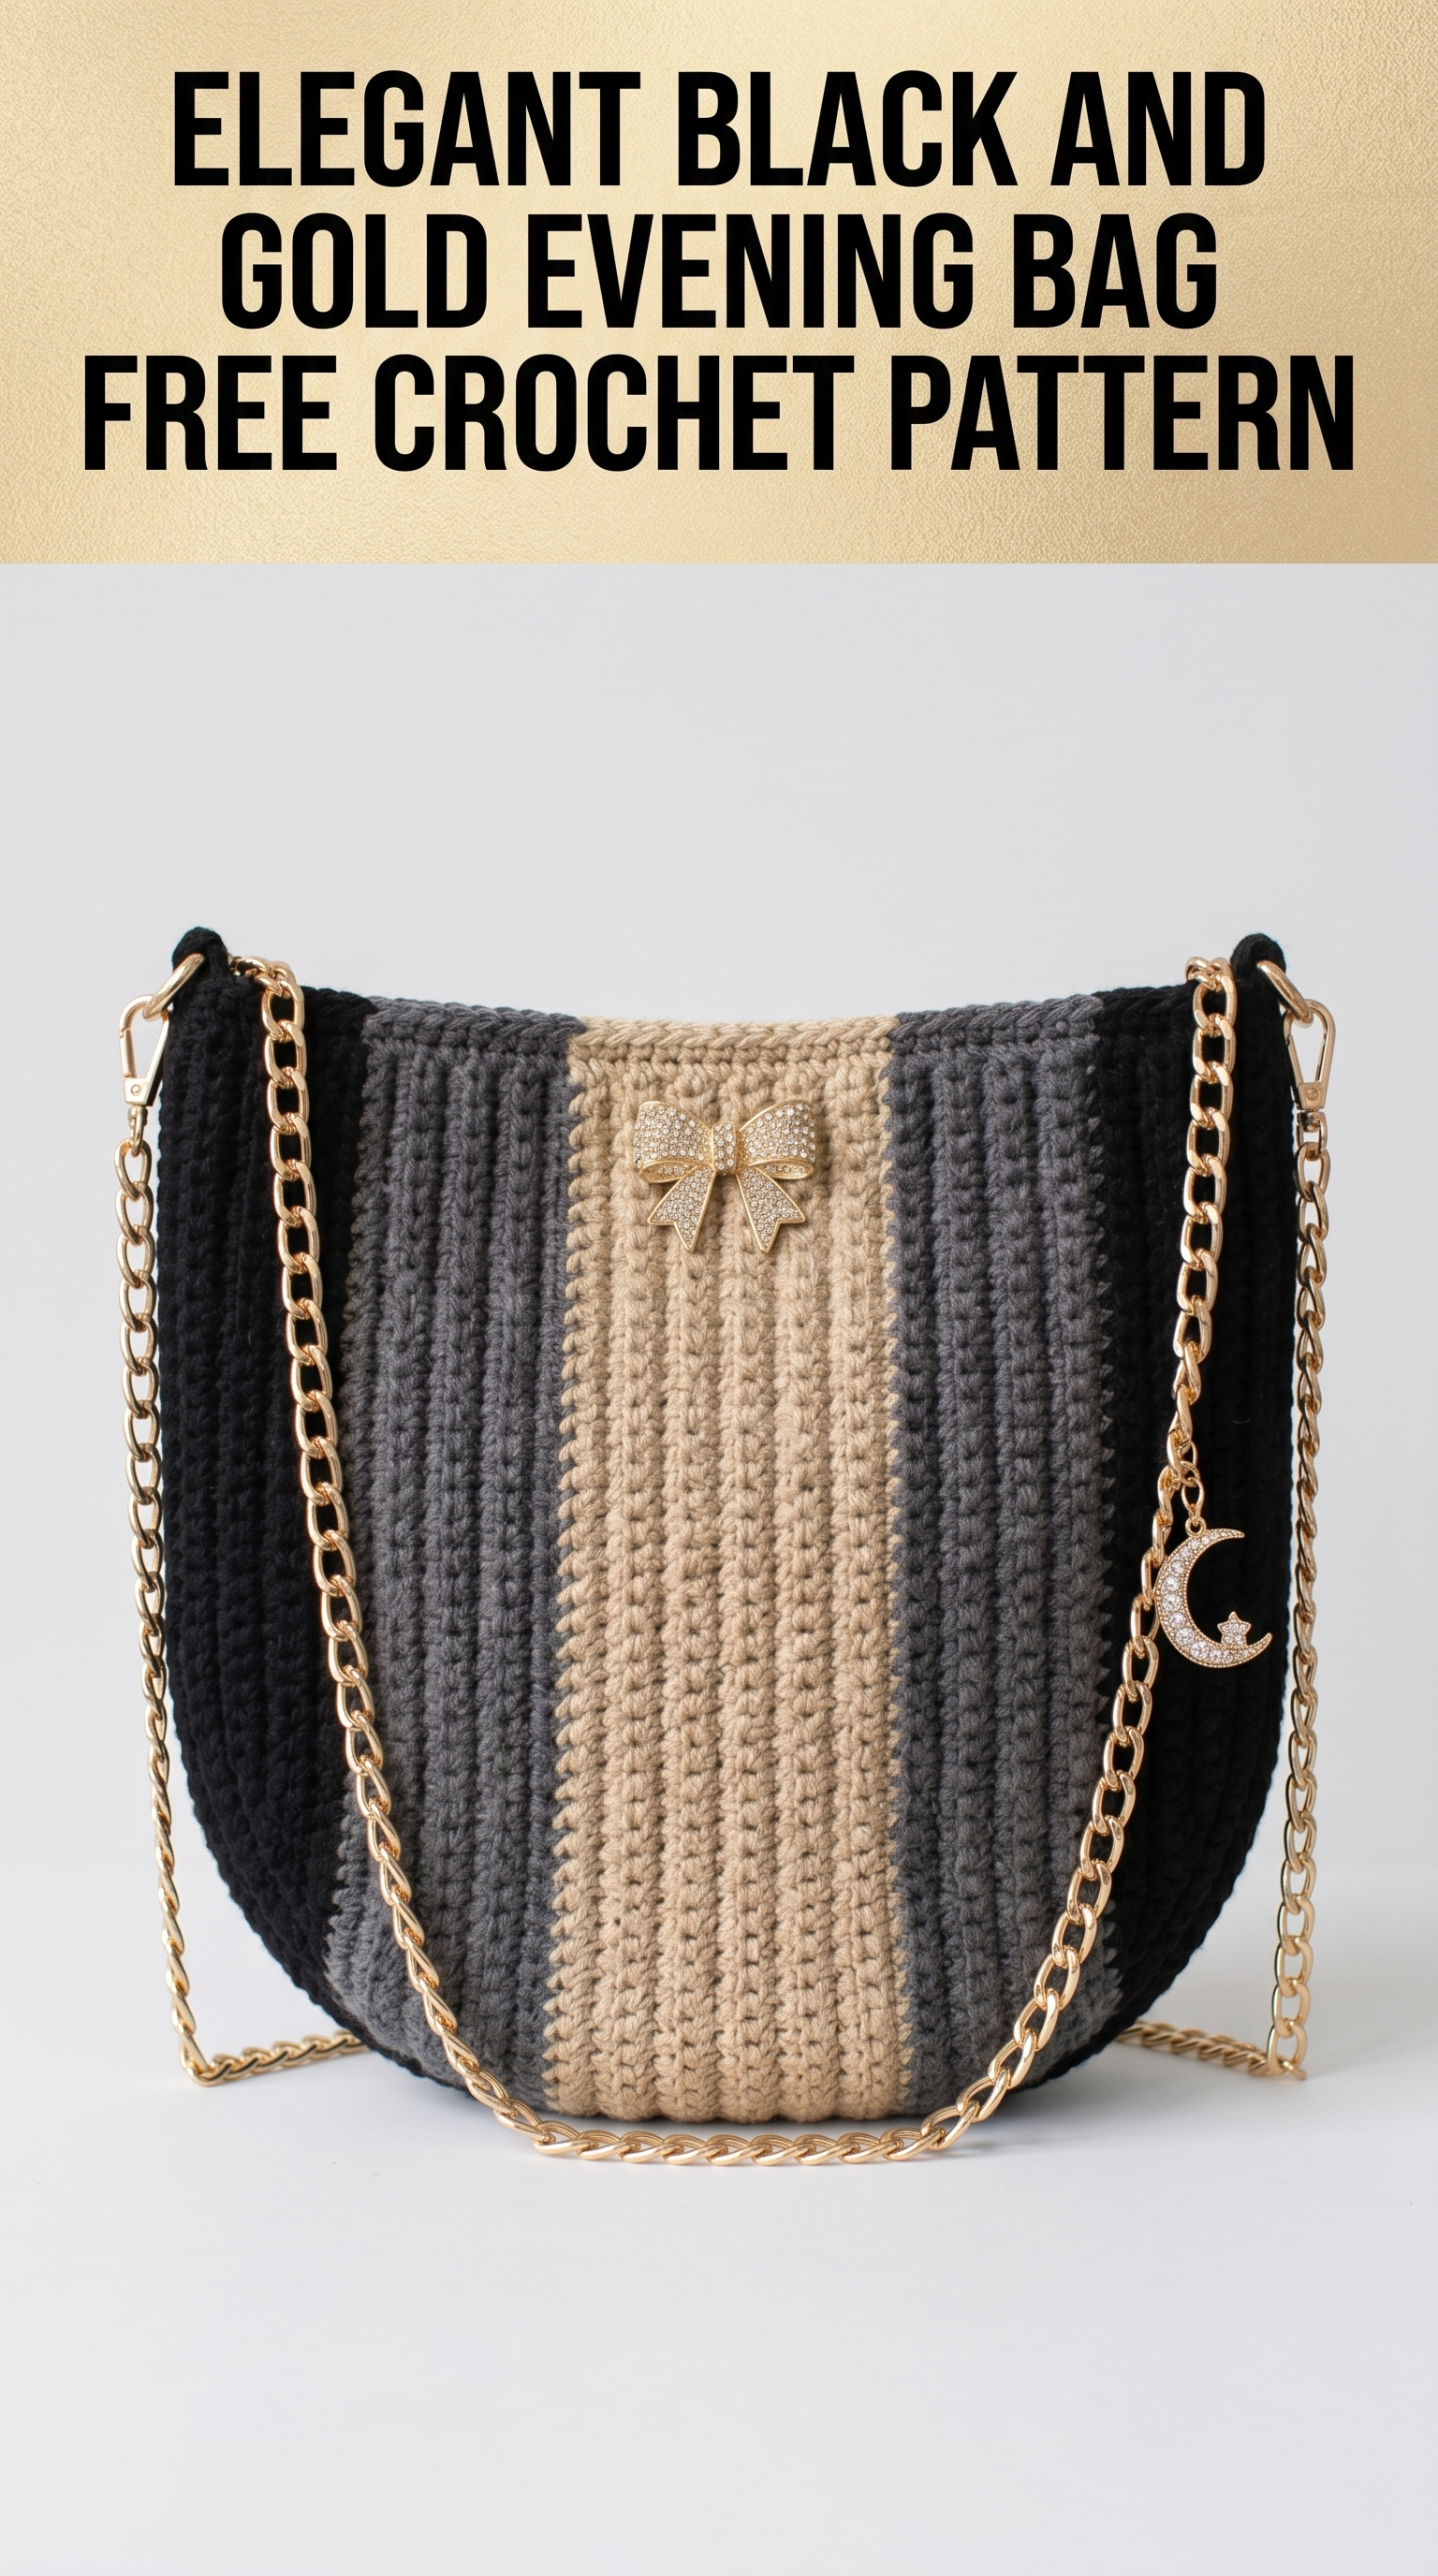
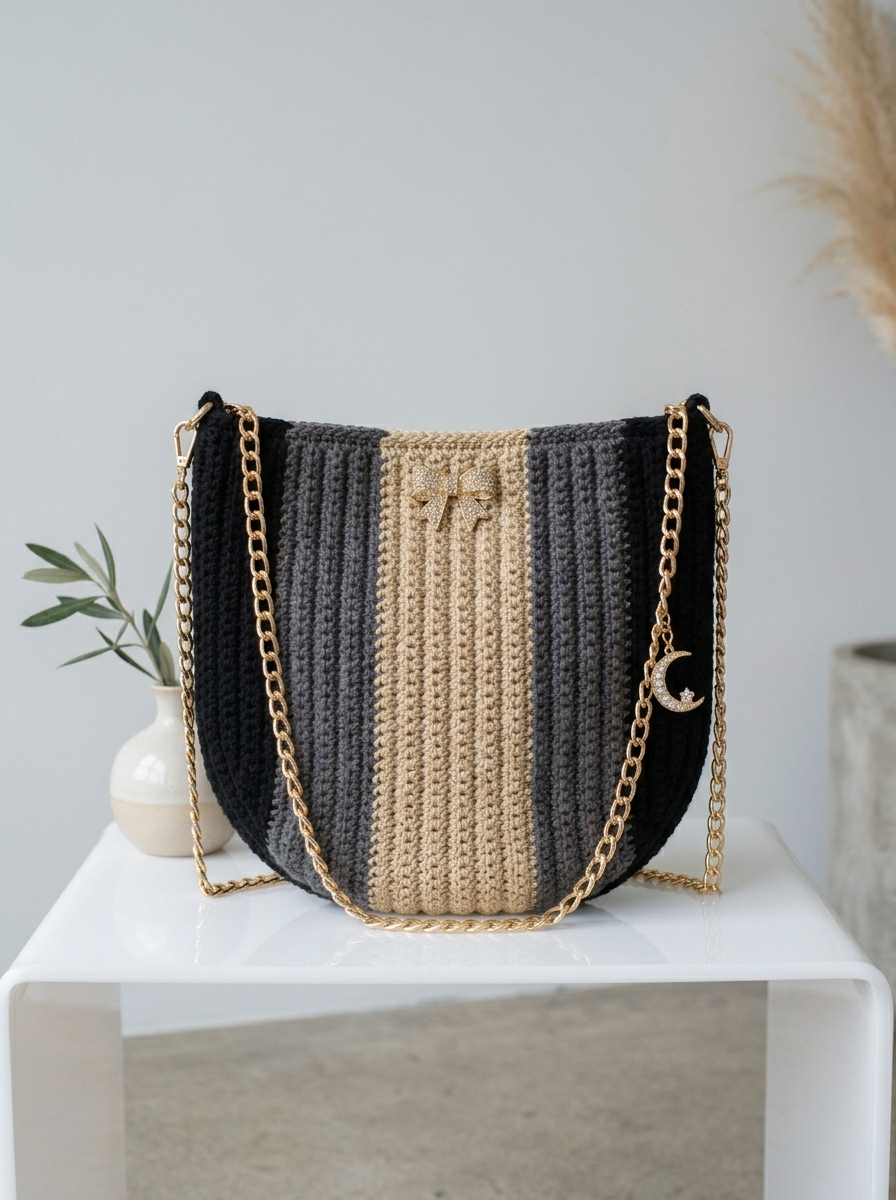
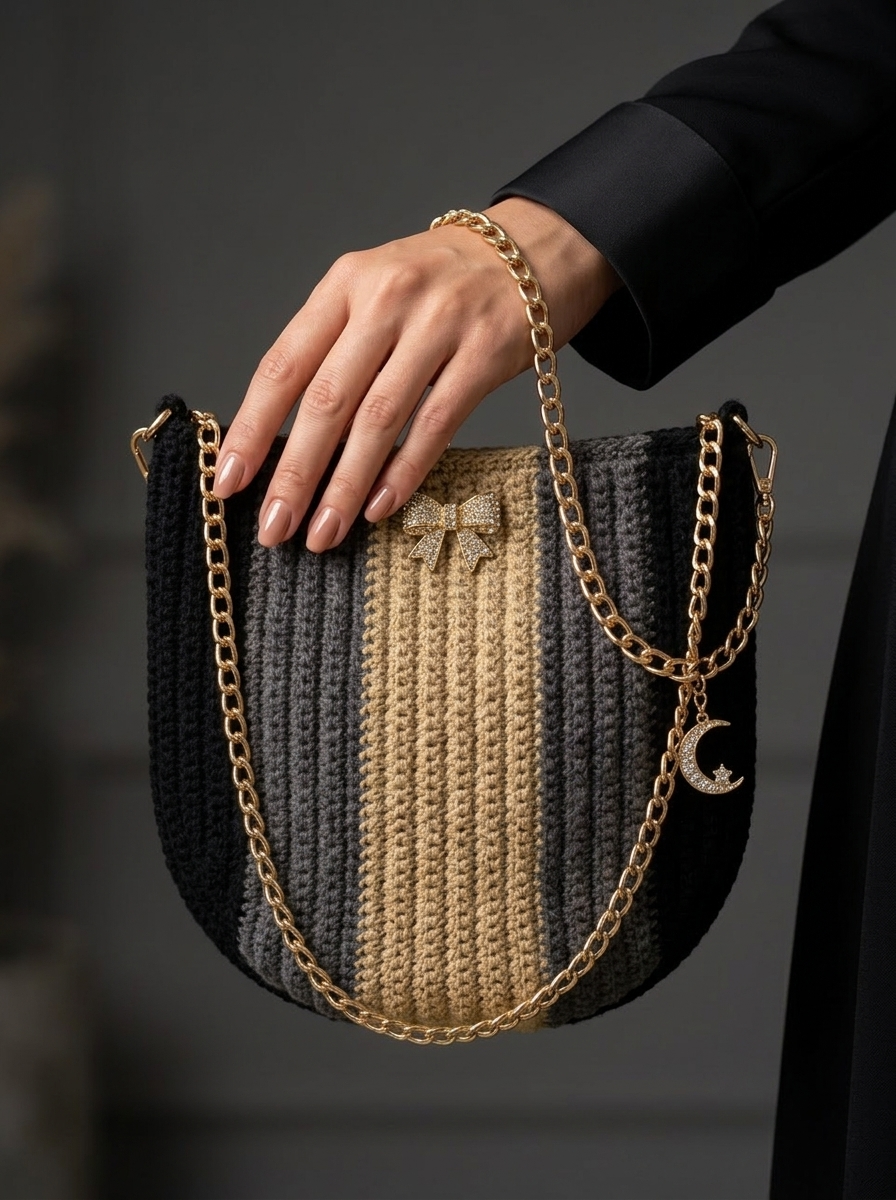
You know that feeling when you finish a project and it looks like something you would actually buy in a boutique? This elegant black and gold evening bag gave me that exact rush. The vertical ribbed texture creates such a sophisticated look, and when you add that gold chain strap, it transforms into a stunning accessory perfect for date nights or special occasions.
I designed this crochet pattern to look high-end while using straightforward techniques. If you can work basic stitches in rows and know how to change colors, you can absolutely make this bag. The construction is simpler than it appears. Promise.
Let me walk you through everything you need to create your own designer-worthy evening bag.
Why This Crochet Evening Bag Pattern Works So Well
The magic of this bag comes from the ribbed stitch pattern worked in vertical stripes. Instead of crocheting horizontally like most bags, we work this one sideways. Each row becomes a vertical column on the finished piece. This creates those beautiful raised ridges you see running up and down.
The color blocking adds visual interest without complicated colorwork. Black anchors the edges, charcoal gray provides transition, and that gorgeous champagne gold center stripe draws the eye. These neutral tones mean the bag coordinates with practically any outfit.
At approximately 9 inches wide and 8 inches tall, this bag holds your essentials without being bulky. Phone, cards, keys, lipstick. Everything you need for an evening out.
Materials You Will Need
Yarn:
I recommend a worsted weight yarn with good stitch definition. Cotton or cotton blend works beautifully because it holds shape well and creates crisp ribbing. Acrylic works too but may stretch more over time. Look for something around 180-200 yards per 100 gram skein.
Hook:
You might need to adjust your hook size based on your tension. More on that below.
Notions:
Gauge Matters for This Project
Work 14 stitches and 16 rows in the ribbed pattern to get a 4 inch square.
Why gauge matters here: This bag needs to hold its shape. Too loose and it will sag. Too tight and you will fight every stitch. Take ten minutes to make a small swatch. Your future self will thank you.
If your swatch measures larger than 4 inches, try going down a hook size. Smaller than 4 inches? Go up a hook size.
Stitches and Abbreviations Used
Let me break down every stitch you will encounter in this crochet tutorial.
Ch (Chain): The foundation stitch. Yarn over, pull through loop on hook. Creates the starting row.
Sl st (Slip Stitch): Insert hook, yarn over, pull through both the stitch and loop on hook in one motion. Used for joining and creating a tight edge.
Sc (Single Crochet): Insert hook into stitch, yarn over and pull up a loop (2 loops on hook), yarn over and pull through both loops. The basic building block stitch.
BLO (Back Loop Only): Instead of inserting your hook under both loops at the top of a stitch, you only go under the back loop. This is what creates the ribbed texture. The front loop stays visible as a horizontal ridge.
Working in BLO can feel awkward at first. Tip: tilt your work toward you slightly to see that back loop more clearly. It sits behind the front loop, closer to your body.
Skill Level
Confident Beginner to Intermediate
You should feel comfortable with:
If you have never worked in BLO before, practice on a small swatch first. It becomes second nature quickly.
Finished Dimensions
Step by Step Crochet Pattern Instructions
This bag is constructed in four main pieces: front panel, back panel, bottom gusset, and side edging. We will work each piece separately and then seam them together.
Front Panel
The front panel is worked sideways. Each row creates one vertical column of the finished design.
With Color A (Black), ch 33.
Row 1: Sc in 2nd ch from hook and in each ch across. (32 sts)
Row 2: Ch 1, turn. Sc in BLO of each st across. (32 sts)
Rows 3-8: Repeat Row 2. (32 sts each row)
You have now completed the first black stripe. Time to change colors.
Joining Color B (Charcoal Gray):
On the last stitch of Row 8, work the sc until you have 2 loops on your hook. Drop Color A. Yarn over with Color B and pull through both loops to complete the stitch. This creates a clean color change.
Rows 9-16: With Color B, ch 1, turn. Sc in BLO of each st across. (32 sts each row)
Joining Color C (Champagne):
Change to Color C on the last stitch of Row 16 using the same method.
Rows 17-28: With Color C, ch 1, turn. Sc in BLO of each st across. (32 sts each row)
This creates the center gold stripe. Beautiful, right?
Joining Color B:
Change back to Color B on the last stitch of Row 28.
Rows 29-36: With Color B, ch 1, turn. Sc in BLO of each st across. (32 sts each row)
Joining Color A:
Change to Color A on the last stitch of Row 36.
Rows 37-44: With Color A, ch 1, turn. Sc in BLO of each st across. (32 sts each row)
Fasten off and weave in ends.
Your front panel should measure approximately 9 inches wide and 8 inches tall.
Back Panel
Work exactly the same as the front panel.
Quick reference:
Fasten off and weave in ends.
Bottom Gusset
This piece creates the base of the bag and gives it dimension.
With Color A (Black), ch 7.
Row 1: Sc in 2nd ch from hook and in each ch across. (6 sts)
Row 2: Ch 1, turn. Sc in BLO of each st across. (6 sts)
Rows 3-44: Repeat Row 2. (6 sts each row)
Fasten off. This strip should measure approximately 9 inches long and 1.5 inches wide.
Assembly Instructions
Now comes the satisfying part. Watching your pieces become a bag.
Joining the Bottom Gusset
Step 1: Lay your front panel right side up. Position the bottom gusset along the bottom edge of the front panel.
Step 2: Using Color A and your tapestry needle, whip stitch the gusset to the bottom edge of the front panel. Work through the outer loops only for a neat seam.
Alternatively, you can single crochet the pieces together through both layers. This creates a slightly more visible but very sturdy seam.
Step 3: Repeat with the back panel, attaching it to the opposite long edge of the gusset.
Seaming the Sides
Step 1: With right sides facing out, align the front and back panels at the side edges.
Step 2: Starting at the bottom corner, whip stitch or single crochet up one side, stopping about 1 inch from the top edge.
Step 3: Repeat on the other side.
Creating the Curved Top Edge
The elegant curved shape at the top comes from a simple edging technique.
Round 1: Join Color A at one side seam. Working evenly around the top opening, sc around the entire edge, working approximately 2 sc for every row end. When you reach the corners, work 3 sc in each corner stitch to keep the edge flat. Sl st to first sc to join.
Round 2: Ch 1. Working in BLO, sc around, decreasing slightly at each corner by working sc2tog (single crochet 2 together). This pulls the top edge inward slightly, creating that curved shape. Sl st to join.
Sc2tog: Insert hook in first st, yarn over, pull up loop. Insert hook in next st, yarn over, pull up loop. Yarn over, pull through all 3 loops on hook.
Fasten off and weave in all ends.
Adding the Chain Strap
This is what elevates the bag from handmade to high-end.
Step 1: Create strap attachment points. At each top corner of the bag, create a small reinforced loop by working 5 sl st through multiple layers of your edging. Leave a loop large enough to thread your D-ring or connector through.
Alternatively, use matching black yarn to sew D-rings directly to each corner through multiple stitches.
Step 2: Attach your gold chain strap using lobster clasps or by threading directly through D-rings.
Tip: Most craft stores sell purse chains in various lengths. A 45-48 inch chain works well for crossbody wear. Adjust based on your preference.
Optional Embellishments
That little bow brooch and crescent moon charm add personality. Here is how to incorporate decorative elements:
Keep embellishments minimal for that sophisticated look.
Adding a Fabric Lining (Recommended)
A lining protects the inside of your bag and keeps small items from poking through the stitches.
Step 1: Measure the interior dimensions of your finished bag.
Step 2: Cut lining fabric with an additional half inch seam allowance on all sides.
Step 3: Sew lining pieces together, right sides facing.
Step 4: Turn lining right side out. Fold top edge under half an inch.
Step 5: Hand stitch lining to the inside of the bag just below the top edging, using small stitches that do not show on the outside.
A satin or cotton lining in black or gold coordinates beautifully.
Troubleshooting Common Issues
My ribbing does not look pronounced enough.
Make sure you are truly working in the back loop only. That front loop must remain unworked to create the ridge.
My color changes look messy.
Always change colors on the last yarn over of the previous stitch. This keeps your color changes clean and on the right side.
The panels are different sizes.
Check your gauge between pieces. Tension can change as you get more comfortable. Block both panels to the same dimensions before seaming.
The bag is too floppy.
Consider using a stiffer yarn or adding interfacing behind your lining. Some makers also insert a piece of plastic canvas at the bottom for structure.
Care Instructions
Hand wash in cool water with mild detergent. Reshape and lay flat to dry. Remove chain strap before washing. Store stuffed with tissue paper to maintain shape.
Make It Your Own
This crochet pattern is incredibly adaptable. Try:
Wrapping Up This Evening Bag Crochet Pattern
You now have everything you need to create your own elegant black and gold evening bag from scratch. The vertical ribbing, thoughtful color blocking, and that gorgeous gold chain strap combine to make something truly special.
This is the kind of project people cannot believe was handmade. The kind you carry proudly, knowing every stitch came from your own hands.
Thank you so much for choosing to make this pattern. I genuinely appreciate you being here. When you finish your bag, I would absolutely love to see it. Tag me on Instagram or share in my Facebook group. Seeing your versions brings me so much joy.
Happy stitching, friend. You have got this.
