
A roomy, open-weave tote crocheted in a soft natural cord, built to carry everything from farmers market produce to a beach towel and a book.
The Crochet Market Tote
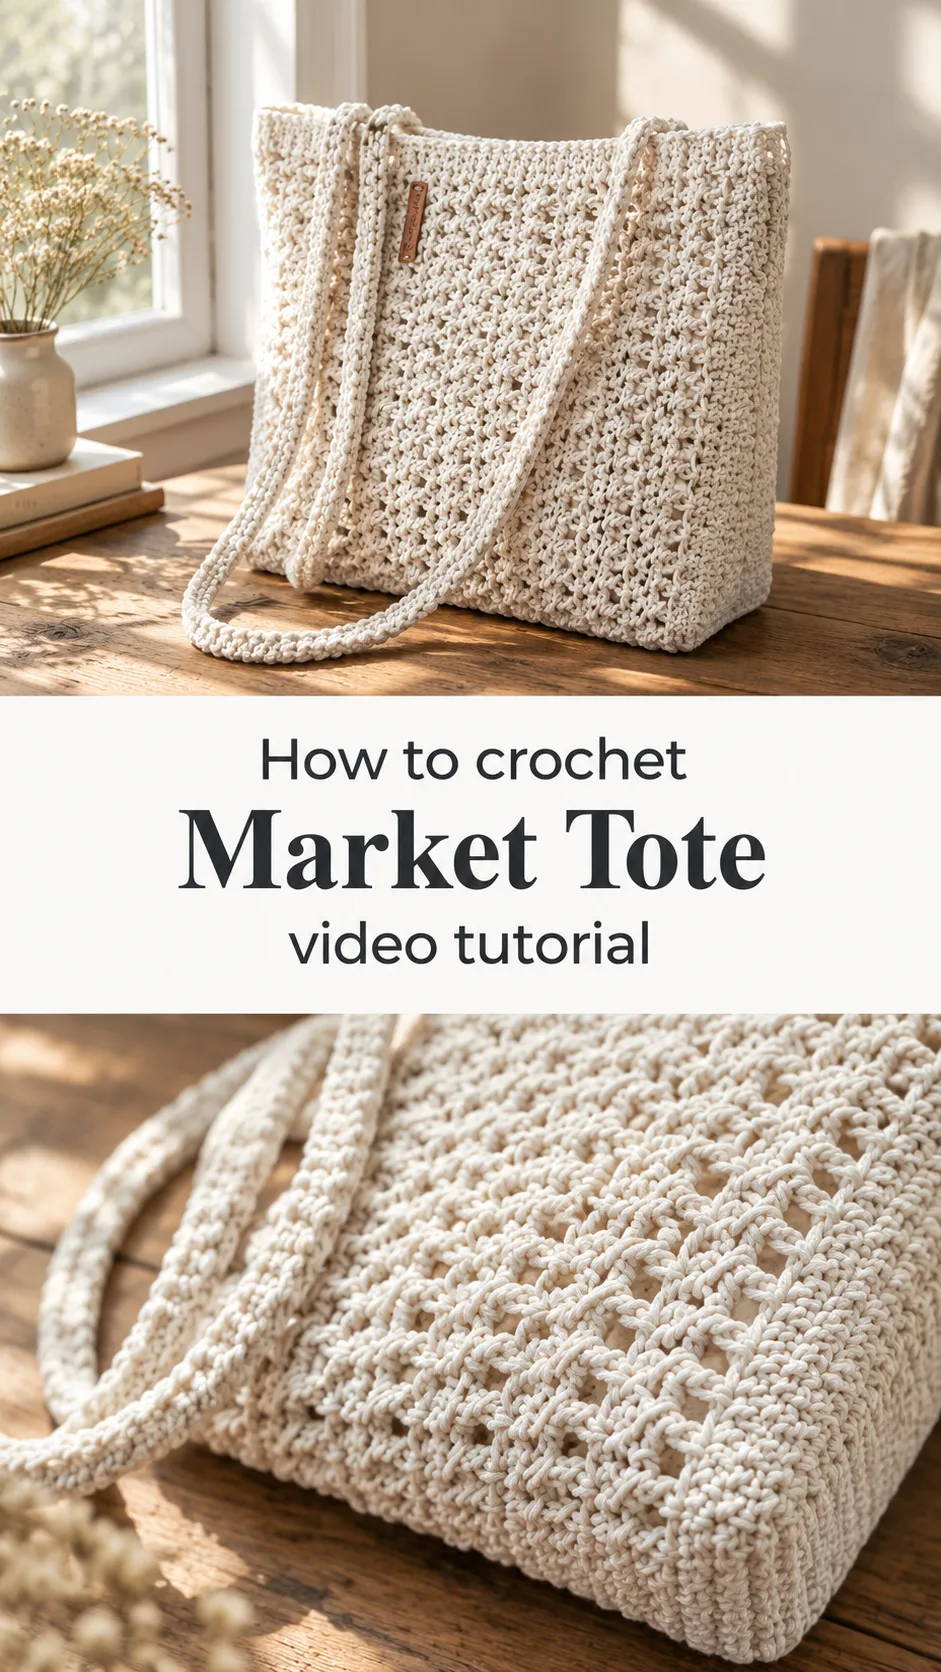
The crochet market tote is a classic carryall with a relaxed, sun-washed character. Worked in a cream-toned cord, it shows an airy mesh-like texture across its body, with a firmer band along the base that gives the bag a dependable foundation. Its tall, upright sides and open top make it easy to load and easy to see into, while the long, looped handles sit comfortably over the shoulder. What sets this design apart is the balance between openness and structure: the stitch pattern lets light and air through, yet the fabric holds its shape when empty, so the bag still looks neat on a chair or hanging by the door. It is the kind of bag that suits a weekend errand as easily as a day at the beach.
Market Tote Related Posts:
- Crochet Bell Sleeve Hoodie: A Bold and Cozy Statement
- Crochet Easter Bunnies: A Charming Seasonal Delight
- Crochet Summer Mini Dress: A Breezy Warm-Weather Essential
- Crochet Star Stitch Blanket: A Timeless Handmade Treasure
Why Make a Crochet Market Tote?
Few projects earn their place in a daily routine the way a market tote does. It replaces disposable bags, carries heavy loads without stretching out of shape, and folds away into a handbag or car without fuss. Because it is worked in a single natural shade, it pairs with almost anything you already own. It also makes a thoughtful gift, especially for someone who loves gardens, markets or long summer afternoons. Making one teaches useful habits such as keeping an even tension across a large body and working a neat, sturdy base.
Materials
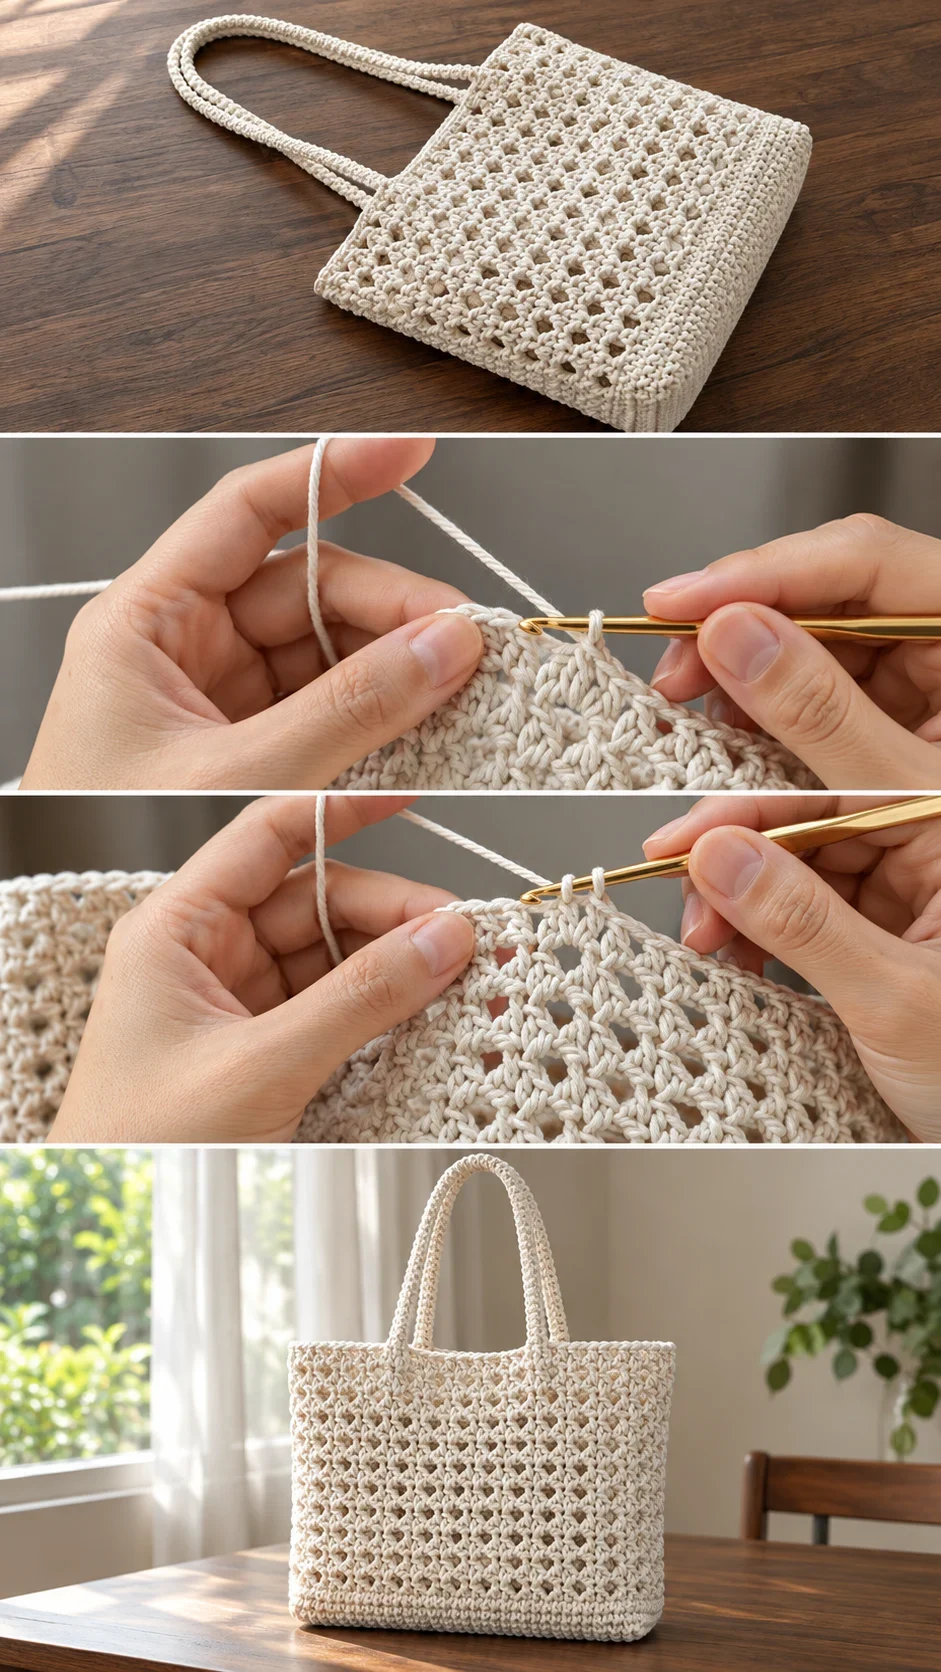
To make this tote you will need a strong, smooth cotton cord in a natural cream shade, a hook sized to the cord label or slightly smaller, and a yarn needle for weaving in ends. A firm cotton cord is the most important choice, because it keeps the sides upright and stops the mesh from sagging under weight. A softer yarn will produce a floppy bag that loses its shape after the first heavy shop. Choose a hook that gives a snug fabric; if the stitches look loose and the bag feels soft in the hand, go down one size. You may also want a stitch marker to track the rounds or rows at the base, and a leather or fabric label if you wish to finish the bag with a personal touch.
Understanding the Structure
The tote is built in clear stages: a base worked first, then the body built upward, and finally the handles attached to the top edge. The base sets the footprint, so take care to keep it flat, since any ruffling there will carry up the whole bag. The body grows with a repeated stitch pattern that gives the open, net-like look seen in the photos, and the shaping that keeps the walls straight comes from consistent counting along each round. Work steadily and check the sides against the base as you go.
Choosing the Best Cord for a Sturdy Tote
Three cord options each produce a different bag. A braided cotton cord gives the crispest walls and the most upright shape, ideal if you want the tote to stand on its own. A softer cotton blend drapes more, creating a relaxed bag that folds easily but may slump when full. A blend with a little linen adds a subtle sheen and a natural feel, though it can stretch slightly over time. Avoid very thin, glossy synthetic cords for this project, because they tend to slip apart at the stitches and lose their grip on heavy groceries.
If the Walls Lean Outward
If the sides splay as you work, your tension is loose or the stitch count is creeping upward. Switch to a smaller hook for the body and count your repeats at the end of each round. The fix is almost always in the hook size or the tension, not the pattern.
Handles and Finishing Touches
The handles are the part most likely to disappoint if they are rushed. Worked as a long rope and attached at the top edge, they should be checked for even length on both sides before you stitch them down. Attach them firmly through several stitches, not just the top row, so that the weight of a full bag is spread across the body rather than pulling at one point. Weave in all ends securely on the inside, and if you add a label, sew it through the fabric at the top front where it will be seen when you pick the bag up.
How to Style a Crochet Market Tote
As shown in the photos, the tote sits beautifully on a wooden surface with nothing else around it, which tells you its natural, uncluttered mood. Carry it over a light linen shirt and wide trousers for a relaxed errand look. Over a sundress, its neutral cream tone lets the colour of the dress stand out. For a day at the beach, let it hold a towel, sunscreen and a magazine, and let the open weave dry quickly after a swim.
Caring for Your Tote
Hand wash the bag in lukewarm water with a mild soap, gently pressing rather than scrubbing so the stitches keep their shape. Rinse thoroughly and reshape the walls while damp. Lay it flat to dry away from direct heat, which can stiffen cotton unevenly. Store it unfolded or stuffed loosely with paper so the body does not develop creases that never quite fall out.
Following the Video Tutorial
Watch the video closely at the base, where the first rounds set the shape of the whole bag. Pause and replay the stitch sequence until your hands settle into the rhythm, then work the body in short sessions to keep your tension even. The video shows how the handles are attached, which is worth studying before you cut your cord. Take it one stage at a time, and you will have a sturdy tote ready for the next market day.
A Simple, Lasting Carryall
A crochet market tote is a practical bag made to be used, not merely admired. Its open weave, firm base and natural cream cord come together to make something you will reach for every week. Choose a stiff cord, keep your tension even and attach the handles with care, and it will carry your days for years.
Video tutorial by Chompu Handicrafts, watch the full step-by-step on their channel:
[Video]
Follow us on Pinterest and subscribe to the Newsletter so you don’t miss a thing!
Tutorial and photos of this market tote by: Chompu Handicrafts.
