
Crocheting in the round intimidates so many crafters, and I completely understand why. All those increases, keeping track of stitch counts, worrying about your circle curling into a bowl shape. But here’s the truth: this sunflower bee placemat looks incredibly impressive on a table setting, yet it’s built on the most straightforward circular construction you’ll find.
Get the Ad-Free PDF Pattern
You can find the free pattern below, or you can purchase the ad-free printable PDF from my shop.
Get the Printable PDF →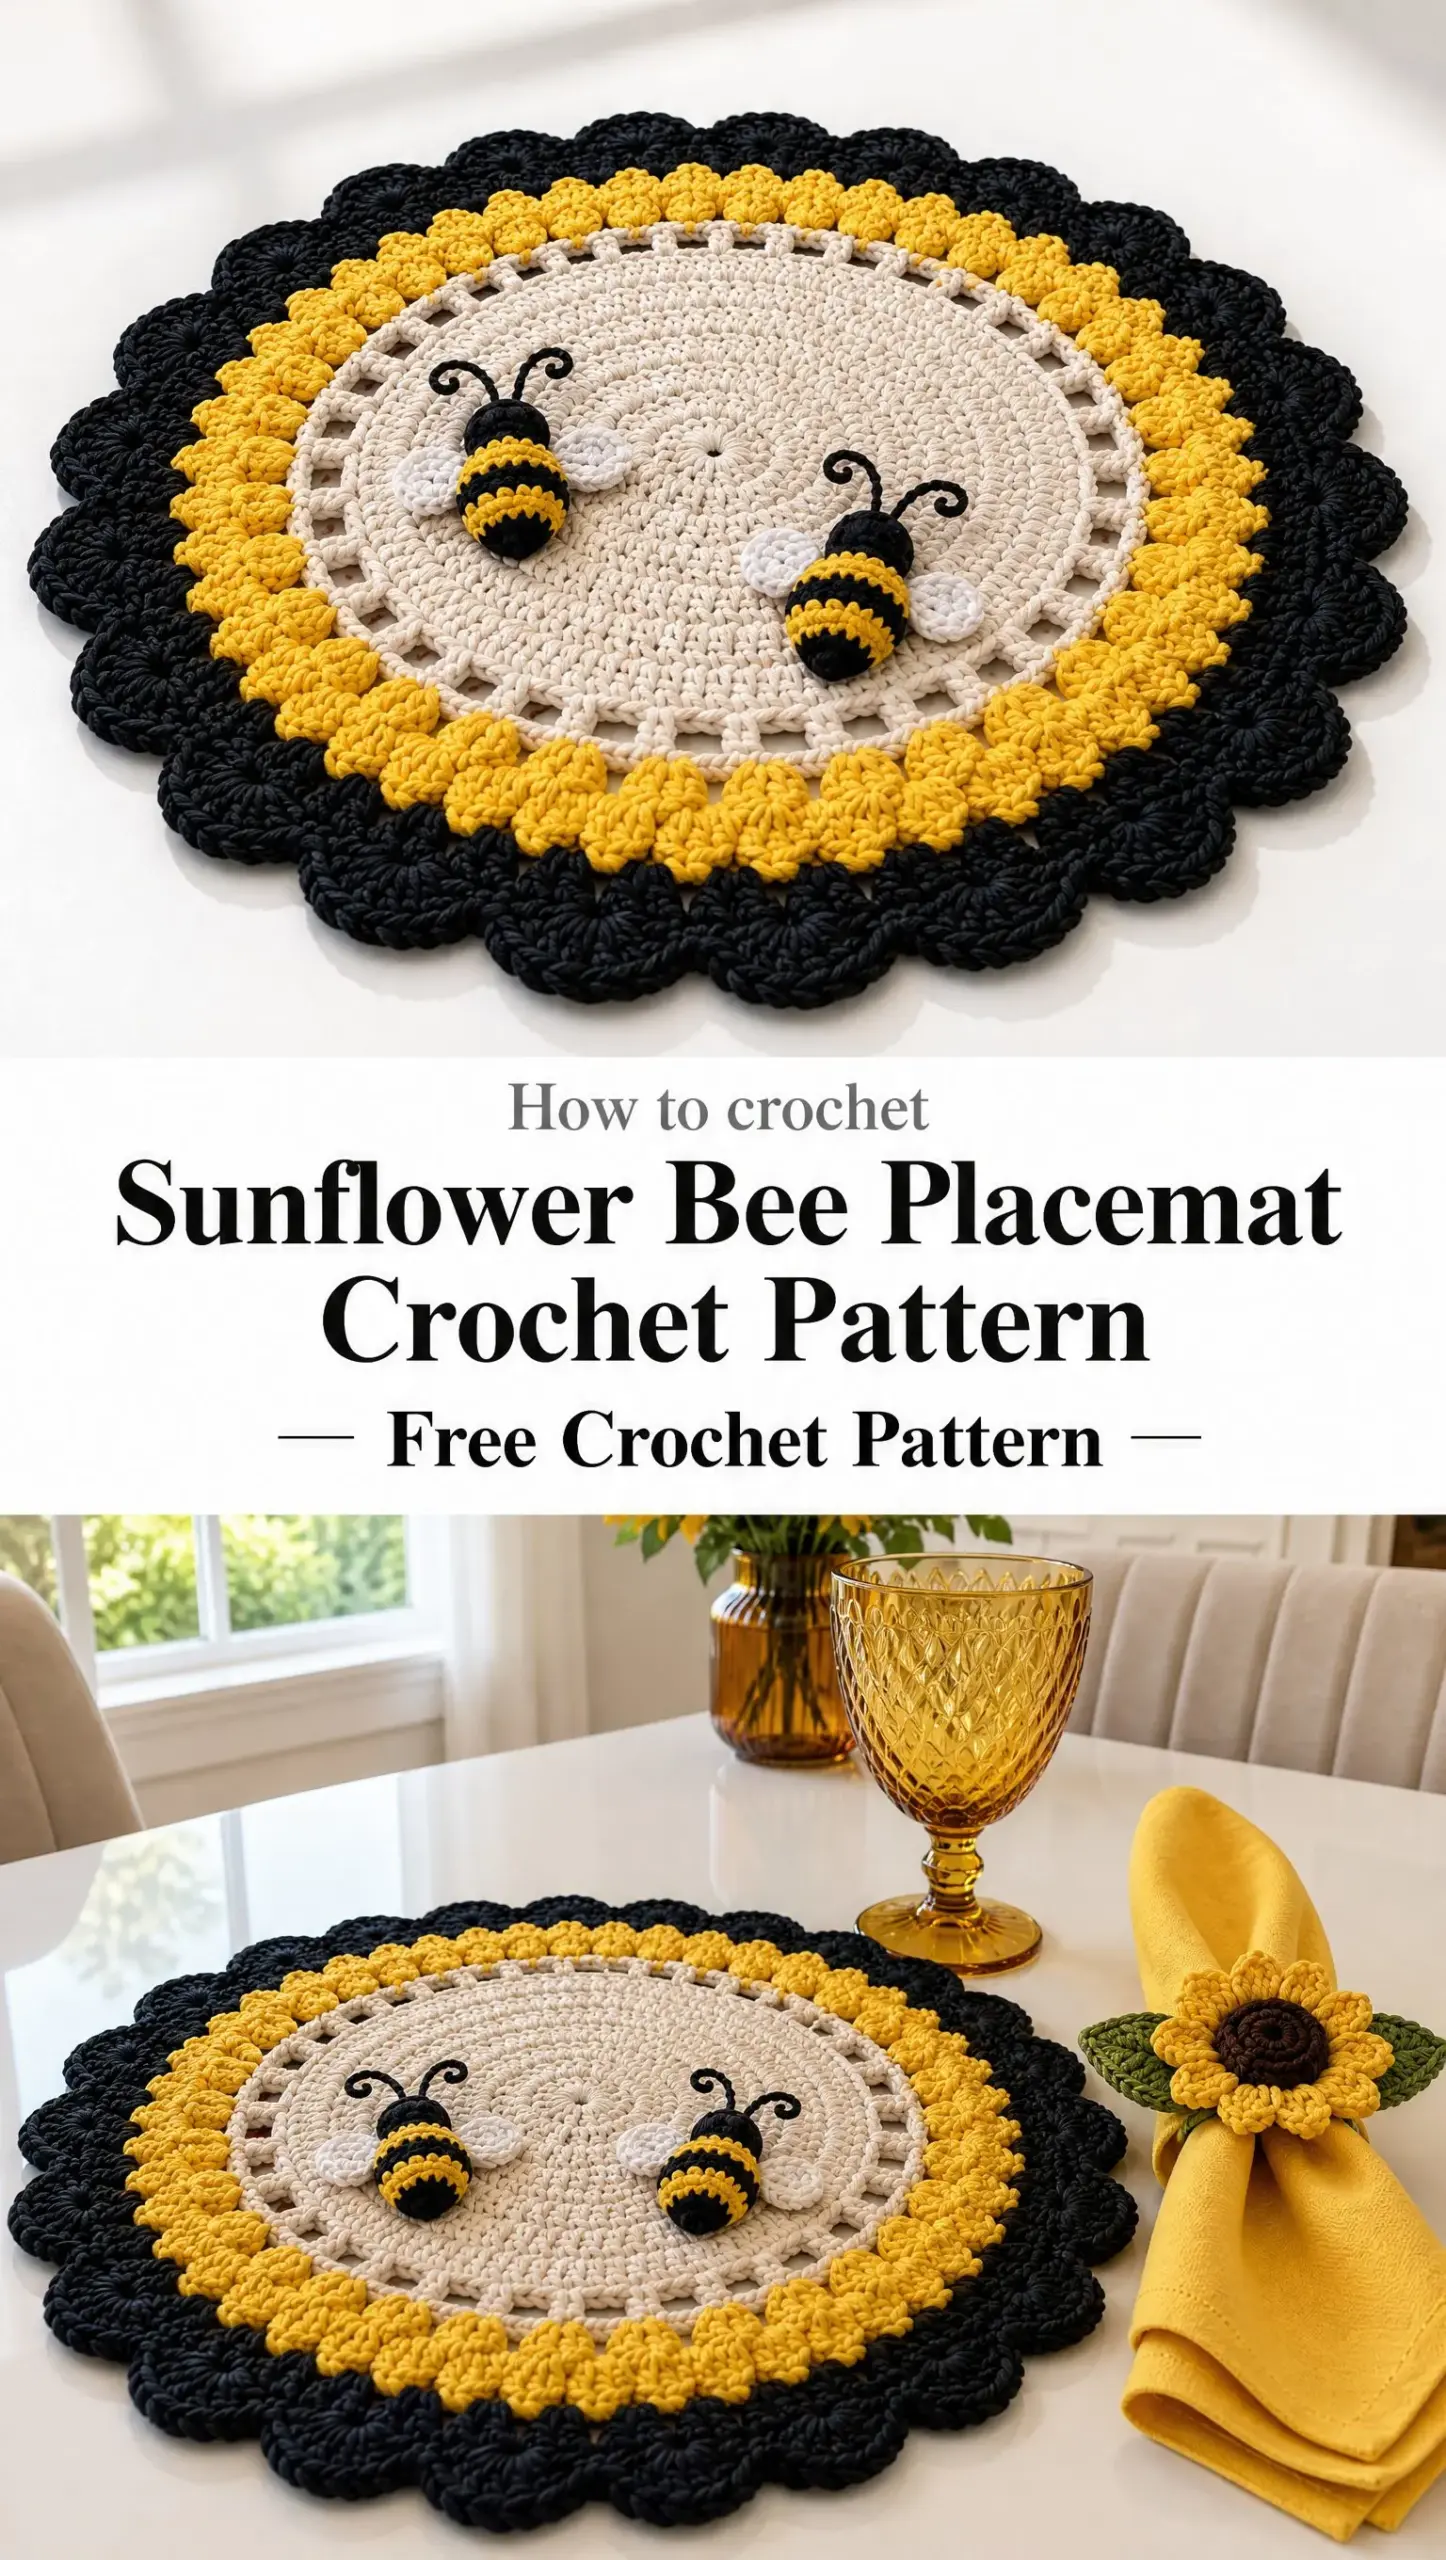
If you can make a magic ring and work half double crochet stitches, you already have the core skills you need. The textured yellow ring with its popcorn stitches? Those are just three double crochets pulled together. The scalloped black border? A simple repeat pattern you’ll memorize after two scallops. I promise this is more approachable than it appears in the photos.
Whether you’re an intermediate crocheter looking for a satisfying weekend project or a confident beginner ready to level up, this pattern walks you through every round. Let’s break it down together and create something beautiful for your table.
About This Sunflower Placemat Pattern
This cheerful placemat combines warm cream, sunshine yellow, and black yarns to create a sunflower-inspired design that’s perfect for summer entertaining, farmhouse decor, or anyone who loves bees and bright colors. The finished piece measures approximately 38 to 42 cm (that’s 15 to 16.5 inches) in diameter, making it the ideal size for a standard dinner plate.
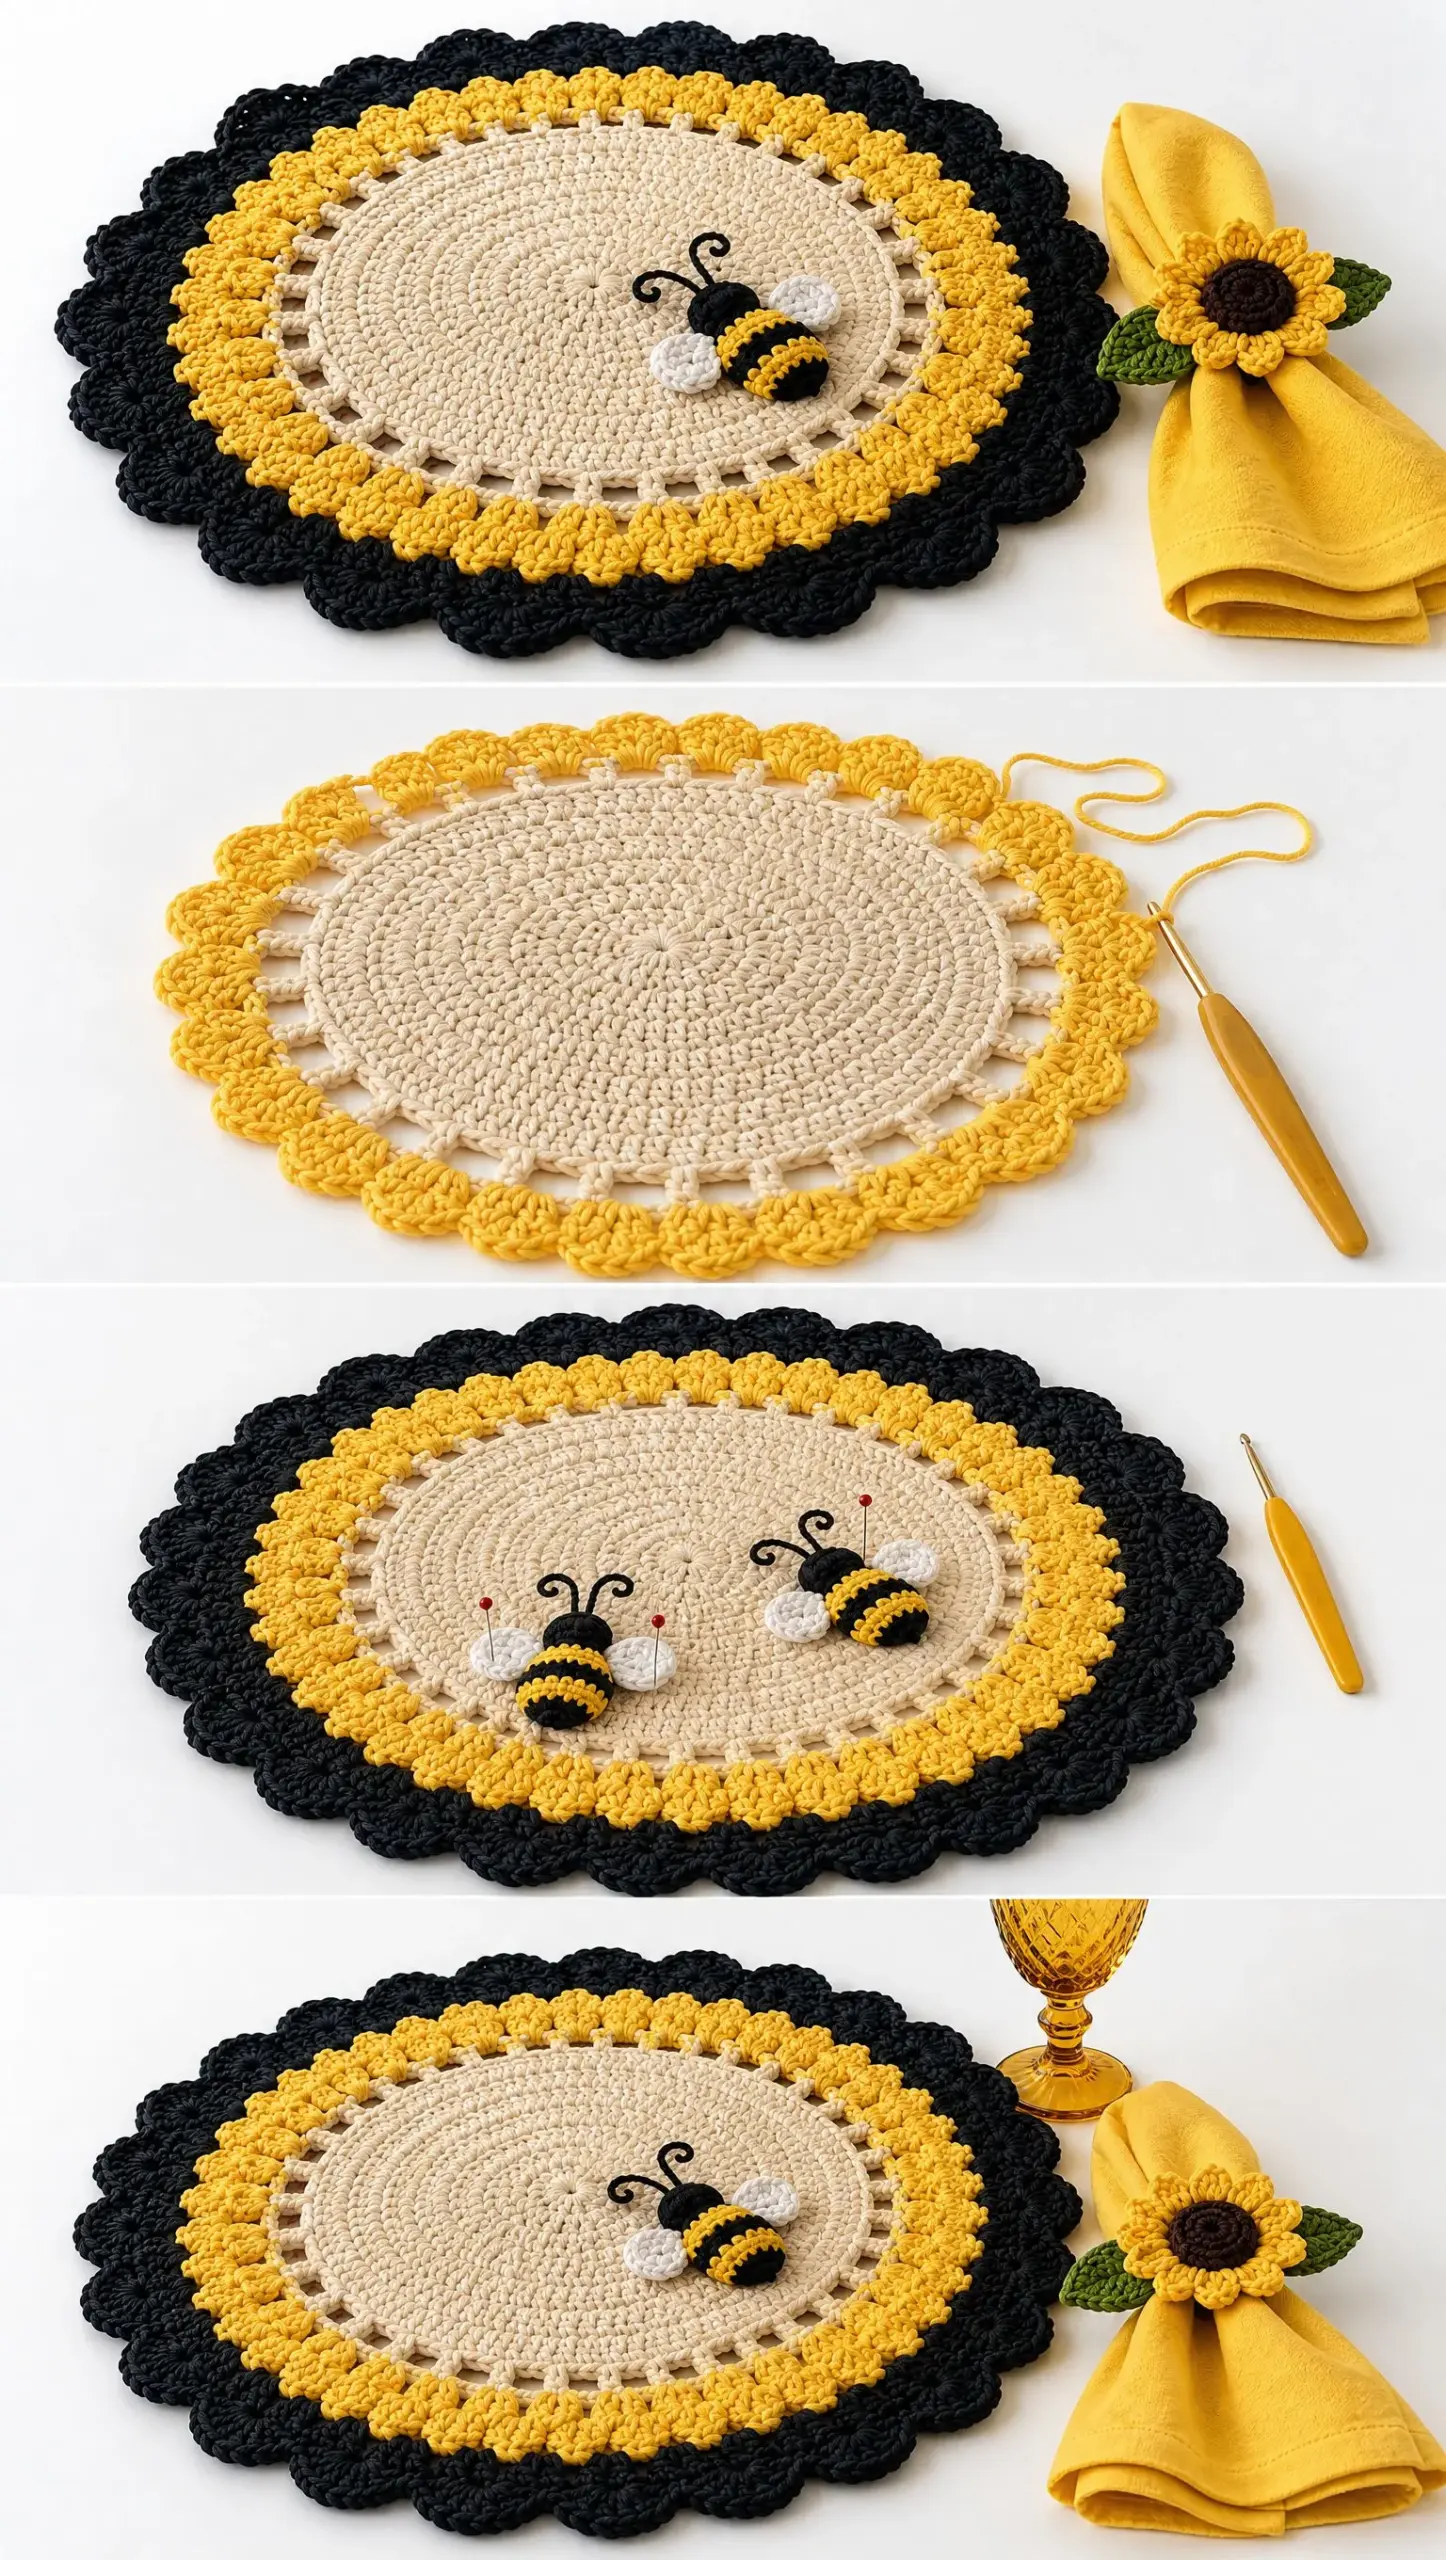
The construction works from the center outward in concentric rings. You’ll start with a dense cream center, add an open eyelet ring for visual interest, build up a textured yellow section with raised popcorn stitches, and finish with a dramatic black scalloped border. The adorable bee applique sits right in the center as a sweet finishing touch.
Skill level: Intermediate. You should be comfortable with basic crochet stitches and working in continuous rounds.
Materials You’ll Need
Gathering your supplies before you start makes the whole process smoother. Here’s everything this pattern requires:
Yarn (Cotton, Worsted Weight / 8 Ply):
Tools:
Cotton yarn is essential for this project. It creates a sturdy, washable placemat that lies flat and holds up to regular use. Worsted weight cotton gives you the perfect density for protecting your table while still showing off the stitch texture.
Gauge Information
Work approximately 16 half double crochet (hdc) stitches x 12 rows to create a 10 cm square.
Gauge is not critical for this project. What matters most is maintaining a firm, flat fabric. If your circle starts cupping or ruffling, adjust your hook size accordingly. A smaller hook creates tighter stitches if your work is too loose, while a larger hook loosens things up if your fabric feels stiff.
Stitch Abbreviations and Definitions
Before we dive into the pattern, let’s cover every stitch you’ll encounter:
Placemat Pattern Instructions
Cream Center (Rounds 1 to 10)
This section creates the dense cream foundation of your placemat. The goal is a flat circle approximately 22 cm wide.
Round 1:
Make a magic ring. Chain 2, work 12 hdc into the ring. Slip stitch to join. (12 stitches)
Round 2:
Chain 2, work 2 hdc in each stitch around. Join with slip stitch. (24 stitches)
Round 3:
Chain 2, 1 hdc, 2 hdc in next stitch repeat around. Join. (36 stitches)
Round 4:
Chain 2, 2 hdc, 2 hdc in next stitch repeat around. Join. (48 stitches)
Rounds 5 through 10:
Continue working hdc rounds, increasing evenly so your circle remains flat. The key is distributing your increases throughout each round rather than stacking them on top of each other, which would create points instead of a smooth circle.
A helpful tip: place a stitch marker at the beginning of each round so you don’t lose your place. By the end of Round 10, you should have a dense cream circular center measuring about 22 cm across.
Open Eyelet Ring (Rounds 11 to 12)
This section adds visual interest with a lacy, open texture before transitioning to the yellow ring.
Round 11:
Attach cream yarn. Chain 3, double crochet in next stitch, chain 1, skip 1 stitch repeat around. Join.
Round 12:
Work dc stitches into each dc and chain space around. Join.
The eyelet round creates those small holes you see in the finished placemat. It’s a lovely detail that breaks up the solid fabric and adds dimension.
Sunshine Yellow Textured Ring (Rounds 13 to 15)
Now we’re building the sunflower petals with raised popcorn stitches. This is where the placemat really starts to look like a sunflower.
Round 13:
Attach yellow yarn. Single crochet around.
Round 14:
Work textured clusters: 3 dc popcorn stitch in next stitch, sc in next stitch repeat around.
To make a popcorn stitch, work 3 double crochets into the same stitch, remove your hook from the loop, insert it through the top of the first dc, grab the dropped loop, and pull it through. This creates a raised bump on the right side of your work.
Round 15:
Repeat the cluster pattern, aligning your clusters for a raised sunflower petal texture.
Black Scalloped Border (Rounds 16 to 18)
The dramatic black border frames your sunflower beautifully and gives the placemat a polished, finished look.
Round 16:
Attach black yarn. Single crochet evenly around.
Round 17:
Create scallops: Skip 2 stitches, 5 dc in next stitch, skip 2 stitches, sc in next stitch repeat around.
Each scallop is simply five double crochets fanned into a single stitch. The skipped stitches on either side create the curved shell shape.
Round 18:
Add a final black edging round with slip stitches for a clean finished edge.
Fasten off and weave in all your ends securely. For a placemat that will be used and washed, I recommend weaving each tail through at least 2 inches of stitches.
Crochet Bee Applique
The bee is what transforms this from a pretty placemat into something truly special. Each piece is small and works up quickly.
Body
Using black yarn, chain 6. Work oval rounds around the chain with sc increases at both ends. Continue until you have a small bee body approximately 4 to 5 cm long.
Stripes
Add yellow yarn for two narrow stripe sections using slip stitches or surface crochet. Space them evenly across the body for that classic bumblebee look.
Head
Make a small black circle: Magic ring, 6 sc, increase around until you reach your desired size. The head should be proportional to the body, slightly smaller than the body width.
Wings
With white yarn: Chain 5, work dc clusters into the chain to create two small oval wings. Sew the wings beside the bee body, angled slightly upward.
Antennae
Using black yarn, make two small chain loops and sew them securely to the head. These tiny details really bring your bee to life.
Sunflower Napkin Decoration (Optional)
If you want a coordinated table setting, these napkin decorations are a charming addition.
Flower Center
Brown yarn: Make a magic ring, 8 sc, increase once.
Petals
Yellow yarn: Attach around the center and make repeated petal loops: chain 4, work 3 dc into same space, chain 4, slip stitch around.
Leaves
Green yarn: Crochet two small leaf shapes with chains and sc stitches. Sew behind the sunflower.
Assembly Instructions
1. Block the placemat lightly so it lies completely flat. Wet blocking works beautifully with cotton yarn.
2. Position the bee applique in the center of the cream section.
3. Secure the bee with matching thread, stitching around the edges of the body and head.
4. Add sunflower napkin decorations if desired for a complete table setting.
5. Steam lightly from a distance to set the final shape.
Care Instructions
Your finished placemat will serve you well for years with proper care:
Cotton holds up wonderfully to regular use. These placemats can handle everyday meals, not just special occasions.
Tips for Success
Keeping your circle flat: If your work starts cupping upward like a bowl, you need more increases. If it’s ruffling or wavy, you have too many increases. Adjust as needed.
Consistent tension: Try to maintain even tension throughout. Cotton yarn can be less forgiving than acrylic, so take your time with each stitch.
Blocking makes a difference: Even if your placemat looks good unblocked, a light blocking evens out any irregularities and helps the piece lie perfectly flat.
Make a set: This pattern creates a sturdy decorative dining placemat with a sunflower color palette, raised crochet texture, and a playful bee centerpiece. Multiple mats can be made for a coordinated table setting that will impress your guests.
Wrapping Up Your Sunflower Bee Placemat
I hope this pattern has shown you that creating something this beautiful doesn’t require advanced skills or complicated techniques. The sunflower bee placemat builds on basic stitches you likely already know, layered together in a way that creates real visual impact. It’s the perfect project for building confidence with textured stitches while making something genuinely useful for your home.
Thank you so much for choosing this pattern. I truly appreciate you trusting me to guide you through this project. If you make this placemat, I would absolutely love to see how it turns out! Tag me on Instagram or share your photos in my Facebook group.
If this pattern inspired you, go ahead and save it to your Pinterest boards so you can find it whenever you’re ready to start. And please drop a comment below if you make one of these sunny placemats. I love hearing from you and seeing your beautiful work!
Want a Quick & Easy Printable Version?
Get a clean, beautifully formatted PDF of this pattern — easy to follow step by step, ready to print or save on any device. No scrolling, no distractions, just the pattern.
Get the Printable PDF →