I’ve been on the hunt for the perfect summer bag pattern, and this one stopped me in my tracks. After looking through dozens of granny square bag designs, this Daisy Granny Square Bucket Bag kept calling my name.
Get the Ad-Free PDF Pattern
You can find the free pattern below, or you can purchase the ad-free printable PDF from my shop.
Get the Printable PDF →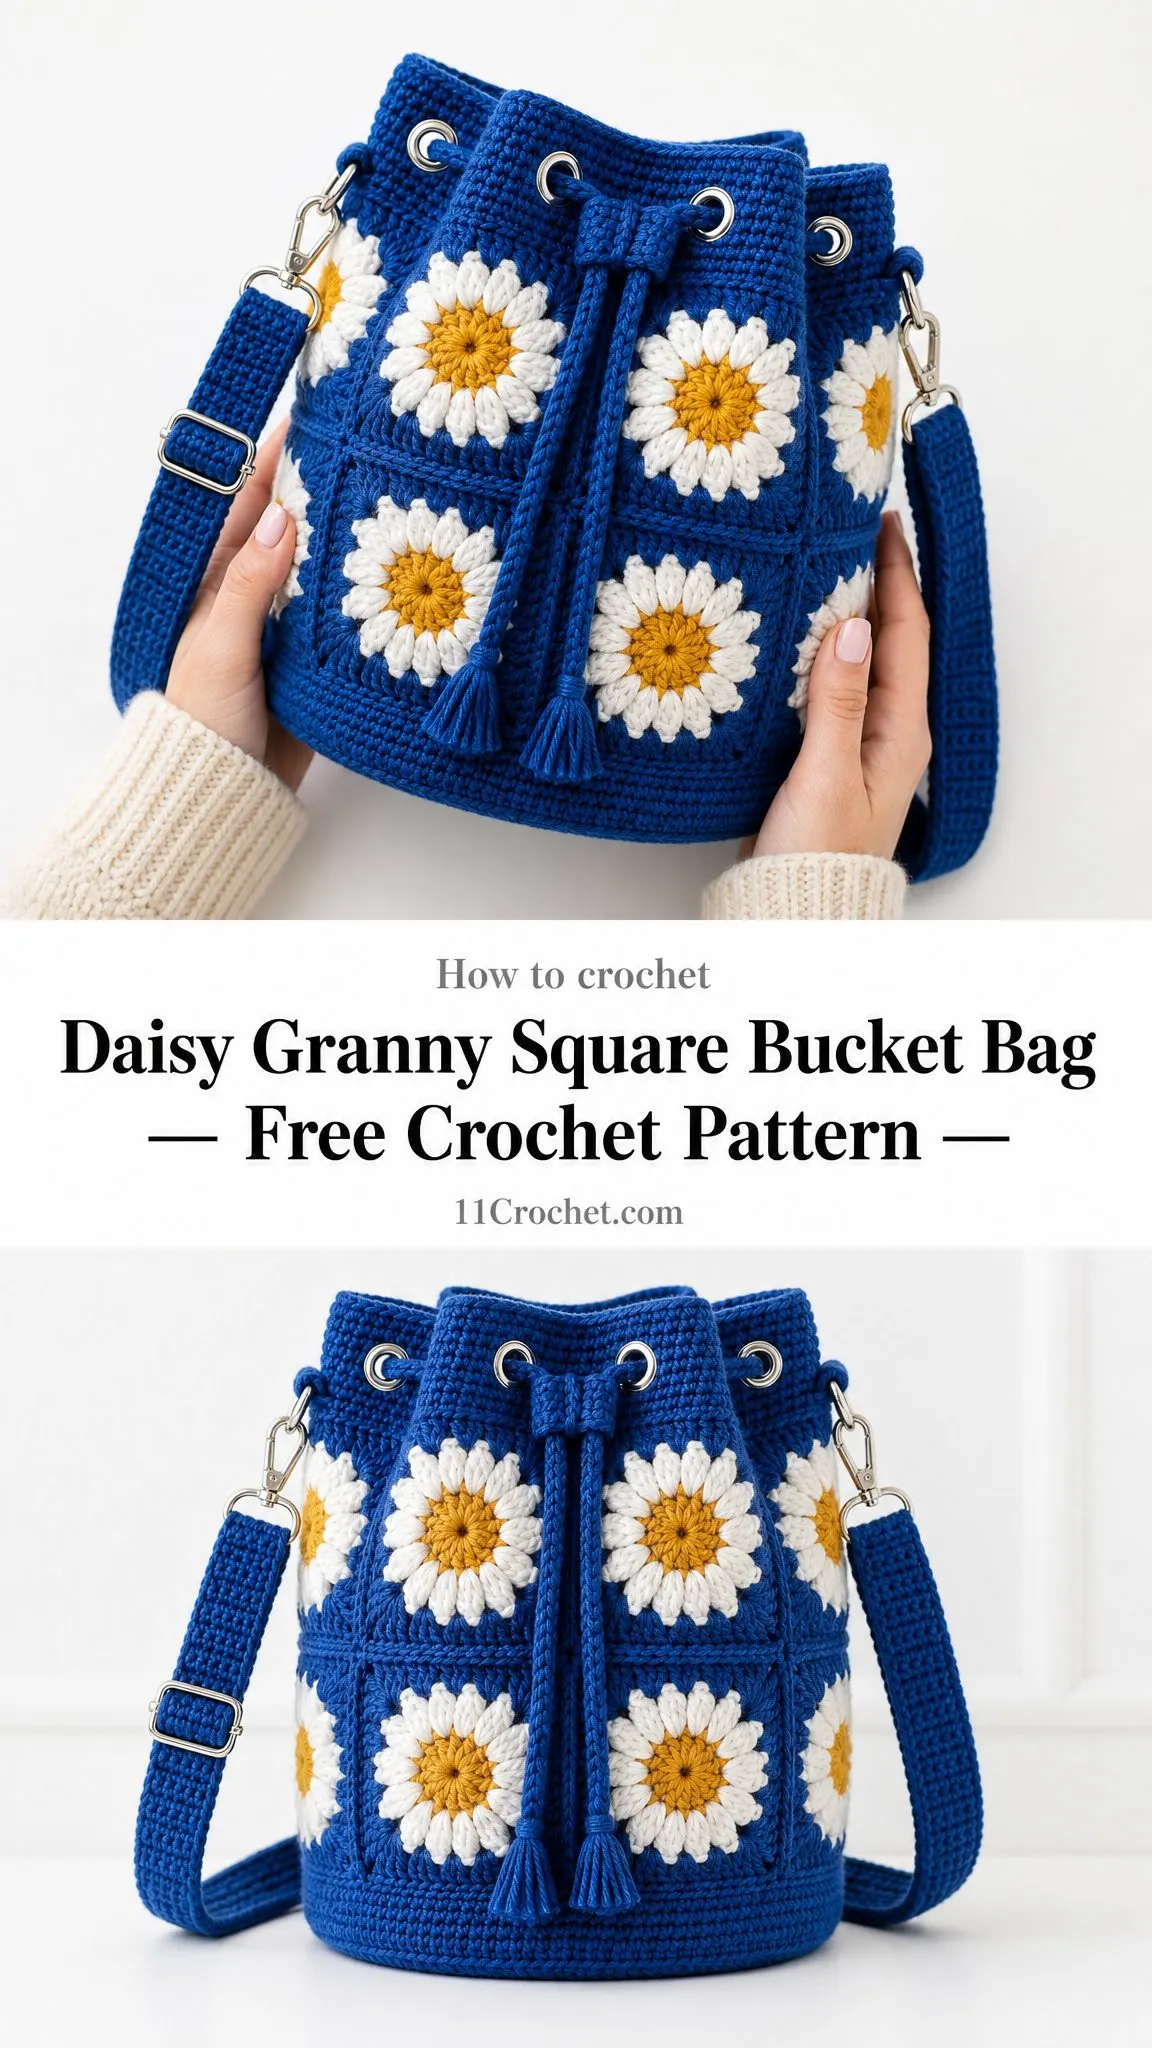
The cheerful daisy motifs, the structured shape, the adjustable crossbody strap. It checks every box for a practical yet absolutely adorable handmade bag. This is exactly the kind of project that makes you excited to pick up your hook.
If you’ve been wanting to try a bag project that combines classic granny squares with modern construction, this is the one I’d recommend starting with.
Why This Daisy Bucket Bag Pattern Works So Well
What makes this pattern special is how it balances visual impact with approachable construction. You’re working with familiar granny square techniques, but the daisy center adds that extra pop of personality. The puff stitch petals create texture that looks far more complicated than it actually is.
The finished bag measures about 7 inches wide, 8.75 inches tall, with a 6.25 inch base diameter. That’s a perfect size for everyday essentials without being bulky. The 19.5 inch circumference gives you plenty of room while keeping the silhouette cute and structured.
This pattern is rated for confident beginners to intermediate crocheters. You’ll work in rounds, change colors, join motifs, place eyelets, and attach hardware. If you’ve made granny squares before and feel comfortable with basic color changes, you can absolutely handle this project.
The time estimate is 10 to 14 hours from start to finish. That makes it a satisfying weekend project or something to work on over a week of evening crochet sessions.
Materials You’ll Need
Gather these supplies before you begin:
Yarn:
Recommended yarn brands: Lily Sugar’n Cream Solids, Paintbox Yarns Cotton Aran, or Hobbii Rainbow Cotton 8/8. You want a firm cotton or cotton blend that holds blocked square edges. Avoid very stretchy acrylic for the main bag structure since it won’t hold its shape as well.
Hook: US G/6 (4 mm), or whatever size you need to achieve gauge
Notions:
Gauge Information
Getting gauge right matters for this project since you need all your squares to match and your base to fit properly.
Daisy square after blocking: 3.25 inches (8.25 cm) square
Firm single crochet: 22 sc x 24 rounds equals 4 inches (10 cm)
Swatch and match gauge before starting. A firmer fabric helps the bag stand upright and hold its shape beautifully.
Stitch Abbreviations and Definitions
Here are all the stitches you’ll use in this pattern:
UK crocheters note: US sc equals UK dc, and US dc equals UK tr. All instructions use US terminology.
Special Stitches Explained
Puff Petal
This creates those gorgeous textured daisy petals. Yarn over, insert hook in the indicated stitch or space, yarn over and pull up a loop. Repeat this 3 times in the same place (you’ll have 7 loops on your hook). Yarn over and pull through all loops on hook, then chain 1 to close. Keep your petals plump but even for the prettiest results.
Standing Single Crochet
This is perfect for joining a new color cleanly without a bulky starting chain. Make a slip knot on your hook, insert hook in the indicated stitch, yarn over and pull up a loop, yarn over and pull through both loops. It looks so much neater than the traditional method.
Invisible Join
This finishing technique makes your rounds look seamless. Cut your yarn, pull the tail through the last stitch, thread your needle, insert under both loops of the first stitch, then back into the center of the last stitch. Tighten gently and your join disappears like magic.
Crab Stitch
Also called reverse single crochet. With the right side facing you, work single crochet stitches from left to right around the edge. This creates a beautiful corded rim that finishes edges professionally.
Three-Strand Crochet Cord
Hold 3 strands of yarn together and chain to your desired length, keeping tension relaxed. Alternatively, make a 3-stitch i-cord if you prefer a rounder cord.
Pattern Notes Before You Begin
Keep these tips in mind throughout the project:
How to Make the Daisy Granny Square
Make 12 squares total. Each finished square measures 3.25 inches (8.25 cm) after blocking.
Color A = blue, Color B = yellow, Color C = white
Round 1: Center
With Color B (yellow), make a magic ring, ch 1, work 12 sc in ring. Sl st to first sc. (12 sc)
Round 2: Petals
Join Color C (white) in any sc. Ch 2, puff petal in same st, ch 1. Puff petal in next st, ch 1; repeat from around. Sl st to top of first puff. Fasten off. (12 puff petals, 12 ch-1 sps)
Don’t worry if your first few puff stitches feel awkward. They get easier with practice, and they don’t need to be perfect to look beautiful.
Round 3: Blue Clusters
Join Color A (blue) in any ch-1 sp. Ch 3, 2 dc in same sp, ch 1. 3 dc in next ch-1 sp, ch 1; repeat from around. Sl st to top of beg ch-3. (12 clusters, 12 ch-1 sps)
Round 4: Square Shaping
This is where the magic happens and your circle becomes a square. Sl st into next ch-1 sp. Ch 3, 2 dc, ch 2, 3 dc in same sp, ch 1. (3 dc in next ch-1 sp, ch 1) twice, (3 dc, ch 2, 3 dc) in next ch-1 sp, ch 1; repeat from 3 times, omitting final corner already made. Sl st to top of beg ch-3. (48 dc, 12 ch-1 sps, 4 corner ch-2 sps)
Round 5: Border
Ch 1. Sc in each dc and ch-1 sp around, working 3 sc in each corner ch-2 sp. Invisible join. (72 sc; 18 sc per side)
Checkpoint: Your square should measure 3.25 inches (8.25 cm) with straight edges after blocking.
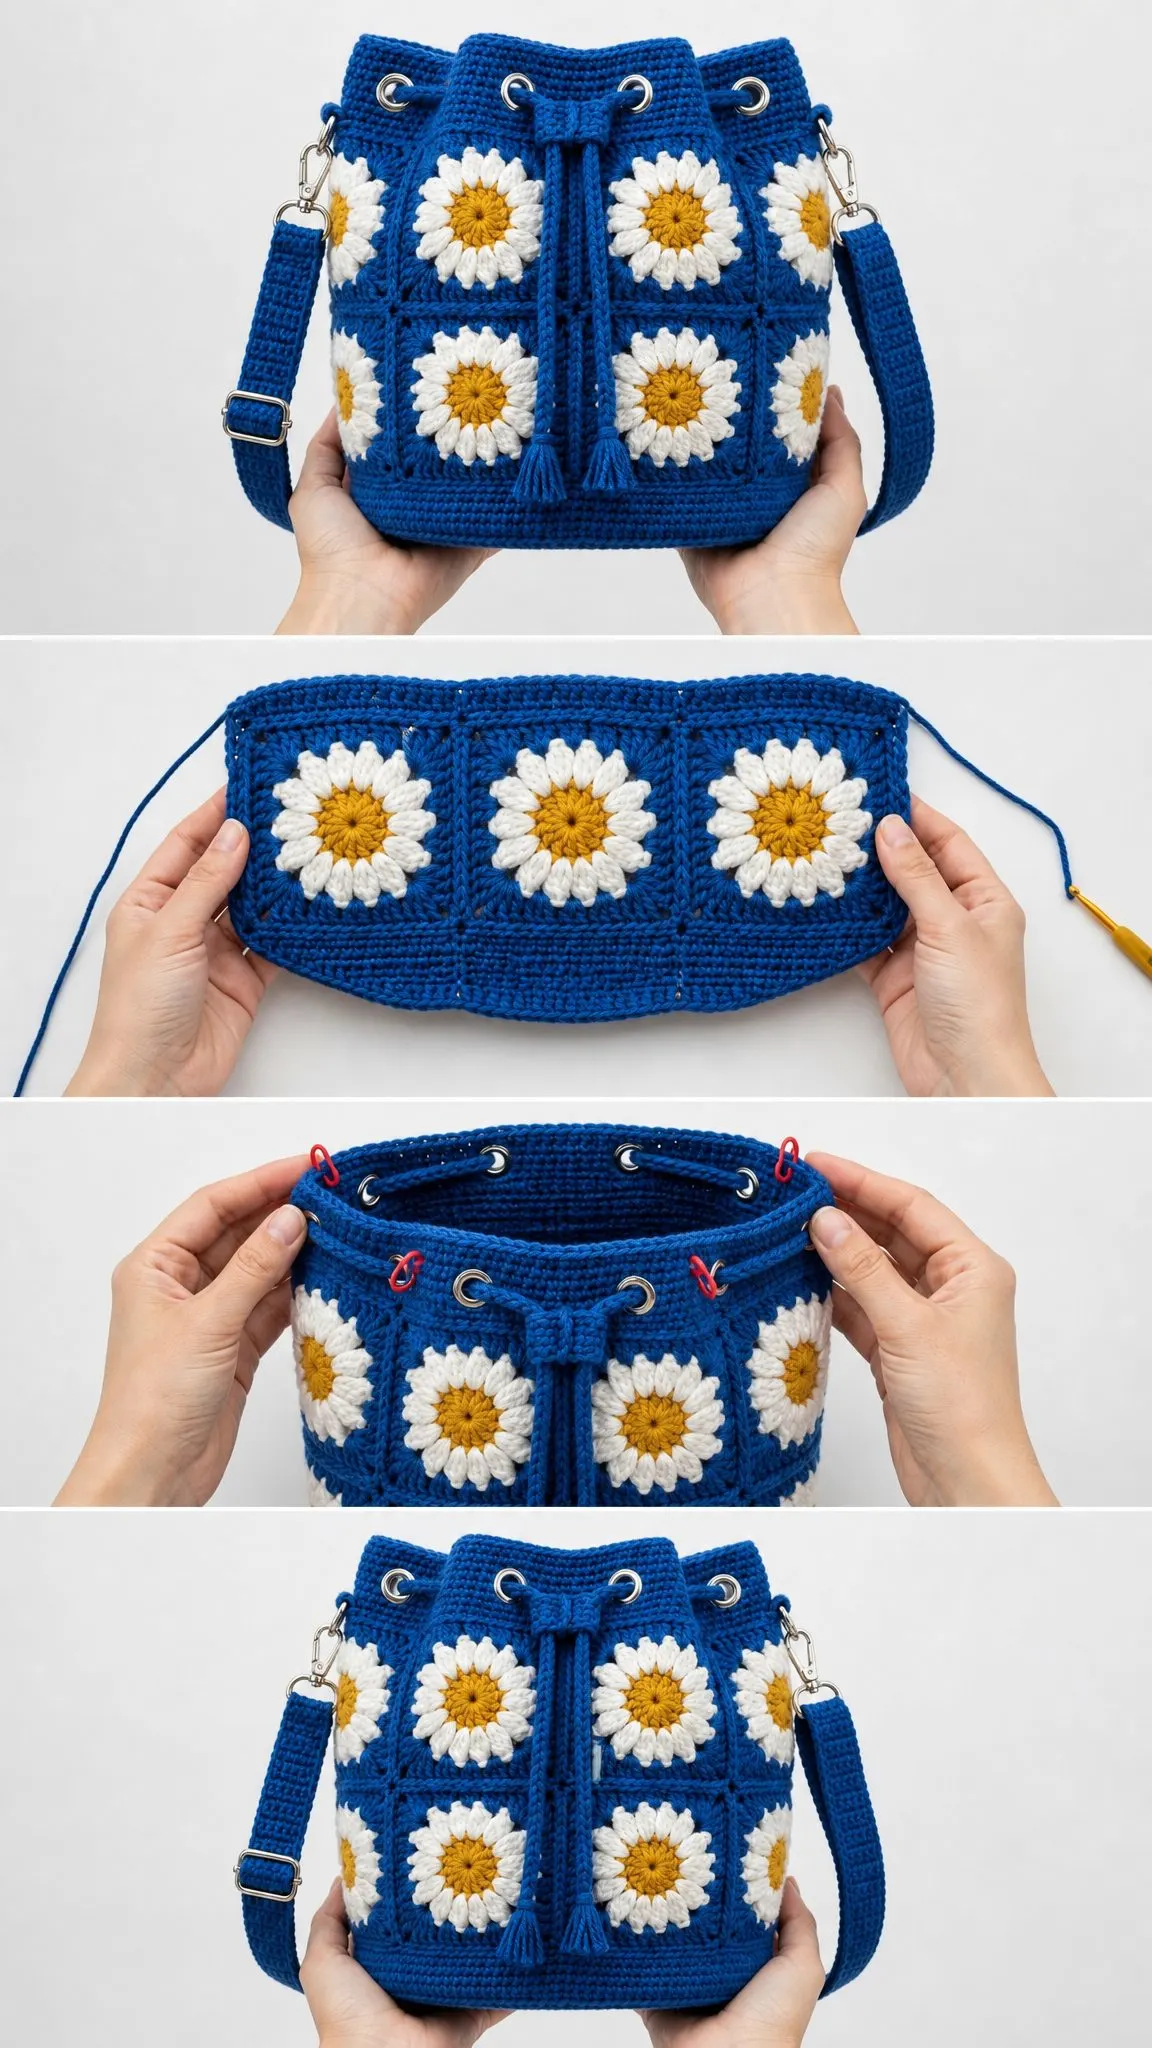
Creating the Motif Panel
Arrange your 12 completed and blocked squares in 2 rows of 6. Make sure all daisy centers face the same direction for a cohesive look.
Joining the squares:
The top and bottom edges each have 108 stitches (6 squares x 18 sts).
Panel checkpoint: Your tube circumference should be about 19.5 inches (49.5 cm), and the motif section should be about 6.5 inches (16.5 cm) tall.
Making the Flat Circular Base
This base is worked in continuous rounds with increases to keep it flat.
| Round | Instruction | Count |
|---|---|---|
| 1 | With A, MR, 6 sc | 6 |
| 2 | 2 sc in each st around | 12 |
| 3 | *Sc 1, inc; rep around | 18 |
| 4 | *Sc 2, inc; rep around | 24 |
| 5 | *Sc 3, inc; rep around | 30 |
| 6 | *Sc 4, inc; rep around | 36 |
| 7 | *Sc 5, inc; rep around | 42 |
| 8 | *Sc 6, inc; rep around | 48 |
| 9 | *Sc 7, inc; rep around | 54 |
| 10 | *Sc 8, inc; rep around | 60 |
| 11-18 | Continue established increase sequence, adding 6 sts each rnd | 66-108 |
After Round 18, your base has 108 sc and measures about 6.25 inches (16 cm) across. Do not fasten off.
Joining the Base to the Panel
With the right side of the panel facing out and the right side of the base facing down, align the 108-stitch base edge with the 108-stitch lower motif edge. Place a marker at every 18 stitches.
Join Round: Working through one base stitch and one panel edge stitch at the same time, sc around. Sl st to first sc. (108 sc)
Bottom Trim Rounds 1-3: Ch 1, sc around. Sl st to first sc. (108 sc each round)
Checkpoint: Your base should be flat, panel should stand upright, and each square column should line up with one marked 18-stitch base section.
Working the Top Band and Eyelets
Join Color A at the back seam on the upper edge of the motif tube.
Round 1: Ch 1, sc evenly around, working 1 sc in each edge st. Sl st to first sc. (108 sc)
Rounds 2-5: Ch 1, sc around. Sl st to first sc. (108 sc each round)
Round 6 (Eyelets): Ch 1, sc in next 7 sts, ch 2, skip next 2 sts; repeat from around. Sl st to first sc. (84 sc, 12 ch-2 sps)
Round 7: Ch 1, sc in each sc and work 2 sc in each ch-2 sp around. Sl st to first sc. (108 sc)
Rounds 8-10: Ch 1, sc around. Sl st to first sc. (108 sc each round)
Rim: Work crab stitch around, or work 1 final sc round for a softer rim. Fasten off. (108 sts)
Making the Drawstring
With Color A held double, chain for a 42 inch (107 cm) cord, or make a 3-stitch i-cord to the same length. Add a small tassel to each end for that perfect finishing touch. Weave through eyelets, entering and exiting at the front center.
Creating the Side Tabs (Make 2)
Ch 9.
Row 1: Sc in 2nd ch from hook and each ch across. (8 sc)
Rows 2-12: Ch 1, turn, sc across. (8 sc)
Fold each tab around a D-ring and sew securely to the side seam area, centered over the upper motif row.
Crocheting the Adjustable Strap
Ch 231.
Row 1: Sc in 2nd ch from hook and each ch across. (230 sc)
Rows 2-6: Ch 1, turn, sc across. (230 sc)
Fasten off, weave in ends, and block flat. Your finished strap is about 42 inches (107 cm) long and 1.1 inches (2.8 cm) wide. Attach through slider and swivel clasps.
Hardware checkpoint: Your strap should pull evenly from both side tabs, and the top band should gather softly when the cord is tied.
Finishing and Blocking Your Bag
Take your time with finishing. It makes all the difference in how professional your bag looks.
Care Instructions
Hand wash cool with mild soap. Press water out in a towel and do not wring. Reshape the base and square panels while damp. Dry flat away from direct heat. Remove detachable strap hardware before washing when possible.
Troubleshooting Common Issues
Squares differ in size: Block all motifs to the same measurement before joining. Remake any square more than 1/4 inch (6 mm) off.
Base ripples: Your sc rounds are too loose. Go down a hook size or block flat.
Base cups before joining: Your sc rounds are too tight. Go up a hook size for the base only.
Top edge flares: Keep the 108-stitch top count and do not add extra sc at seams.
Eyelets are uneven: Confirm 12 repeats of 9 stitches (7 sc plus 2 skipped stitches).
Size Customization Options
For a smaller bag: Make 10 squares and join 5 around x 2 high. Work base increases to 90 stitches. Use eyelet repeat sc 7, ch 2, skip 2 10 times.
For a taller bag: Add a third row of 6 squares. Keep the base and top band at 108 stitches.
For a longer strap: Add chains in multiples of 2 before Row 1.
For a wider strap: Add more sc rows.
To adjust firmness: Use a smaller hook for the base and strap, or add a fabric lining.
Progress Checkpoints at a Glance
Keep these measurements handy to make sure you’re on track:
Final Thoughts on This Daisy Bucket Bag Pattern
This daisy granny square bucket bag combines everything I love about crochet. Classic techniques, cheerful colors, and a practical finished project you’ll actually use. The construction is straightforward once you break it down into steps, and watching those daisy squares come together is so satisfying.
Whether you make it in the classic blue, white, and yellow or customize it with your own color palette, this bag is sure to get compliments wherever you go. It makes a wonderful gift too, especially for someone who appreciates handmade treasures.
Thank you so much for choosing this pattern for your next project. I hope you love making it as much as I enjoyed sharing it with you. If you give this daisy bucket bag a try, I would absolutely love to see your finished creation. Tag me on Instagram or share a photo on Facebook so I can admire your work.
If this pattern caught your eye, go ahead and save it to your Pinterest boards so you can find it when you’re ready to start. And if you make one, please drop a comment below. I love hearing how projects turn out and seeing the color combinations you choose. Happy crocheting!
Want a Quick & Easy Printable Version?
Get a clean, beautifully formatted PDF of this pattern — easy to follow step by step, ready to print or save on any device. No scrolling, no distractions, just the pattern.
Get the Printable PDF →