
Today’s guide walks you through the airy, spiraling magic of a Crochet Wind Spinner, a handmade outdoor ornament that catches the breeze with its soft, ruffled coils and sun-kissed color. Pull out your hook and your favorite pink yarn, because this one is truly worth making.
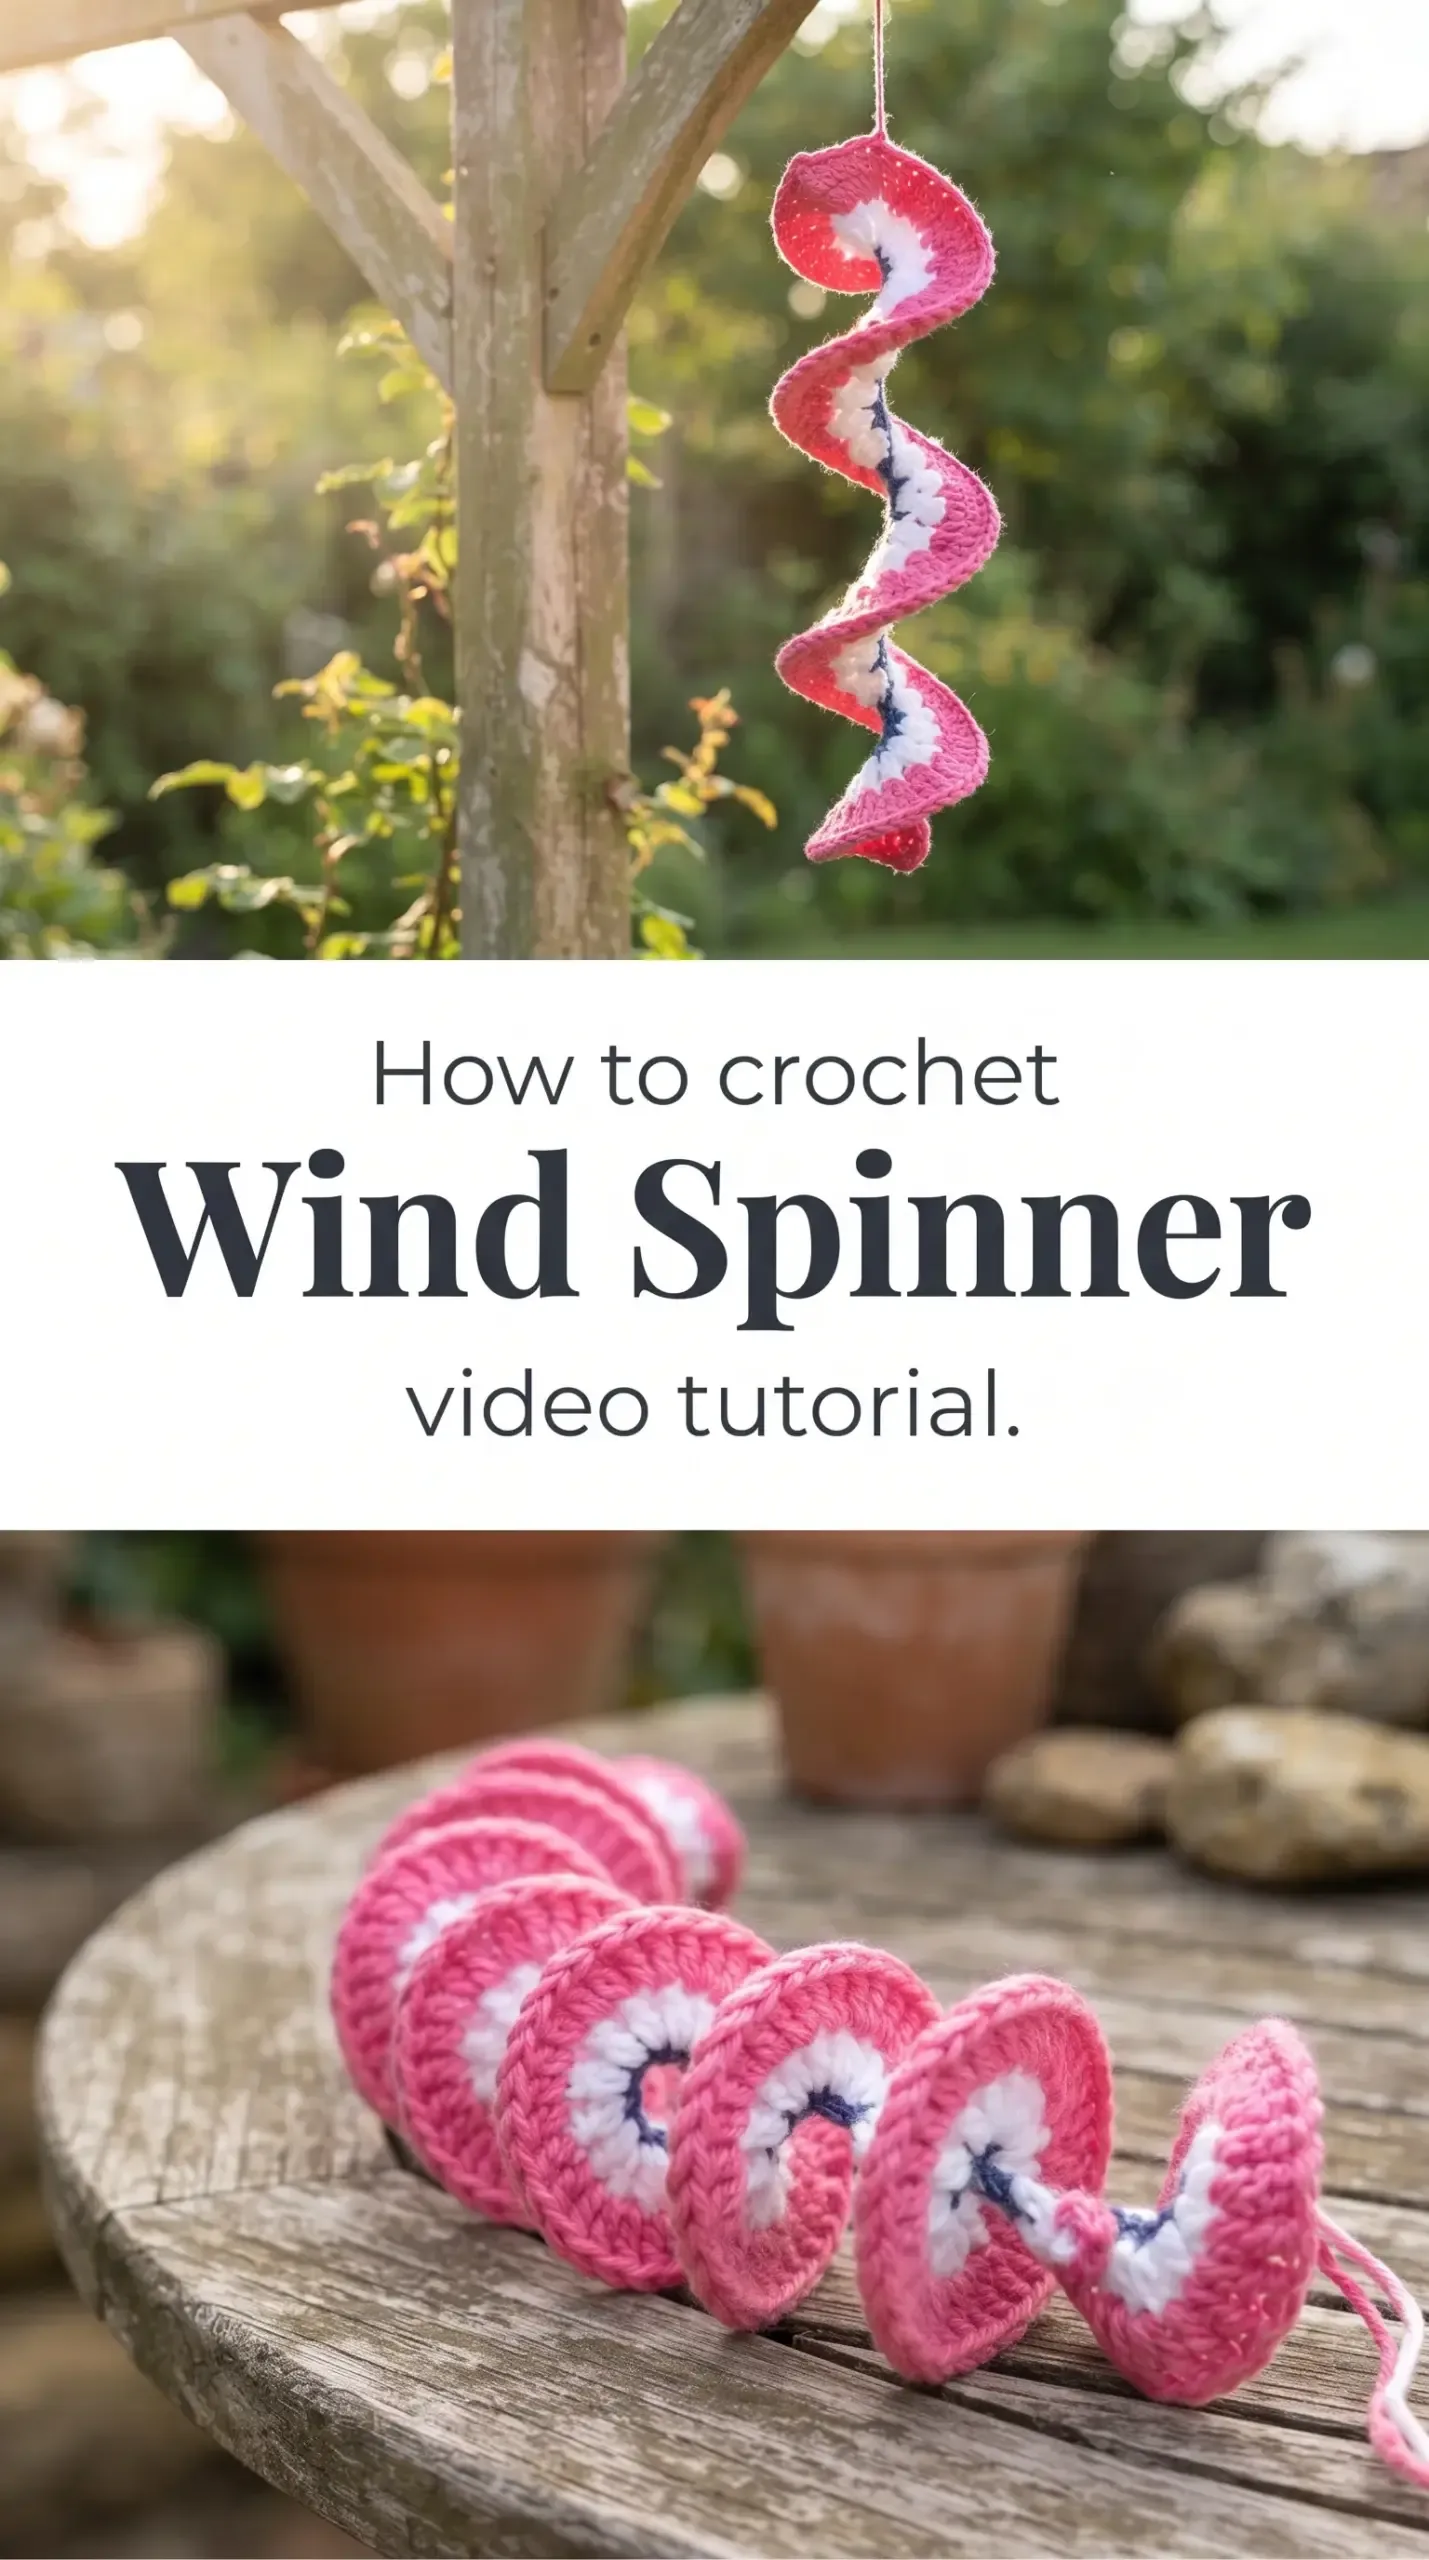
The Wind Spinner
A Crochet Wind Spinner is the kind of piece that makes a garden feel like a living, breathing space. Hung from a porch beam or tucked between flowering branches, its spiral form twists gently in the wind, each crocheted loop catching light and movement with quiet drama. It sits somewhere between sculpture and textile, structured enough to hold its coiled shape yet soft enough to sway and whisper in an afternoon breeze. This is a project for anyone who has ever wanted their handmade work to live outdoors, visible and joyful, dancing beyond four walls.
Wind Spinner Related Posts:
- Crochet Sunflower Keychain: A Bright and Cheerful Charm
- Crochet Tassel Keychain: A Charming Decorative Accent
- Crochet Heart Tote Bag: A Charming Handmade Essential
- Crochet Cherry Mini Bag: A Sweet and Playful Accessory
The colorway in this tutorial leans into a warm, vivid pink paired with crisp white and a deep navy accent, a combination that feels both playful and bold against a backdrop of green foliage or a pale sky. You could just as easily work it in sunset terracotta and cream for an earthy, bohemian look, or in cool lavender and sage for something more dreamy and cottage-garden. The beauty of a Crochet Wind Spinner is that color is where your personality fully arrives.
Materials and Tools
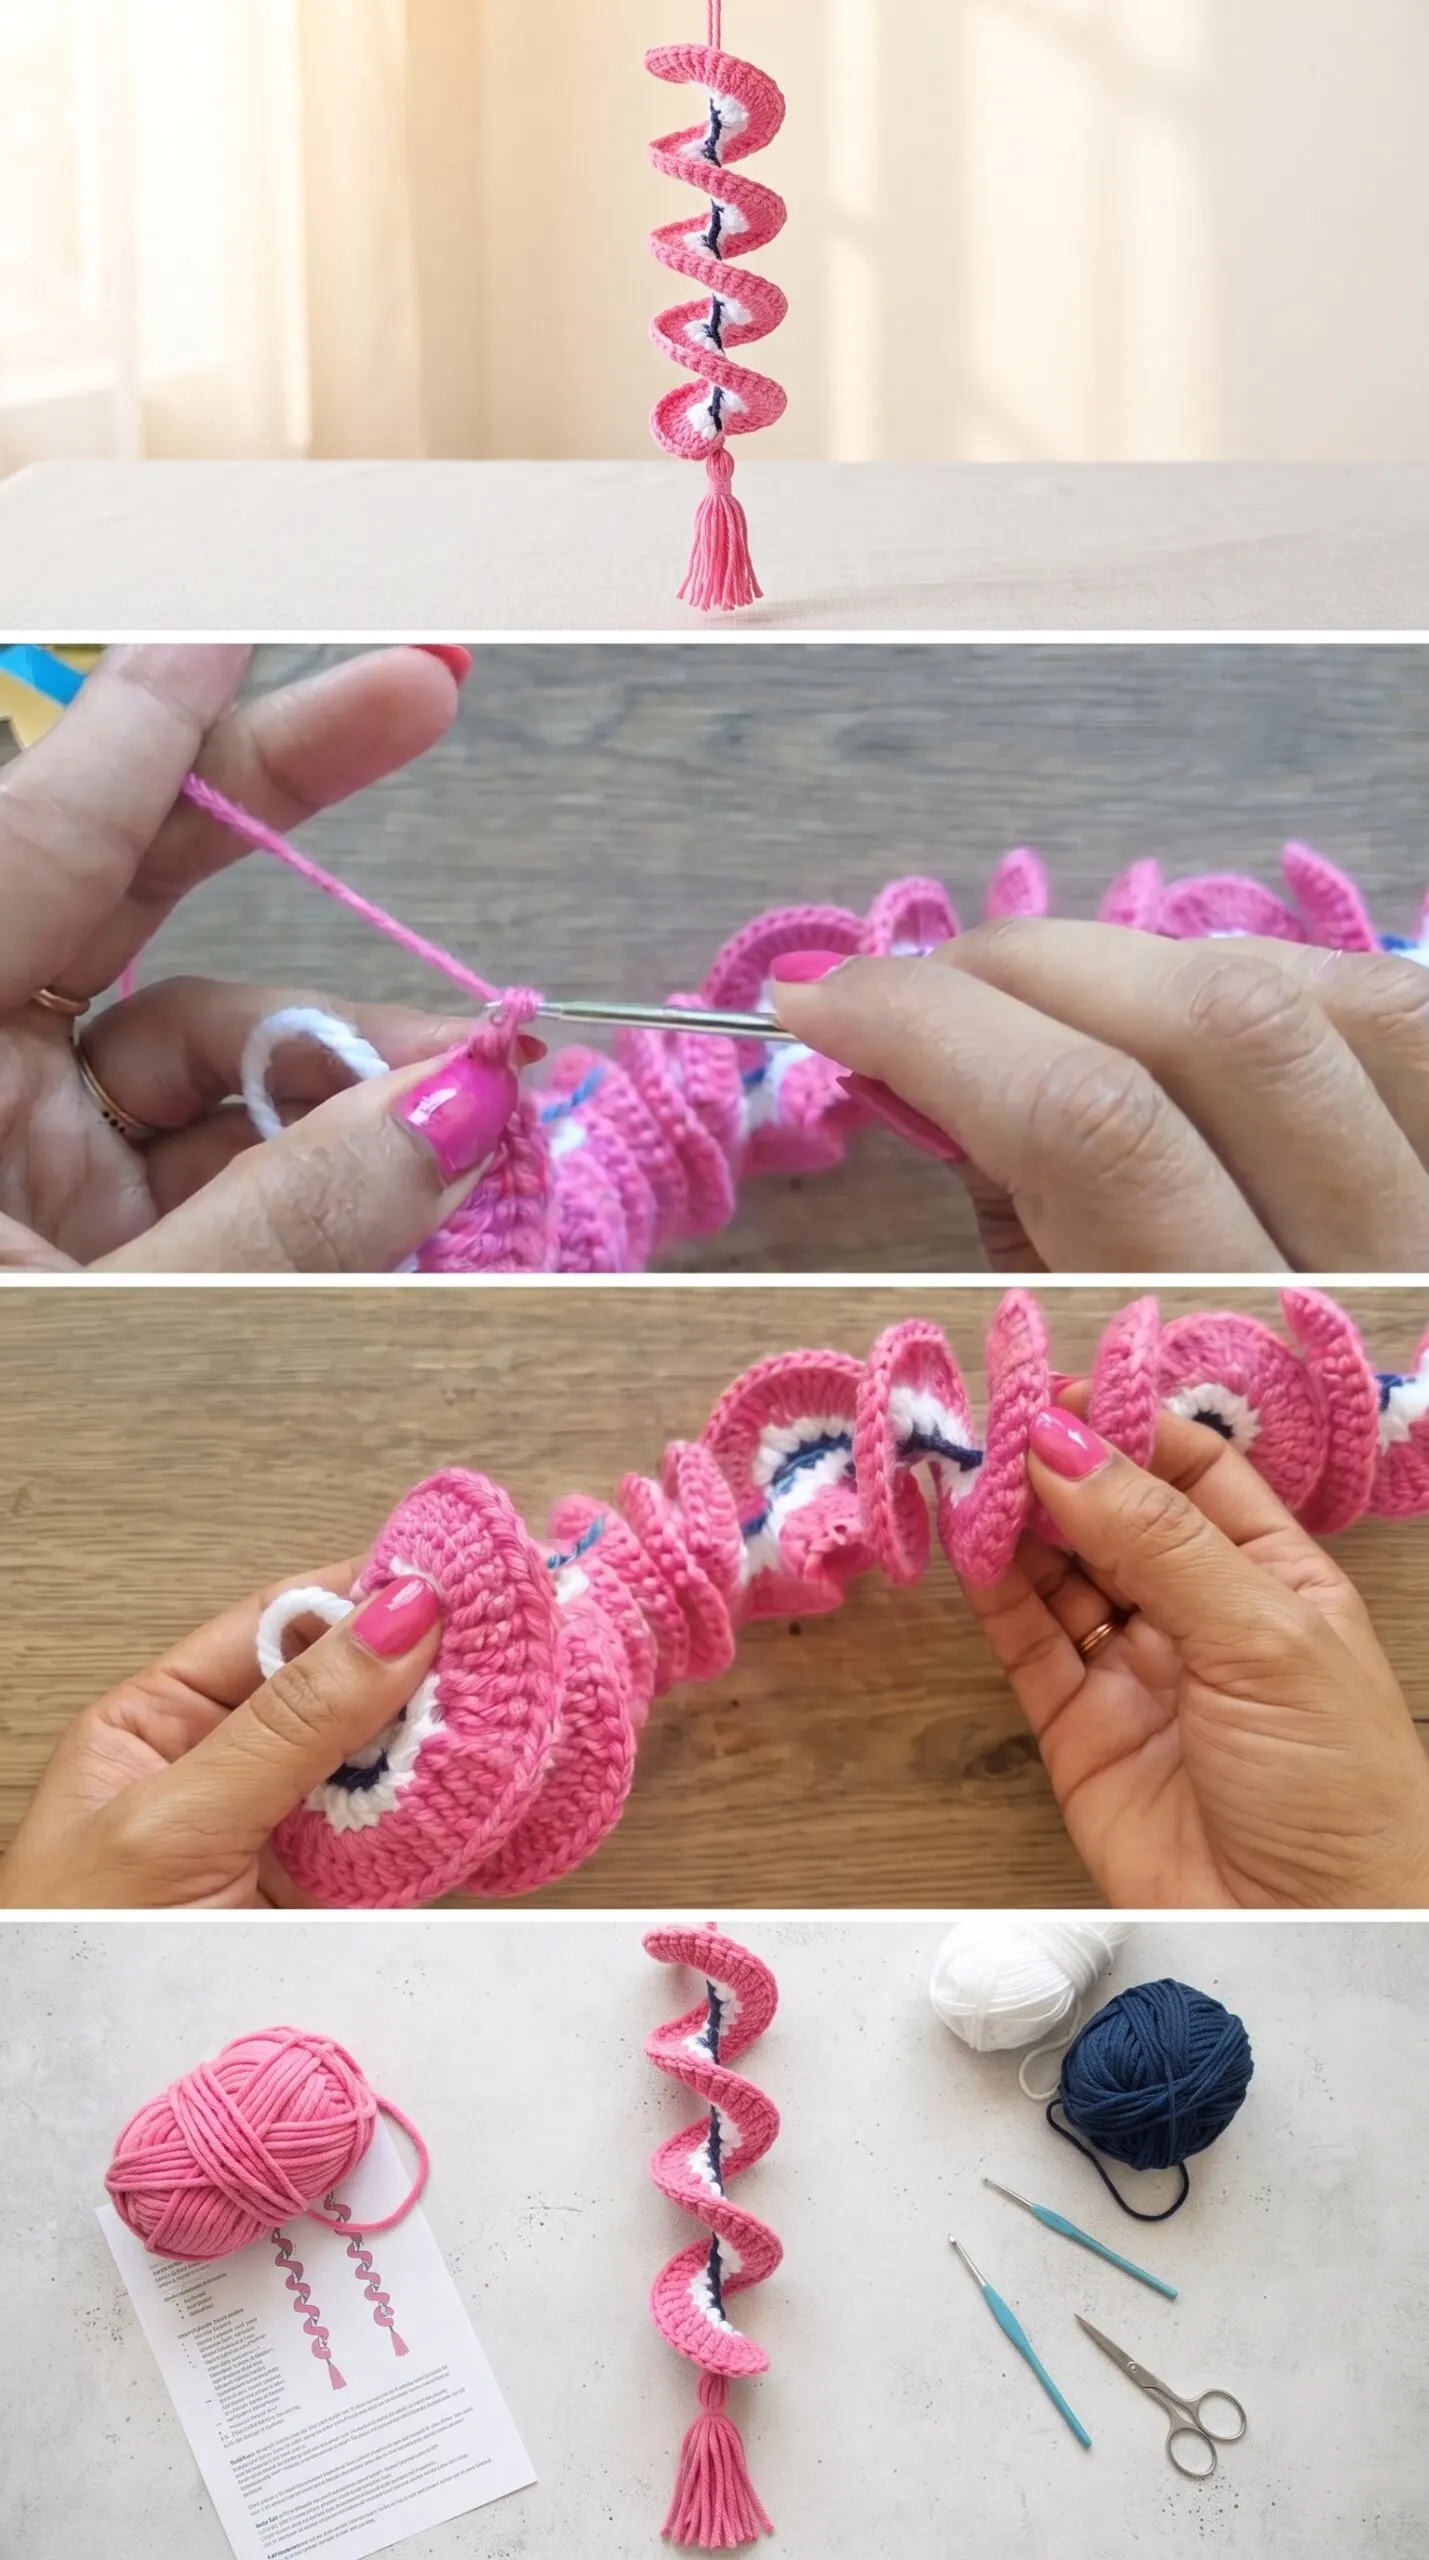
For this project, you will want to reach for a worsted weight yarn, which gives the spinner enough body to hold its spiral form while remaining light enough to move in the wind. A 4mm or 4.5mm crochet hook works beautifully here, offering just enough tension to keep your stitches neat and consistent without fighting the yarn. Cotton or a cotton-acrylic blend is a wise fiber choice for an outdoor piece, as it resists fading better than pure acrylic and stands up to humidity with considerably more grace. A blunt-tipped tapestry needle will be your closest companion during assembly, especially when weaving in the yarn tails that give your spinner its clean, finished look.
Stitch by Stitch
This Crochet Wind Spinner draws on a handful of foundational stitches that come together with a satisfying, meditative rhythm.
BULLET:CH (Chain) The foundation of the entire piece, creating the long base from which the spiral structure grows.
BULLET:SC (Single Crochet) Works along the chain to build the dense, sturdy core that holds the coiled shape in place.
BULLET:DC (Double Crochet) Adds height and volume to the ruffled loops, giving the spinner its characteristic petal-like fullness.
BULLET:YO (Yarn Over) The motion repeated constantly through the double crochet sections, creating that airy yet structured quality in every loop.
Once you settle into the repeat, your hands find their own quiet pace, and the spiral seems to grow almost on its own.
Construction
The Crochet Wind Spinner is worked flat along a long foundation chain, with increases added strategically to encourage the natural curl and coil of the strip into a continuous spiral. Because the ruffling happens organically through stitch count rather than shaping rows, even a beginner will find the construction surprisingly intuitive once the rhythm is established. A wire or cord threaded through the center, as shown in the video tutorial from Crochet World Creations, keeps the spiral open and gives it the structure it needs to spin freely when hung. If you want a longer or more dramatic spinner, simply extend your starting chain before you begin the main stitch pattern.
Wearing Your Wind Spinner
Hung from a shepherd’s hook in a garden border, your finished Crochet Wind Spinner becomes an instant focal point that moves and shifts with every passing gust. It works equally well strung across a covered patio alongside trailing plants, or suspended in a sunny window where the colors can glow in the afternoon light. Finishing it with a handmade tassel at the bottom, as shown in the tutorial, adds one last touch of softness that makes the whole piece feel complete and considered.
Keeping Your Wind Spinner Looking Its Best
Because this piece lives outdoors, a little seasonal care goes a long way in keeping its colors vibrant and its fibers intact. Hand wash it gently in cool water with a mild soap if it collects dust or pollen, then reshape it carefully and allow it to air dry flat before rehanging. If you live somewhere with harsh winters or heavy rain, storing your Crochet Wind Spinner indoors during the most intense months will protect the fiber and help it last for many seasons. A cotton or cotton-blend yarn will naturally resist moisture better, but a light spritz of fabric protector can offer an extra layer of confidence if it hangs in a particularly exposed spot.
Every Crochet Wind Spinner you make carries the particular warmth of the hands that made it, and there is something deeply satisfying about watching your own work move in the open air. Find the full video tutorial from Crochet World Creations to follow along, and when yours is finished, share a photo on Pinterest so other makers can find and love this pattern too.
Follow us on Pinterest and subscribe to the Newsletter so you don’t miss a thing!
Tutorial and photos of this wind spinner by: Crochet World Creations.
