
Today’s guide is all about the Crochet Waffle Beanie, a hat with that rare quality of feeling both airy and structured, its raised geometric texture almost pressing itself into your fingertips before you’ve even cast on a single stitch. Pull up your favourite skein of grey yarn and let’s make something worth keeping.
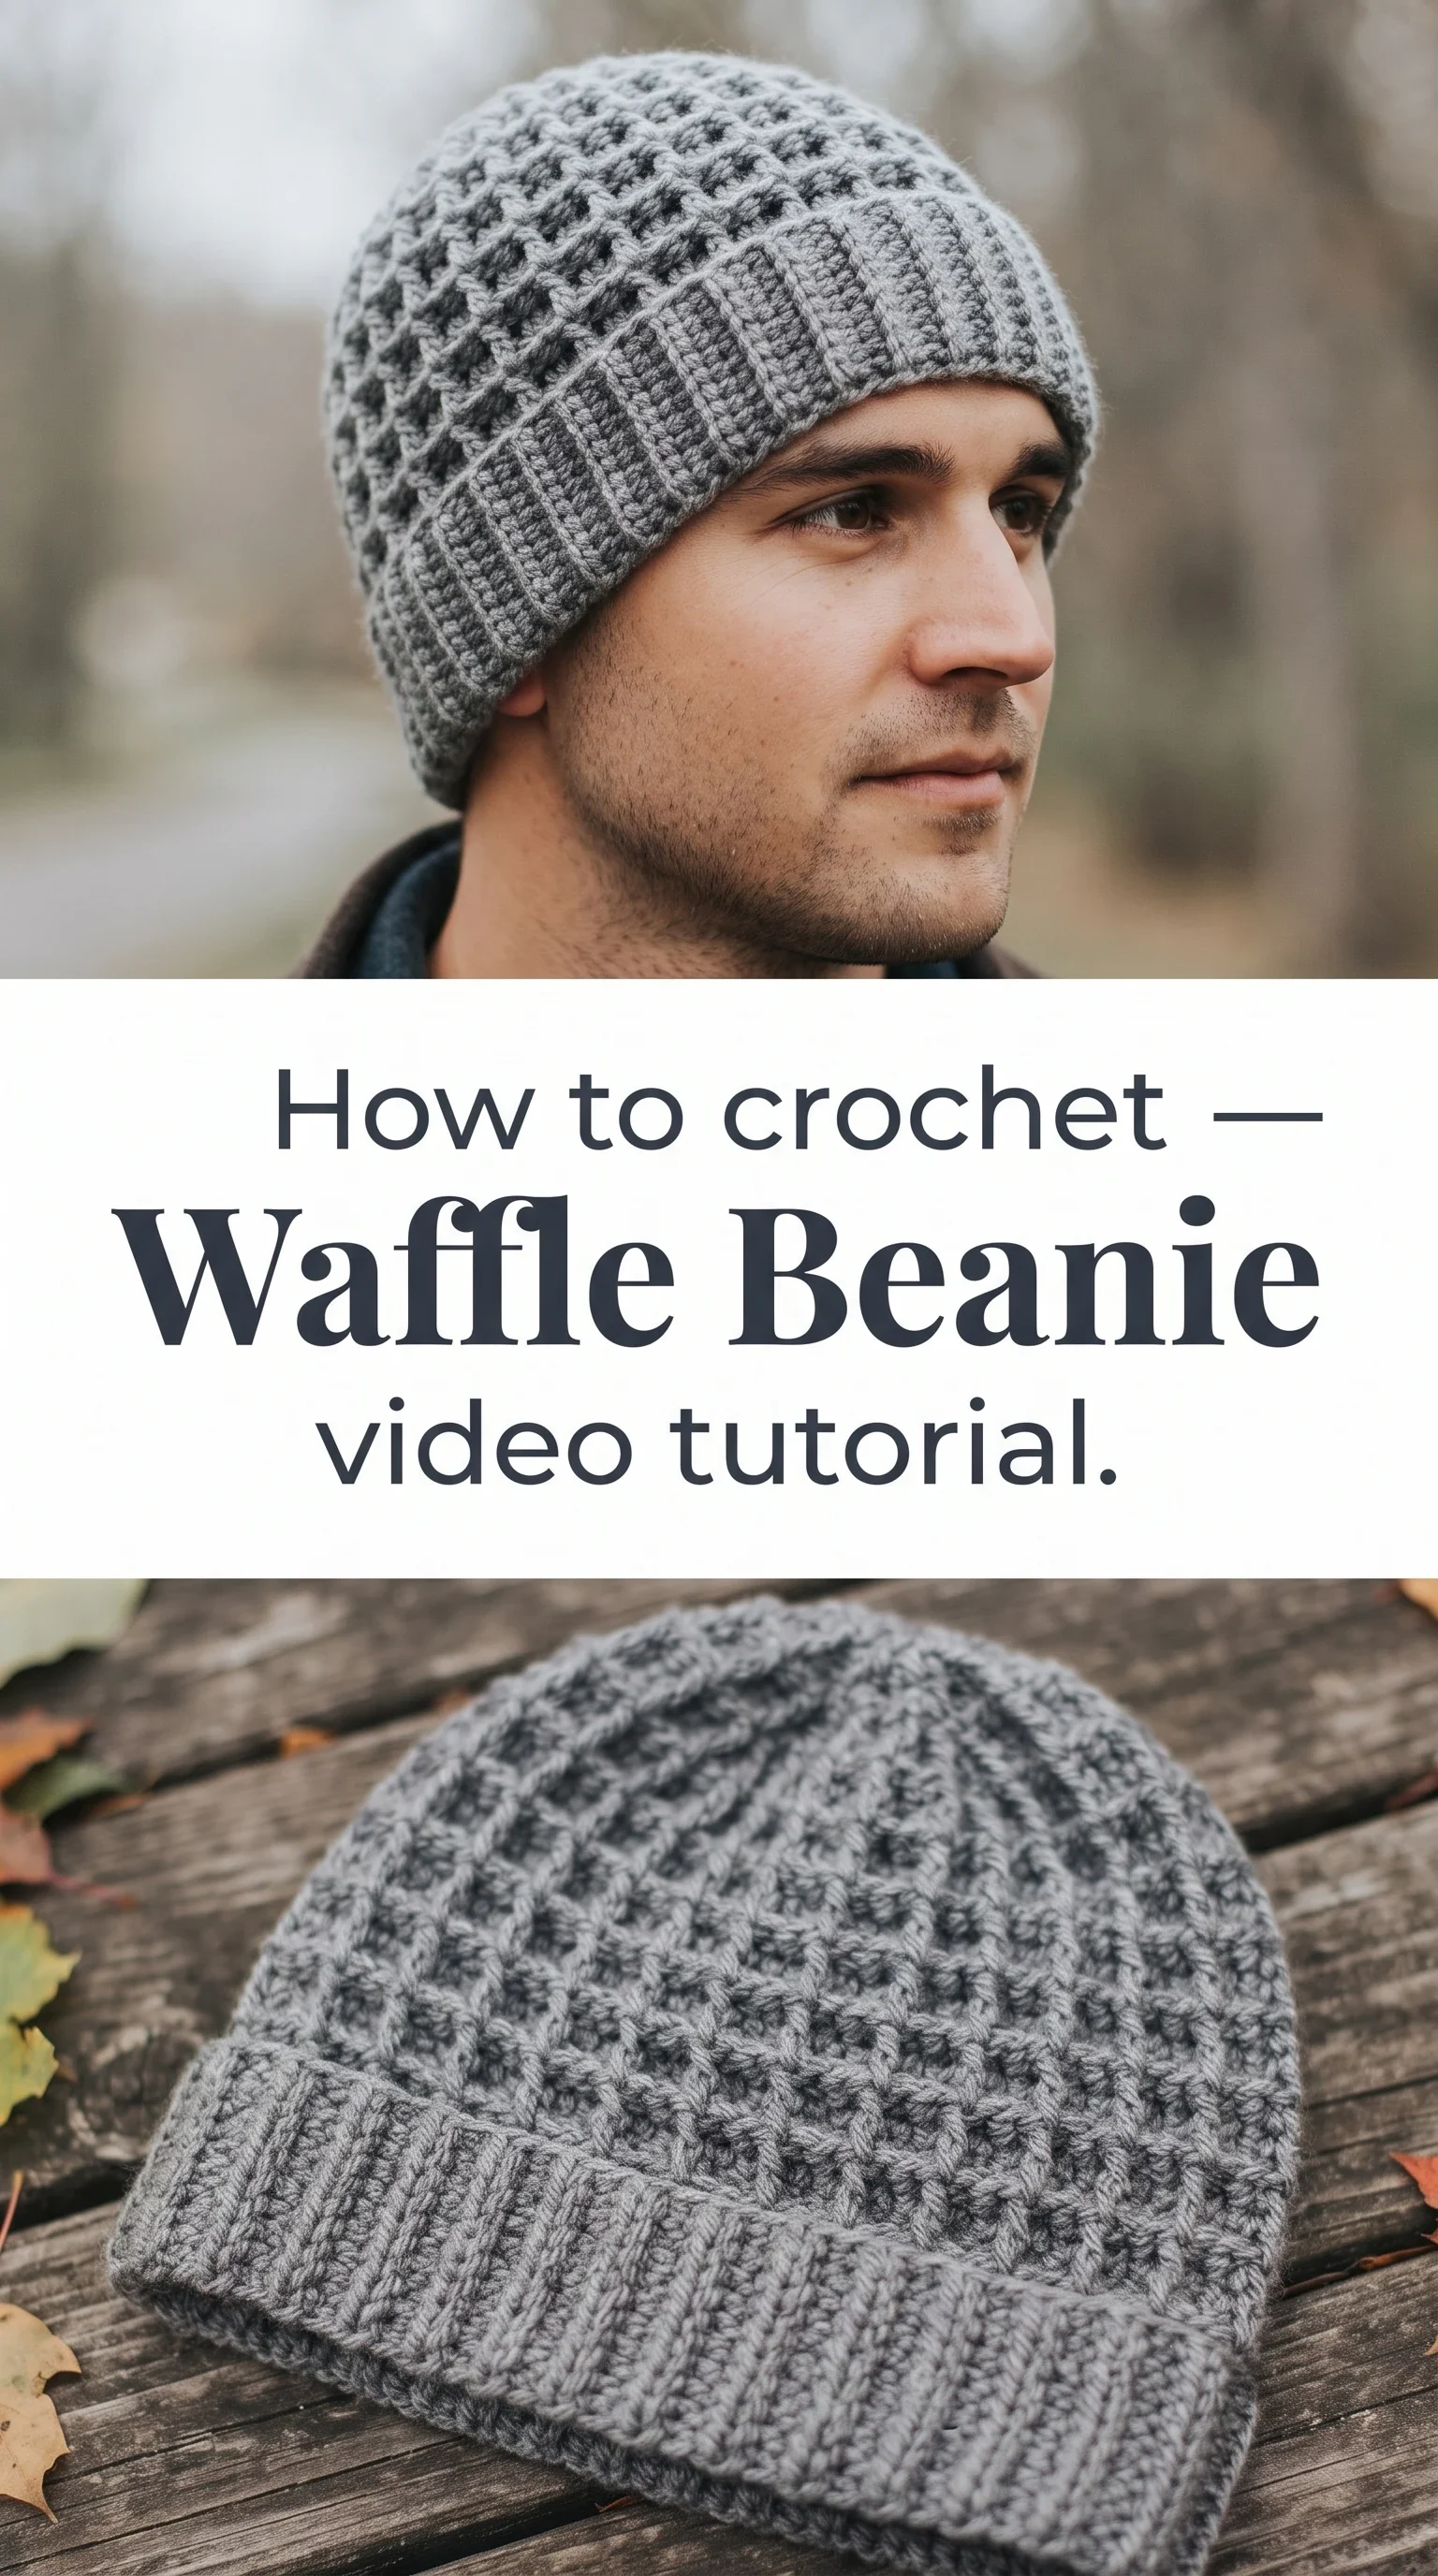
The Waffle Beanie
The Crochet Waffle Beanie is one of those pieces that reads as quietly confident, the kind of hat a person reaches for on a crisp October morning without a second thought. Its signature grid of raised squares gives the fabric a depth that flat stitches simply cannot offer, catching light and shadow in a way that makes the whole surface feel almost architectural. This is a hat for people who appreciate handmade things that look considered rather than casual, for the friend who notices texture, for the maker who wants their work to say something without shouting it.
Waffle Beanie Related Posts:
- Crochet Flower Purse: A Sweet and Playful Accessory
- Crochet Christmas Tree Ornaments: A Festive Holiday Accent
- Crochet Yoshi Plush: A Playful Amigurumi Companion
- Crochet Duck Keychain: A Charming Handmade Accessory
In grey, this hat carries a cool, Nordic restraint that pairs beautifully with wool coats and denim alike. But work it up in a warm camel, a deep forest green, or even a dusty terracotta and the whole character shifts entirely. The Crochet Waffle Beanie is genuinely one of the most versatile cold-weather accessories you can make, because its structure is strong enough to hold its own against any colour you bring to it.
Materials and Tools
For this project, you will want to reach for a worsted weight yarn, the kind that has enough body to let the waffle texture pop without swallowing itself. A medium-twist wool or wool-blend in worsted weight gives the raised squares real definition, and if you choose a yarn with a little natural elasticity, the ribbed brim will sit beautifully against the head. A 5mm crochet hook is the recommended size here, and using an ergonomic hook with a soft grip handle makes a genuine difference over the course of a hat like this, where your hands return to the same motion again and again. A yarn needle for weaving ends and a stitch marker to track your rounds are the only other tools this pattern asks of you.
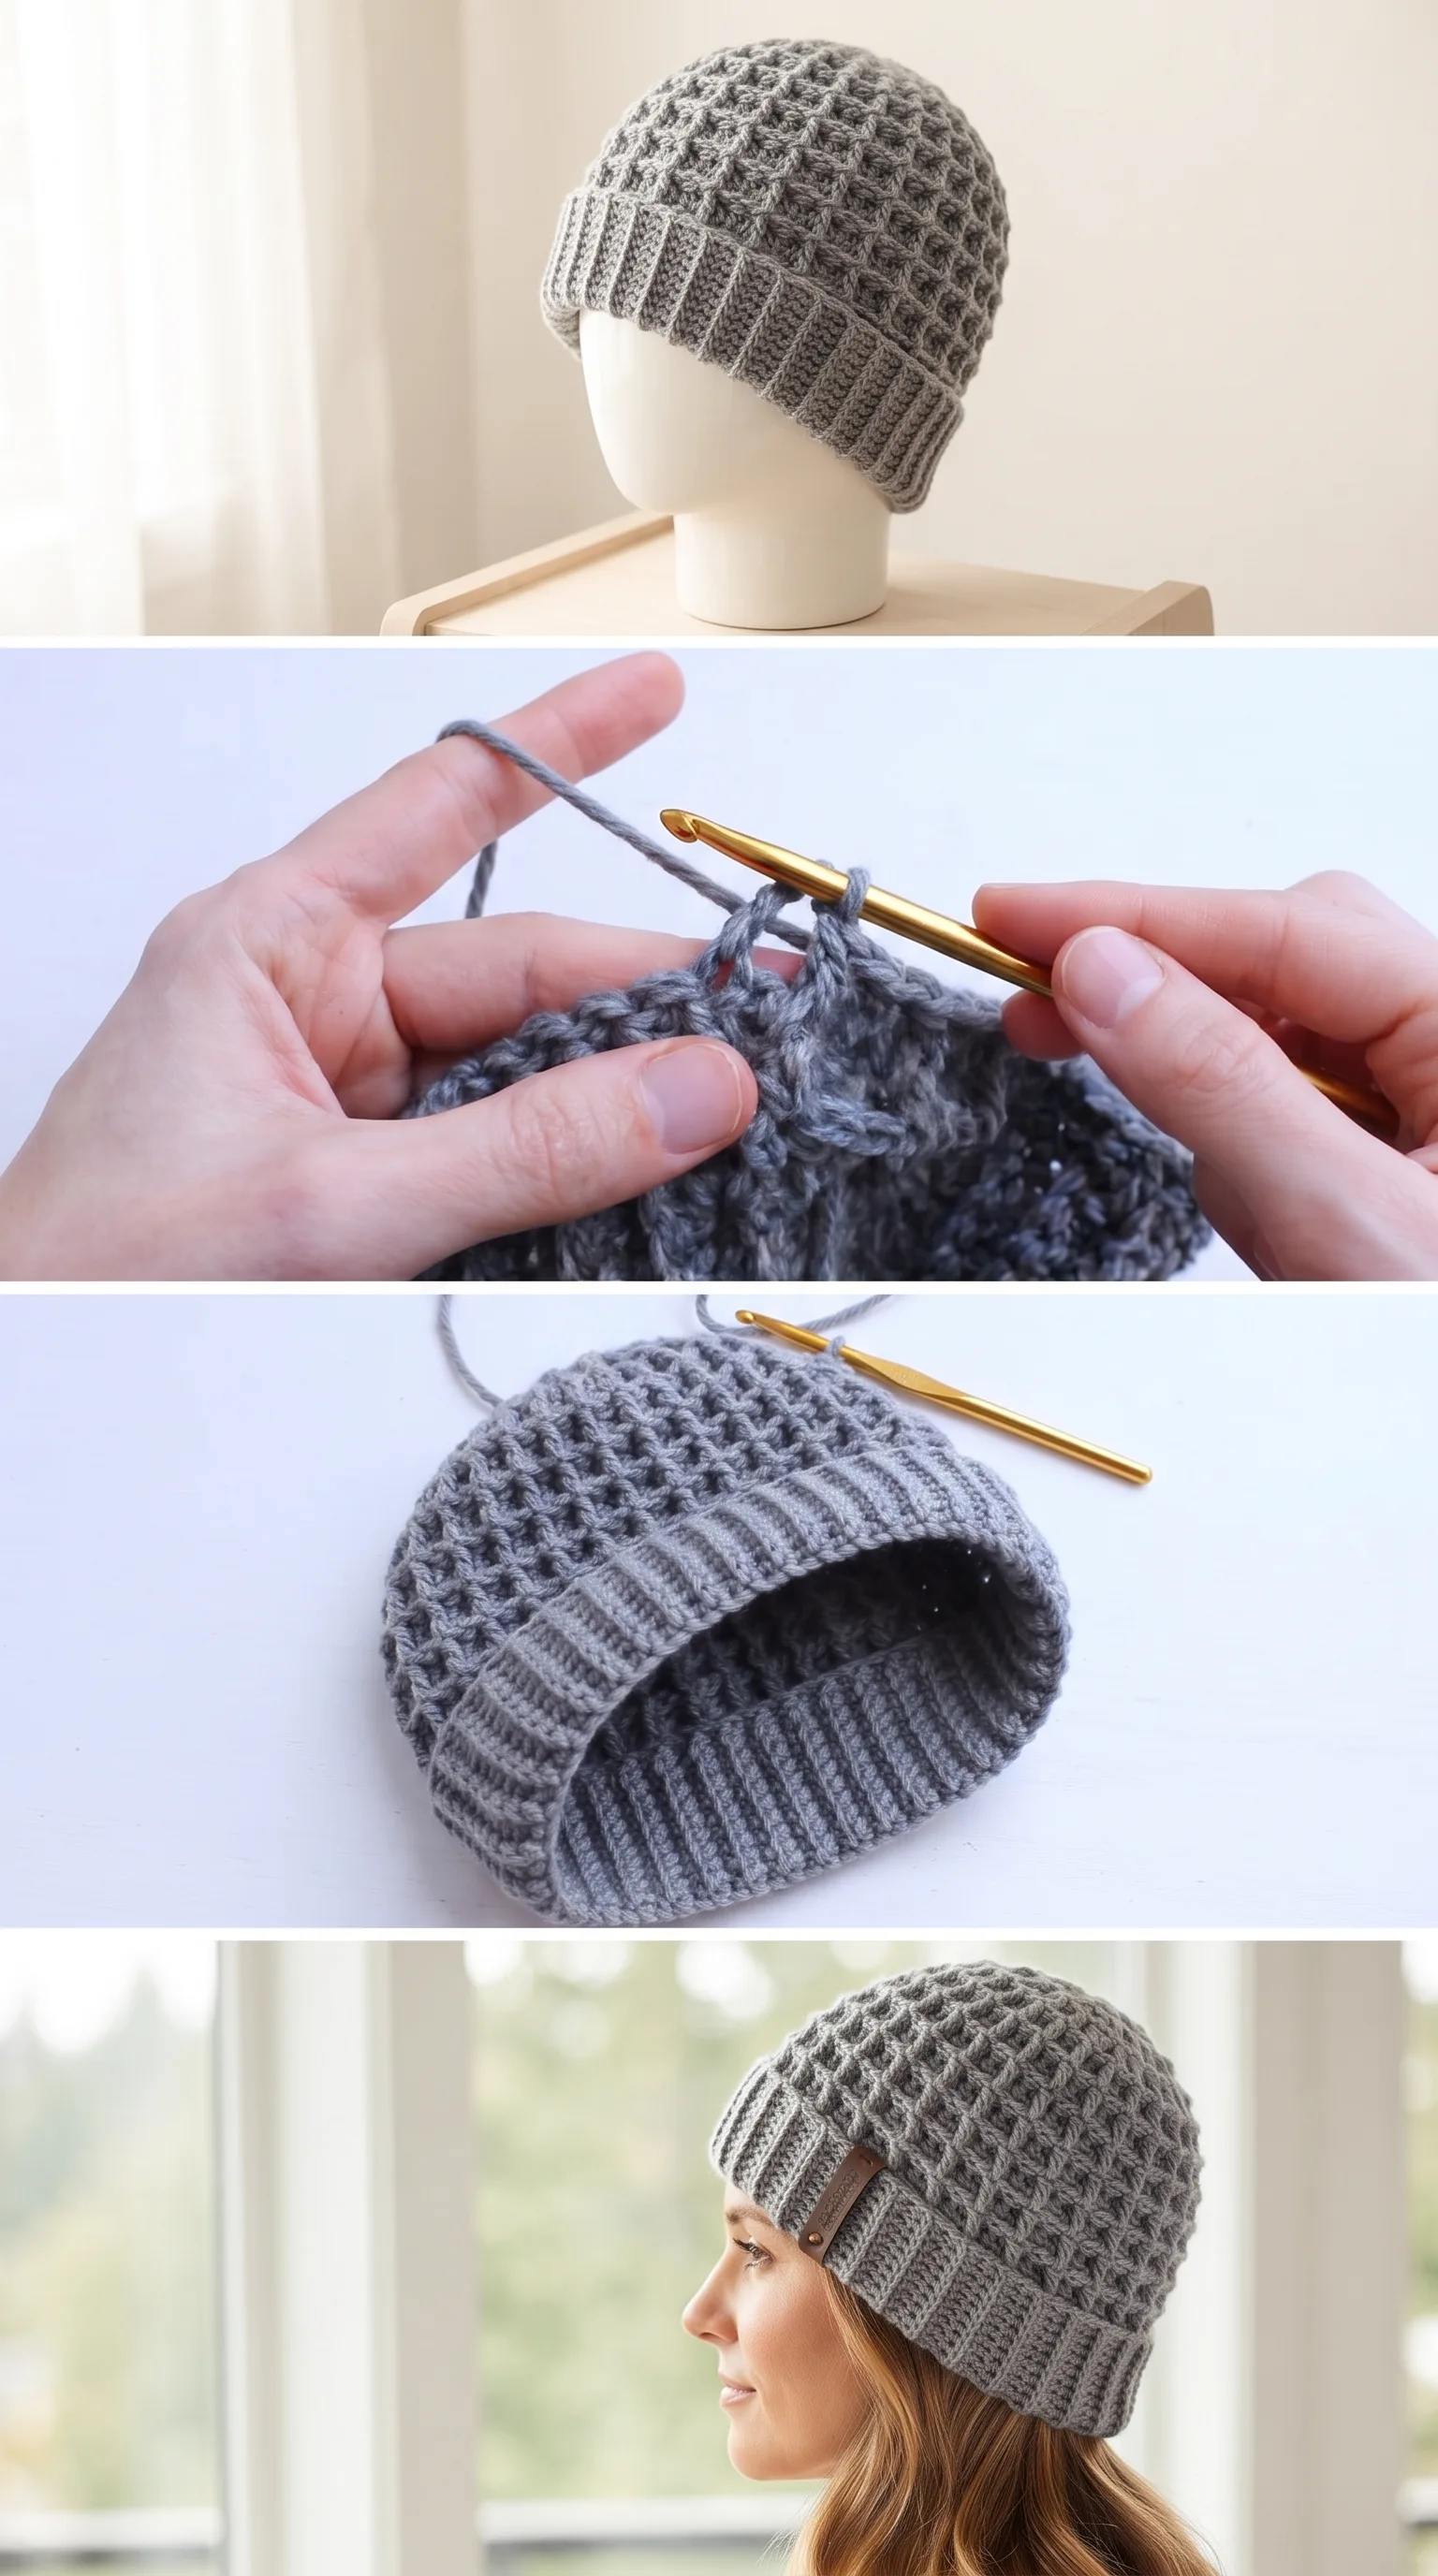
Stitch by Stitch
The Crochet Waffle Beanie draws on a small and approachable collection of stitches that work together to build its distinctive raised grid.
BULLET:SC (Single Crochet) The foundational stitch used in the brim and structural rows, creating a tight and even fabric that anchors the hat.
BULLET:DC (Double Crochet) A taller stitch that forms the open sections of the waffle grid, giving the body of the hat its characteristic lightness.
BULLET:FPDC (Front Post Double Crochet) The true star of this pattern, worked around the post of the stitch below to push the yarn forward and build those raised, sculptural ridges.
BULLET:BPDC (Back Post Double Crochet) Worked in counterpoint to the FPDC, this stitch recedes into the fabric and creates the valleys that define the waffle structure.
Once you settle into the alternating rhythm of FPDC and BPDC, the pattern becomes genuinely meditative, your hook moving through the work with a steady, almost musical repetition that makes the rows pass quickly and pleasurably.
Construction
The Crochet Waffle Beanie is worked in the round from the brim upward, which means there are no seams to sew and no panels to join. You begin with a foundation chain joined into a circle, then work the ribbed cuff flat before seaming it and picking up to build the body of the hat in continuous rounds. The pattern is accessible for confident beginners who have already spent a little time working post stitches, and intermediate makers will find the whole process moves along at a satisfying pace. If you want to customise the fit, simply adjusting the number of foundation chains in multiples of the repeat will allow you to size the hat up or down for children or adults with larger head measurements.
Wearing Your Waffle Beanie
Wear the Crochet Waffle Beanie pulled low over the ears with a chunky scarf and your warmest coat for those genuinely cold days when you need your handmade things to work as hard as they look. It also sits beautifully pushed back slightly on the head for a more relaxed, street-style feel paired with a denim jacket and simple knitwear underneath. Finishing this hat means having something you will actually wear, repeatedly and without reservation, which is the very best thing a handmade project can promise you.
Washing and Blocking Your Waffle Beanie
Because the waffle texture is built from post stitches, a light wet block after finishing will help each raised ridge settle into its full definition and give the hat a more polished, intentional look. Hand wash the beanie in cool water with a small amount of wool wash, press out the water gently without wringing, and lay it flat or place it over a round balloon or hat form to dry in its proper shape. If you have chosen an acrylic or acrylic-blend yarn, a gentle steam block with an iron held a few centimetres above the surface will relax the fibres and open up the texture beautifully. Store the finished hat folded loosely in a drawer or displayed on a hook rather than compressed at the bottom of a bag, where the structure of the waffle pattern can flatten over time.
Every Crochet Waffle Beanie you make carries the particular quality of something given proper attention, and that is worth celebrating in a world full of fast and forgettable things. The full step-by-step video tutorial is linked here to guide you through every round, so save this post to your Pinterest boards and share your finished hat with the tag so the whole community can see what you’ve made.
Follow us on Pinterest and subscribe to the Newsletter so you don’t miss a thing!
Tutorial and photos of this waffle beanie by: Crochet Bits.
