
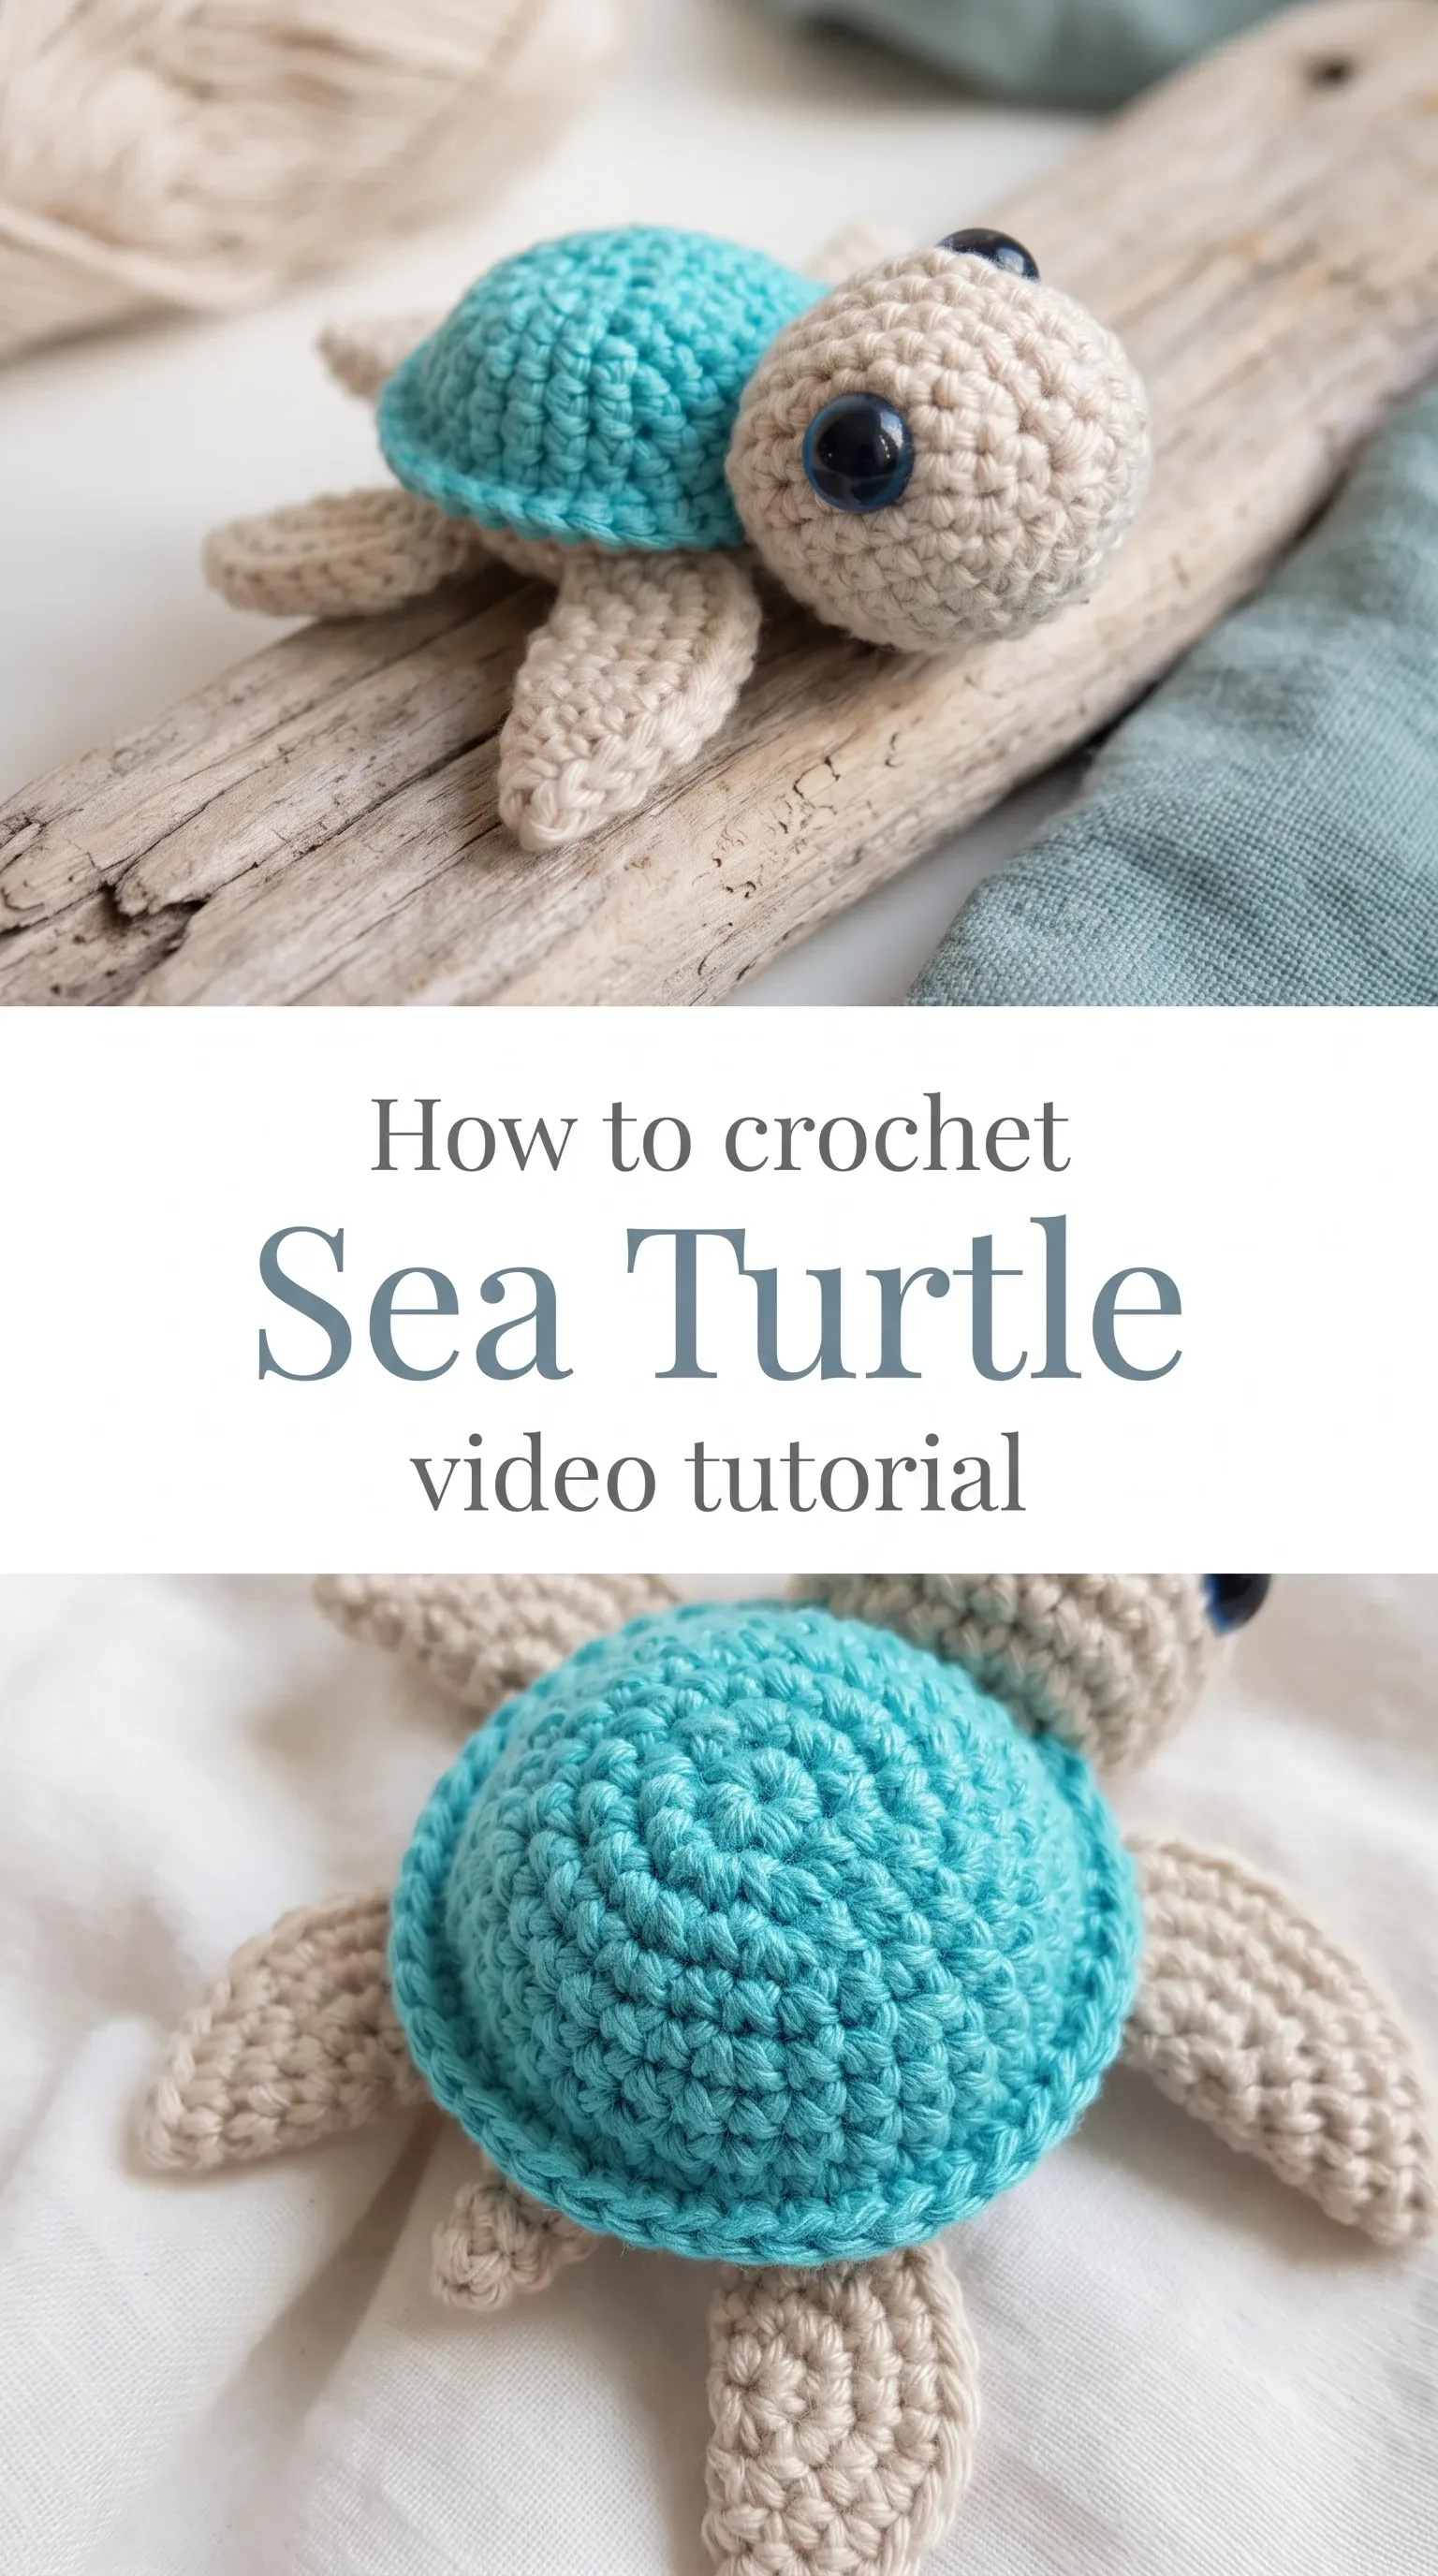
I am so excited to share this Crochet Sea Turtle tutorial with you, because it genuinely made my heart flutter the moment I finished assembling it. The way that rounded, squishy head sits beneath that domed shell gives it a sculptural softness that feels almost alive in your hands.
The Sea Turtle
This Crochet Sea Turtle is the kind of handmade creature that makes people stop mid-conversation to pick it up and hold it. The body is worked in smooth, tightly packed single crochet rounds that give it a satisfying density, almost like a little weighted companion you could carry in your pocket or perch on a windowsill. Each flipper extends outward with a flat, elegant shape, and the oversized safety eyes catch light in a way that gives this tiny animal an expression of genuine wonder. It is equally at home in a nursery, on a craft fair table, or tucked inside a gift bag for someone who loves the ocean.
Sea Turtle Related Posts:
- Crochet Snowflake Granny Square: A Delicate Winter Treasure
- Crochet Sea Turtle: A Charming Ocean Companion
- Crochet T-Shirt Yarn Purse: A Vibrant Statement Piece
- Crochet Ribbed Stitch: A Versatile Classic Texture
The color combination possibilities here are genuinely exciting. The classic pairing of sandy beige and ocean-bright teal is deeply satisfying, but you could just as beautifully work the shell in sage green, dusty coral, or even a sun-faded lavender for a more muted coastal palette. The two-color construction means you can switch up the tone entirely and produce something completely fresh from the same pattern.
Materials and Tools
For this Crochet Sea Turtle, you will want to reach for a DK weight cotton or cotton-blend yarn, which gives the finished amigurumi that airy yet structured definition where every SC stitch reads crisp and clean. A 3mm or 3.5mm crochet hook is ideal for working amigurumi tension, keeping the fabric dense enough that no stuffing peeks through the stitches. Cotton is particularly lovely here because it holds its shape beautifully after stuffing and has a slight sheen that makes the teal shell color look almost luminous. You will also need a tapestry needle for seaming and weaving in ends, a pair of 10mm to 12mm blue safety eyes, and polyester fiberfill stuffing to give the head and body their rounded, pillowy form.
Stitch by Stitch
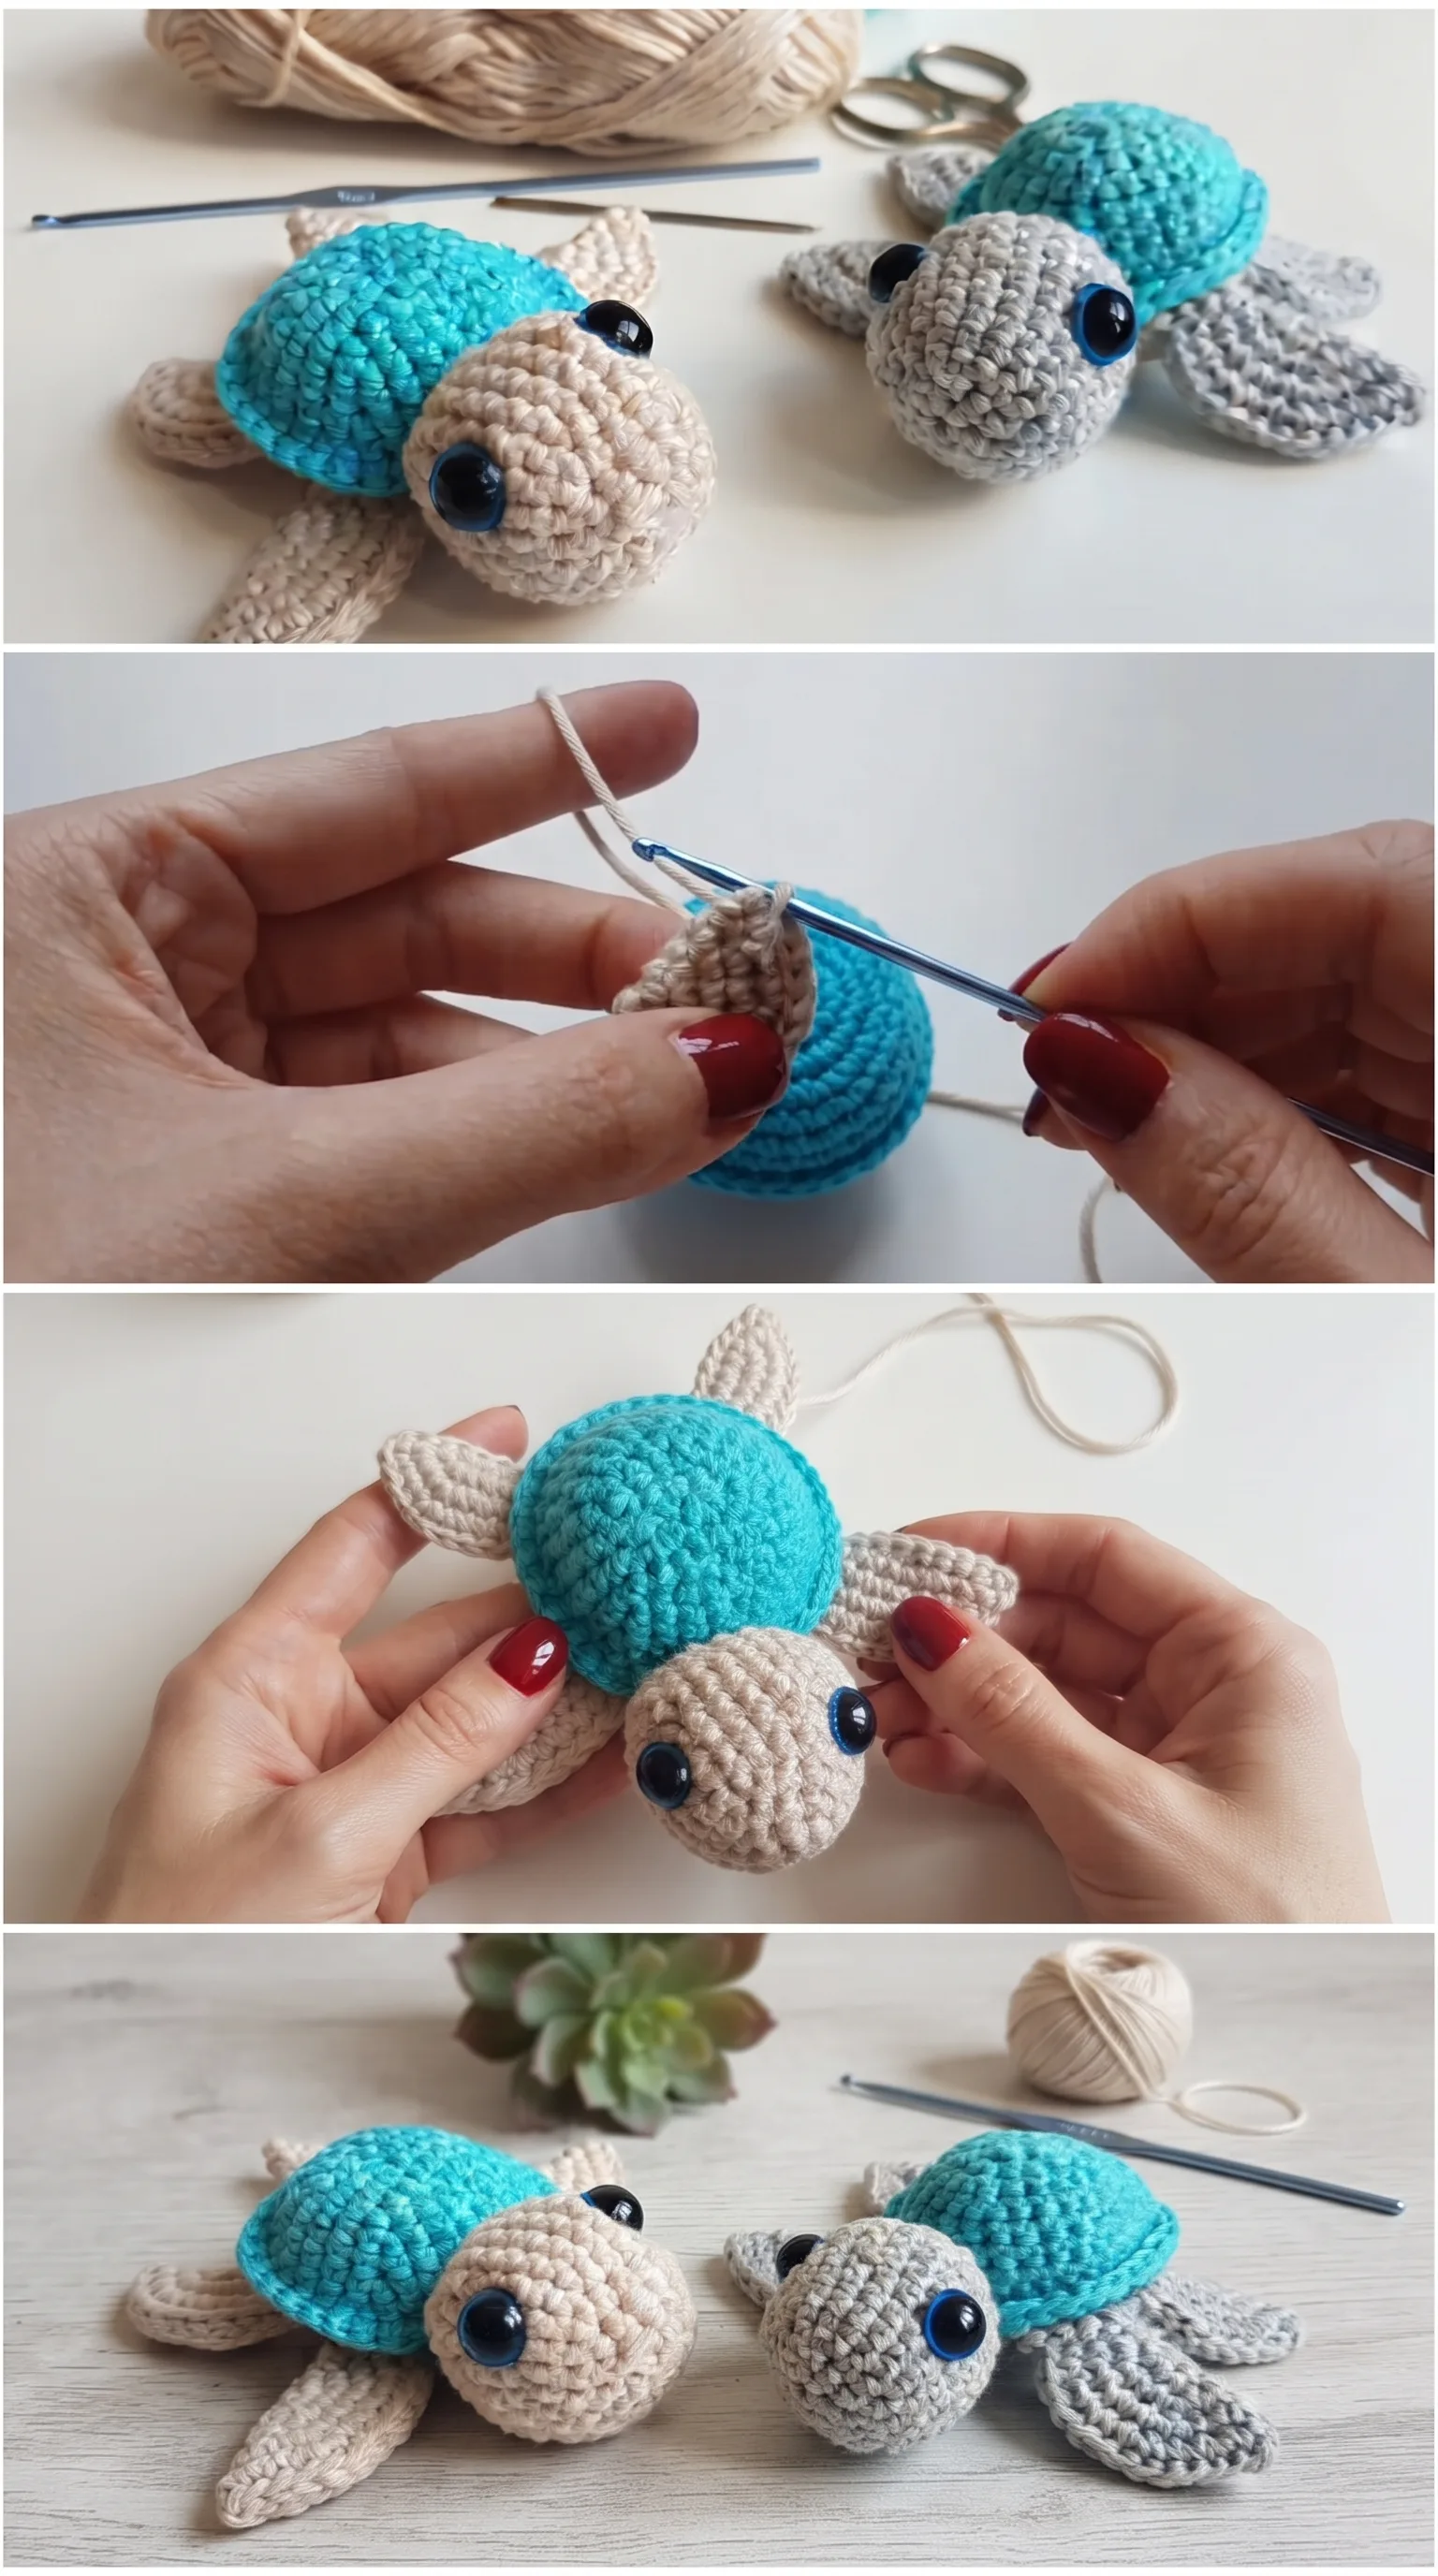
This pattern draws on a compact and satisfying set of stitches that most beginners will find approachable within the first few rounds.
BULLET:SC (Single Crochet) The foundational stitch of the entire turtle, used to build every round of the head, shell, and flippers with tight, even texture.
BULLET:SC2tog (Single Crochet Two Together) A simple decrease stitch used to close and shape the rounded head and body sections as you finish each piece.
BULLET:INC (Invisible Increase) Two single crochets worked into the same stitch to expand each round outward, creating the satisfying dome of the turtle’s shell.
BULLET:MR (Magic Ring) The starting technique for every component, allowing you to close the center of each circle tightly without leaving a gap.
Working in continuous rounds with SC has a meditative rhythm to it, the kind of repetitive, satisfying motion that lets your hands work while your mind rests quietly.
Construction
The Crochet Sea Turtle is built in separate pieces that come together in a deeply rewarding assembly process. The shell is crocheted in the round from the center outward using increases to build its dome shape, while the head is formed as a separate sphere stuffed firmly before being sewn on. The four flippers are worked flat, two larger front flippers and two smaller rear ones, and attached at the sides of the body with a tapestry needle and matching yarn. If you want to personalise your turtle, try embroidering a tiny smile below the safety eyes or adding a contrasting color trim along the edge of the shell for a more playful, graphic look.
Wearing Your Sea Turtle
While this little creature is primarily a keepsake or plush toy, it has so many lives beyond sitting prettily on a shelf. Tuck it into a gift basket alongside ocean-scented soap and a handwritten card for a coastal-themed baby shower gift, or attach a ribbon loop to the shell and hang it as a soft ornament on a nautical wreath. You could also make a small fleet of them in different colorways and display them together on a bookshelf in a way that feels like a curated, handmade art installation.
Keeping Your Sea Turtle Soft and Shape-Ready
Because this Crochet Sea Turtle is likely worked in cotton or a cotton blend, it responds beautifully to a gentle hand wash in cool water with a mild soap. Reshape the shell dome and flatten the flippers gently while damp, then lay the turtle flat on a clean towel to air dry away from direct sunlight, which can fade even the most vibrant teal yarn over time. Once fully dry, store it in a breathable cotton bag or display it openly rather than compressing it inside a box, which can flatten the stuffed sections and distort that lovely rounded silhouette. Avoid machine washing, as the agitation can cause the safety eyes to loosen and the fiberfill to shift unevenly inside the body.
Every stitch you place into this little turtle is a quiet act of making something lasting with your own two hands, and that is worth celebrating every single time. If you are ready to begin, the full video tutorial with the complete pattern is linked and waiting for you. Save this post to your Pinterest boards so you can find it whenever you are ready to cast on your next ocean friend.
Follow us on Pinterest and subscribe to the Newsletter so you don’t miss a thing!
Tutorial and photos of this sea turtle by: Cathérine Crochet.
