
I am so excited to share this Crochet Ribbed Beanie tutorial from Vasilya Knits because it is genuinely one of the most satisfying makes I have come across in a long time. The ribbing has this beautifully tactile, structured quality that looks like it took far more skill than it actually did.
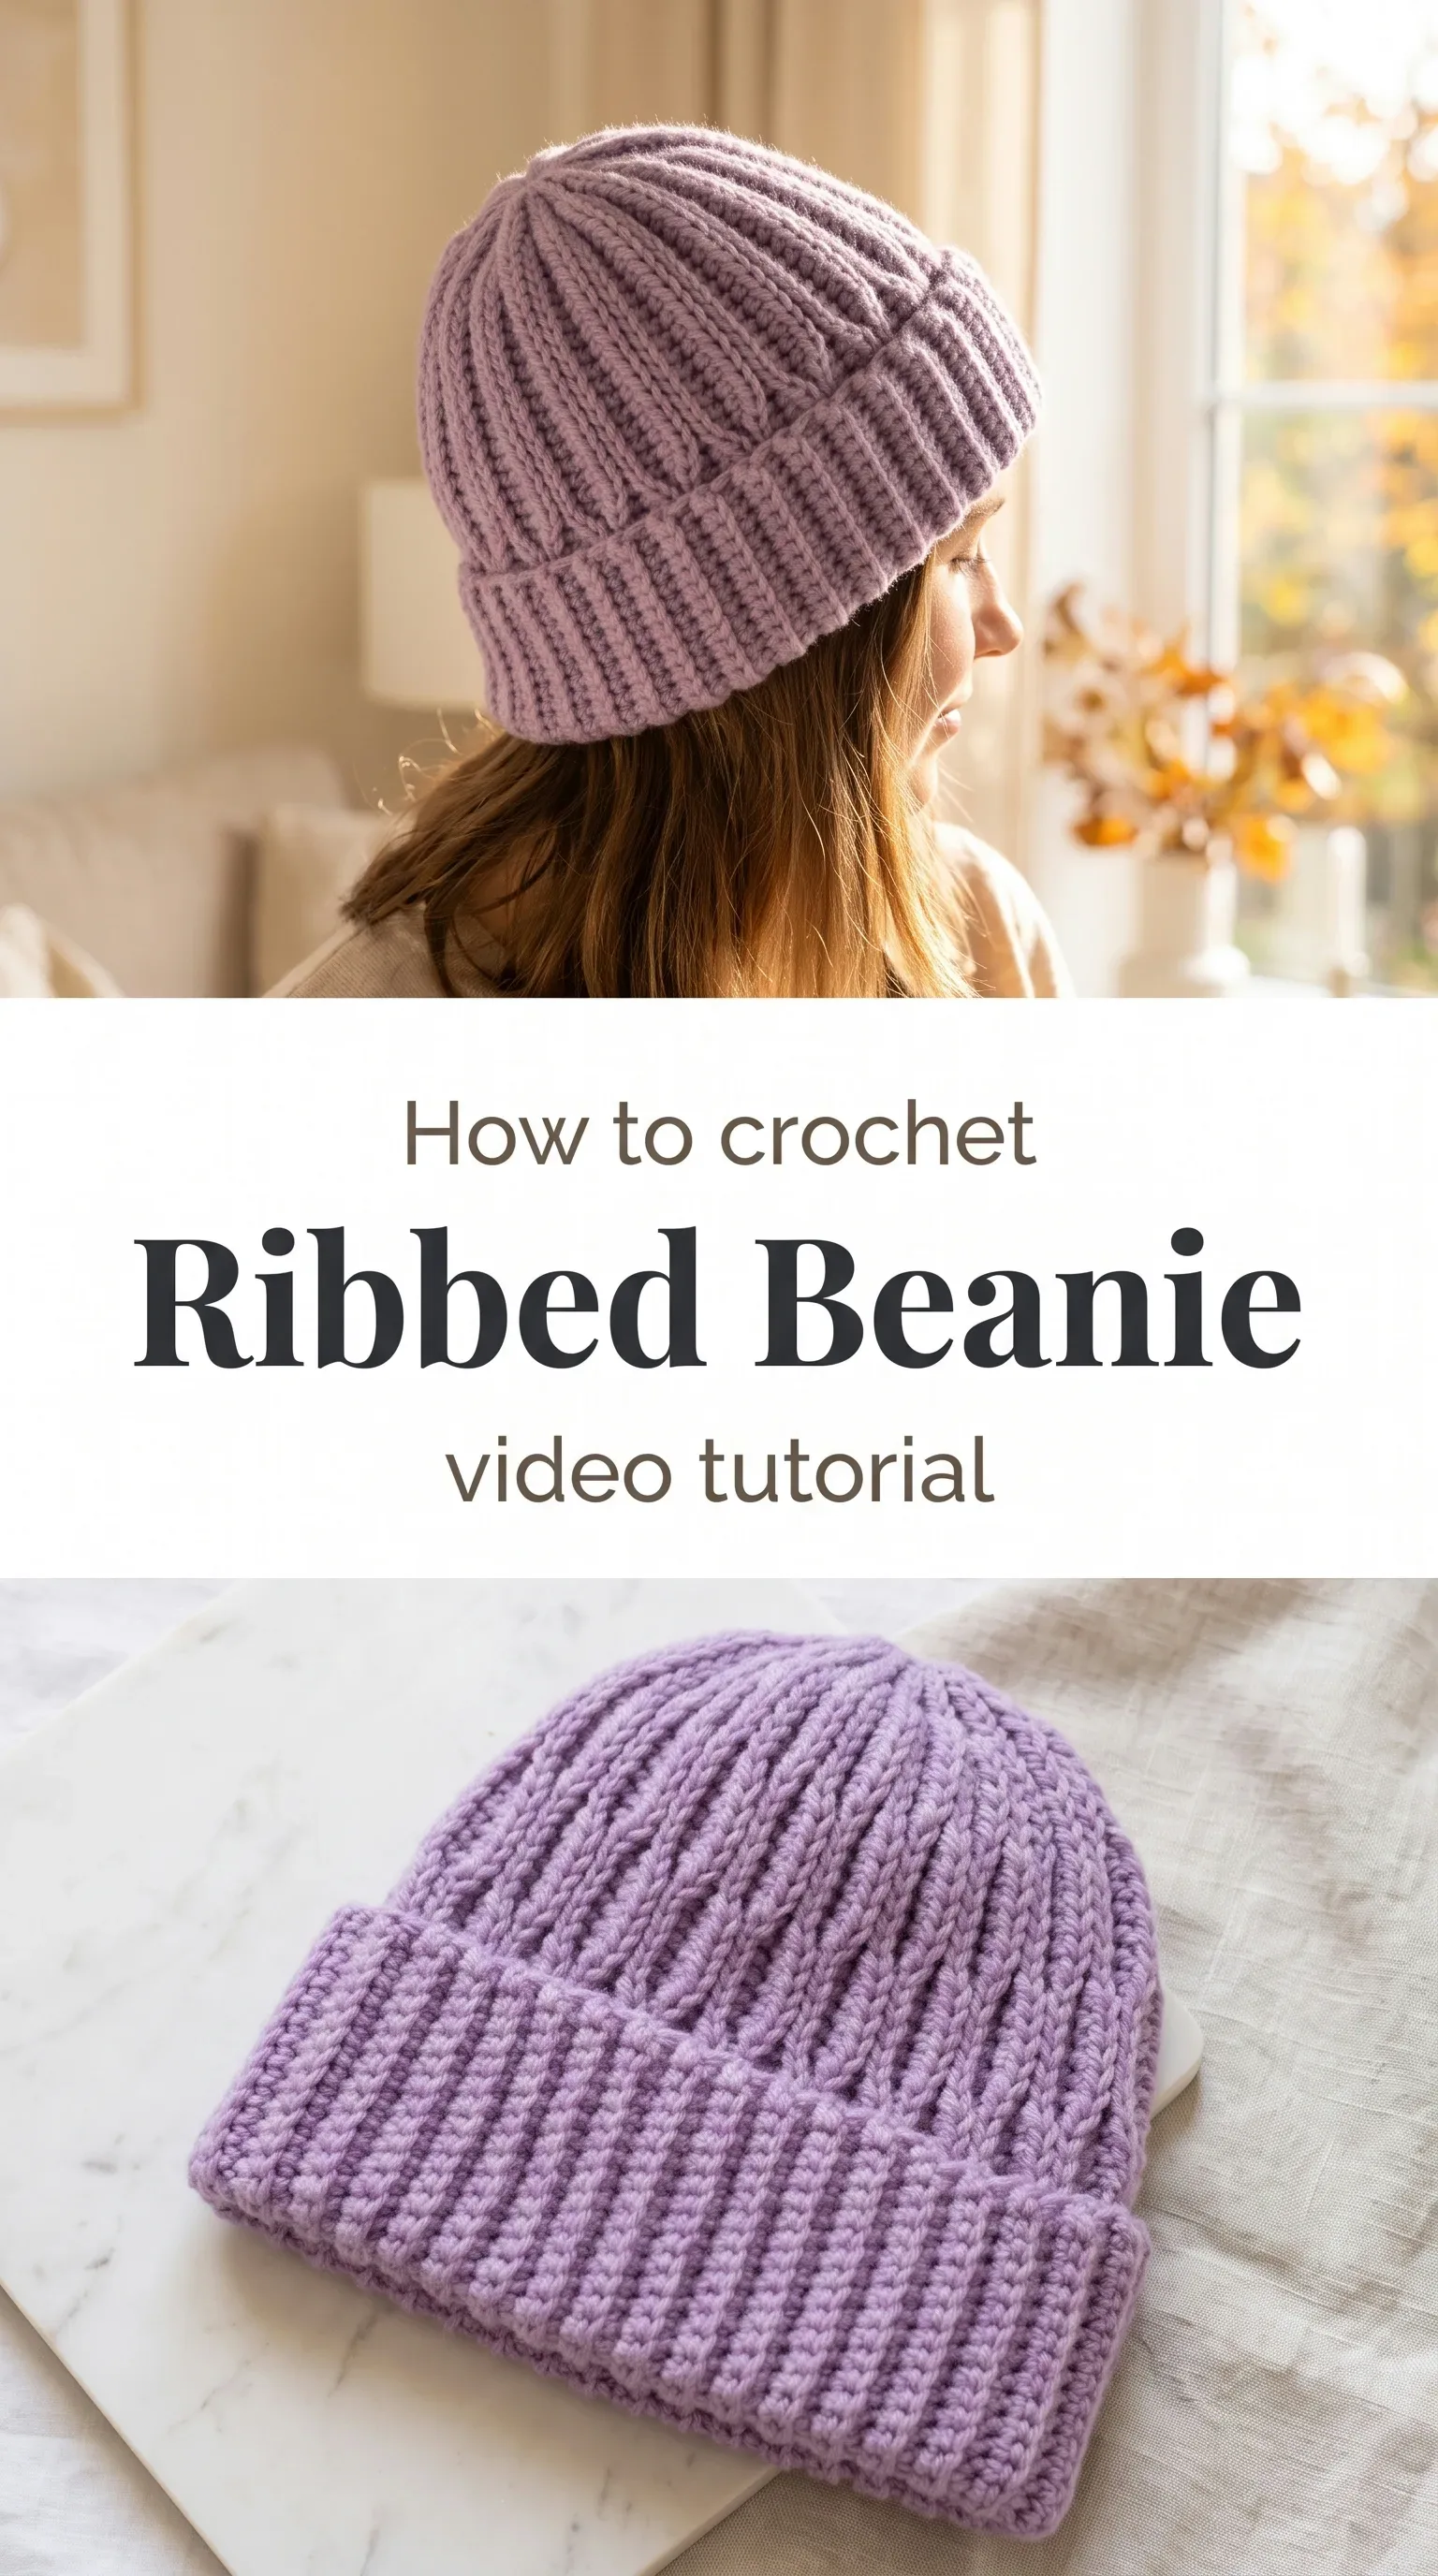
The Ribbed Beanie
A Crochet Ribbed Beanie carries that rare quality of feeling both effortless and considered, the kind of accessory that looks intentional whether you wear it slouched at the back of your head or pulled down snug over your ears on a bitter morning. The vertical ribs create long, clean lines that give the hat a sculpted, almost architectural shape, while the fabric itself stays wonderfully stretchy and soft against the skin. This is a hat for anyone who loves handmade things that do not announce themselves loudly but quietly communicate care. Beginners will find it approachable, and more experienced makers will love how quickly the rhythm carries them through.
Ribbed Beanie Related Posts:
- Crochet 3D Floral Strip: A Delicate Garden Accent
- Crochet Layered Flower: A Delicate Floral Masterpiece
- Crochet Minion Plush: A Playful Cuddly Companion
- Crochet Budapest Halter Top: A Chic Summer Essential
For color, lavender is an absolutely inspired choice as seen in the reference images, that soft, dusty purple that sits somewhere between winter and spring. But this pattern also shines in deep forest green, oatmeal cream, charcoal grey, or a rich terracotta, and any of those would move easily from a weekend hike to a coffee shop to a farmers market stall. Think of it as a neutral piece that happens to have a little personality.
Materials and Tools
To recreate this Crochet Ribbed Beanie, you will want to reach for a worsted weight yarn, which gives the ribs that lovely plump definition you can see in the finished hat. A yarn with some wool content is ideal since wool has natural memory and elasticity, which helps the ribbing spring back into shape after wearing. Acrylic blends work beautifully too, especially if you want something machine-washable and budget-friendly. Work with a 5mm crochet hook, which pairs perfectly with worsted weight to produce a fabric that is airy yet structured without being too loose or too stiff, and keep a yarn needle on hand for weaving in your ends cleanly at the finish.
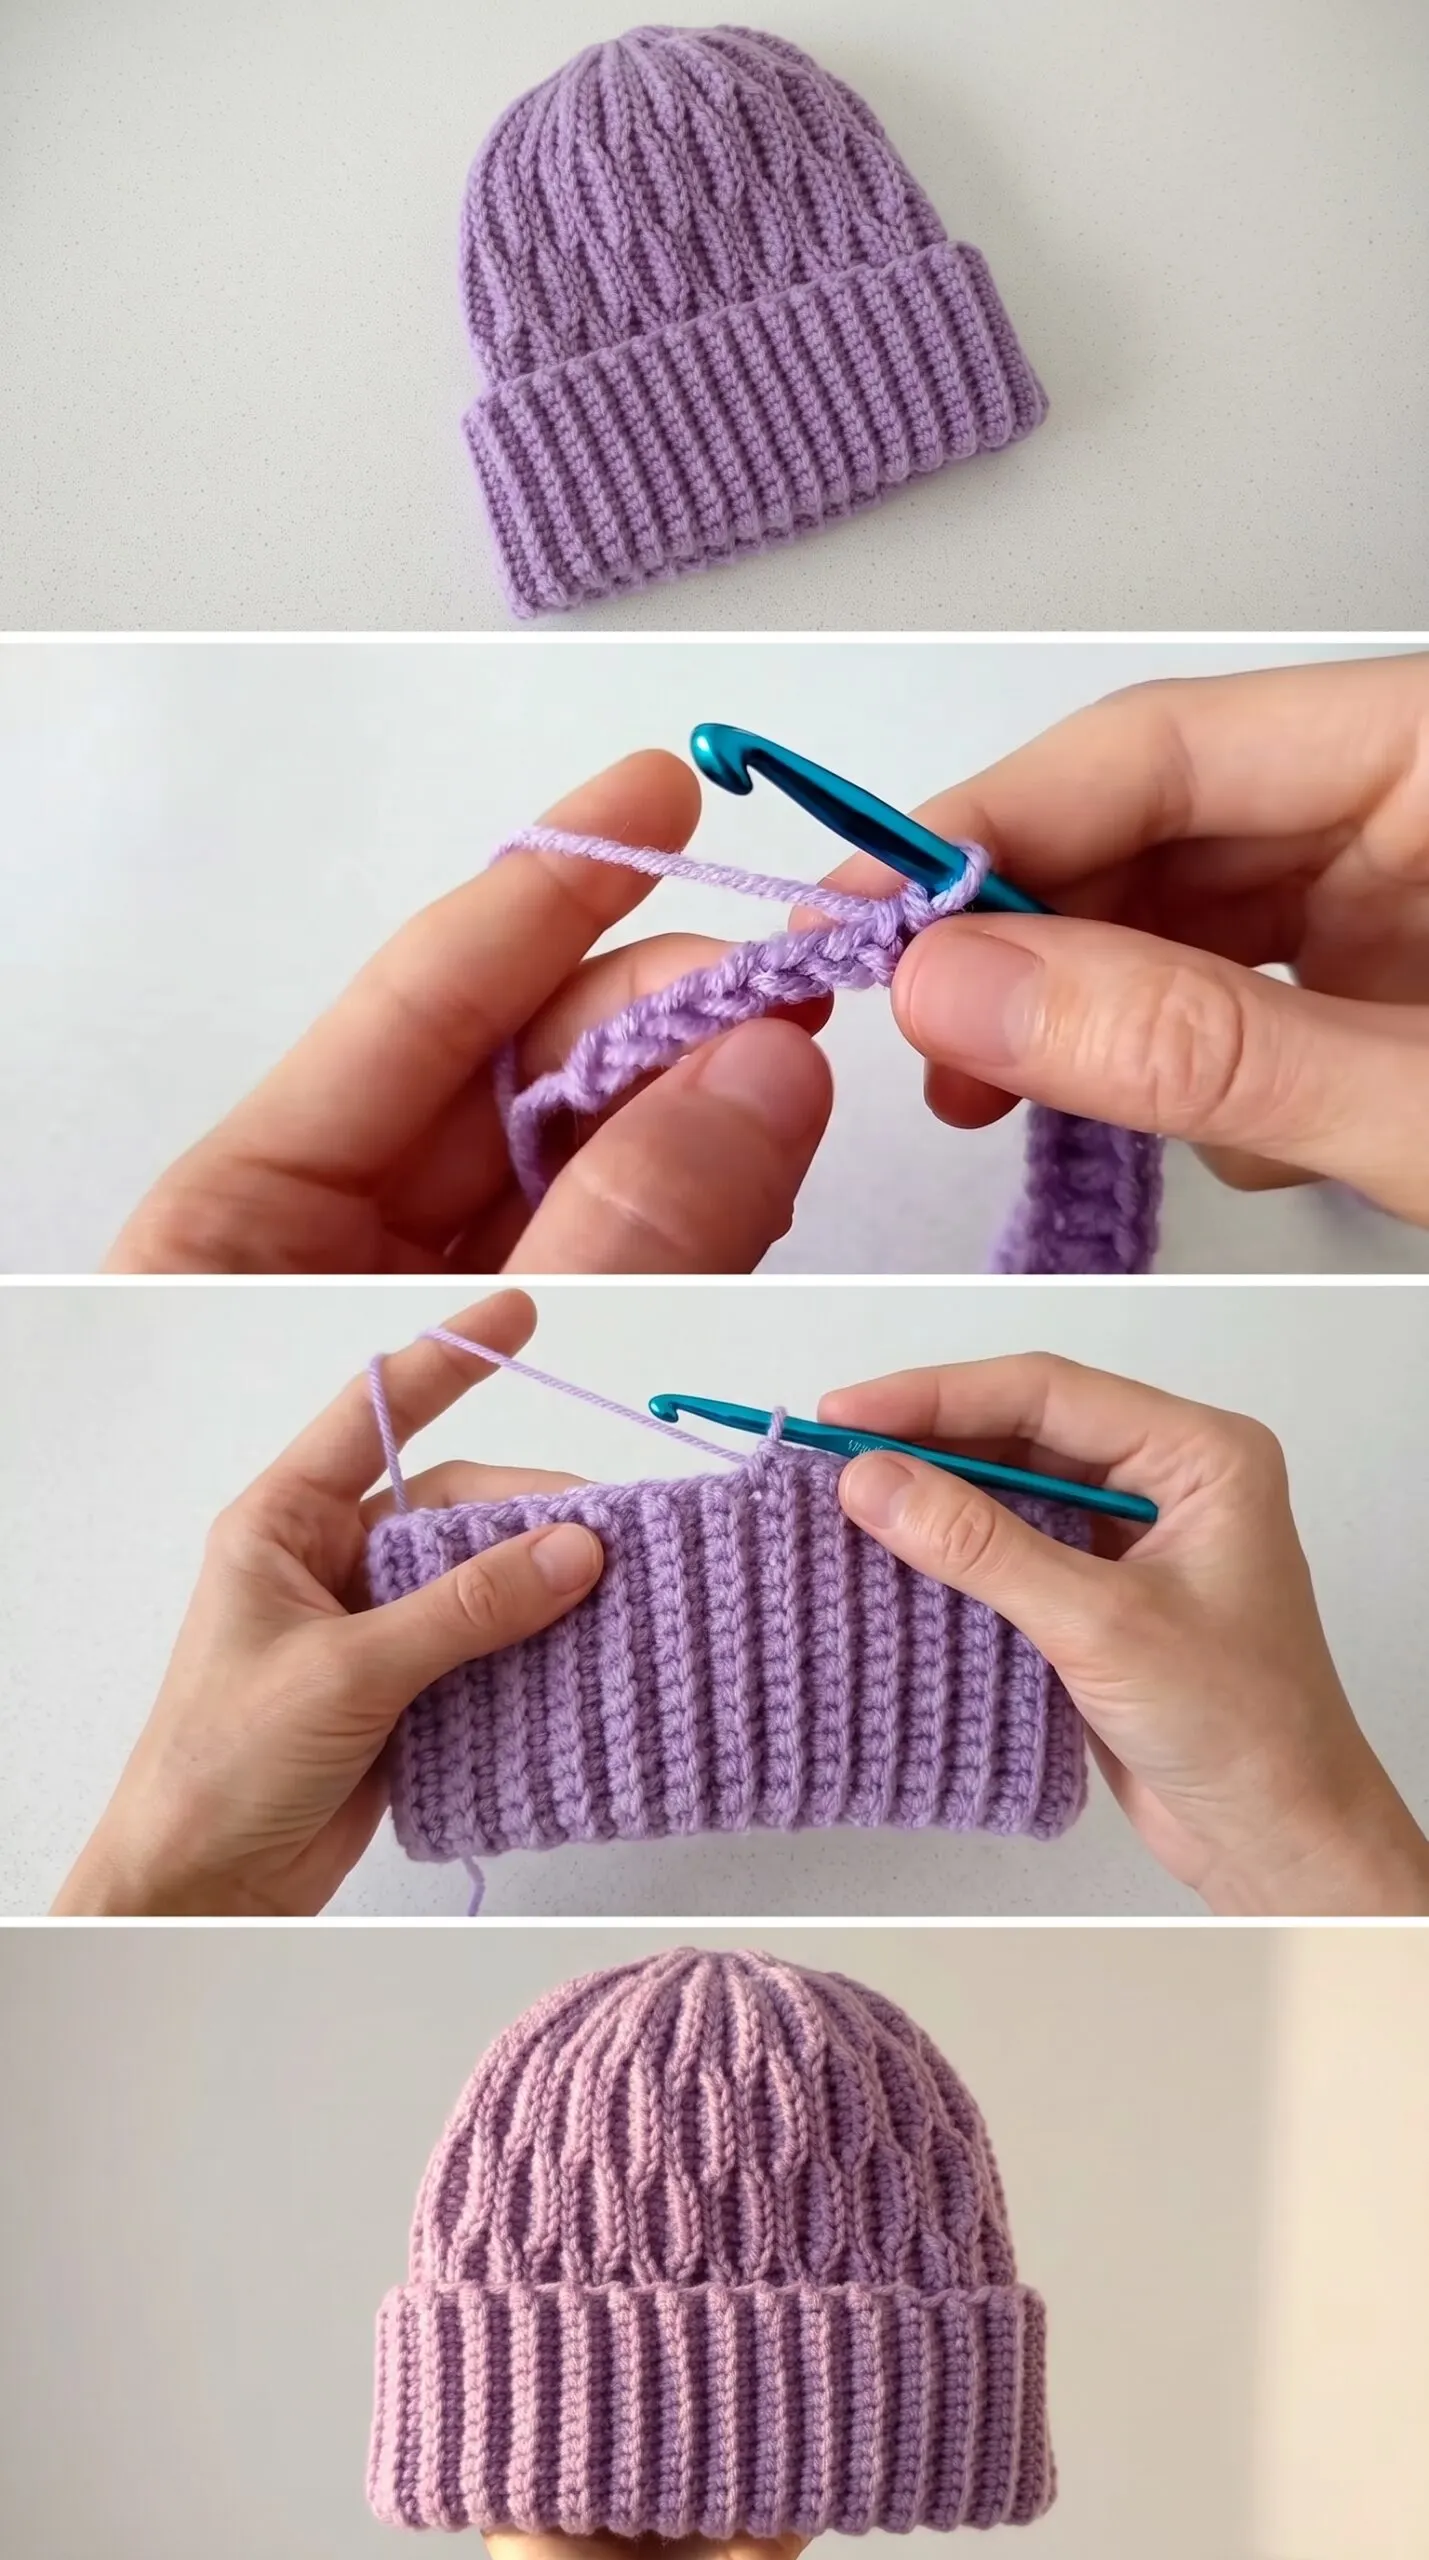
Stitch by Stitch
This hat relies on a small, focused set of stitches that together create its distinctive ribbed texture.
BULLET:SC (Single Crochet) The foundational stitch that anchors the structure of the hat and appears throughout the construction to build consistent, even fabric.
BULLET:BLO (Back Loop Only) Working into the back loop only is the quiet secret behind those crisp, raised ribs, giving the fabric its signature textured columns.
BULLET:FLO (Front Loop Only) Used selectively in combination with BLO, working into the front loop only helps create the visual contrast between raised and recessed rib lines.
BULLET:SL ST (Slip Stitch) The slip stitch joins rounds seamlessly and is used to connect the ribbed band into a neat, tidy ring at the start of construction.
There is something genuinely meditative about the BLO rhythm once you settle into it, that slight resistance of the hook catching only the back loop becomes a quiet, repetitive motion that lets your hands work while your mind rests.
Construction
The Crochet Ribbed Beanie is worked in a wonderfully logical way: a long ribbed rectangle is crocheted first using rows of SC worked in BLO, then joined at the short ends to form the brim band. From there, stitches are picked up along the long edge and the body of the hat is worked upward in rounds, with gradual decreases shaping the crown into a smooth, rounded finish. Because the ribbed band and the hat body are constructed separately before being united, even a beginner can approach each section as its own small, manageable project. If you want a deeper slouch, simply add more rows to the body section before beginning your decreases.
Wearing Your Ribbed Beanie
Pull it on over loose, wavy hair with a chunky knit jumper and you have the kind of effortless cold-weather look that feels entirely thought through. Tuck it over a puffer jacket on a grey morning commute, or wear it cuffed with the ribbed band folded up for a cleaner, more fitted silhouette. Finishing this hat will make you want to cast on five more in different colors before the season is over.
Washing and Wearing Your Beanie Season After Season
If you have worked with a wool or wool-blend yarn, hand washing in cool water with a gentle soap is the kindest thing you can do for your Crochet Ribbed Beanie. Lay it flat on a towel to dry rather than hanging it, as hanging can stretch the fabric and distort those beautiful vertical ribs. For acrylic yarns, a delicate machine cycle in a mesh laundry bag is perfectly fine and keeps the colors bright. Store your beanie folded gently rather than stuffed into a bag, so the ribbing keeps its shape and bounce through season after season of wear.
Every Crochet Ribbed Beanie you finish is a small act of making something real and lasting with your own hands, and that is worth celebrating every single time. If you make yours, please share it on Pinterest or tag your project so the whole community can admire what you have created.
Follow us on Pinterest and subscribe to the Newsletter so you don’t miss a thing!
Tutorial and photos of this ribbed beanie by: Vasilya Knits – Вяжем крючком.
