
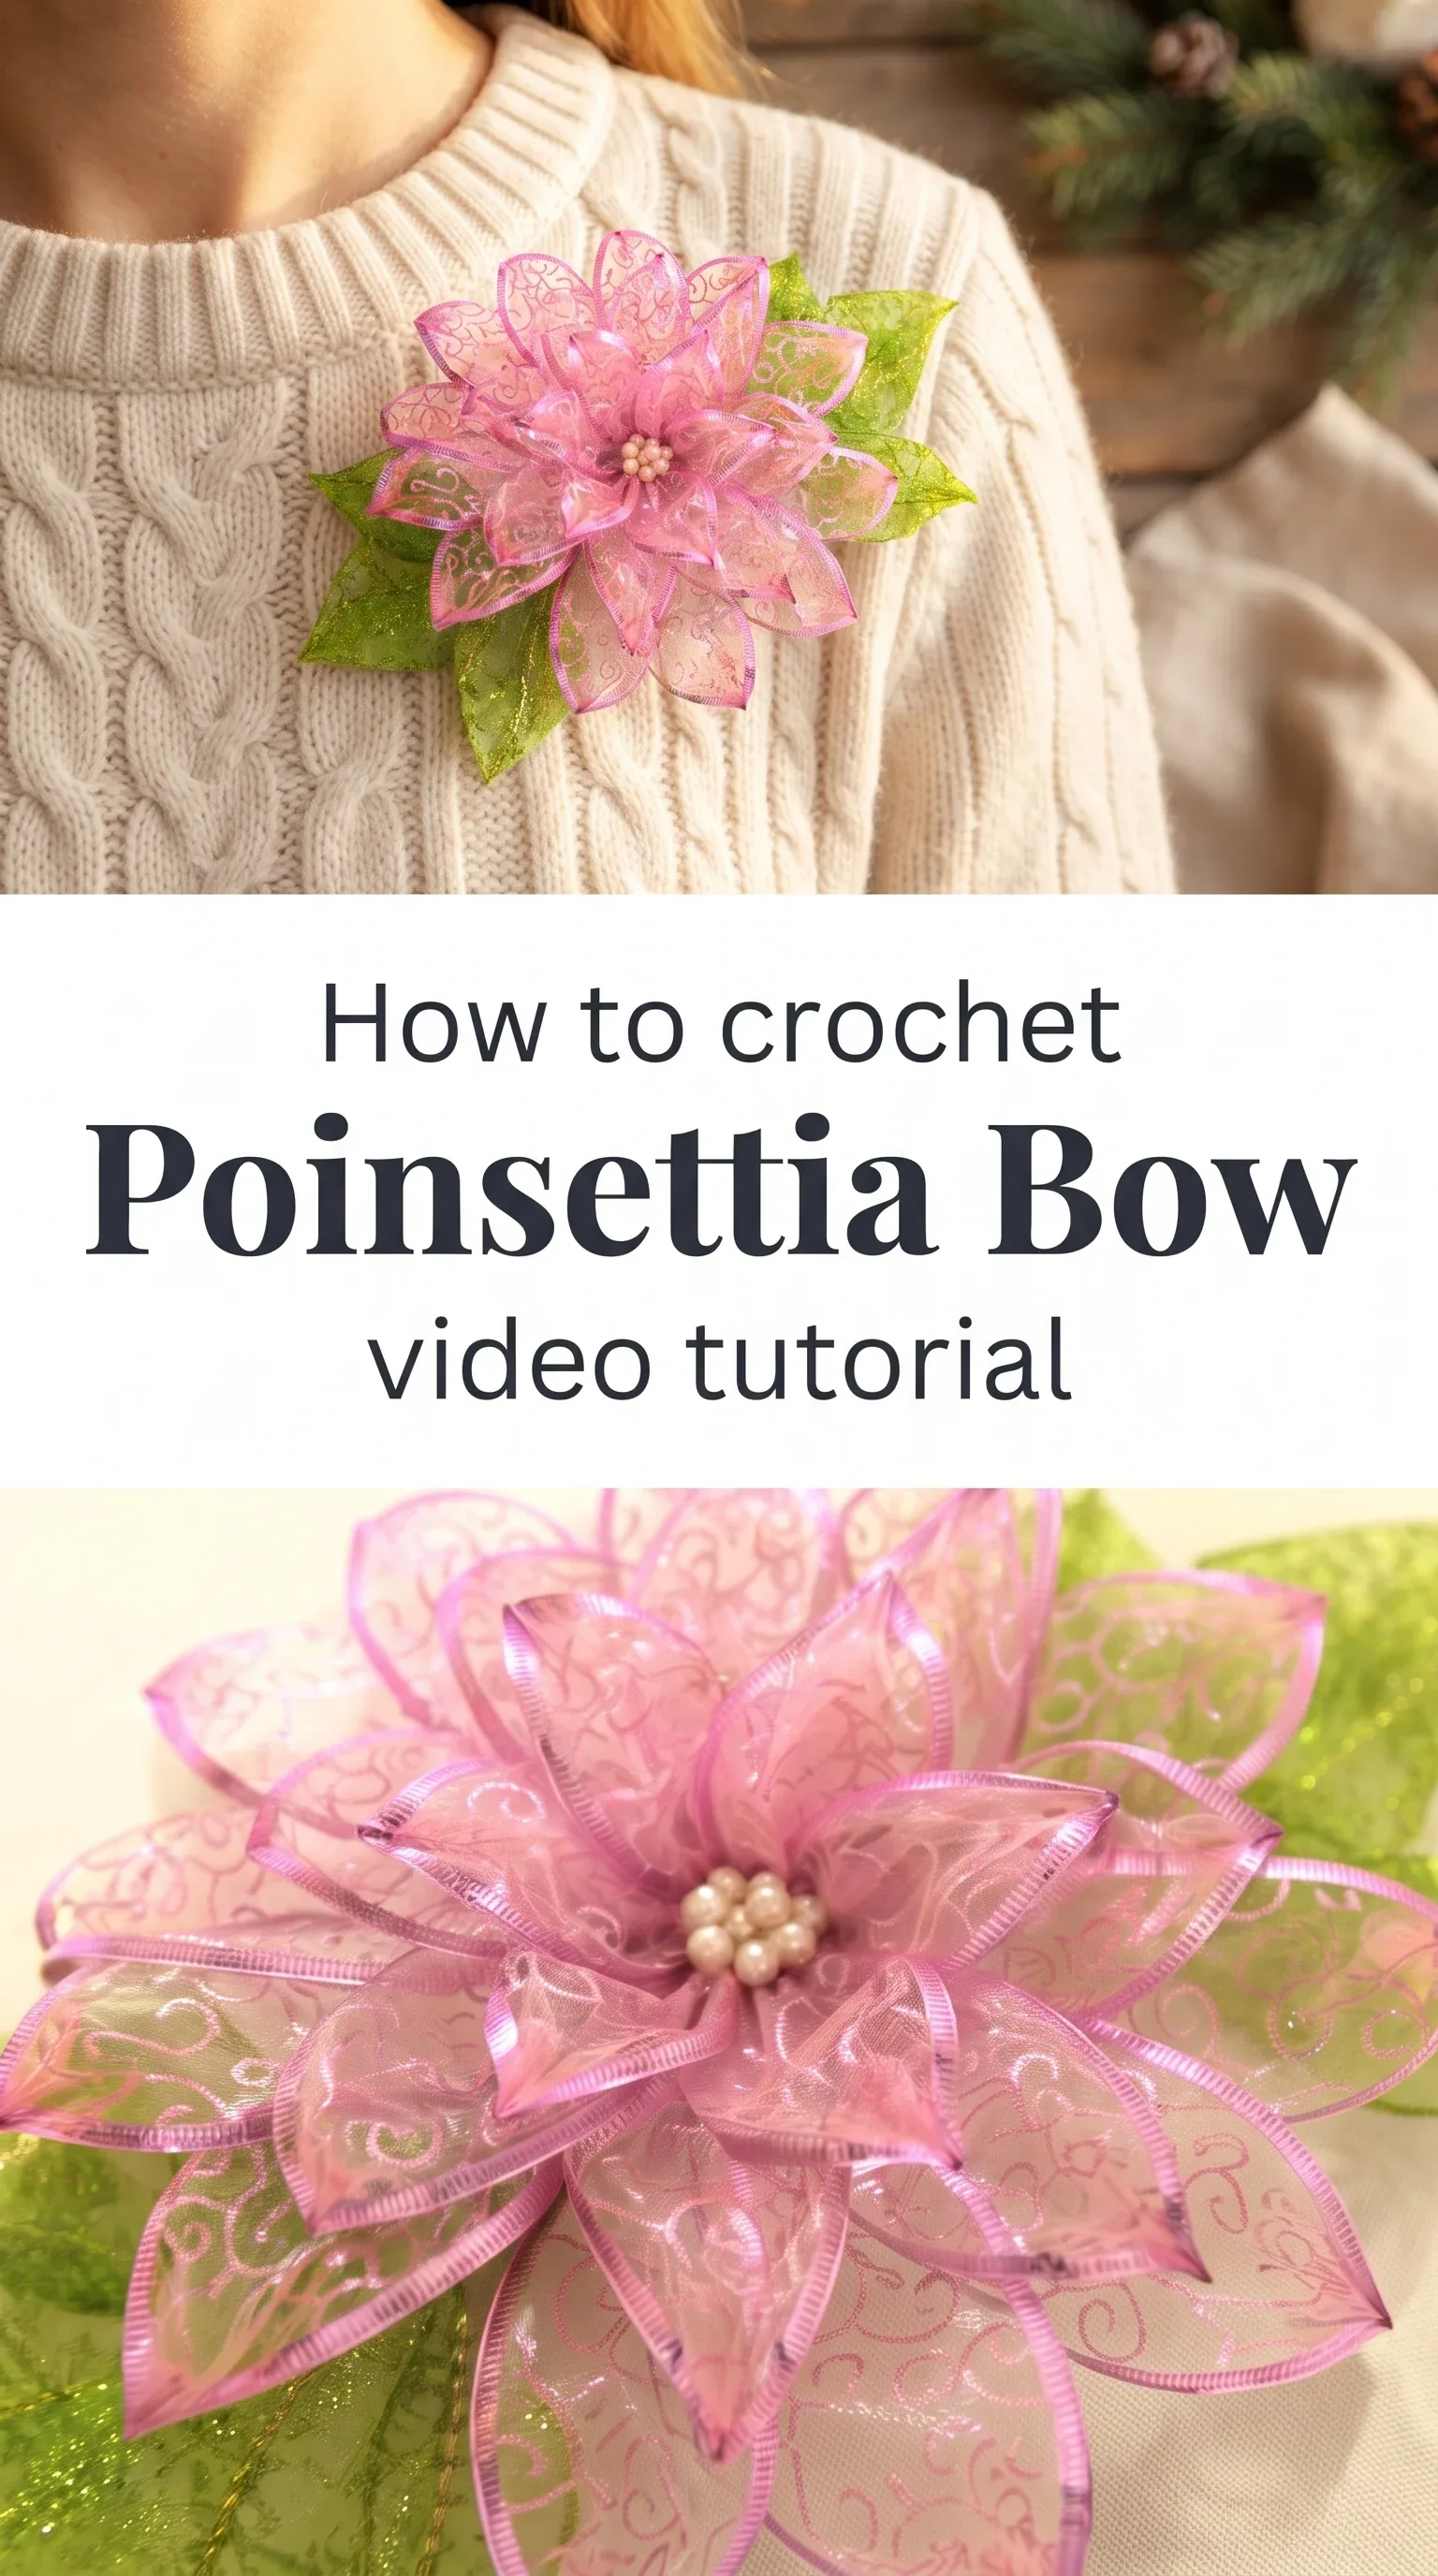
A Crochet Poinsettia Bow is built from layered ribbon-like petals that radiate outward from a beaded center, each one shaped with intention and held in quiet conversation with the next. From hair accessories to wreath accents, gift toppers to brooch pins, this single pattern opens up a whole season’s worth of handmade giving.
The Poinsettia Bow
The Crochet Poinsettia Bow carries the kind of quiet drama that stops people mid-sentence, the sort of thing that makes someone reach out and ask, “Did you make that yourself?” It is airy yet structured, each petal holding its curve like a whisper frozen in fiber, delicate enough to feel ceremonious and grounded enough to wear every day through the holiday season. This piece is for the maker who loves finishing something beautiful, who wants a project that rewards patience with something genuinely wearable and gifted-worthy. Whether you are new to floral crochet or returning to it after a long pause, this bow will feel like coming home to something lovely.
Poinsettia Bow Related Posts:
- Crochet Boston Bag: A Chic and Timeless Accessory
- Crochet Doily Mat: A Delicate Handcrafted Accent
- Crochet 3D Floral Strip: A Delicate Garden Accent
- Crochet Textured Blanket: A Timeless Handmade Treasure
For color, think beyond the traditional crimson and forest green, though those will always feel like a warm memory made tangible. Soft blush pink paired with chartreuse green ribbon, as seen in the reference images, gives the Crochet Poinsettia Bow a dreamy, garden-party softness that photographs beautifully and wears even better. You could just as easily work it in ivory and gold for a wintry wedding accent, or deep burgundy and hunter green for a more traditional holiday feel.
Materials and Tools
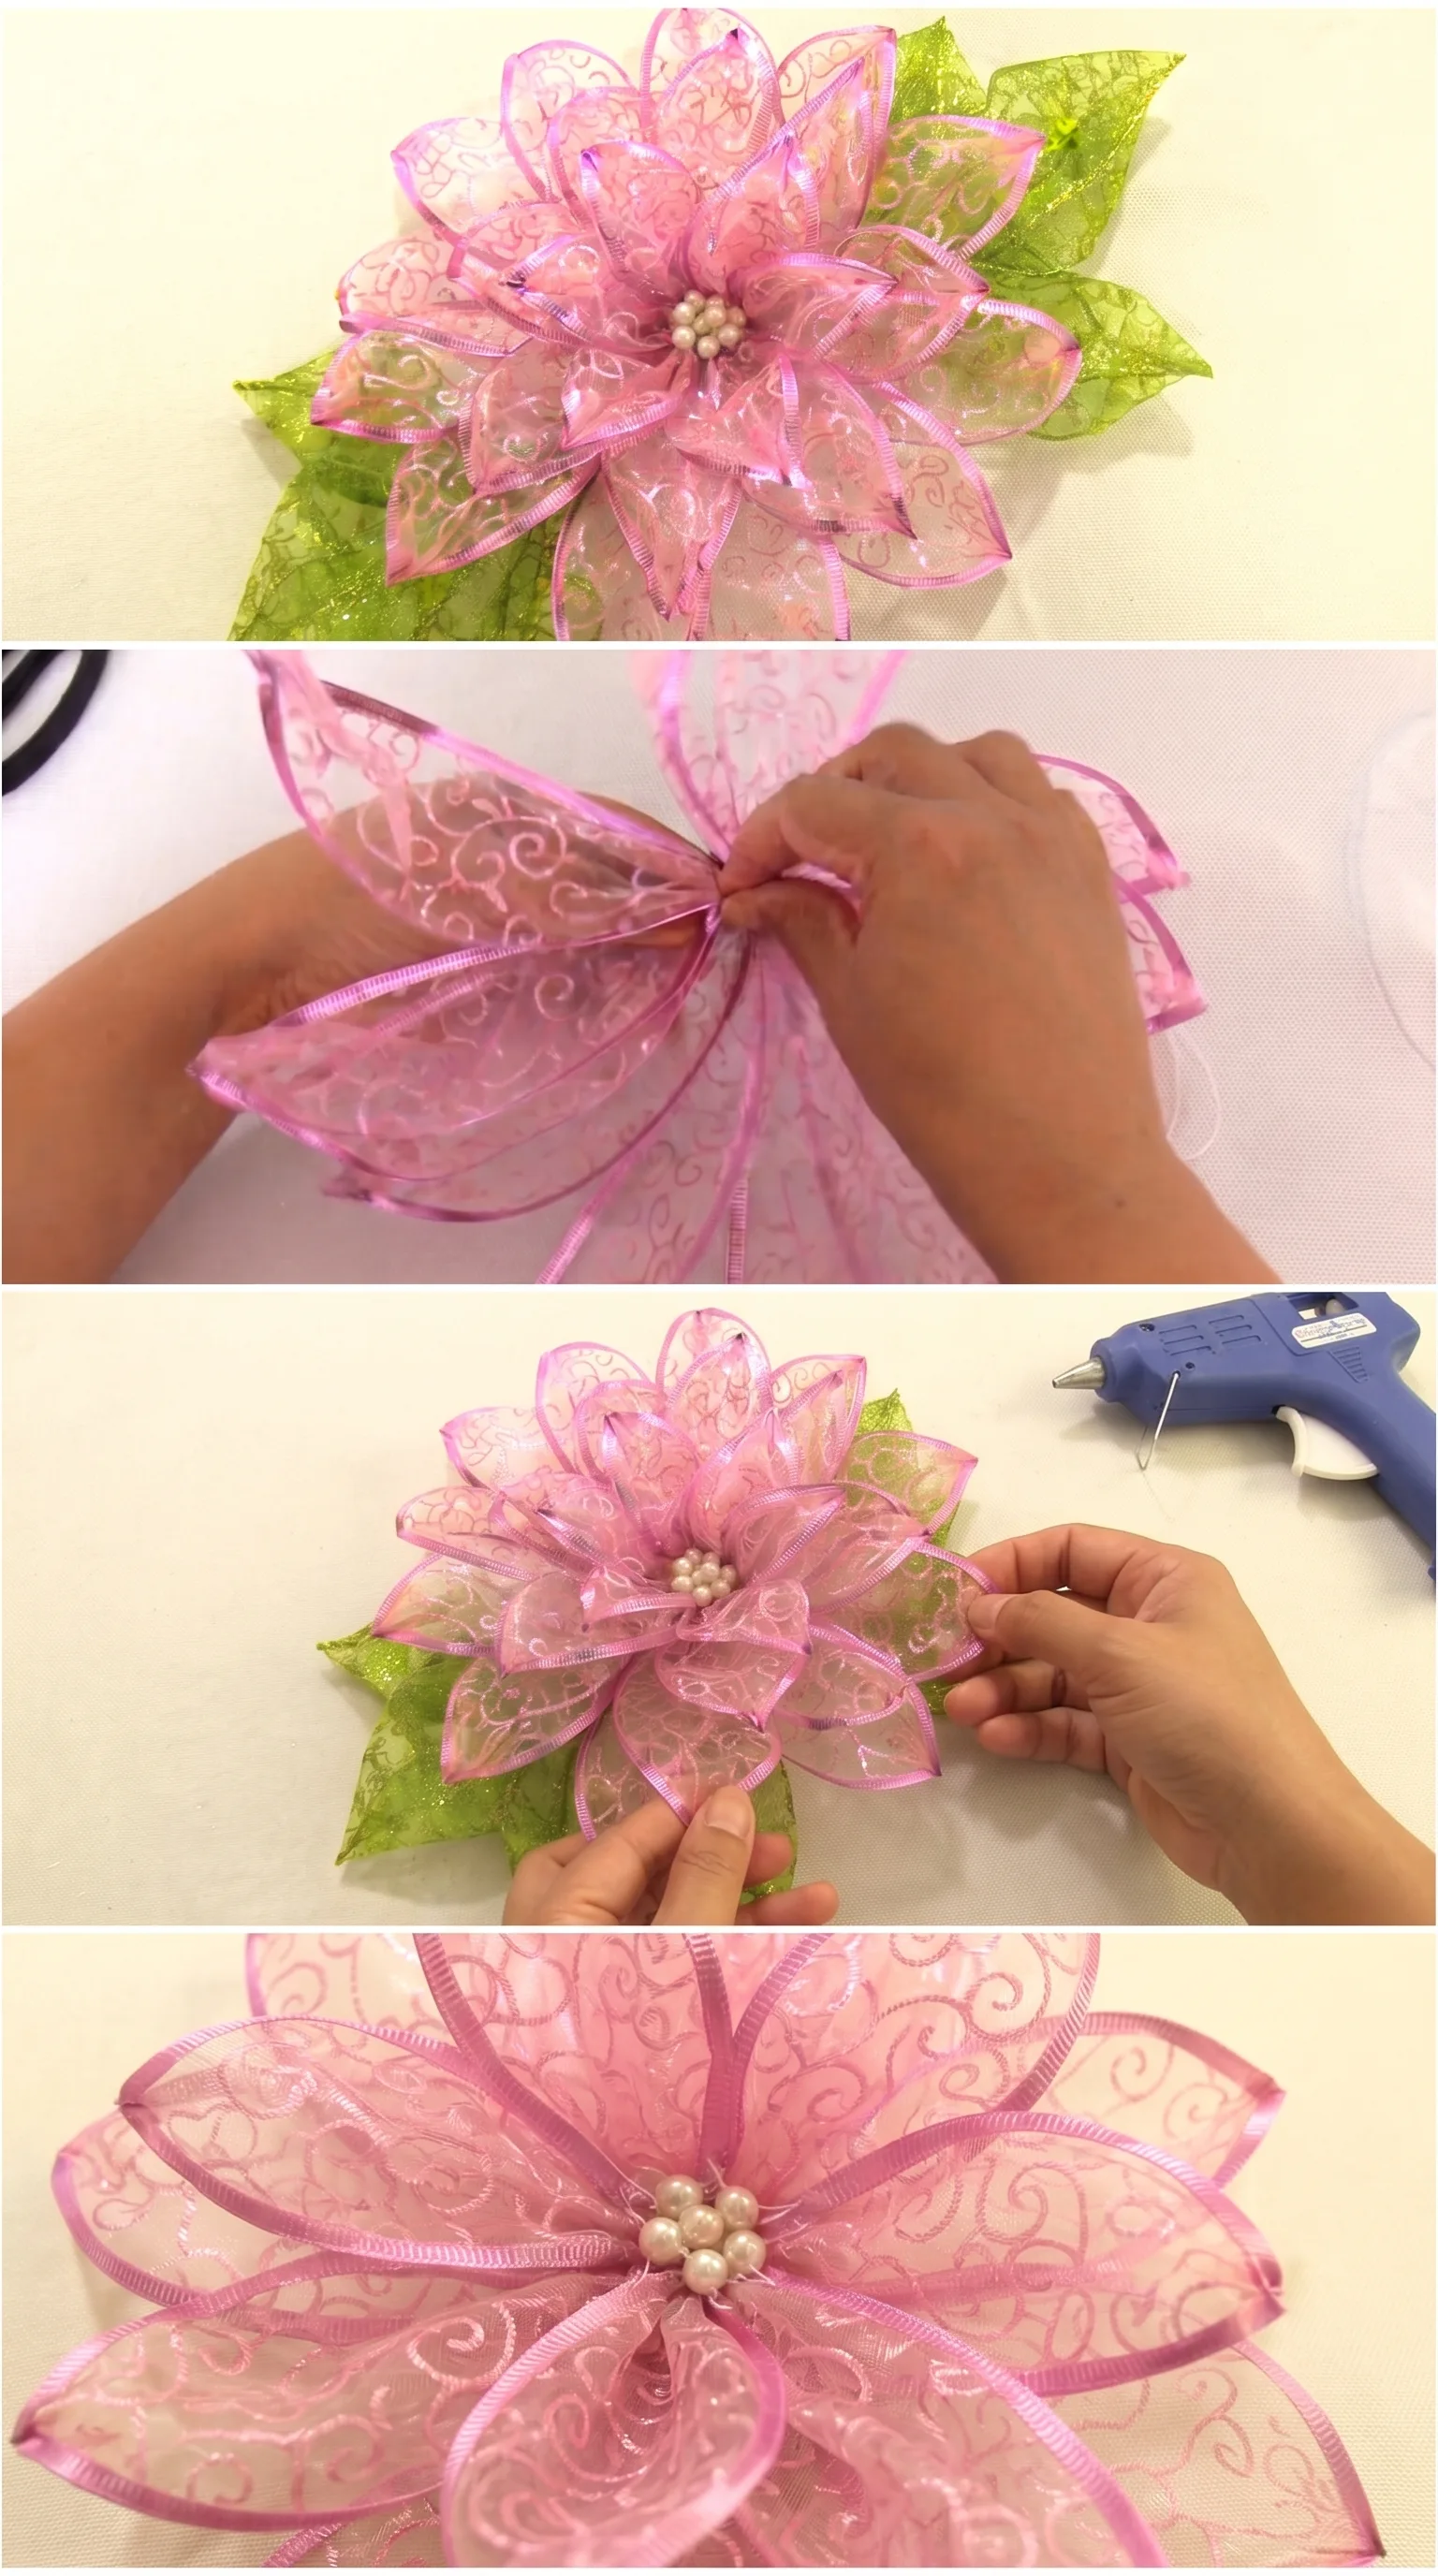
For the Crochet Poinsettia Bow, you will want to reach for a sport weight or DK weight yarn in a fiber that holds its shape without stiffness, something with a gentle sheen like a cotton-acrylic blend or a mercerized cotton that catches the light the way the organza ribbon in the reference images does. A 3.5mm hook gives you the control you need to keep those petals firm and defined without pulling the fabric too tight, though if your tension runs loose, stepping down to a 3mm hook will keep everything crisp. Wired ribbon or organza ribbon in a coordinating color can be worked alongside the yarn for a dimensional, translucent petal effect that mirrors the reference piece beautifully. You will also want a tapestry needle for weaving in ends, a handful of pearl beads for the center cluster, and a hot glue gun or needle and thread to secure the finishing details.
Stitch by Stitch
The Crochet Poinsettia Bow draws on a small but satisfying set of stitches that build into something far more complex-looking than the individual steps suggest.
BULLET:SC (single crochet) The foundational stitch that anchors each petal’s base and keeps the center ring tight and secure.
BULLET:DC (double crochet) The workhorse of the petal body, creating height and gentle curve with each YO pull-through.
BULLET:YO (yarn over) The simple wrist motion that initiates your DC and shapes the airy spread of every petal layer.
BULLET:CH (chain stitch) Used to create the turning chains and petal arches that give the flower its open, blooming silhouette.
There is a meditative rhythm to working the petal repeats, a turn, a chain, a cluster of DC stitches, and then back again, that makes an afternoon disappear in the best possible way.
Construction
The Crochet Poinsettia Bow is worked in the round from a central magic ring, with each layer of petals added outward so the flower builds up like a real bloom opening in slow motion. The outer petals are worked larger than the inner ring, creating that layered, dimensional effect you can see clearly in the reference images where the smaller inner petals sit proud above the wider outer ones. Beginners will find the construction surprisingly forgiving because each petal is an independent repeat, so if one feels uneven, the next is a fresh start. For a custom touch, try adding an extra layer of petals in a contrasting color or working the outermost ring in ribbon yarn for a luxe, gift-ready finish.
Wearing Your Poinsettia Bow
Pin your finished Crochet Poinsettia Bow to a chunky wool coat lapel for an understated holiday statement that feels more editorial than costume. It works beautifully as a hair clip for a holiday party, tucked into a low bun or clipped above the ear with a few loose waves, and it makes an extraordinary gift topper that the recipient will absolutely remove and keep long after the wrapping paper is gone. The full video tutorial walks you through every construction step so you can get to the wearing part faster than you think.
Keeping Your Poinsettia Bow Fresh Season After Season
Because the Crochet Poinsettia Bow often incorporates ribbon, beads, and mixed fibers, hand washing is always the safest choice, using cool water and a gentle soap with no agitation that could distort the petal shape. Lay it flat on a clean towel to dry, reshaping each petal layer with your fingers while it is still damp so the curves hold true once dry. If you have worked it entirely in cotton or acrylic, a light spritz of water and a gentle press with a cool iron through a pressing cloth will restore any petals that have relaxed over time. Store your bow in a small box or between layers of tissue paper rather than folded in a drawer, so the petals keep their lift and the pearl center stays pristine.
Every Crochet Poinsettia Bow you finish is a small, handmade act of generosity toward yourself and everyone lucky enough to receive one. The full video tutorial is linked and ready for you whenever your hook and yarn are. Save this post to your holiday crochet board on Pinterest so you can come back to it every single December.
Follow us on Pinterest and subscribe to the Newsletter so you don’t miss a thing!
Tutorial and photos of this poinsettia bow by: tallermanualperu.
