
I am absolutely in love with this Crochet Mini Pouch tutorial and could not wait to share it with you! What makes it so special is the way it packs genuine structure and a satisfying texture into something small enough to tuck into your palm.
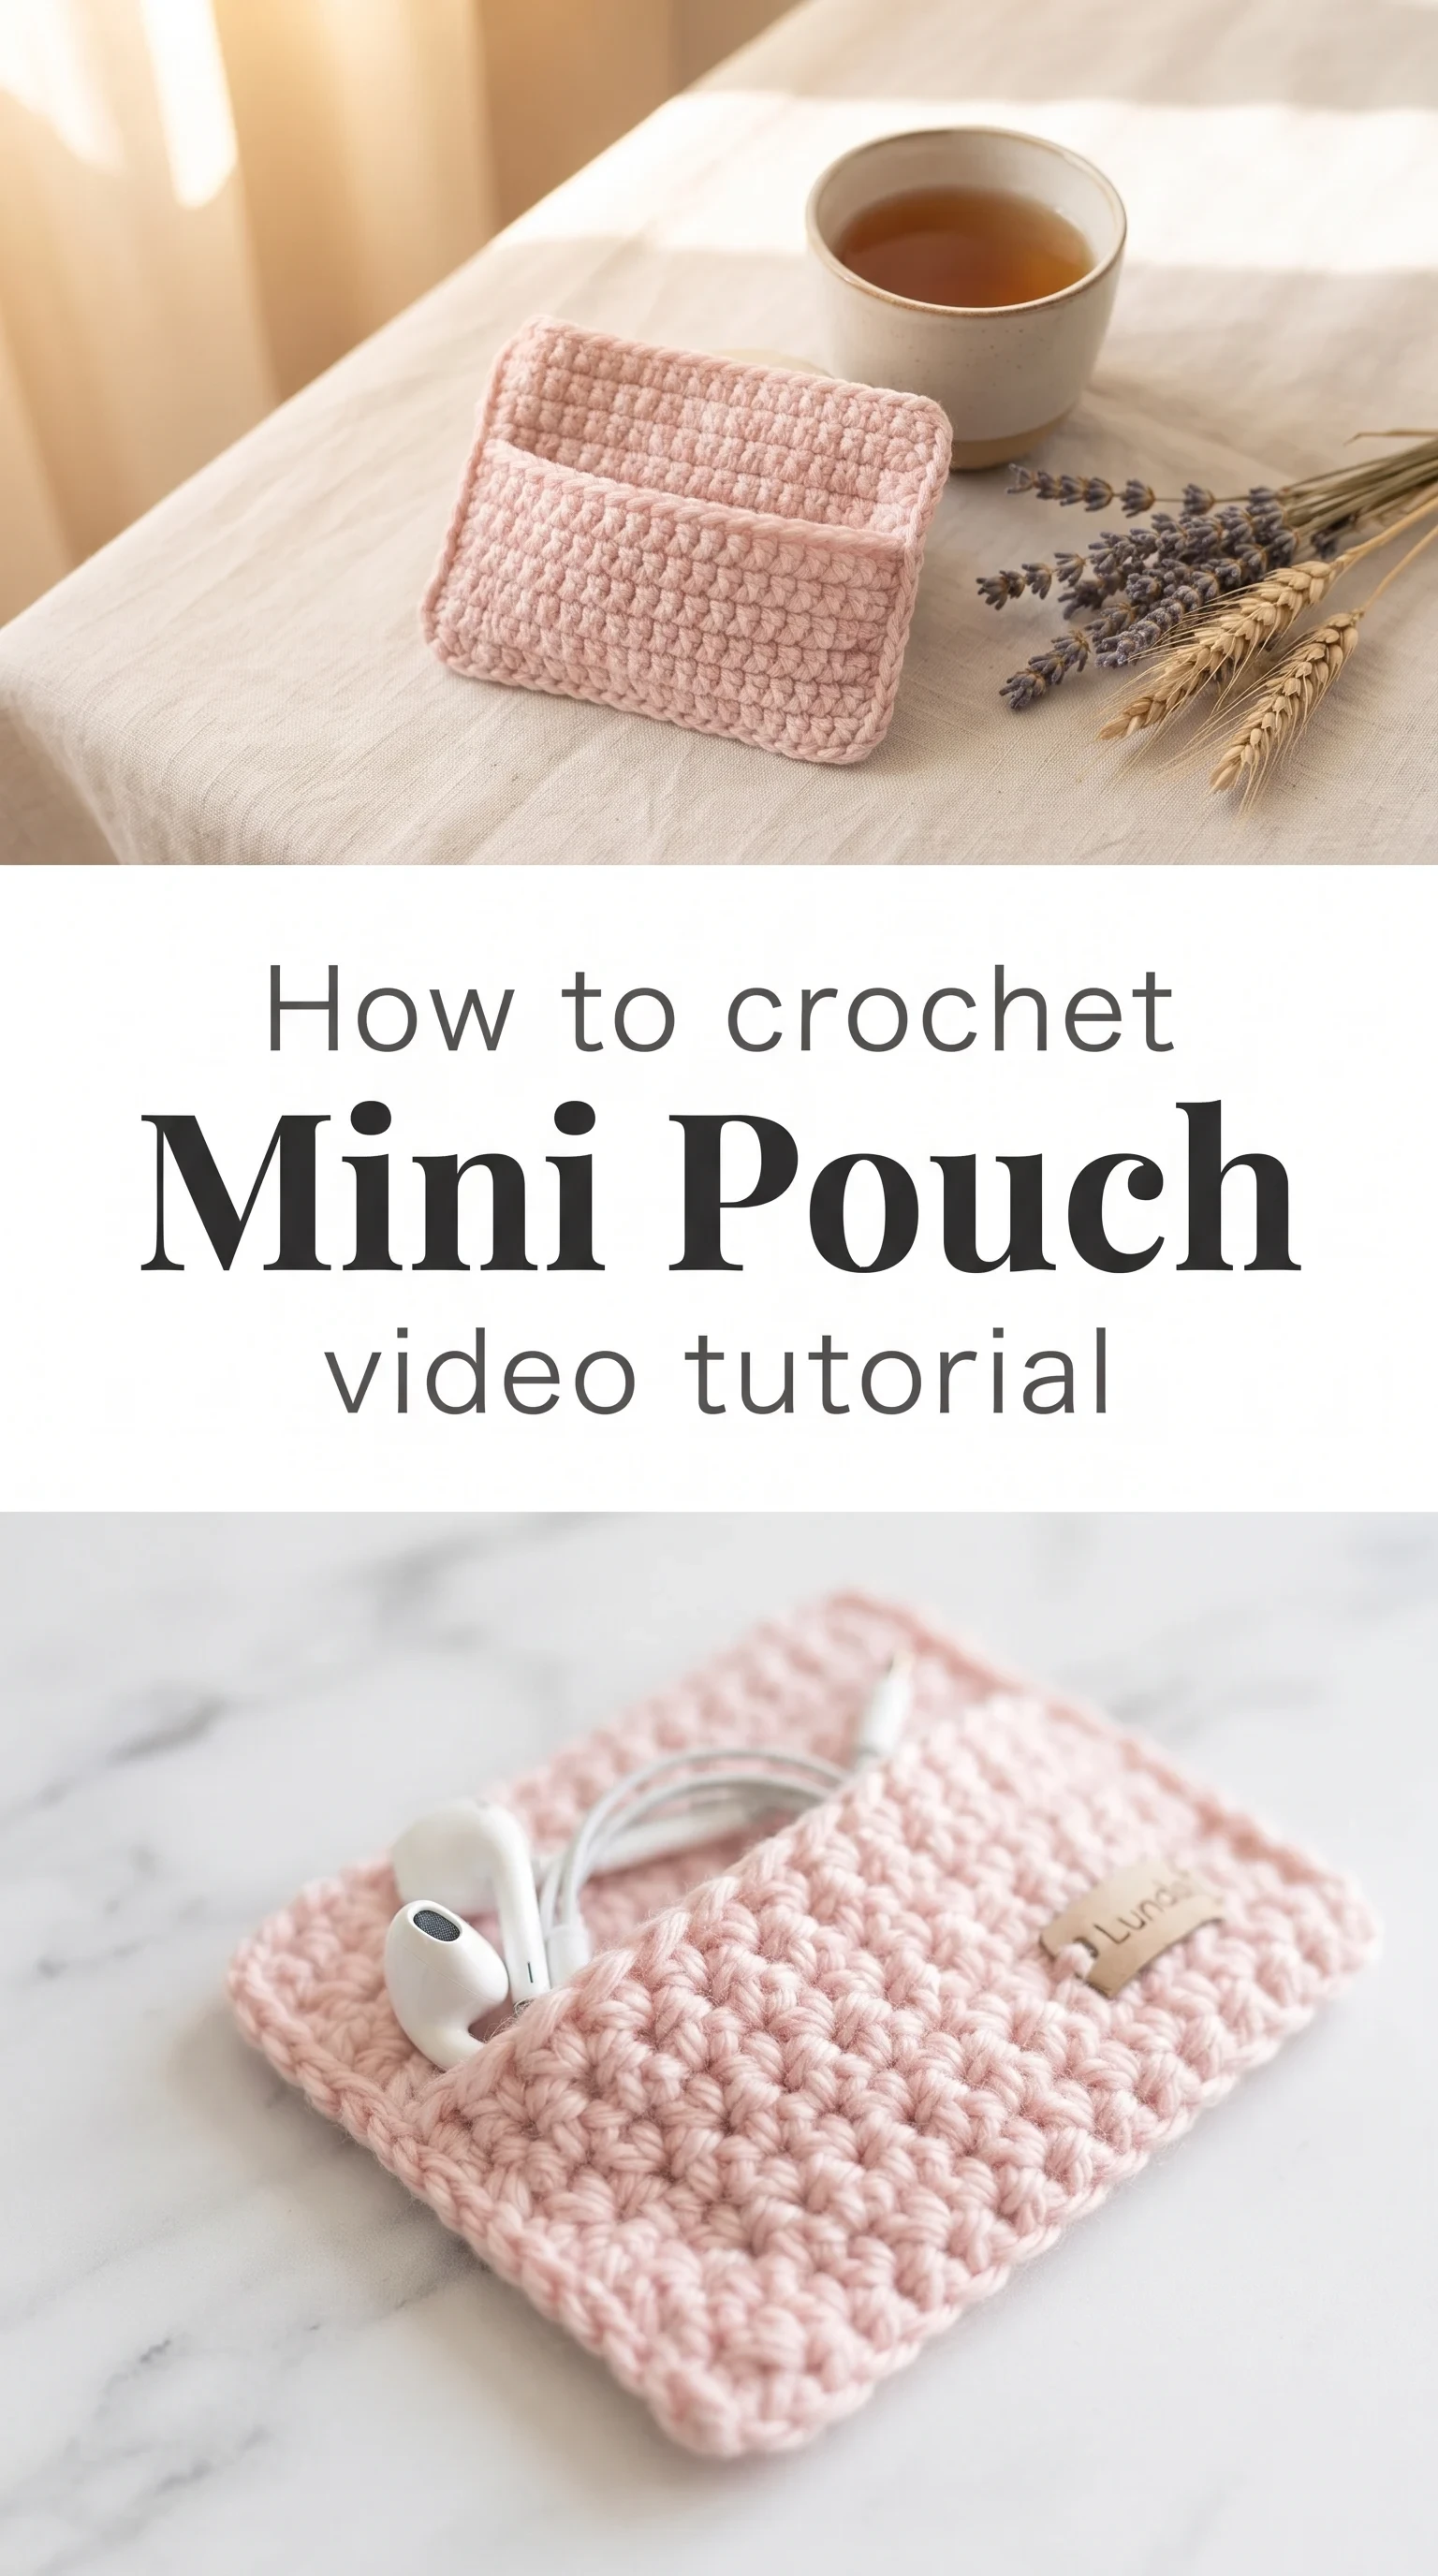
The Mini Pouch
The Crochet Mini Pouch is one of those small-scale projects that carries an outsized sense of charm, the kind of thing you hold in your hands and feel genuinely proud of. Its compact, square silhouette is airy yet structured, with a textured front face that catches light in the most satisfying way and a neat fold-over pocket that makes it feel intentional and polished. This is a piece for the person who loves handmade things that are also genuinely useful, whether that is a maker gifting it to a friend or a crafter treating themselves. It feels soft and considered, like something that belongs on a market stall or tucked into a thoughtful gift box.
Mini Pouch Related Posts:
- Crochet Rustic Star Blanket: A Timeless Cozy Classic
- Crochet Floral Lace Trim: A Delicate Botanical Accent
- Crochet Ribbed Handbag: A Chic Wooden Handle Design
- Crochet Floral Lace Bookmark: A Delicate Decorative Accent
The color possibilities for this Crochet Mini Pouch are quietly thrilling. The blush pink shown in the tutorial has a barely-there warmth that feels modern and wearable, but imagine it worked in a deep sage, a creamy oat, or a pop of teal like the versions glimpsed in the finished collection. It pairs naturally with linen totes, denim, and soft neutral outfits, making it an accessory that earns its place rather than just sitting in a drawer.
Materials and Tools
For this Crochet Mini Pouch, you will want to reach for a DK weight yarn with a smooth, mercerized cotton or a cotton-acrylic blend that holds stitch definition beautifully. The texture of the pattern lives in its stitches, so a yarn with good memory and a slight sheen will let every loop read clearly. The tutorial is worked with a 5.0mm hook, which gives the fabric a pleasingly firm hand without being stiff, producing that structured body you can see in the finished pouch. A blunt-tipped tapestry needle for weaving in ends is the only other tool you will truly need, along with a small stitch marker to keep your rounds honest.
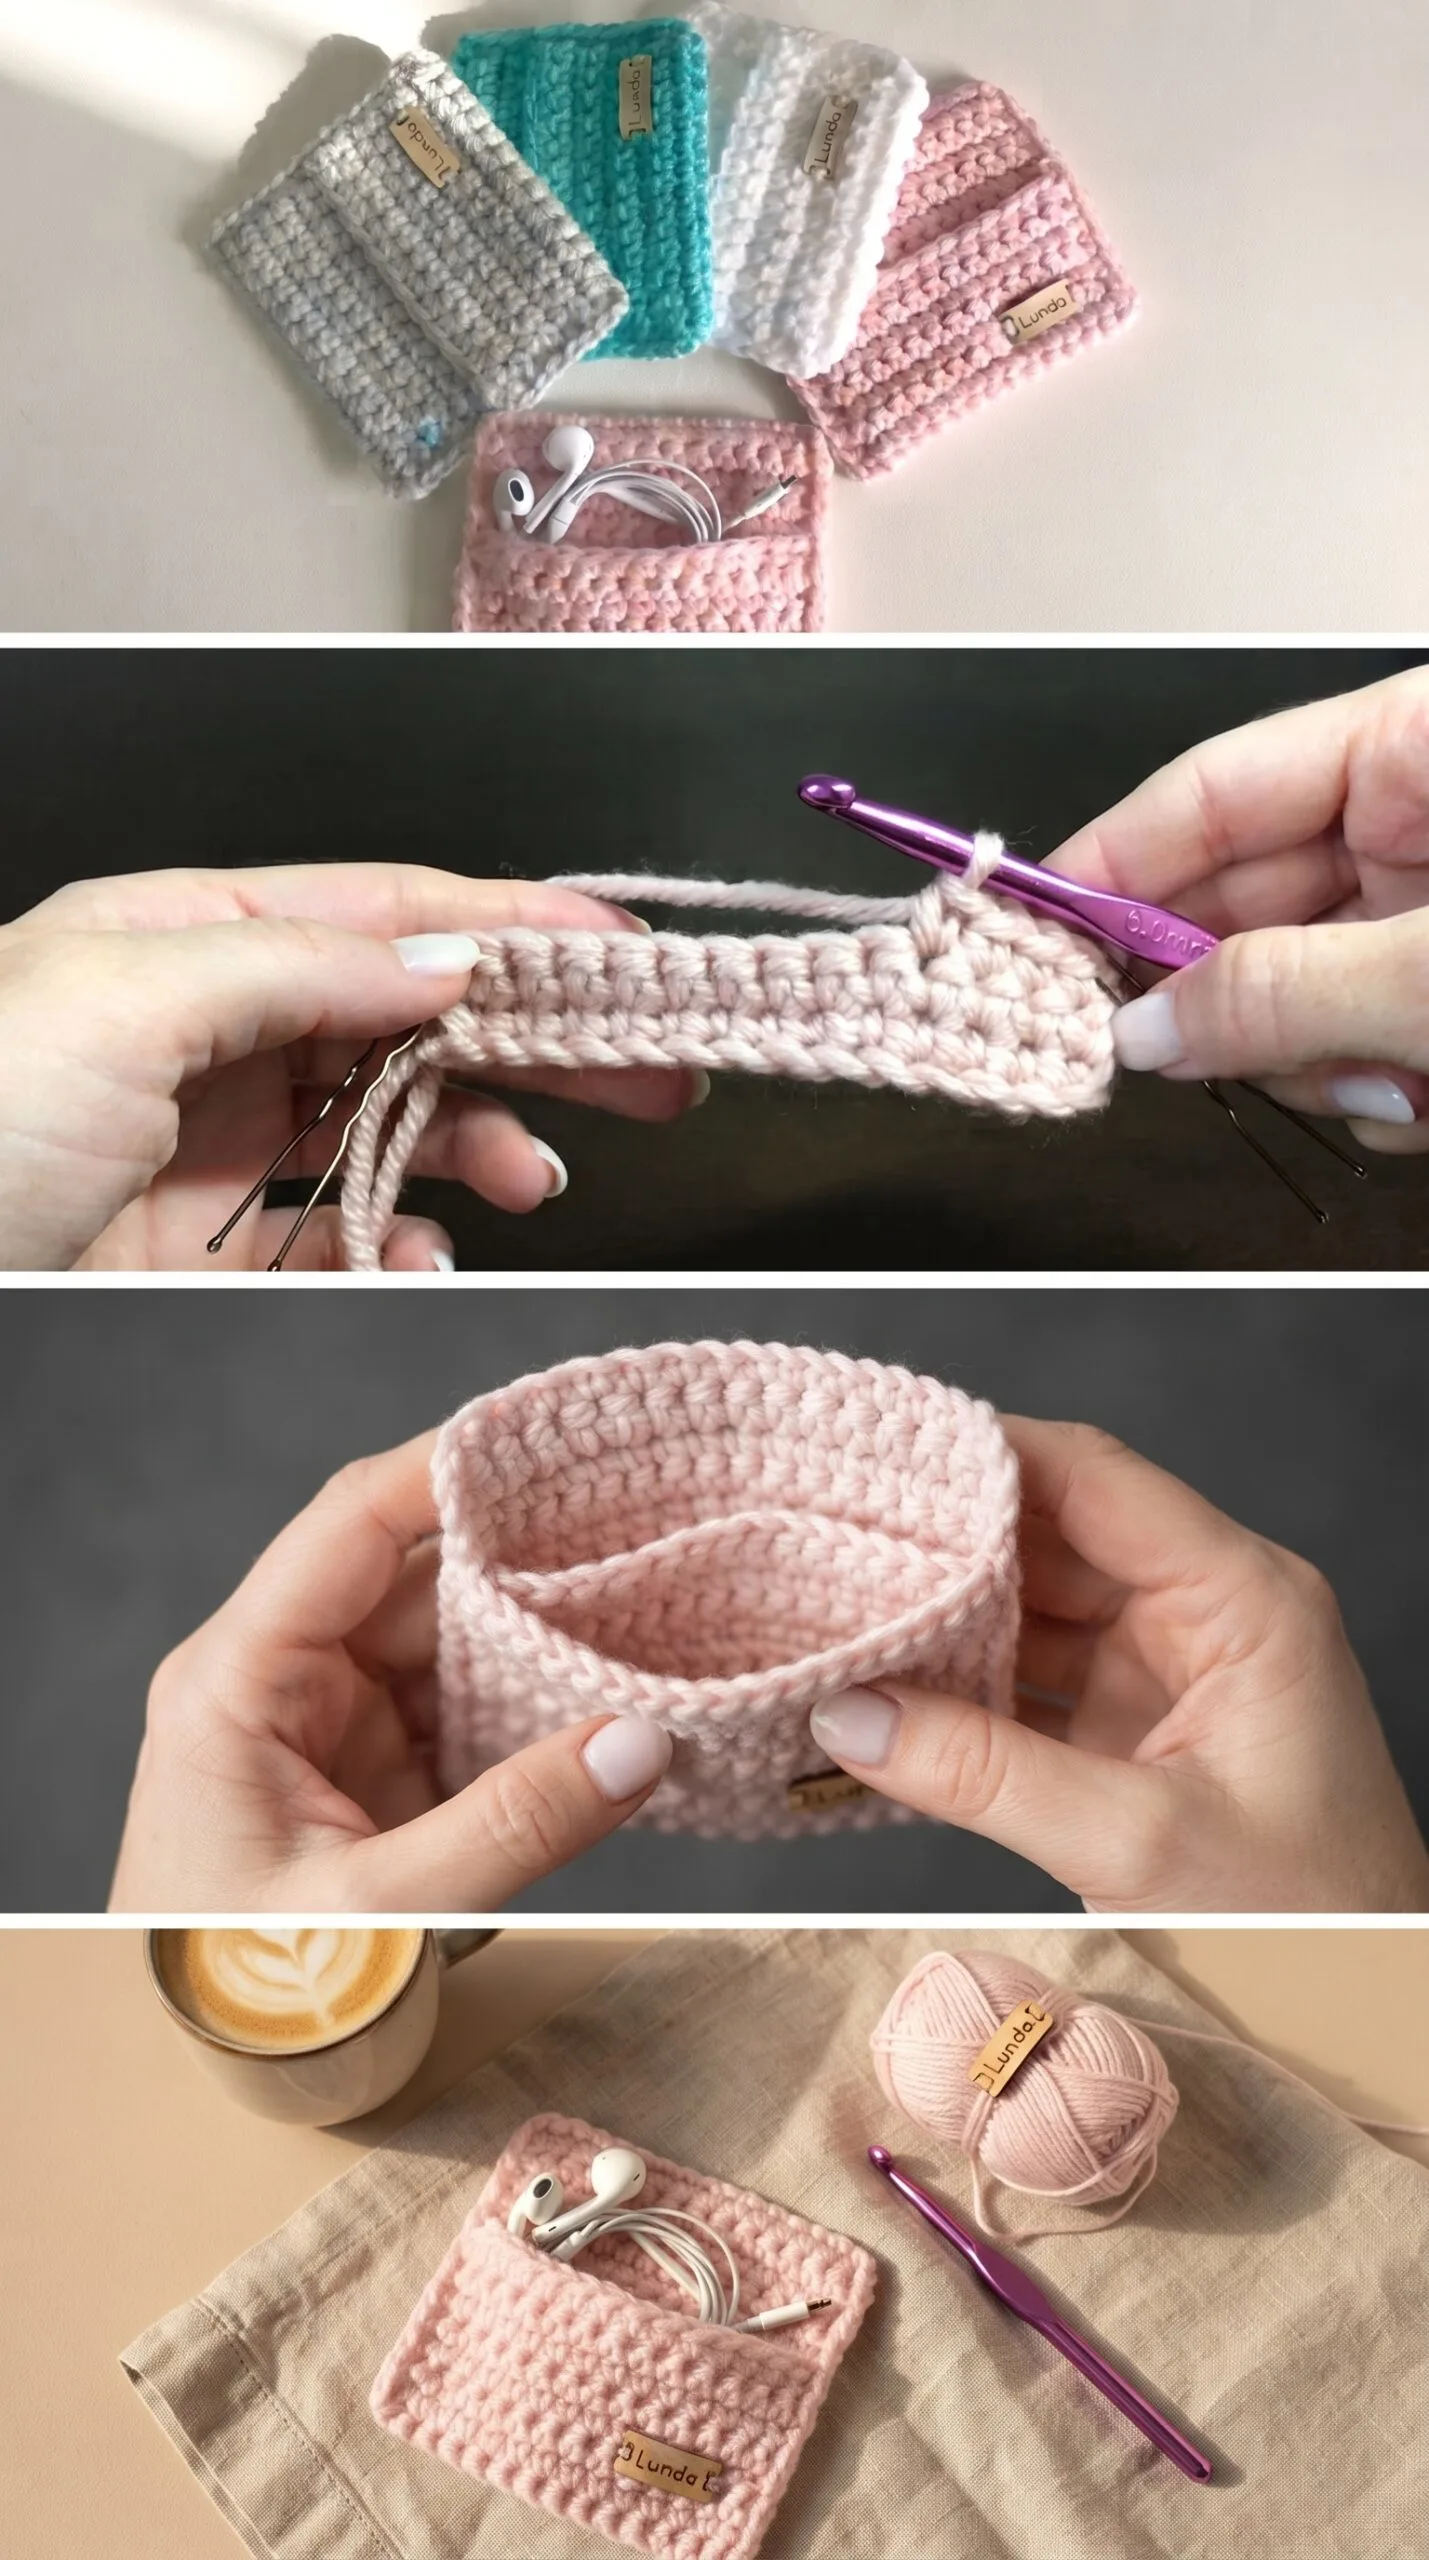
Stitch by Stitch
This pattern draws on a small, friendly collection of crochet stitches that build into something beautifully textured.
BULLET:CH (Chain) The foundation of the pouch, worked to set the starting width before the main body begins.
BULLET:SC (Single Crochet) A tight, compact stitch used to anchor edges and create the clean, structured border of the pouch.
BULLET:DC (Double Crochet) The workhorse stitch of the main body panels, giving the fabric its satisfying raised texture and sturdy feel.
BULLET:SL ST (Slip Stitch) Used to join rounds cleanly and to seam the panels together with a nearly invisible finish.
Working rows of DC in that meditative rhythm, hook in and over, pull through, complete, repeat, has a way of making an hour feel like ten minutes, and the growing texture under your fingers is its own quiet reward.
Construction
The pouch is worked in flat panels that are then seamed together, a method that gives you full control over the shaping and keeps the construction beginner-friendly from the very first chain. You work the main body as a longer rectangle, then fold it to create the back panel and front pocket, using a slip stitch seam along the sides to close everything up neatly. The fold-over flap at the top is already built into the design by the time you finish your final rows, which feels like a lovely little payoff after the rhythmic body work. If you want to customize, simply add a button or a small toggle closure at the center of the flap for a slightly more polished, finished look.
Wearing Your Mini Pouch
Tuck this Crochet Mini Pouch into your tote bag as a dedicated home for earbuds, lip balm, or a folded note, and you will find yourself reaching for it every single day. It also makes a genuinely beautiful gift wrapped with a ribbon, the kind of handmade present that feels considered and personal rather than rushed. Make a few in coordinating colors and you have a set that feels like a small, slow-fashion collection entirely your own.
Keeping Your Mini Pouch Looking Its Best
If you have worked your pouch in a cotton or cotton-blend yarn, it will respond beautifully to a gentle hand wash in cool water with a mild soap, then laid flat to dry so the panels keep their crisp, squared shape. A light blocking session after washing, where you pin the pouch to its measurements on a foam mat and allow it to dry fully, will sharpen the stitch definition and give the finished piece that polished, almost-professional look. Avoid machine drying, as the heat can cause cotton fibers to shrink and may distort the neat structure that makes this pouch so appealing. Store it flat or hang it by a loop if you add one, keeping it away from sharp objects that might snag the yarn.
Every stitch you work into this small, purposeful piece is a small act of making something real with your own hands, and that is worth every moment. Save this post to your Pinterest boards and share your finished Crochet Mini Pouch using the hashtag so the whole community can see your beautiful work.
Follow us on Pinterest and subscribe to the Newsletter so you don’t miss a thing!
Tutorial and photos of this mini pouch by: Made by Lunda.
