
Welcome! Today we’re making a sweet crochet heart bag that’s small, soft and full of charm.
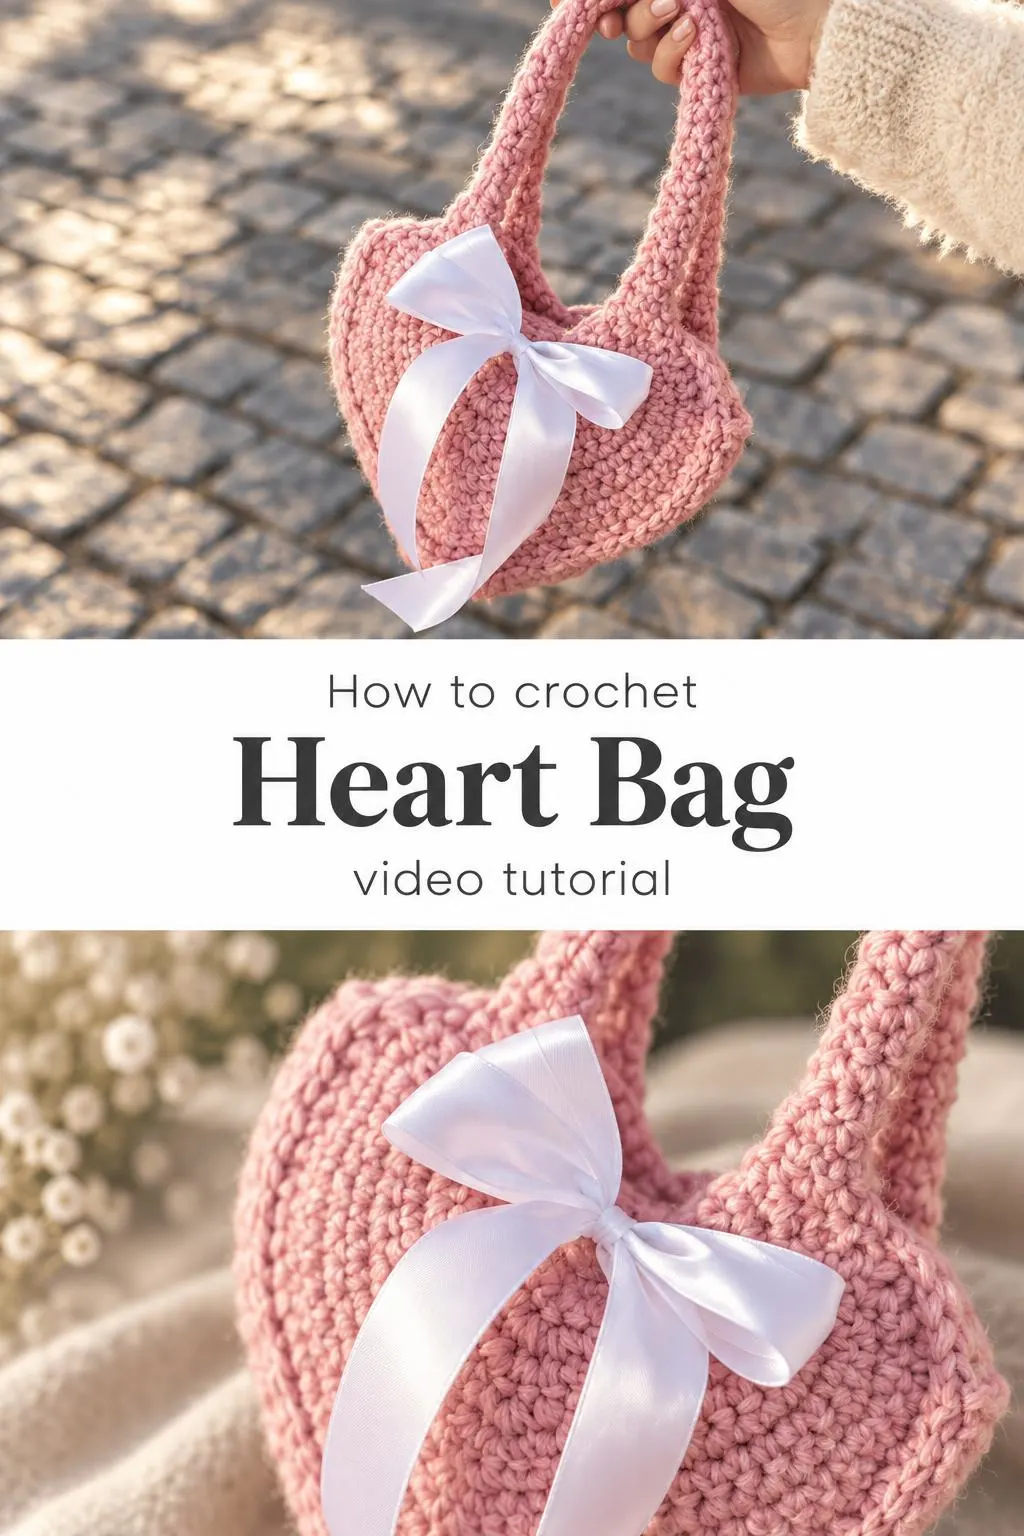
What makes this bag special is its shape. The body is worked as a rounded heart with a soft dip at the top, and two long handles rise from the sides so you can carry it over your wrist or shoulder. A simple satin bow in a light lilac tone sits on the front and adds a playful finishing touch.
This project suits anyone who enjoys small, quick projects that still feel special. It’s a lovely choice for spring outings, Valentine’s Day, or a thoughtful handmade gift. The full step-by-step tutorial is in the video, and this page is here to help you prepare, understand the stitches and finish neatly.
Skill Level
Intermediate. The round-based body needs even shaping, and the heart outline and handles require steady tension to keep the bag from twisting.
Heart Bag Related Posts:
- Crochet Bunny Vest: A Charming Handmade Classic
- Crochet Heart Tote Bag: A Charming Handmade Essential
- Crochet Strawberry Messenger Bag: A Sweet Everyday Charm
- Crochet Textured Blanket: A Timeless Handmade Classic
Materials
- Yarn: a medium weight (worsted, category 4) cotton or acrylic blend in a soft dusty pink. A cotton blend holds its shape well for a bag.
- Hook: a size that suits your yarn, usually around 4.0 to 5.0 mm for worsted weight, so the fabric feels firm rather than floppy.
- Scissors and a yarn or tapestry needle for weaving in ends.
- Satin ribbon in white or light lilac for the bow, about a few tens of centimetres long, so you can tie a neat bow.
- Stitch markers, helpful for keeping track of the heart’s shaping points.
Stitches and Abbreviations
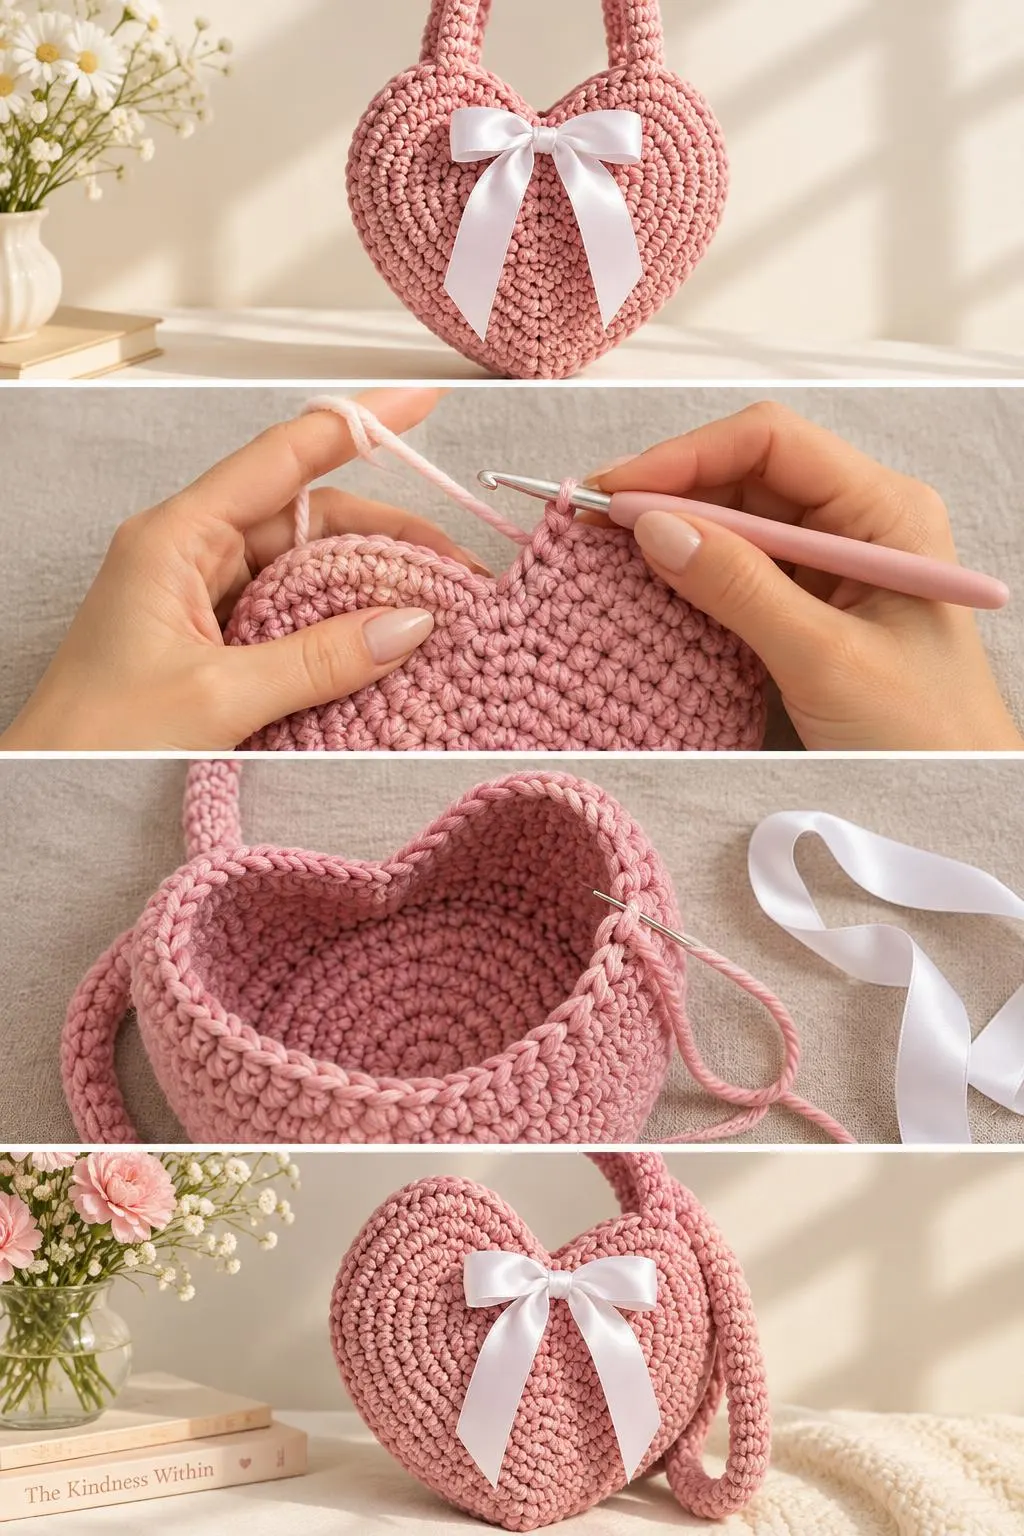
- sc: single crochet. Insert the hook, yarn over, pull up a loop, then yarn over and pull through both loops. This gives a dense, sturdy fabric that suits a bag.
- dc: double crochet. Yarn over, insert, pull up a loop, then work off two loops twice. It is taller and adds drape where you need it.
- ch: chain. Yarn over and pull through the loop on your hook to make a foundation or turning chain.
- sl st: slip stitch. Insert the hook, yarn over, and pull through both the stitch and the loop on the hook. Used for joining and neat edges.
Pattern Notes
- This page uses US crochet terms throughout.
- Keep your tension consistent, because the heart shape depends on even stitches to hold its curves.
- The bag is worked as a continuous shape, so a stitch marker at each shaping point makes the rounds easier to follow.
- If the edges look a little wavy before finishing, this is normal and usually straightens out once you add the final edging.
- You can make the bag larger or smaller by changing your hook size or yarn weight.
How It’s Made
- Work the base as a small round that forms the bottom of the bag.
- Build up the sides in rounds, shaping the outline into a heart by adjusting stitches at the top.
- Shape the top dip by working across the two lobes of the heart and joining them neatly.
- Attach the two long handles to the inside of the bag at each side, working them in a sturdy stitch.
- Add a simple edging around the top opening for a clean, finished look.
- Tie the satin ribbon into a bow and attach it to the front.
Follow the video tutorial for the exact rounds and stitch counts, since it walks through each stage clearly.
Assembly and Finishing Tips
Weave in all your ends carefully on the inside of the bag so they don’t show or come loose with use.
Work the handles firmly and check that they sit evenly on both sides before you fasten them off. Strong handles make a big difference when the bag is filled.
Block the finished heart gently with a little steam or a damp cloth, shaping the lobes so the outline looks crisp.
Attach the bow with a few small stitches through the fabric so it stays put when the bag is carried.
Make It Yours
Try two-tone colours, such as a pink body with a cream or white edging, for a soft contrast.
Change the bow colour to match your outfit, or swap the ribbon for a thin cord or a button.
Make a larger version for everyday carrying, or a smaller one as a keyring bag or gift pouch.
Fill it with a small treat or a handmade card for a sweet present for a friend.
Happy crocheting! We’d love to see your finished heart bag, so share your project and enjoy every stitch.
Follow us on Pinterest and subscribe to the Newsletter so you don’t miss a thing!
Tutorial and photos of this heart bag by: WONDER NETTING.
