
A free video tutorial by Vivi Crochet makes this adorable Crochet Bread Bag completely accessible, and the way the moss stitch creates that beautifully toasted-edge texture is genuinely thrilling!
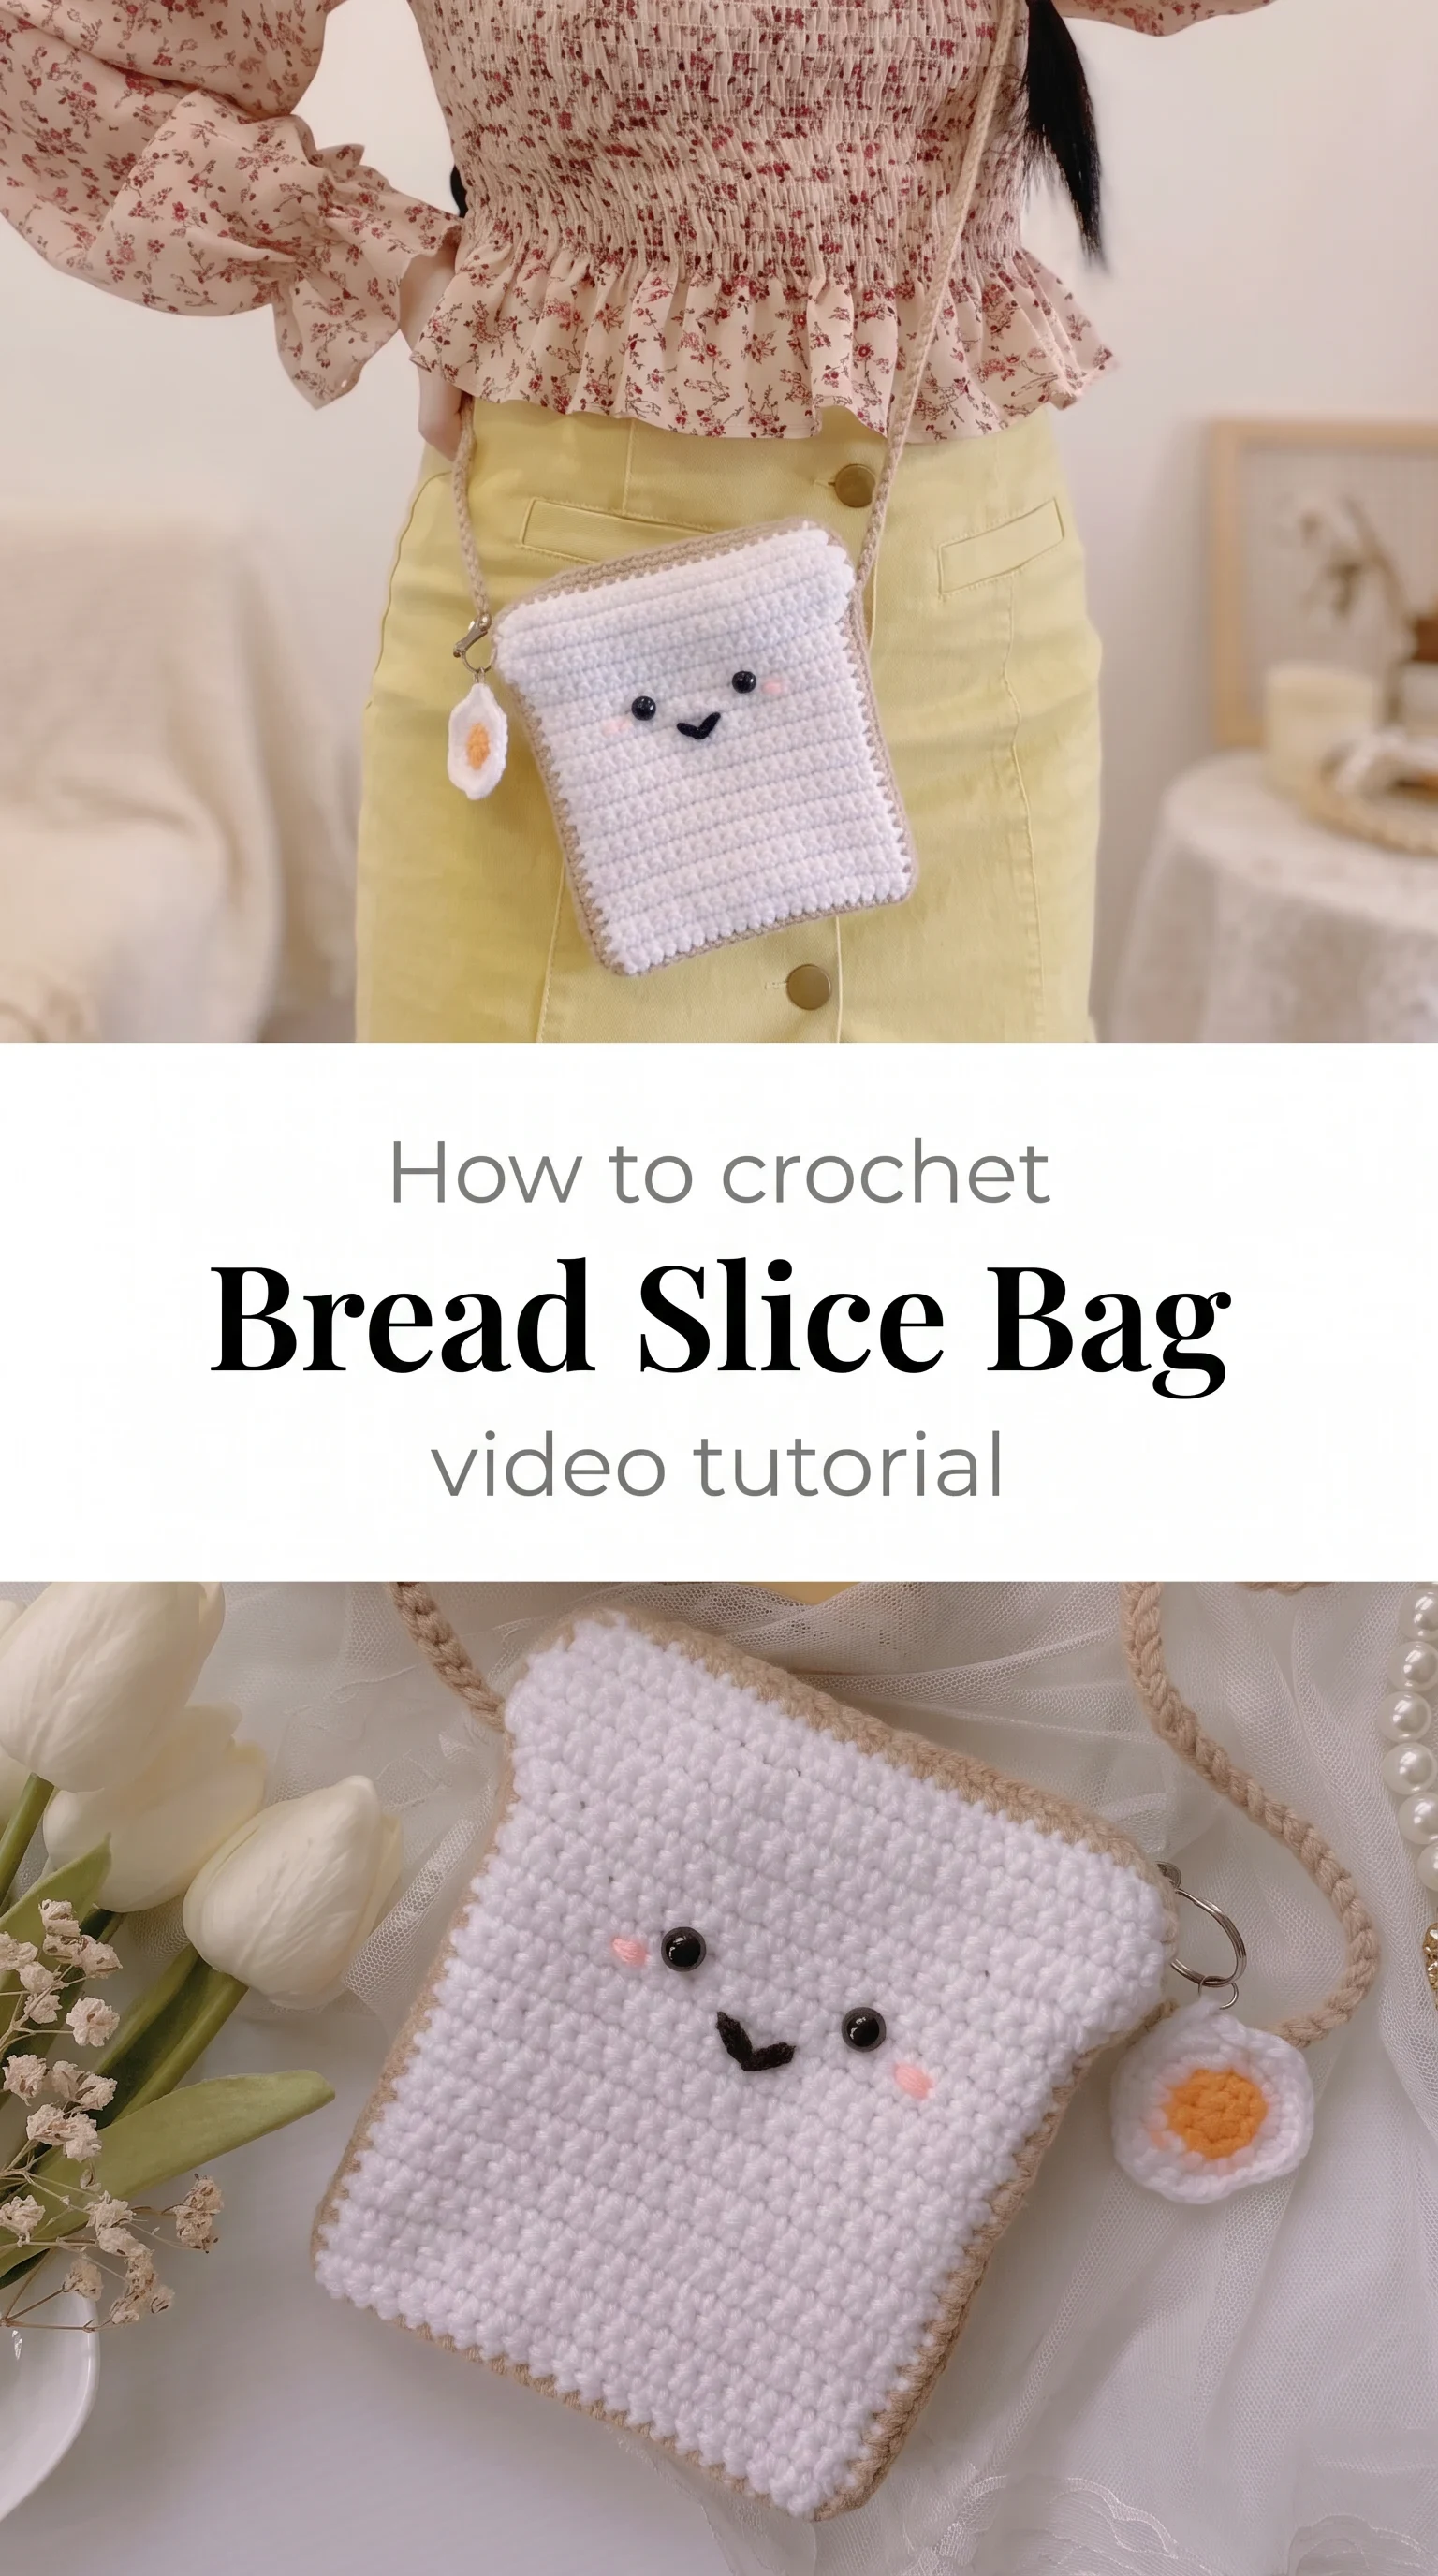
The Bread Bag
The Crochet Bread Bag is one of those rare accessories that stops people mid-stride and makes them ask where on earth you found it. Shaped like a soft square slice of bread, complete with a sweet embroidered face and a tiny fried egg charm dangling from its side, it sits somewhere between playful art object and practical crossbody bag. It is made for the crafter who wants their handmade pieces to carry a little personality, a little warmth, and a whole lot of charm. Whether you are new to crochet or have been hooking for years, this project feels like a reward the moment you finish it.
Bread Bag Related Posts:
- Crochet Waffle Tablet Sleeve: A Chic Functional Pouch
- Crochet LaiThai Crossbody Bag: A Chic Woven Treasure
- Crochet Daisy Tote Bag: A Charming Floral Accessory
- Crochet Textured Phone Case: A Chic Practical Accessory
The most natural color palette leans into soft white and warm beige, mimicking the pale interior and golden crust of a real bread slice, and this combination pairs beautifully with butter yellow, sage green, or soft pink outfits. You could also venture into pastel lavender or oat milk tones for a dreamier, more editorial feel. The beauty of this Crochet Bread Bag is that its neutral base makes it effortlessly wearable across seasons and styles.
Materials and Tools
For this project, you will want to reach for a cotton or cotton-blend yarn in DK weight, which gives the finished bag that airy yet structured body it needs to hold its shape without feeling stiff. The white body of the bag works best in a smooth, matte DK cotton, while the crust border calls for a slightly warmer beige or tan in the same weight for a clean color transition. A 3.5mm crochet hook is the sweet spot for this yarn weight, producing a tight enough fabric to prevent the bag from stretching out of shape during everyday use. You will also want a yarn needle for weaving in ends and adding the embroidered face details, along with a swivel clip or small D-ring for attaching the braided strap.
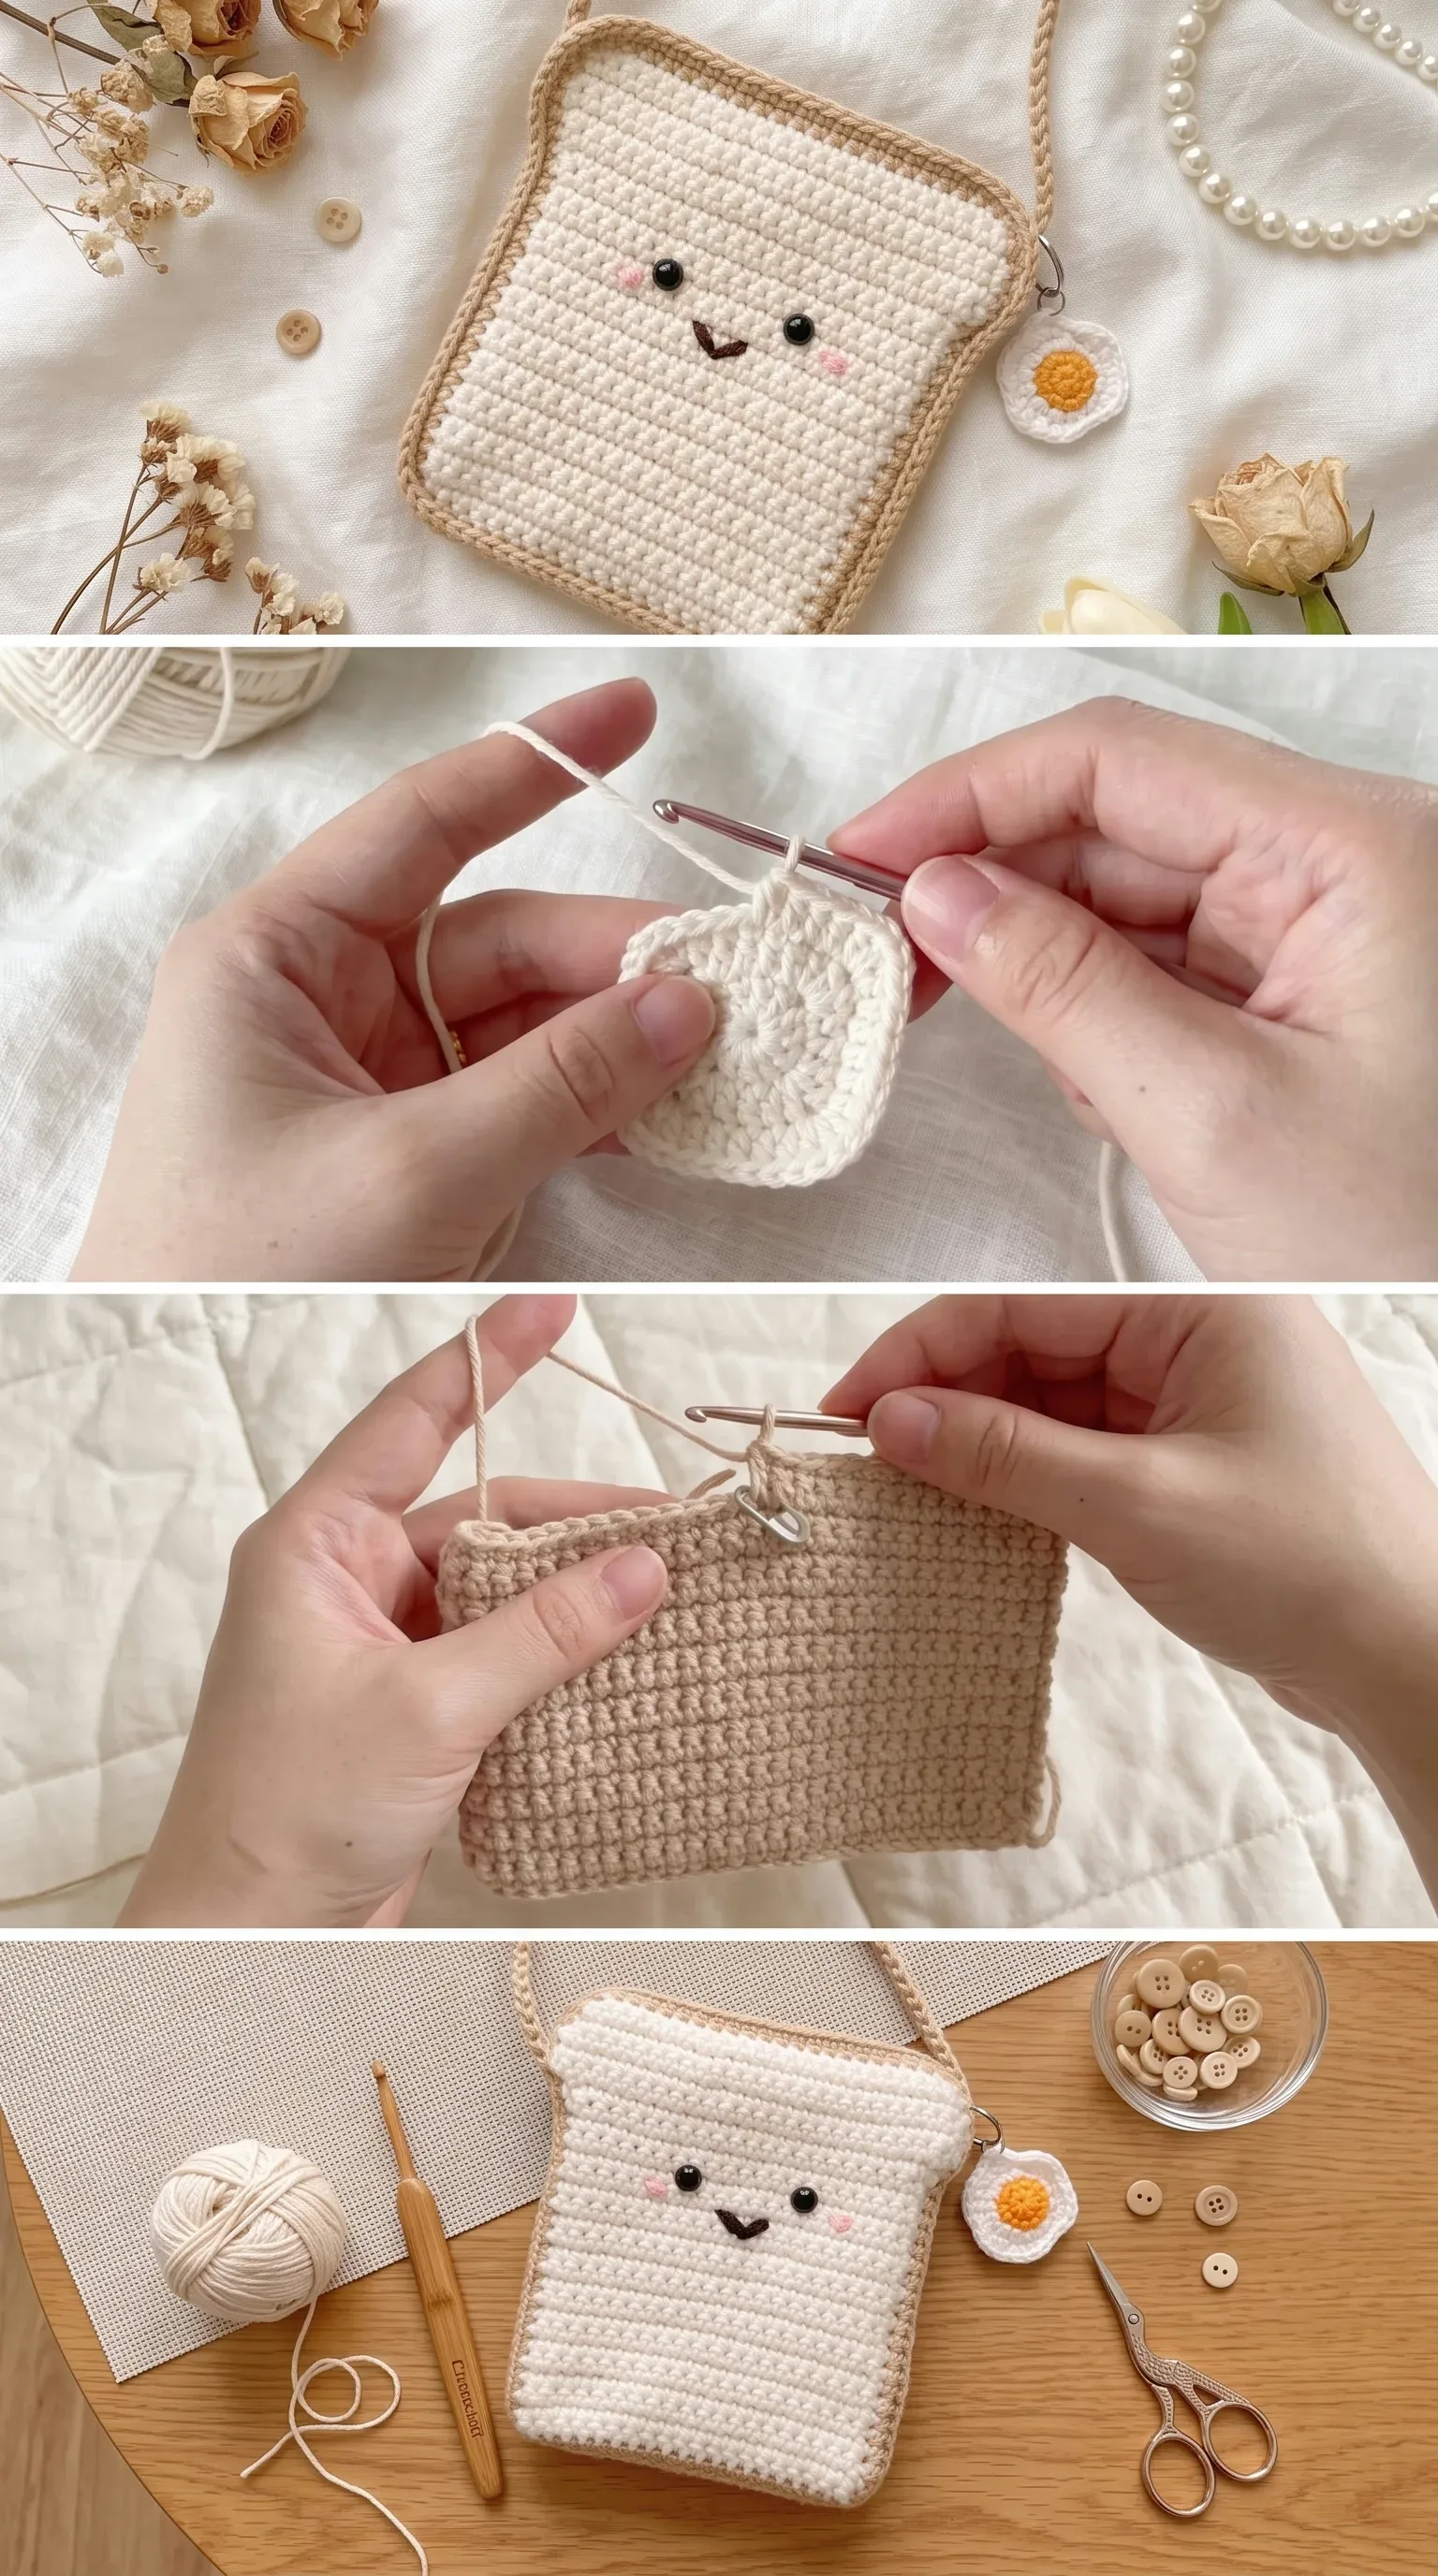
Stitch by Stitch
This Crochet Bread Bag relies on a small, satisfying collection of stitches that beginners will find approachable and intermediate crocheters will find genuinely enjoyable to work.
BULLET:SC (Single Crochet) The foundational stitch that builds the flat, even panels of the bag body, worked in rows to create that close-knit, toasty texture.
BULLET:DC (Double Crochet) Used to add height and structure in select sections, particularly useful when working the border or transitioning between color sections.
BULLET:SL ST (Slip Stitch) Keeps seams invisible and tidy when joining panels or working around the crust edge for a polished, professional finish.
BULLET:MR (Magic Ring) The ideal starting point for the small fried egg charm, allowing you to close the centre tightly so no gap appears in the yolk.
Working row after row of SC across a small, manageable panel has a genuinely meditative rhythm to it, and because the project is compact, you can feel real progress with every single session.
Construction
The Crochet Bread Bag is worked in flat panels rather than in the round, which makes it particularly forgiving for beginners who find circular construction tricky. You crochet the front and back panels separately in white DK cotton, then join them using a SL ST seam worked in beige yarn that simultaneously creates the characteristic golden crust border around three sides. The top edge is finished cleanly and reinforced, with a small opening left for the bag’s contents and a swivel clip attachment point integrated into the strap. If you want to customise the size, simply increase or decrease your starting chain by a few stitches and adjust your row count proportionally to keep the square shape intact.
Wearing Your Bread Bag
Slung across a floral smocked blouse with a butter yellow mini skirt, the Crochet Bread Bag looks like it was always meant to exist in that outfit. It works just as beautifully with a slouchy linen shirt, wide-leg trousers, and white trainers for an effortless everyday look, or clipped onto a tote bag as a whimsical pouch for your essentials at a market or picnic. Finishing that embroidered face and seeing the whole piece come to life is the kind of small, electric moment that reminds you exactly why you crochet.
Keeping Your Bread Bag Fresh and Shapely
Because the bag is worked in DK cotton, it is relatively easy to care for, but a gentle hand wash in cool water will always protect the fibers and the embroidered details far better than a machine cycle. After washing, reshape the bag by hand while it is still damp, pressing it gently back into its square bread-slice silhouette, and lay it flat on a clean towel away from direct sunlight to dry. Blocking is not strictly necessary for cotton at this scale, but a light mist and a gentle press with your hands will smooth out any uneven stitches beautifully. Store it stuffed with a small piece of tissue paper to help it hold its shape between wears.
Every Crochet Bread Bag you make carries the quiet pride of something created entirely by your own hands, and that is worth celebrating every single time you loop yarn around a hook. Save this article to your crochet Pinterest board and share your finished bread bag with the hashtag so the whole handmade community can see your beautiful work.
Follow us on Pinterest and subscribe to the Newsletter so you don’t miss a thing!
Tutorial and photos of this bread bag by: Vivi Crochet 🌷.
