
When your wardrobe calls for something handmade that feels as considered as it looks, the Crochet Basket Weave Sweater is the answer you have been reaching for. In this article, you will discover the materials, stitches, and construction approach that bring this beautifully textured piece to life.
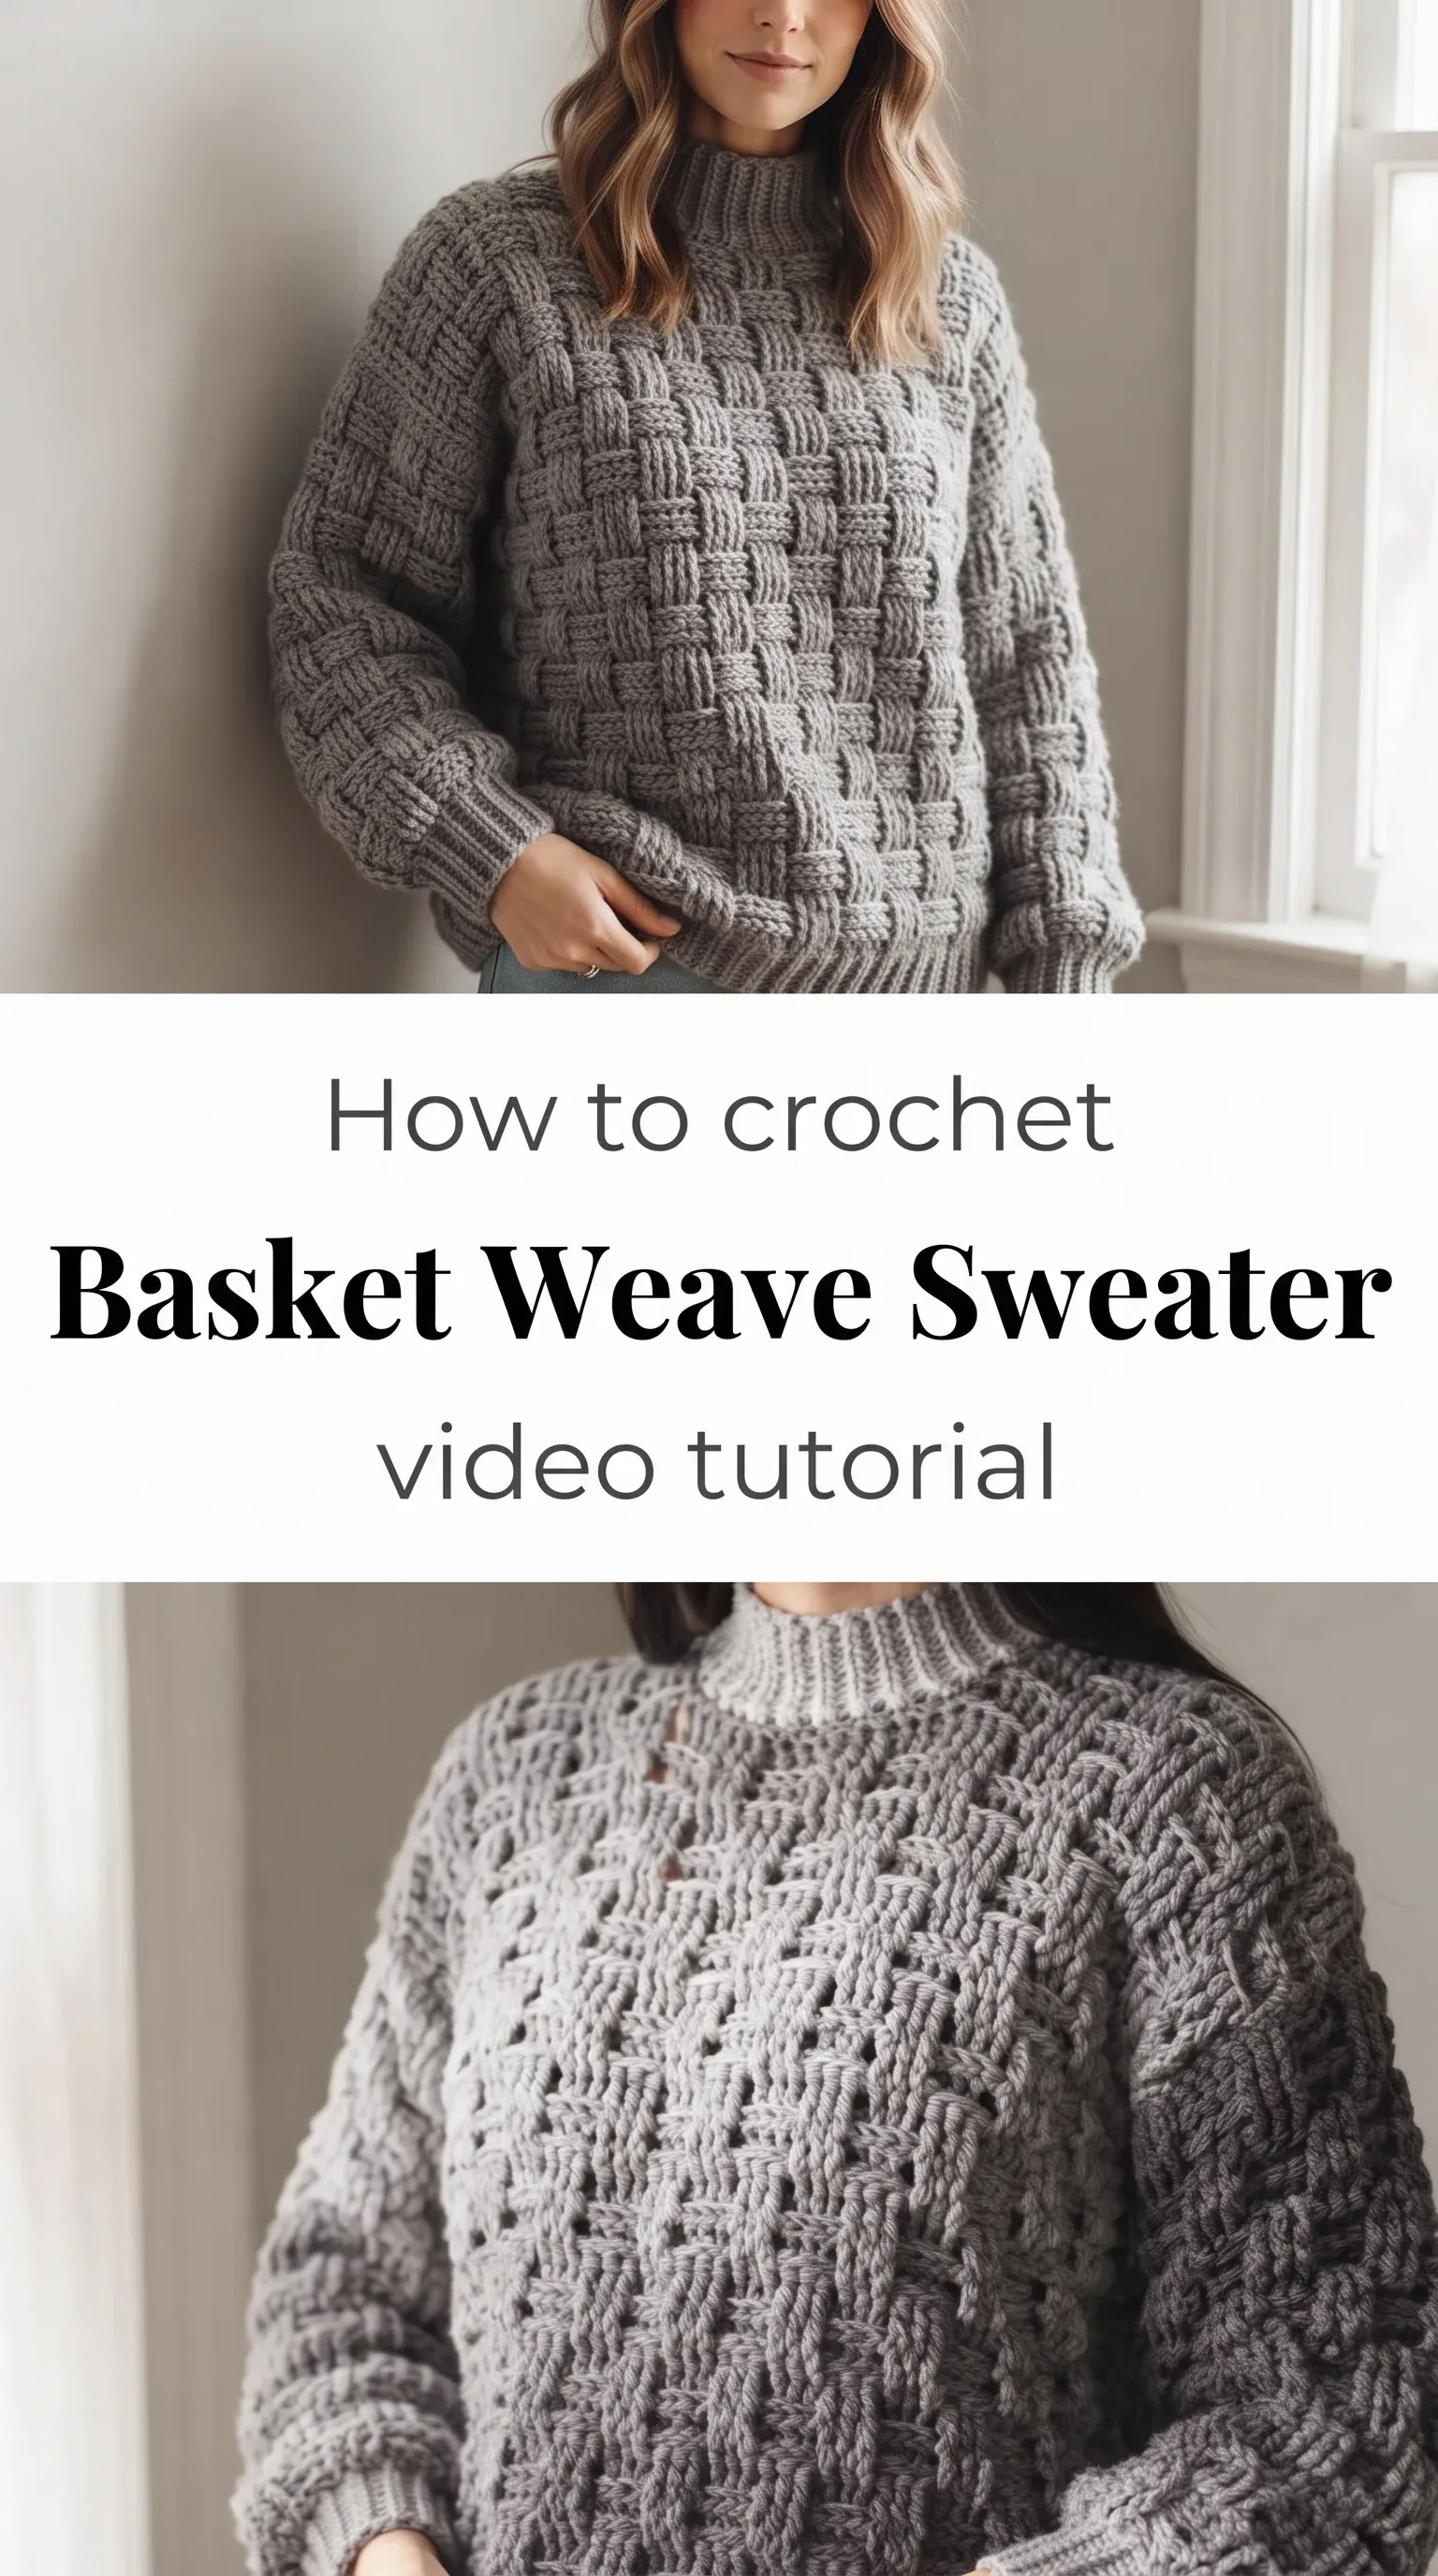
The Basket Weave Sweater
The Crochet Basket Weave Sweater is the kind of piece that earns its place in your wardrobe season after season, worn on slow mornings with coffee in hand and pulled over shoulders on crisp autumn afternoons. Its surface reads like woven fabric, all interlocking raised panels that catch the light and create a depth that feels almost architectural. This is a sweater for the maker who wants something beyond basic, something with presence and warmth that reads as quietly sophisticated. Whether you are making it for yourself or as a treasured gift, it carries that rare quality of feeling both effortless and intentional.
Weave Sweater Related Posts:
- Crochet Owl Pocket: A Whimsical Forest Charmer
- Crochet Valentine Hearts: A Sweet and Charming Gift
- Crochet Mixed Stitch Blanket: A Modern Cozy Classic
- Crochet Marshmallow Bag: A Colorful Statement Piece
The ombre grey palette seen in the reference images is an inspired choice, moving from a soft silver at the collar and cuffs to a deeper charcoal at the hem, giving the sweater a gradient that feels natural and organic. That said, a single rich tone in a warm camel, dusty sage, or off-white cream would be equally beautiful and perhaps even easier to style across multiple outfits. Tuck it into wide-leg trousers, pair it with your favourite jeans, or layer it over a fitted turtleneck for extra warmth and dimension.
Materials and Tools
For a sweater with this kind of satisfying weight and stitch definition, you will want to reach for a bulky or super bulky weight yarn, something in the range of a thick worsted to chunky that gives the basket weave panels their bold, sculptural appearance. A yarn with a slight wool or wool-blend content is ideal here because it has the memory and elasticity to hold the raised texture beautifully through wearing and washing. If you prefer plant-based fibres, a cotton-acrylic blend can work well and will give the finished sweater a slightly drapier, more relaxed silhouette. Pair your chosen yarn with a 6mm or 7mm crochet hook, and keep a blunt tapestry needle nearby for weaving in ends and seaming panels with a clean, invisible finish.
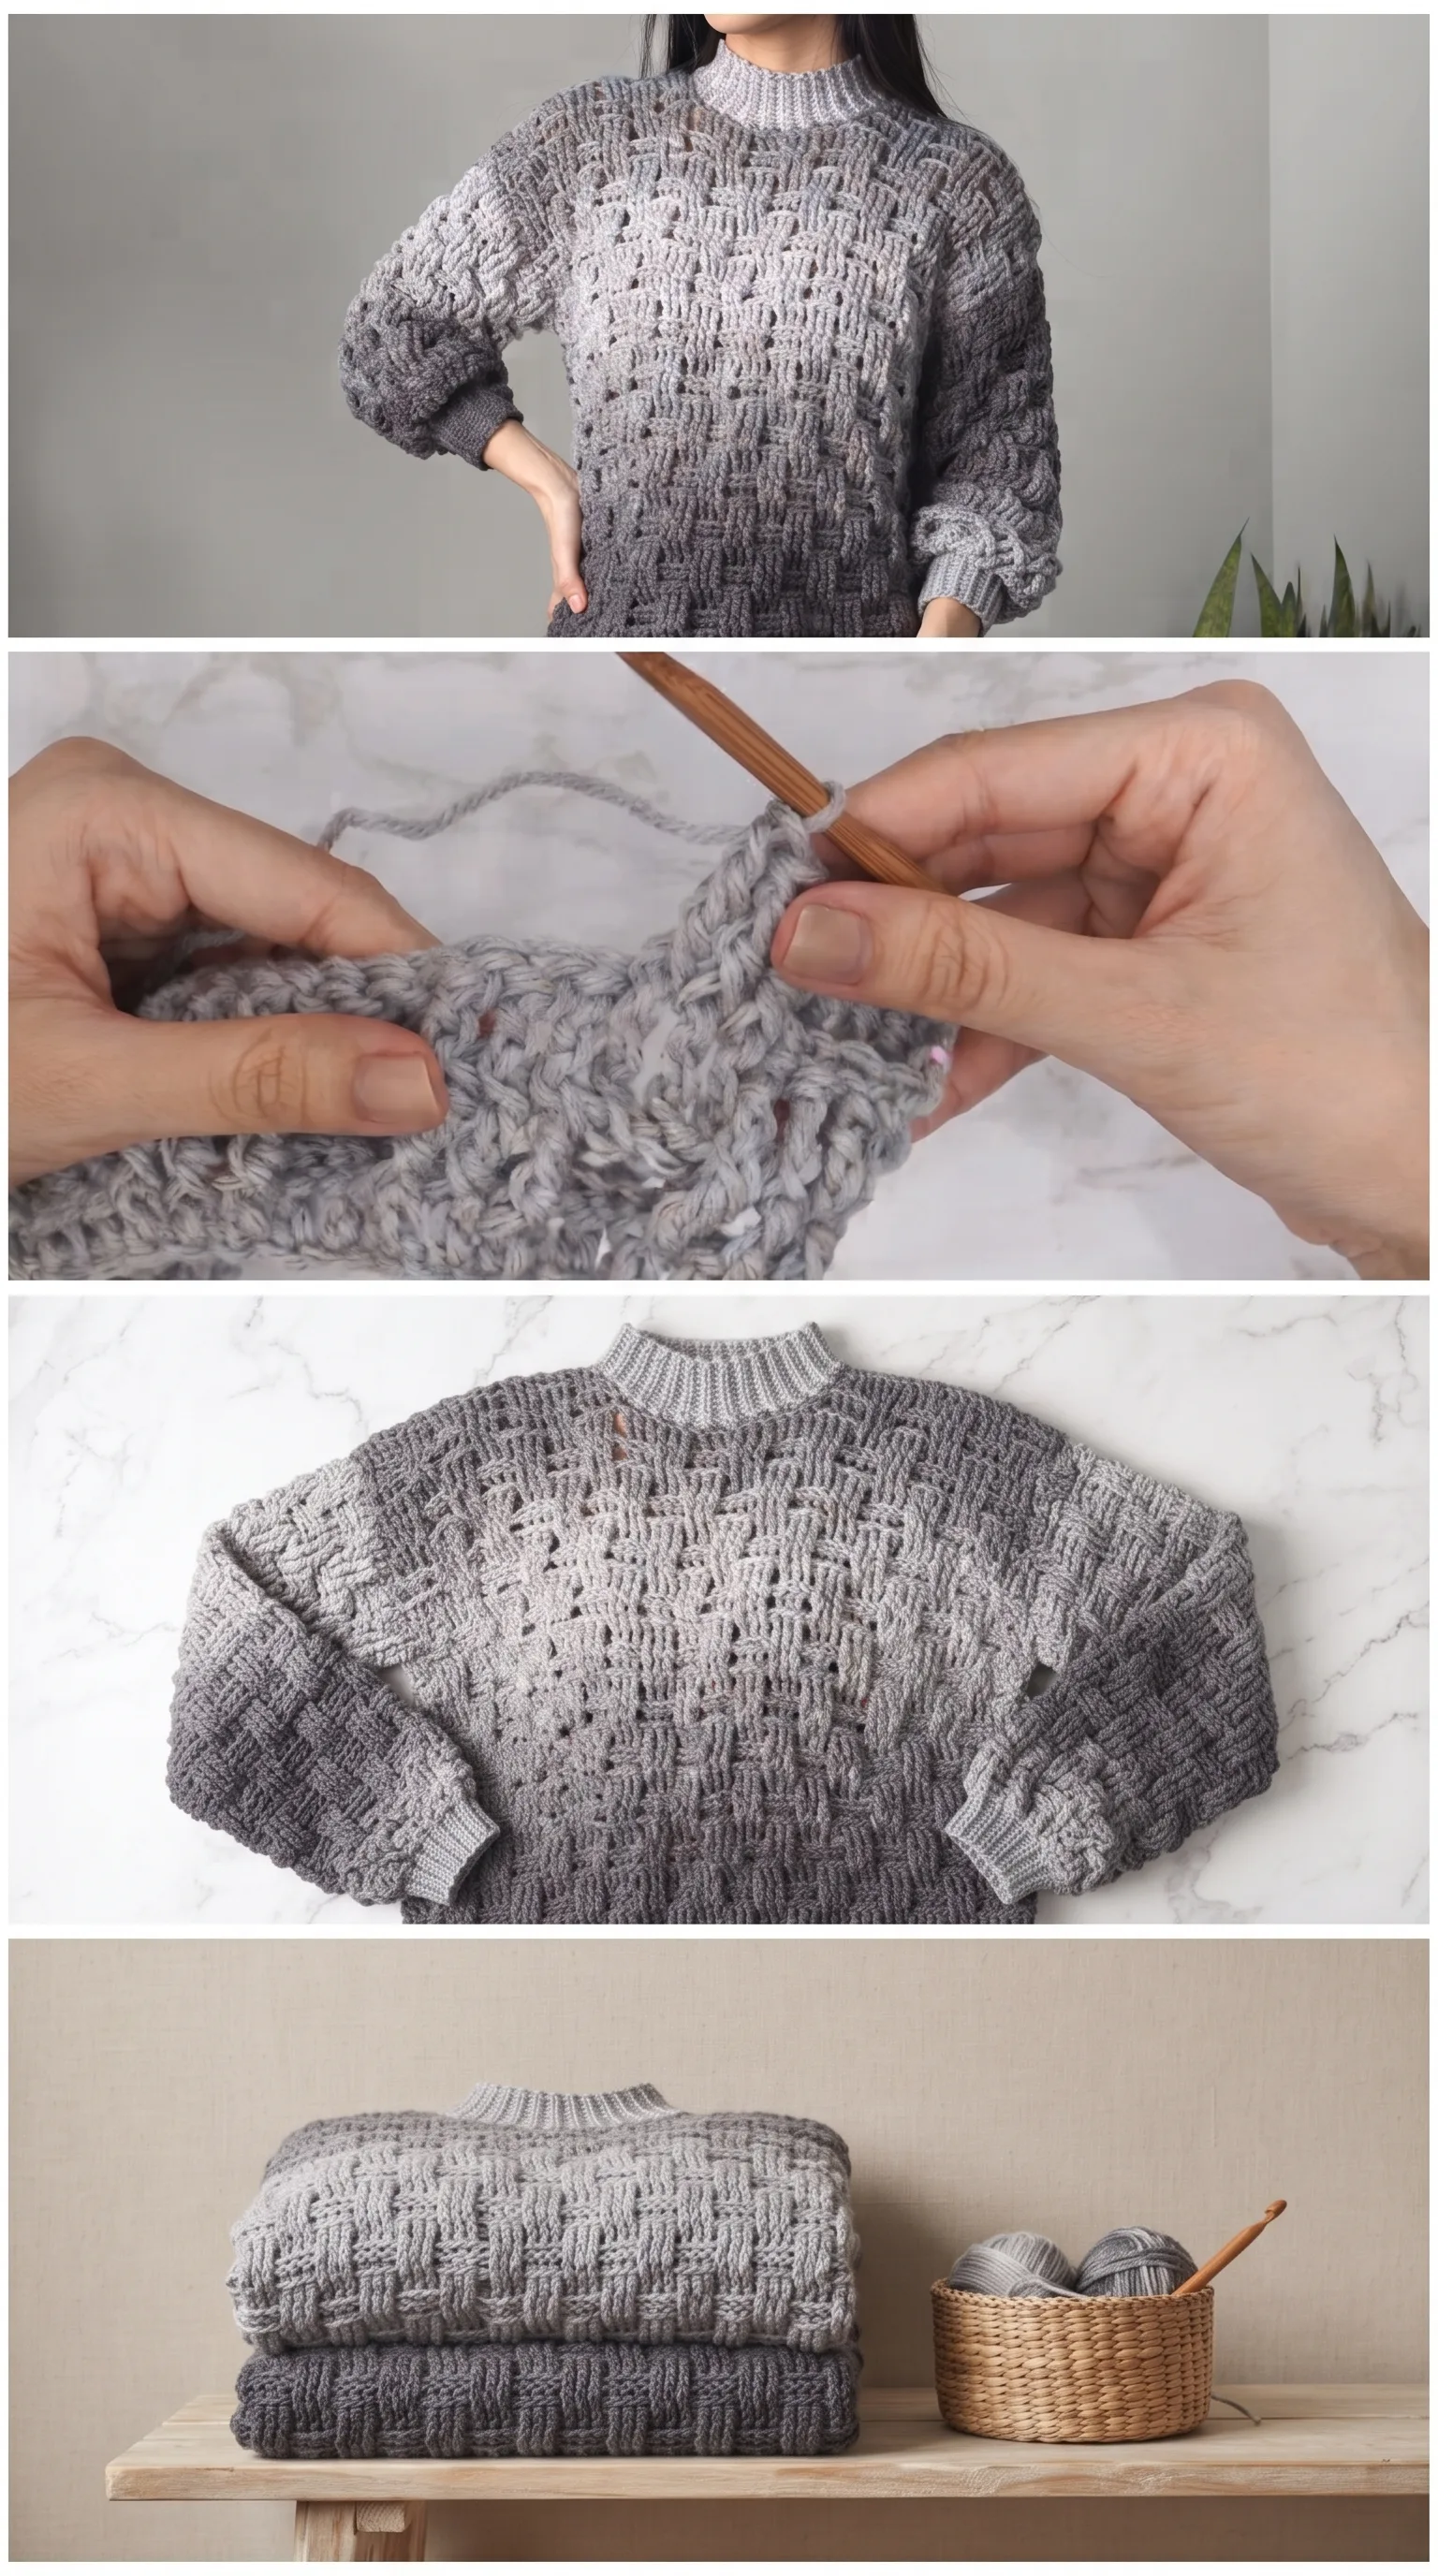
Stitch by Stitch
The Crochet Basket Weave Sweater relies on a small handful of stitches that work together to build its signature woven surface.
BULLET:DC (Double Crochet) The foundational stitch of the entire pattern, used to build height and structure across every row of the main body.
BULLET:FPdc (Front Post Double Crochet) Worked around the post of the stitch below rather than through the top loops, this stitch creates the raised vertical ridges that form the basket weave effect.
BULLET:BPdc (Back Post Double Crochet) The counterpart to FPdc, this stitch recedes into the fabric to create the illusion of woven panels alternating in depth.
BULLET:SC (Single Crochet) Used at the ribbed cuffs and collar, single crochet through the back loop gives the trim its neat, stretchy finish.
Once your hands settle into the alternating rhythm of FPdc and BPdc, the pattern becomes almost meditative, a quiet back-and-forth that lets your mind rest while your fingers build something genuinely beautiful row by row.
Construction
The full construction method for this Crochet Basket Weave Sweater is laid out clearly in the video tutorial from @TCDDIY, which walks you through every step from foundation chain to finished collar. The sweater is worked in flat panels, with the front, back, and sleeves made separately and then seamed together using a tapestry needle for a tidy, structured finish. The ribbed mock turtleneck collar and cuffs are worked separately as well, adding a polished, intentional detail that elevates the overall look of the finished piece. If you want to customise the fit, adjusting the width of the main panels by adding or removing a multiple of the stitch repeat is a straightforward way to tailor the sweater to your measurements.
Wearing Your Basket Weave Sweater
The finished Crochet Basket Weave Sweater belongs on weekend mornings layered over a satin slip dress for an unexpected contrast, or worn with straight-cut denim and ankle boots for something effortlessly put-together. It works beautifully as an oversized silhouette belted at the waist, which highlights the texture of the fabric and gives it a more defined shape when you want it. Every time you reach for it, you will feel the quiet satisfaction of wearing something you made entirely with your own hands.
Washing and Storing Your Basket Weave Sweater
To keep the beautiful raised texture of your Crochet Basket Weave Sweater looking its best, hand wash it gently in cool water with a mild wool wash or delicate detergent, pressing out excess water rather than wringing or twisting the fabric. Blocking the sweater flat after washing is one of the most important steps you can take, as it sets the stitch definition and ensures the panels retain their crisp, woven appearance once dry. Lay it flat on a blocking mat or clean towel, gently coaxing the edges into shape, and allow it to air dry completely before folding. Store it folded rather than hung to prevent the fabric from stretching under its own weight over time.
Every stitch of this sweater is a small, deliberate act of care, and the finished piece carries that intention in every fibre. Pin this article to your crochet board so you can come back to it whenever you are ready to cast on, and share your finished sweater with the hashtag so the community can celebrate your work alongside you.
Follow us on Pinterest and subscribe to the Newsletter so you don’t miss a thing!
Tutorial and photos of this basket weave sweater by: TCDDIY.
