
Today’s guide walks you through the making of a crochet baby romper that feels as soft and considered as a lullaby stitched into fabric. Pull out your hook and your favorite blush-toned yarn, because this one is absolutely worth making.
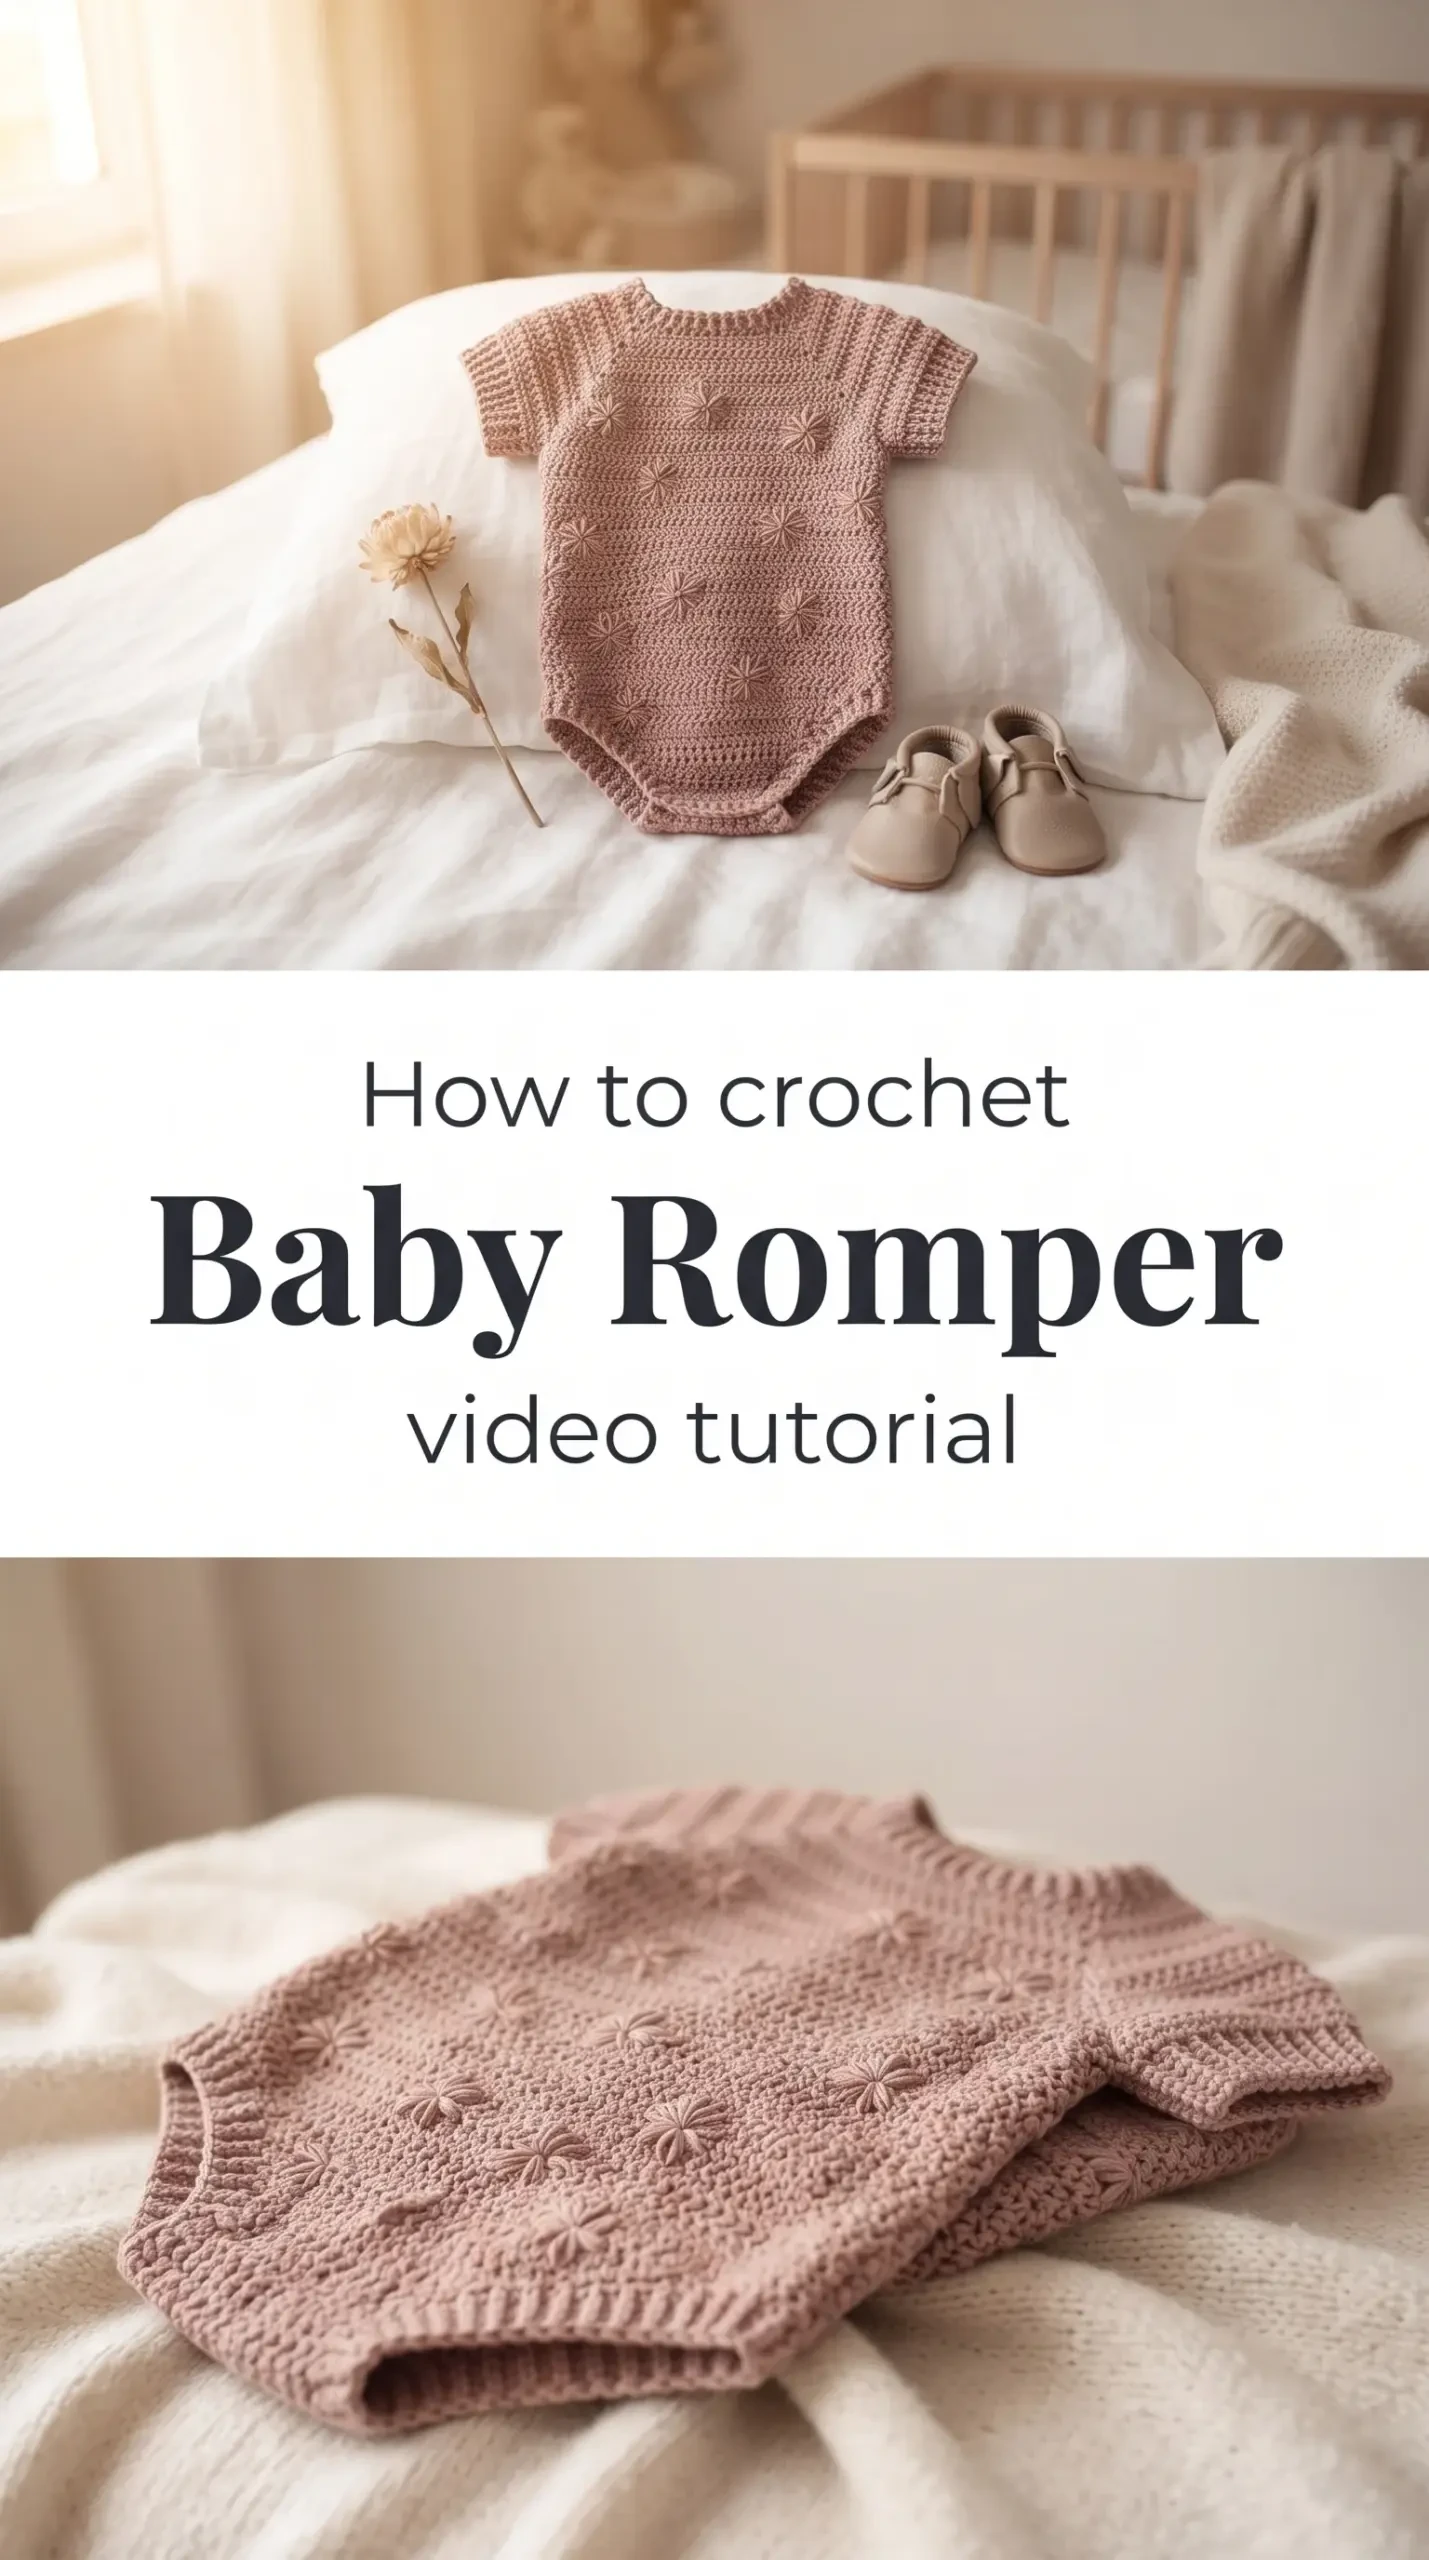
The Baby Romper
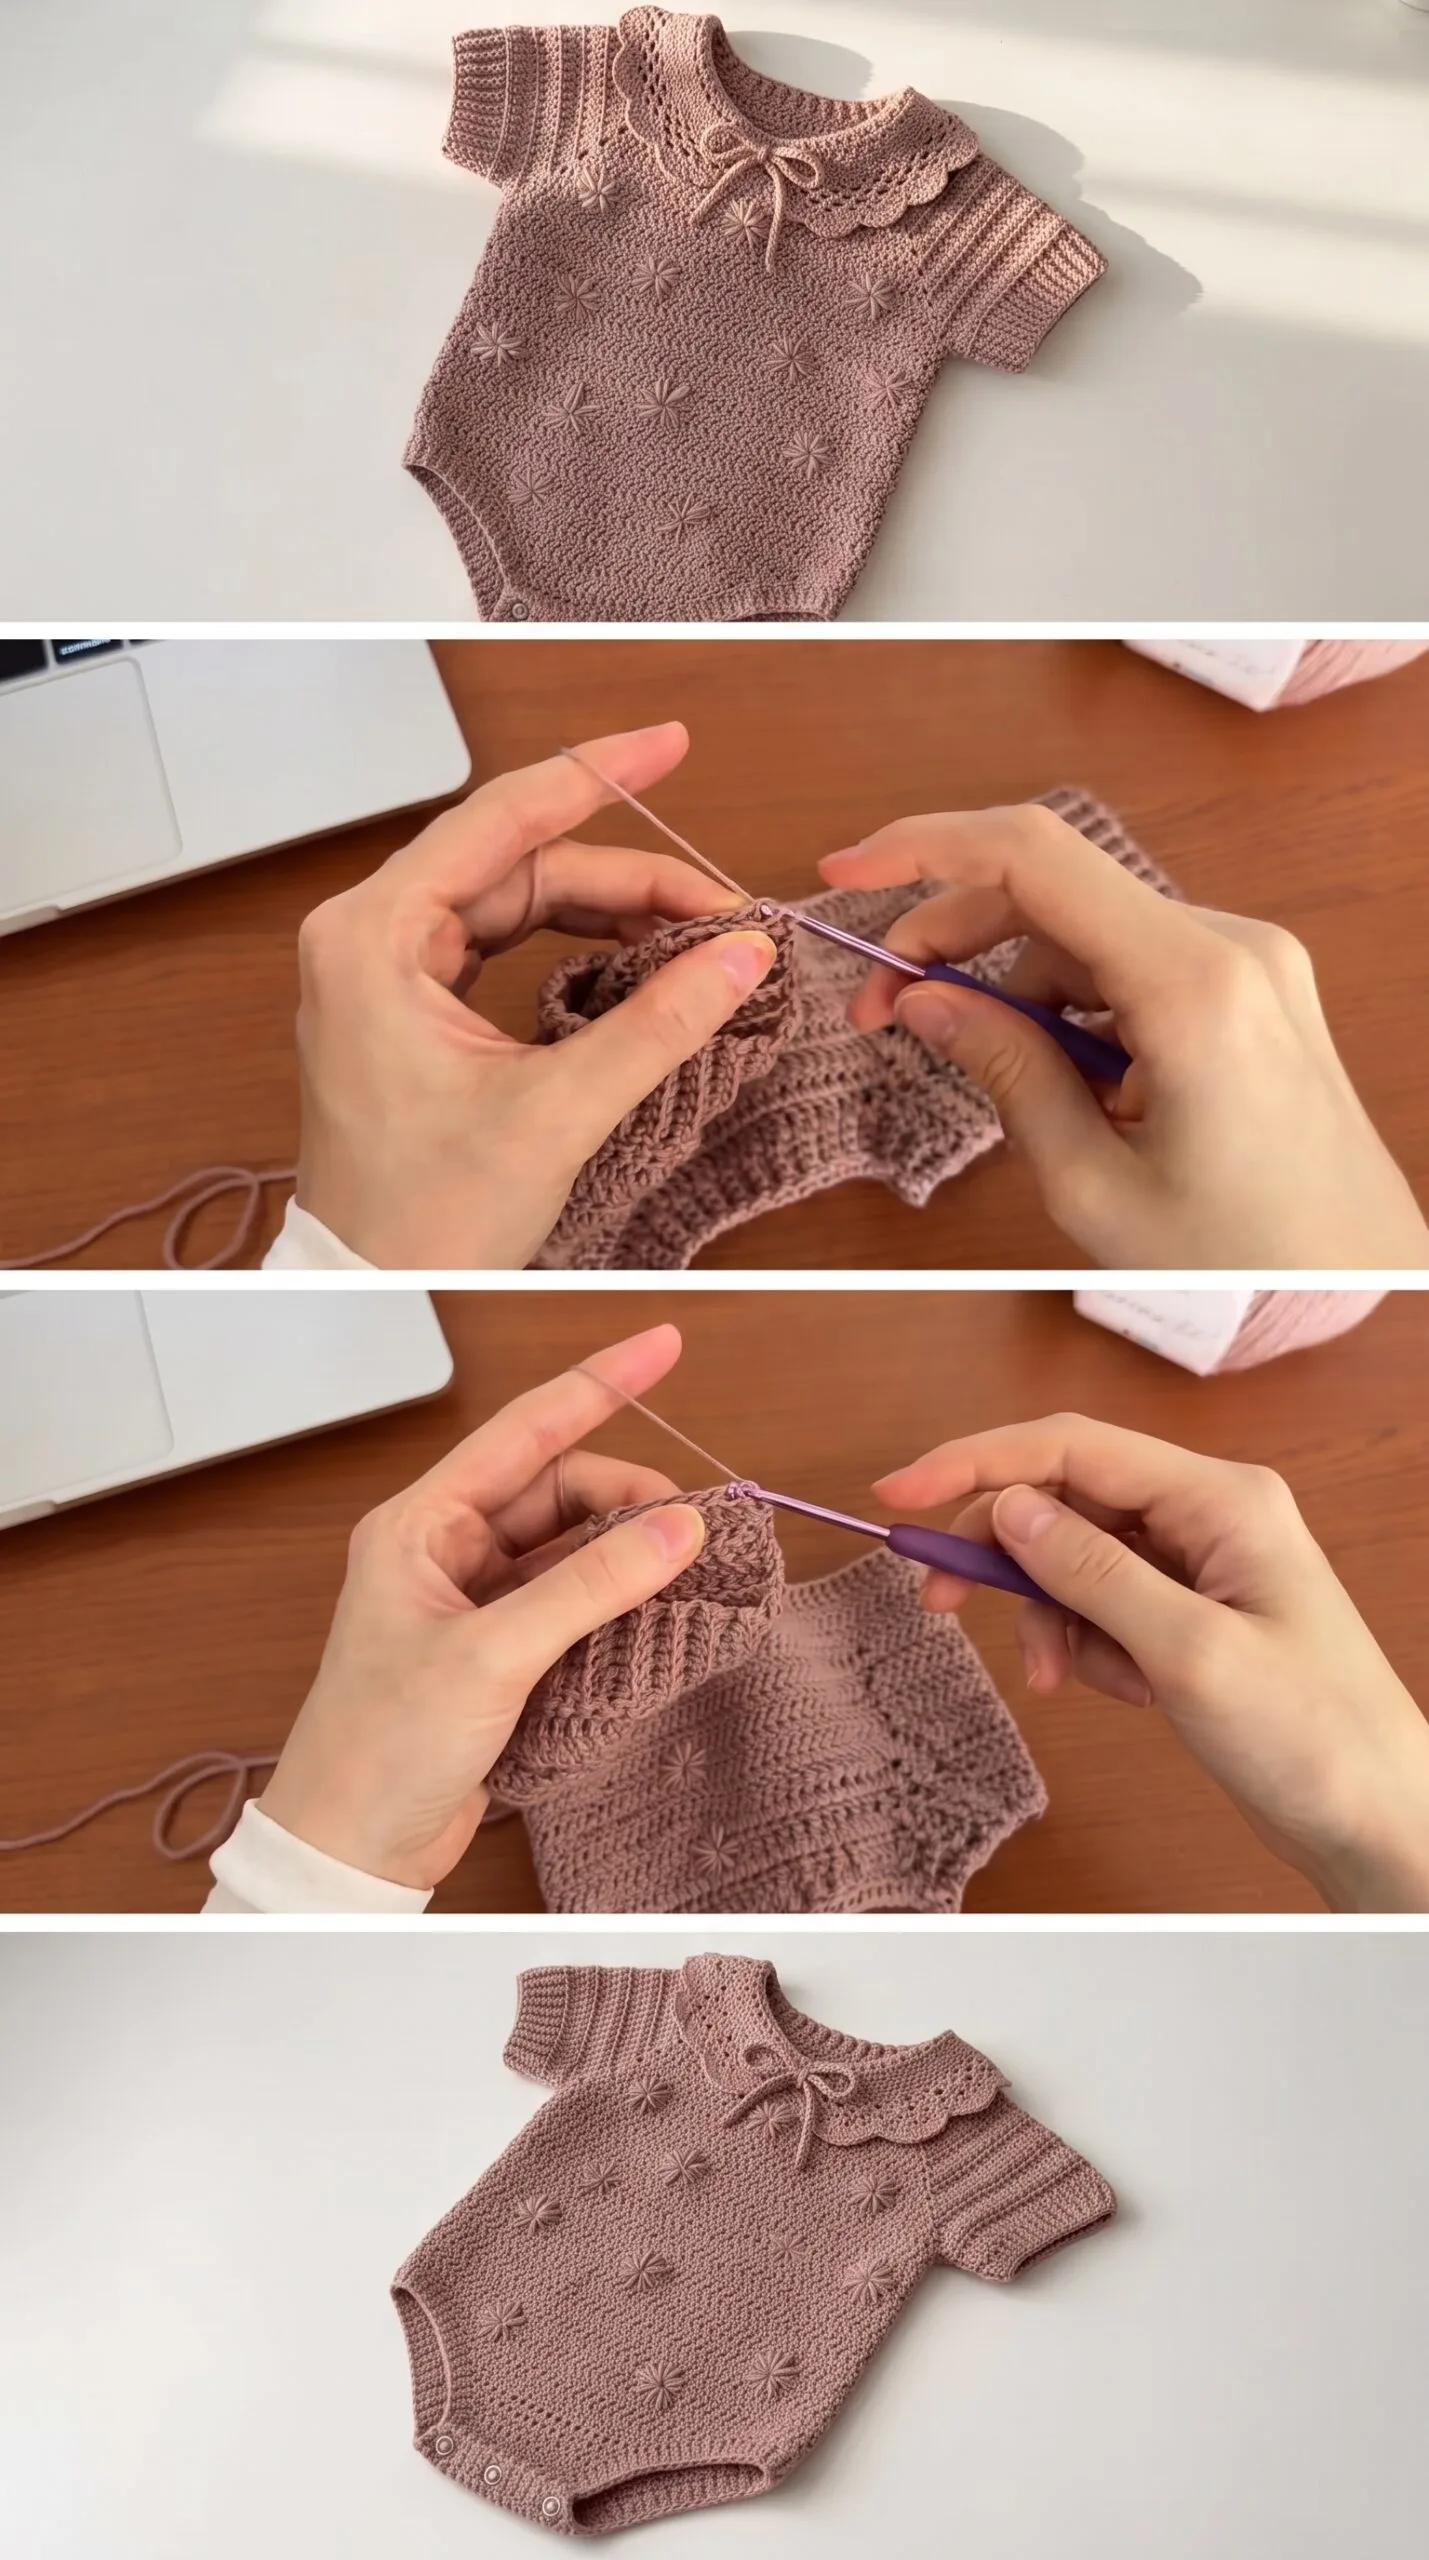
A crochet baby romper carries with it a quiet kind of magic, the sort that comes from making something so small, so tender, and so beautifully detailed for someone who has just arrived in the world. The design you see here is worked in a warm dusty rose, scattered with raised daisy-like motifs that give the fabric a three-dimensional whisper of elegance, and finished with a delicate lace collar that ties at the center front. It is the kind of piece that makes people stop and ask where it came from, and the answer, made by hand, feels like the most satisfying thing you can say. Whether you are making it as a gift for a new baby or stitching it up for your own little one, this crochet baby romper will be treasured long after it is outgrown.
Baby Romper Related Posts:
- Crochet Ribbed Beanie: A Timeless Winter Essential
- Crochet Marshmallow Bag: A Colorful Statement Piece
- Crochet Valentine Hearts: A Sweet and Charming Gift
- Crochet Drawstring Pouch: A Charming Everyday Accessory
The dusty mauve shown in the video is a dreamy, timeless choice that works beautifully for any season and any baby, but this design would be equally lovely in a soft sage green, a creamy ivory, or the palest sky blue. Because the texture and structure of the romper do so much of the visual work, you can let a single tonal color speak for itself without needing stripes or color changes. Style it over a simple white onesie bodysuit in cooler months, or wear it alone against bare skin when the weather turns warm and golden.
Materials and Tools
For this crochet baby romper, you will want to reach for a DK weight yarn in a natural fiber or a soft cotton blend, as both offer the breathability and gentle drape that baby skin deserves. The romper shown in the video is worked with a 3.5mm crochet hook, which gives the fabric an airy yet structured quality, firm enough to hold the raised floral details but soft enough to move and stretch naturally. A 100% cotton DK yarn or a cotton-acrylic blend is ideal for easy care and durability, since baby garments live a full and busy life through washing cycles and sticky fingers. Keep a locking stitch marker nearby to track your rounds, particularly when you begin the crotch shaping, as this small tool saves a remarkable amount of confusion.
Stitch by Stitch
This romper draws on a small but expressive set of stitches that layer beautifully together to create its signature look.
BULLET:SC (Single Crochet) The foundational stitch used throughout the body and shaping sections, giving the fabric a dense and tidy structure.
BULLET:DC (Double Crochet) Used across the main body panels to create height and an open, breathable texture between the floral motifs.
BULLET:BLO (Back Loop Only) Worked in the ribbed cuffs and waistband sections to create that characteristic stretchy, ridged texture that grips softly without pulling.
BULLET:Puff Stitch The raised daisy petals are formed using a variation of the puff stitch, where multiple YO loops are drawn through together to create a plump, sculptural petal shape on the fabric surface.
Once you settle into the rhythm of alternating rows of DC with the puff stitch flower repeats, the work takes on a meditative rhythm that is genuinely pleasurable to return to each evening.
Construction
The crochet baby romper is worked primarily from the top down, beginning at the neckline and expanding outward through simple increases to shape the yoke before dividing for the body. The front and back panels are worked flat and then joined at the sides, with short sleeves added separately and finished with BLO ribbing at the cuffs. The crotch section is shaped with a series of SC decreases that draw the two front and back legs together neatly, and the leg openings are finished with a simple round of SC to keep everything tidy and comfortable against baby skin. If you want to size up or down, adjusting your starting chain count at the neckline by increments of four will keep the stitch pattern aligned beautifully. The full step-by-step instructions and all shaping details are available in the video tutorial, which walks you through every section clearly and at a comfortable pace.
Wearing Your Baby Romper
Layer the crochet baby romper over a fine ribbed long-sleeve bodysuit for a sweet autumn look that photographs beautifully at golden hour. In summer, it stands alone as a complete outfit paired with a simple cloth sun hat and soft leather pre-walker shoes. This is the kind of handmade piece you will want to finish quickly, not because you are in a rush, but because you genuinely cannot wait to see it worn.
Washing and Caring for Your Baby Romper
Because this romper will be worn close to delicate skin and washed frequently, choosing a machine-washable DK yarn from the very beginning is the kindest decision you can make for your future self. Hand washing in cool water with a gentle wool or delicate wash is always the safest option if you have used a natural fiber yarn, and laying it flat to dry on a clean towel will help the romper hold its shape through many washes. Blocking the finished piece over a baby dress form or pinning it gently to measurements on a foam mat after the first wash will open up the lace collar beautifully and settle all the floral motifs into their proper positions. Store it folded rather than hung, as the weight of the fabric can stretch the neckline over time if left on a hanger.
Every stitch in this little romper is an act of care made visible, and the person who receives it will feel that, even if they are too small to say so. Save this to your Pinterest boards and share your finished crochet baby romper with the tag so the whole community can celebrate what your hands have made.
Follow us on Pinterest and subscribe to the Newsletter so you don’t miss a thing!
Tutorial and photos of this baby romper by: WONDER NETTING.
