
A free video tutorial is available for this Crochet 3D Braided Beanie, and the way those raised diagonal ridges spiral across the crown like woven ribbon is truly something to behold!
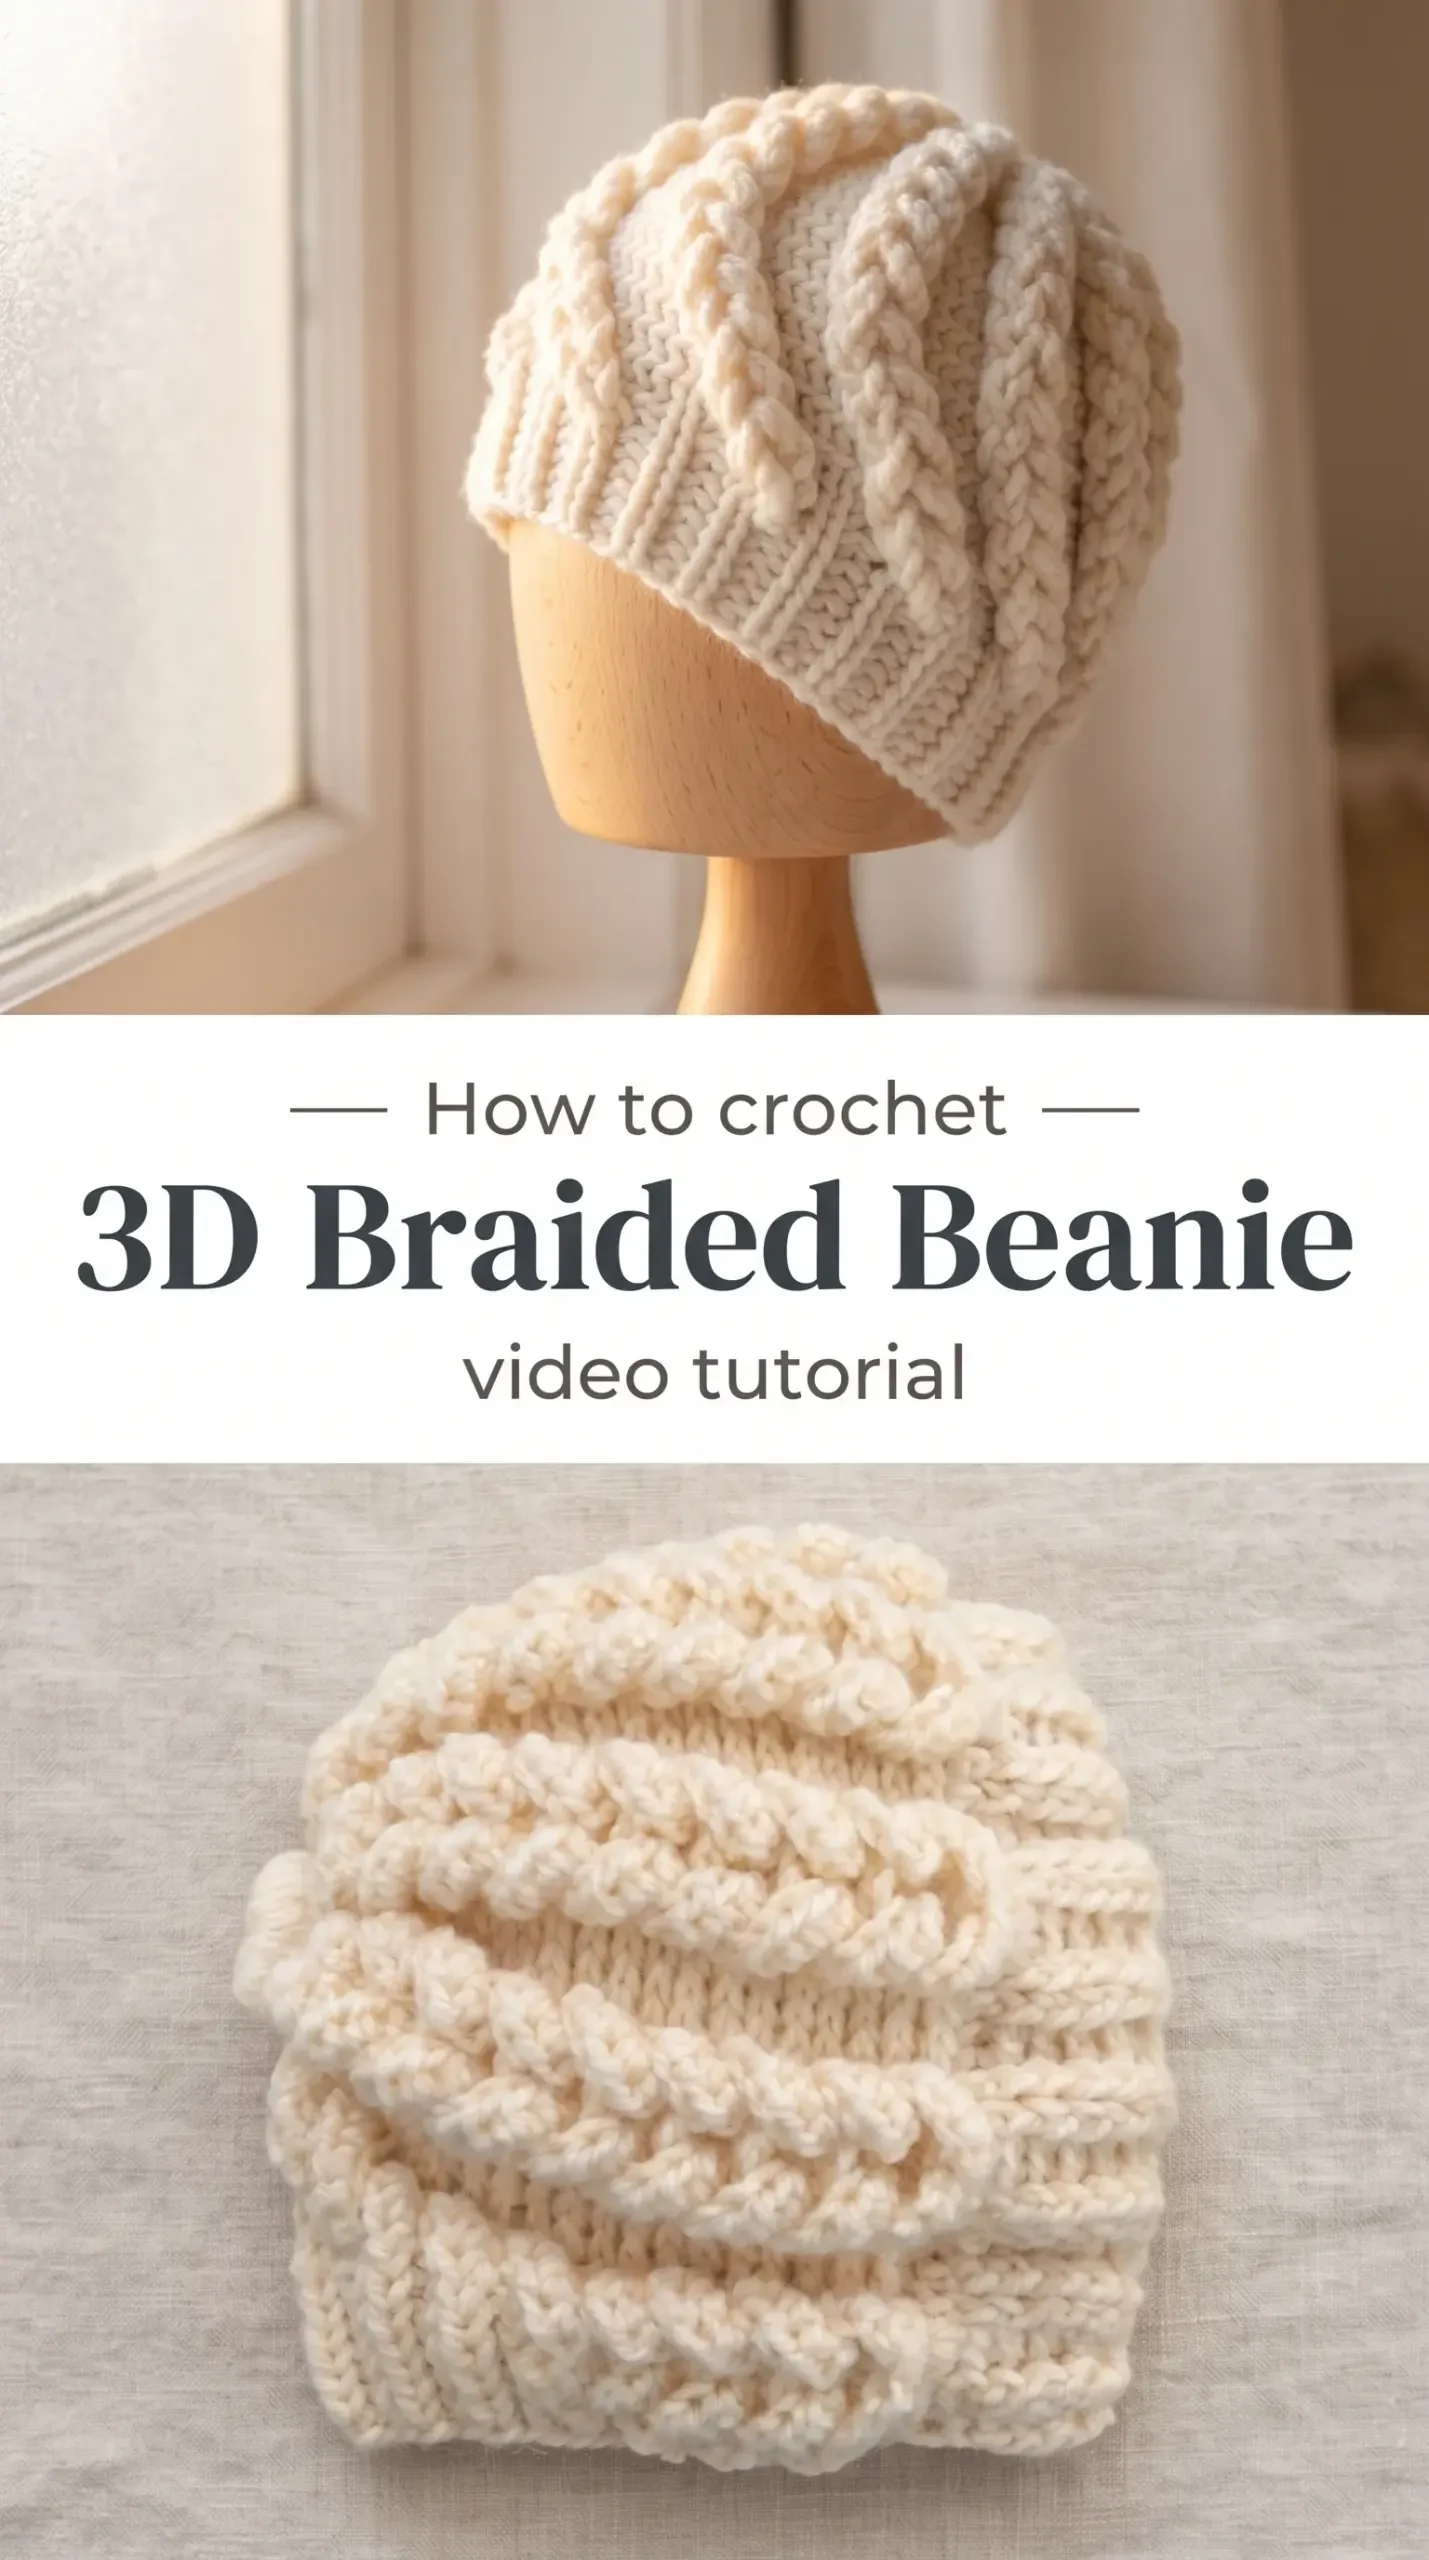
The 3D Braided Beanie
This Crochet 3D Braided Beanie is the kind of piece that draws fingertips before it draws compliments, because the texture speaks first, a rolling landscape of raised cables and bobbled ridges that feel as substantial as they look. It belongs to the crafter who wants their handmade work to carry real weight and presence, not just warmth. The finished hat sits with quiet authority, airy yet structured, soft against the forehead but visually bold from across a room.
Braided Beanie Related Posts:
- Crochet Stockinette Swatch: A Classic Timeless Foundation
- Crochet Granny Square: A Timeless Classic Motif
- Crochet Mesh Tote Bag: A Practical Everyday Essential
- Crochet Textured Phone Case: A Chic Practical Accessory
In cream or ivory the beanie carries a timeless, almost sculptural quality, but it also transforms completely in deep forest green, burnt sienna, or dusty rose. Worn slouched at the back of the head with a chunky coat and lace-up boots, or pulled snugly over cropped hair with a camel scarf, this hat moves between casual weekend ease and considered slow-fashion dressing without missing a step.
Materials and Tools
Reach for a worsted weight yarn to give those raised braided ridges the body and definition they deserve. A wool-acrylic blend works beautifully here, offering just enough elasticity to keep the hat’s shape through long wear while remaining practical to wash. Pair your yarn with a 4mm crochet hook, which gives a firm, even tension without pulling the fabric too tight. A stitch marker is your quiet companion throughout this project, helping you track round beginnings with ease as the crown takes shape.
Stitch by Stitch
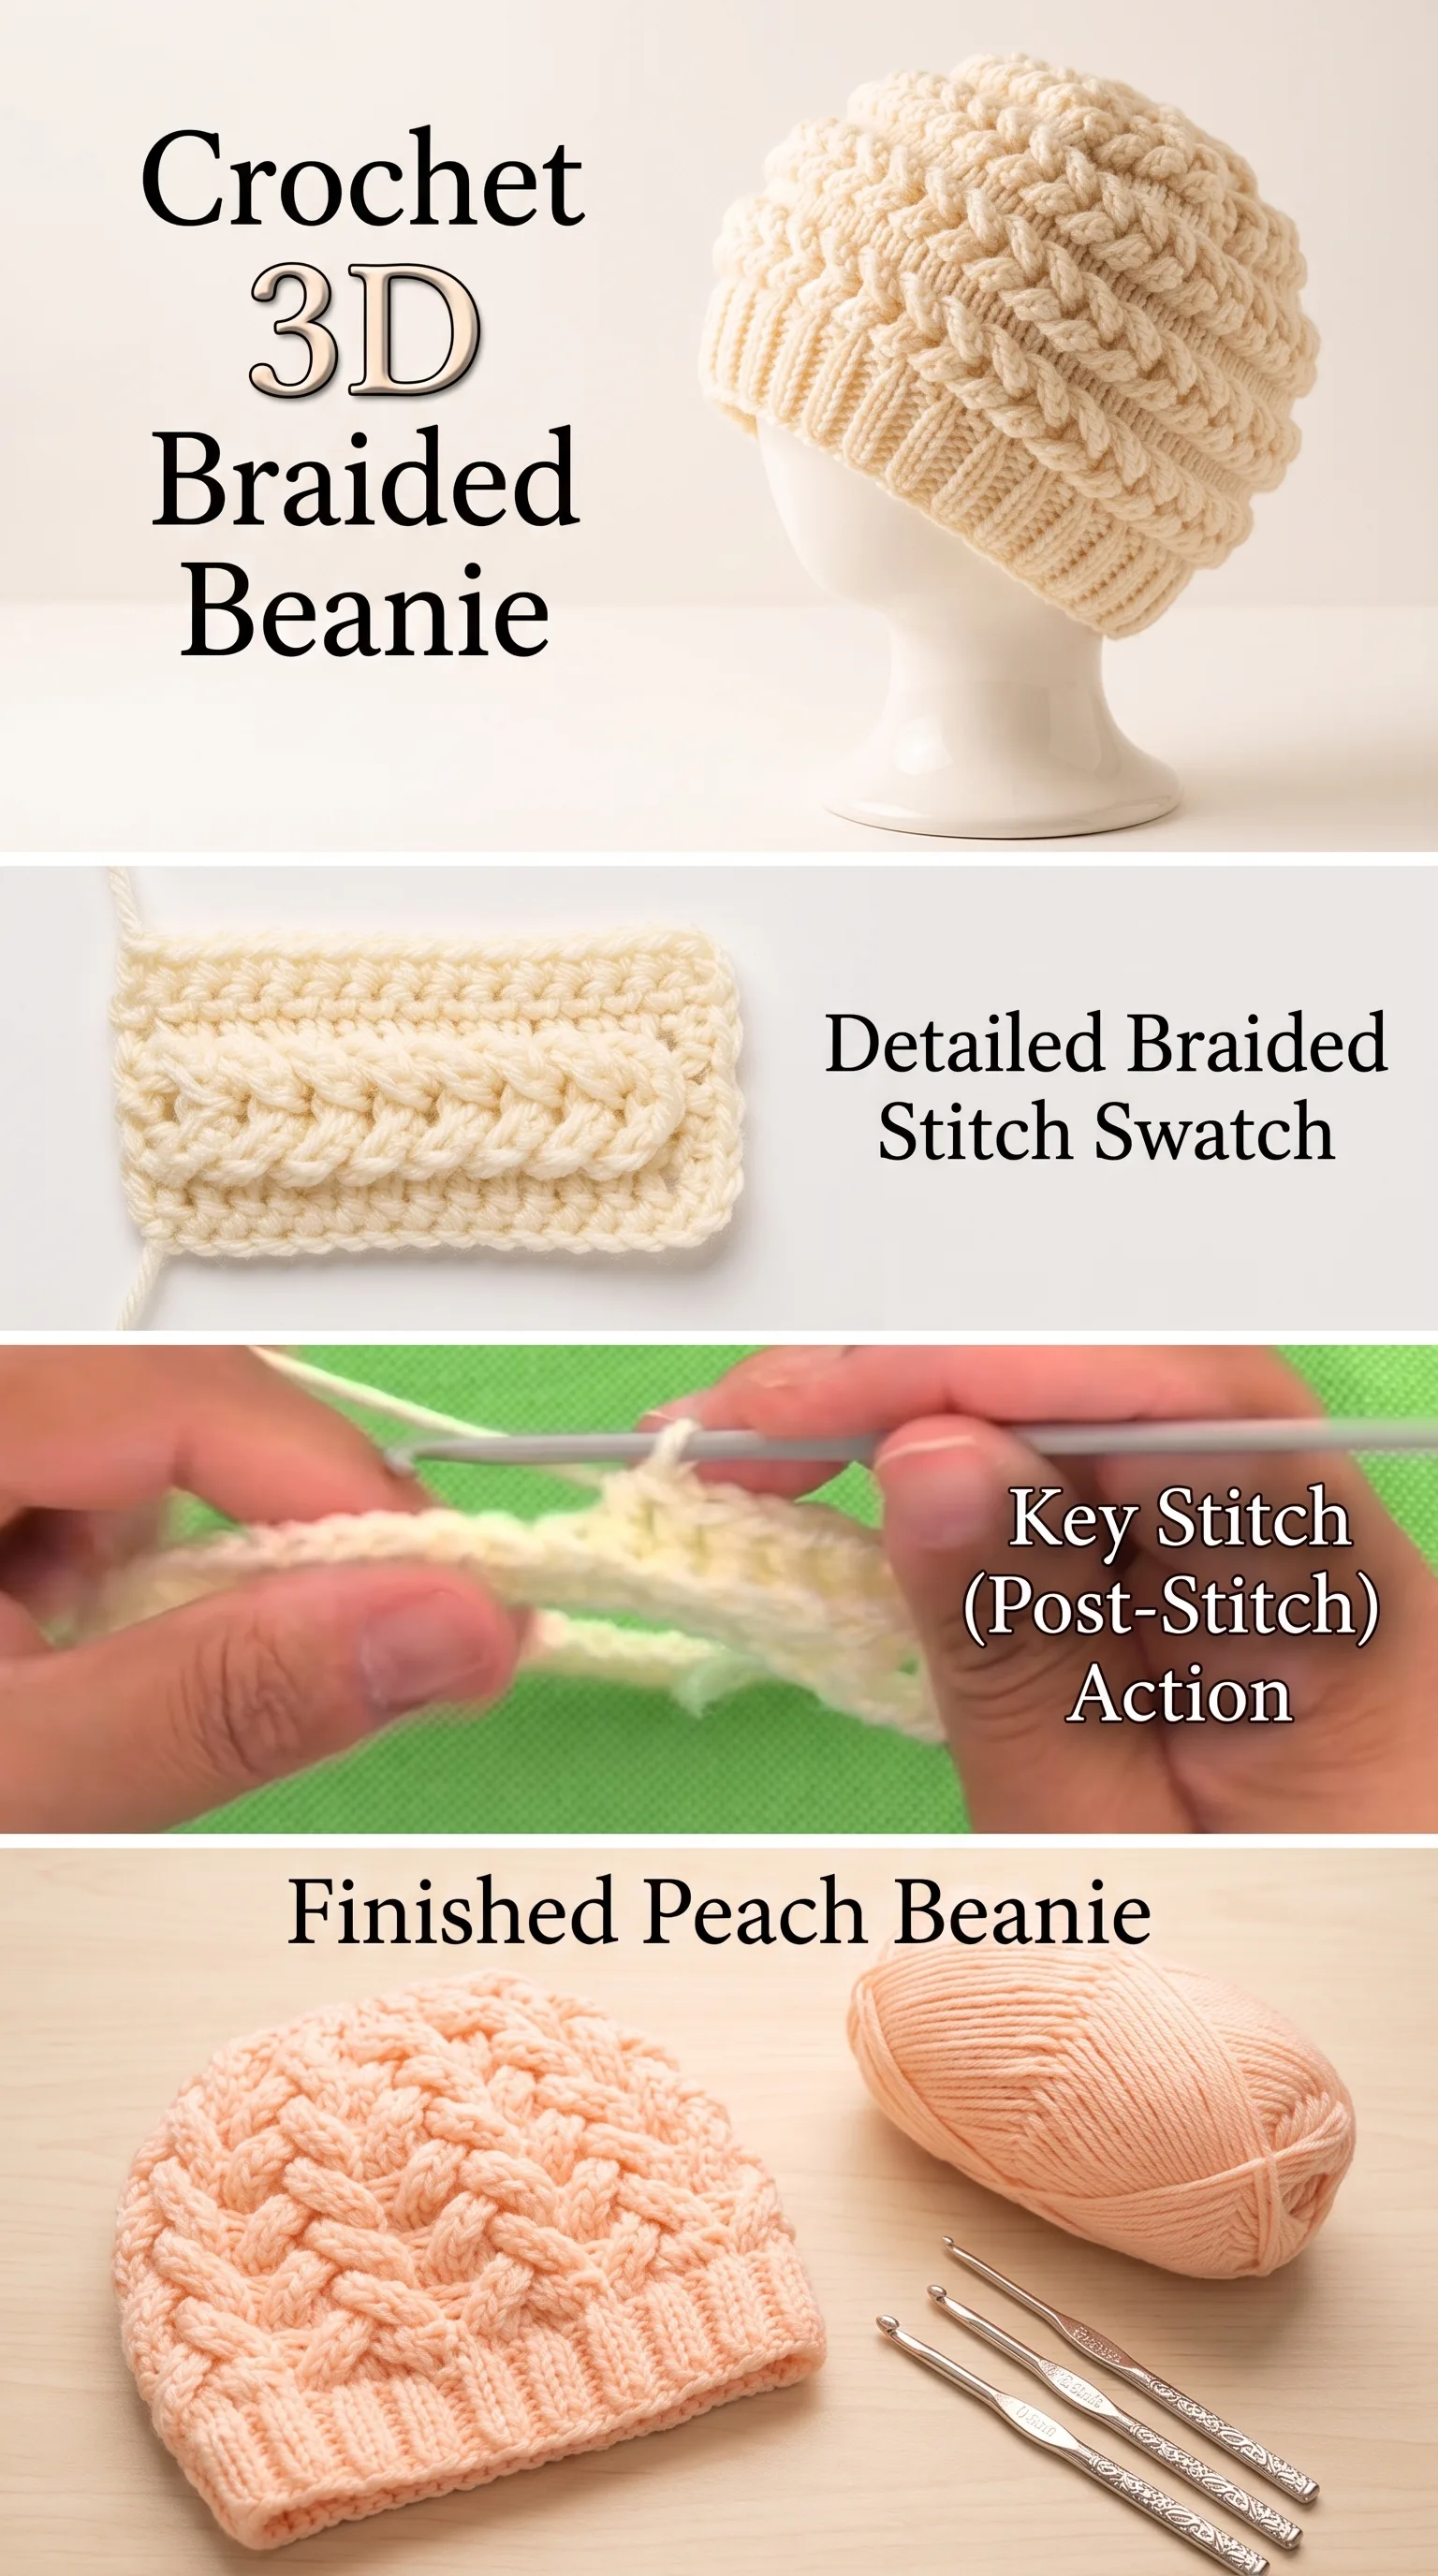
The Crochet 3D Braided Beanie draws on a small collection of stitches that layer together to create its signature raised texture.
BULLET:SC (Single Crochet) The foundational stitch used to establish the ribbed brim, worked in short, firm rows that create a stretchy band to anchor the hat.
BULLET:DC (Double Crochet) The main body stitch that builds height quickly, forming the smooth channels between each raised ridge.
BULLET:FPDc (Front Post Double Crochet) The true magic of this pattern, worked around the post of the stitch below to pull raised braided columns forward from the fabric surface.
BULLET:BPDc (Back Post Double Crochet) Worked in contrast to the FPDc, this stitch pushes sections back to create depth and shadow between the raised ridges.
Working rounds of FPDc and BPDc in alternation creates a meditative rhythm that becomes instinctive very quickly, your hands finding the groove of the pattern while your mind rests.
Construction
The Crochet 3D Braided Beanie is worked in the round from a foundation chain that closes into a ring, building the body of the hat upward toward the crown with gradual shaping. The ribbed brim is completed as a separate flat panel in SC rows, then seamed or joined to the main hat body, giving it that neat, folded edge you see on classic beanies. Beginners will find comfort in the fact that the stitch repeat is short and consistent, making it easy to memorise within the first two rounds. For a looser, slouchier fit, simply work a few additional rounds before beginning the crown decreases.
Wearing Your 3D Braided Beanie
Pull the finished Crochet 3D Braided Beanie low over your ears on a sharp autumn morning and pair it with a long wool coat and simple stud earrings for an effortless, composed look. It also layers beautifully beneath a hood, the textured crown peeking out with that handmade character that no shop-bought accessory can replicate. Finish yours and you will want to cast on immediately in a second color for gifting.
Keeping Your Beanie Looking Its Best
Hand washing your Crochet 3D Braided Beanie in cool water with a gentle wool wash will preserve both the fiber and the raised stitch definition for seasons to come. Avoid wringing the hat, instead press it gently between two dry towels and then reshape it by hand before laying it flat to dry. If you have used a pure wool yarn, a light blocking over a balloon or hat form will help the brim lie smooth and the crown maintain its rounded shape. Store the beanie folded loosely in a breathable cotton bag rather than compressed in a drawer, so those beautiful raised ridges keep their lift.
Every stitch in this hat is a small act of making something real with your own hands, and that is worth every loop and pull. Save this article to your Pinterest boards and share your finished Crochet 3D Braided Beanie with the handmade community using your favorite crochet hashtag.
Follow us on Pinterest and subscribe to the Newsletter so you don’t miss a thing!
Tutorial and photos of this 3d braided beanie by: tallermanualperu.
