Crochet earrings look intimidating. I get it. All those tiny stitches, delicate thread, and intricate shapes can make anyone feel like they need years of experience before even attempting jewelry. But here’s the truth: if you can single crochet and double crochet, you can absolutely make these stunning maple leaf earrings. The ombre effect looks like advanced colorwork, but it’s actually created by simply switching between two colors at specific points. No magic required. Whether you’re a confident beginner ready to try something new or an experienced crocheter looking for a quick satisfying project, this maple leaf earrings crochet pattern breaks everything down into manageable steps.
Why You’ll Love This Crochet Earring Pattern
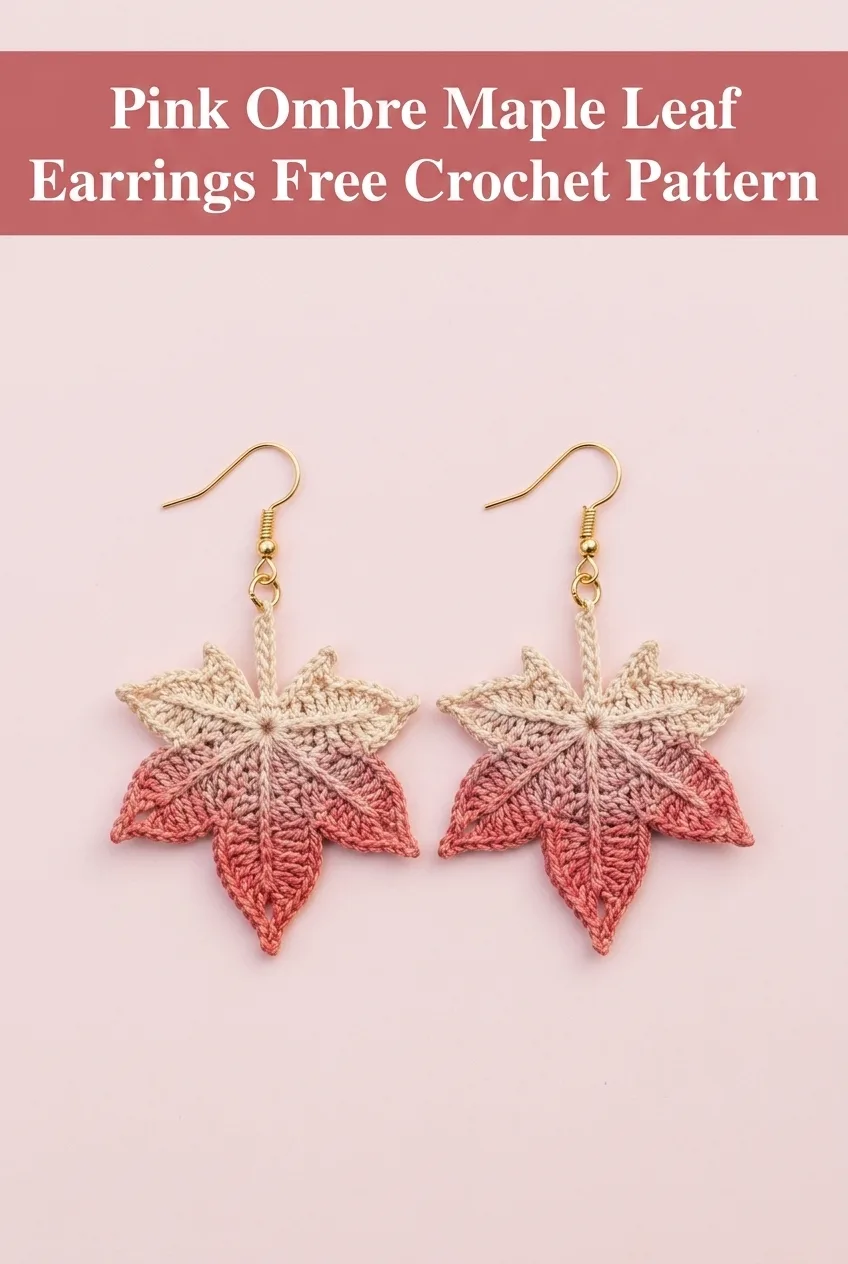
These pink ombre maple leaf earrings are the perfect accessory for fall, but honestly, they work year-round. The soft gradient from dusty rose to cream gives them an elegant, nature-inspired look that pairs beautifully with both casual and dressy outfits.
What makes this crochet tutorial special is the construction method. Each leaf is worked in one piece, starting from the center stem and building outward to create five distinct points. The raised veins on each leaf section come from working in the back loop only (BLO), which creates those beautiful ridged lines you see running through the design.
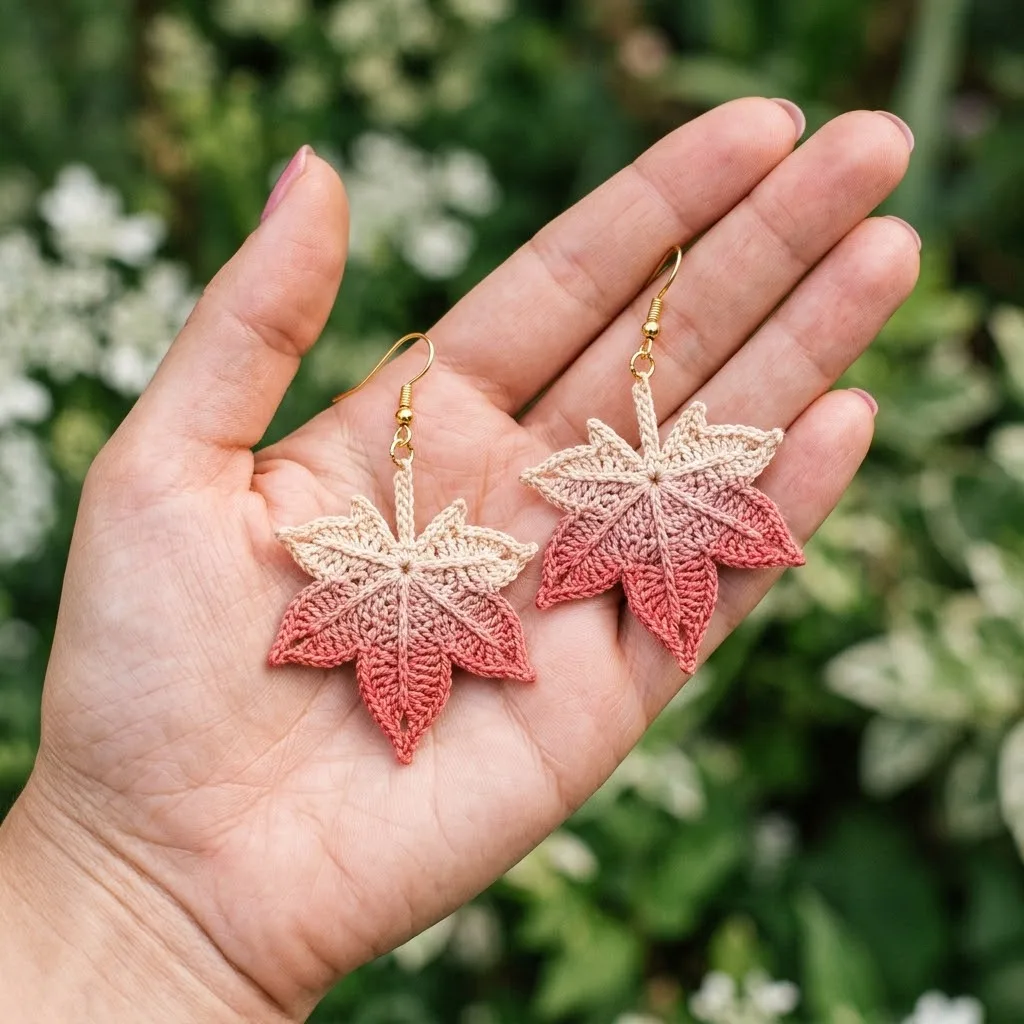
The finished earrings measure approximately 2 inches wide and 2.5 inches long, making them a statement piece without being overwhelming. They’re surprisingly lightweight too, so you can wear them all day without any discomfort.
Materials Needed for Your Maple Leaf Earrings
Before you begin this step by step crochet pattern, gather these supplies:
Yarn:
I recommend mercerized cotton thread for this project. The slight sheen adds elegance, and cotton holds its shape beautifully for jewelry. Aunt Lydia’s Classic Crochet Thread or DMC Petra are both excellent choices.
Hook:
If you’ve never worked with thread this fine before, don’t panic. A smaller hook gives you more control. Just take your time and work in good lighting.
Notions:
Skill Level
Intermediate Beginner to Intermediate
This pattern uses basic stitches but requires comfort working with fine thread and a small hook. The leaf construction involves some shaping that might feel unfamiliar at first, but each section follows the same basic technique.
Stitch Abbreviations and Definitions
Let me break down every stitch you’ll encounter in this maple leaf earrings crochet pattern:
Ch = Chain: Wrap yarn over hook, pull through loop on hook. This creates the foundation for most crochet work.
Sl st = Slip stitch: Insert hook into stitch, yarn over, pull through both the stitch and the loop on your hook in one motion. Used for joining and moving across stitches without adding height.
Sc = Single crochet: Insert hook into stitch, yarn over, pull up a loop (2 loops on hook), yarn over, pull through both loops. The shortest basic stitch.
Hdc = Half double crochet: Yarn over, insert hook into stitch, yarn over, pull up a loop (3 loops on hook), yarn over, pull through all 3 loops. Slightly taller than single crochet.
Dc = Double crochet: Yarn over, insert hook into stitch, yarn over, pull up a loop (3 loops on hook), yarn over, pull through 2 loops (2 loops remain), yarn over, pull through remaining 2 loops. Creates a taller stitch with nice drape.
Tr = Treble crochet (also called triple crochet): Yarn over twice, insert hook into stitch, yarn over, pull up a loop (4 loops on hook), [yarn over, pull through 2 loops] 3 times. The tallest stitch in this pattern.
BLO = Back loop only: Instead of inserting your hook under both loops of the V at the top of a stitch, insert it under only the back loop (the one farther from you). This creates a raised ridge on the front of your work.
Sk = Skip: Pass over the indicated stitch without working into it.
Inc = Increase: Work 2 stitches into the same stitch.
Gauge
Gauge is less critical for jewelry than for garments, but as a reference: using size 10 thread and a 1.65mm hook, 10 single crochet stitches should measure approximately 1 inch.
If your leaves come out much larger or smaller than expected, adjust your hook size accordingly.
How to Crochet Maple Leaf Earrings: Step by Step Pattern Instructions
This pattern creates one leaf. Make two for a complete pair of earrings.
Starting the Center Stem
We begin with the stem, which becomes the hanging loop for your earring finding.
Using Color A (dusty rose):
Foundation: Ch 12.
Row 1: Starting in the 2nd ch from hook, sl st in each ch across. (11 sl sts)
Do not fasten off. You’ll continue directly into the first leaf section.
*Quick note: This chain creates the stem you see at the top of each leaf. It needs to be long enough to create a small loop for attaching your earring wire.*
Working the First Leaf Point (Bottom Center)
Still using Color A:
Row 1: Ch 7, sc in 2nd ch from hook, hdc in next ch, dc in next ch, dc in next ch, hdc in next ch, sc in last ch. (6 sts)
Row 2: Ch 1, turn. Working in BLO, sc in first st, hdc in next st, dc in next 2 sts, hdc in next st, sc in last st. (6 sts)
Row 3: Ch 1, turn. Working in BLO, sk first st, sc in next st, hdc in next st, dc in next st, hdc in next st, sl st in last st. (5 sts)
Row 4: Ch 1, turn. Working in BLO, sk first st, sc in next st, dc in next st, sc in next st, sl st in last st. (4 sts)
Row 5: Ch 1, turn. Working in BLO, sk first st, sc in next st, sc in next st, sl st in last st. (3 sts)
Fasten off Color A for this section. Leave a 4-inch tail for weaving in later.
Working the Second Leaf Point (Bottom Left)
Join Color A at the base of the stem, on the left side of the first leaf point.
Row 1: Ch 6, sc in 2nd ch from hook, hdc in next ch, dc in next ch, hdc in next ch, sc in last ch. (5 sts)
Rows 2-4: Repeat the decreasing pattern from the first leaf point, working in BLO throughout. Each row will have one fewer stitch until you end with a point.
Fasten off.
Working the Third Leaf Point (Bottom Right)
Join Color A at the base of the stem, on the right side of the first leaf point, mirroring the second point.
Repeat the same instructions as the second leaf point.
Fasten off.
Transitioning to the Upper Leaf Points
Here’s where the ombre magic happens. The upper two leaf points use Color B (cream), creating that beautiful gradient effect.
Working the Fourth Leaf Point (Upper Left)
Join Color B at the base of the stem, positioned between the second and third points, on the left side.
Row 1: Ch 5, sc in 2nd ch from hook, hdc in next ch, dc in next ch, sc in last ch. (4 sts)
Rows 2-3: Continue decreasing in BLO pattern until the point is formed.
Fasten off.
Working the Fifth Leaf Point (Upper Right)
Join Color B on the right side, mirroring the fourth point.
Repeat the same instructions as the fourth leaf point.
Fasten off.
Creating the Center Vein Detail
This step adds definition to your leaf and connects all the points.
Using Color B, join at the tip of the stem with a sl st.
Work a line of sl sts down the center back of each leaf point, connecting them and creating that raised center vein you see in the photo.
Fasten off and weave in all ends securely.
Finishing Your Crochet Maple Leaf Earrings
Blocking and Stiffening
I highly recommend stiffening your finished leaves. This helps them hold their shape and gives them a more polished, professional look.
Option 1: Fabric Stiffener
Dip your completed leaf in fabric stiffener (like Stiffy or Aleene’s Fabric Stiffener). Squeeze out excess, then pin to your blocking board, shaping each point carefully. Let dry completely, usually 24 hours.
Option 2: Diluted White Glue
Mix white school glue with water (about 1 part glue to 2 parts water). Apply with a brush or dip the leaf. Pin and shape as above.
Attaching Earring Findings
Once your leaves are completely dry:
1. Fold the stem chain in half to create a small loop at the top of your leaf.
2. Use a slip stitch or a few hand stitches with matching thread to secure the loop closed.
3. Open a jump ring using your jewelry pliers. Twist sideways rather than pulling apart, which weakens the metal.
4. Thread the jump ring through your stem loop and through the loop on your earring wire.
5. Close the jump ring by twisting it back together until the ends meet perfectly.
Repeat for the second earring, and you’re done!
Tips for Beginner Friendly Success
Working with thread: If this is your first thread crochet project, practice a small swatch first. Thread behaves differently than yarn, and the tiny hook takes some getting used to.
Good lighting is essential: Seriously. Work near a window during the day or use a bright craft lamp. Your eyes will thank you.
Count your stitches: With such a small project, one missed stitch throws off the entire shape. Count at the end of each row.
Don’t pull too tight: Thread crochet tends to encourage tight tension. Try to keep your stitches relaxed enough that you can easily insert your hook into them on the next row.
Make a test leaf first: Use scrap thread in a single color to practice the construction before committing to your final colors.
Customization Ideas
Once you’ve mastered this crochet tutorial, try these variations:
Perfect for Gift Giving
These maple leaf earrings make wonderful handmade gifts. They work up in about 30 to 45 minutes per earring once you get the hang of the construction. Package them on a small card with a ribbon, and you have a thoughtful, personalized present for any nature lover in your life.
They’re also fantastic for craft fairs and markets. The materials cost very little, and the unique design catches attention on any display.
I really hope you enjoy making these pink ombre maple leaf earrings as much as I enjoyed designing them. If you found this crochet pattern helpful, please save it to your Pinterest boards so you can find it easily when you’re ready to start stitching. And if you make a pair, I would absolutely love to see them! Drop a comment below with your photos or tag me on social media. Happy crocheting!
