I call this one the Sunshine Shawl, and it has quite the story. I first sketched the design in an old spiral notebook about three years ago while sitting in my grandmother’s kitchen. She always wore pocket shawls around the house, and I wanted to create one that felt modern but still carried that same cozy, practical vibe. The notebook sat in my desk drawer until last month when I finally pulled it out, bought the most cheerful golden yellow yarn I could find, and brought this pattern to life. I think Gran would have loved it.
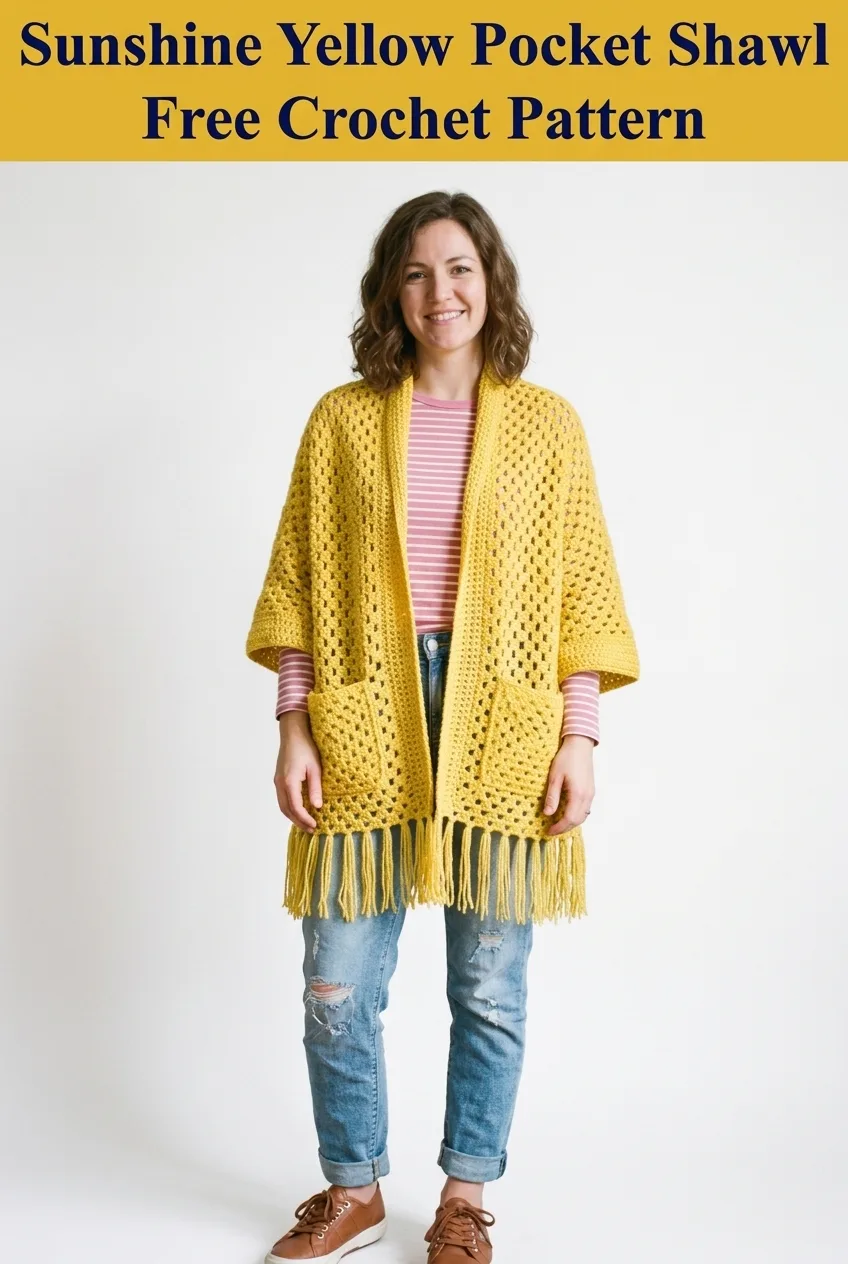
This crochet pocket shawl pattern combines the comfort of a blanket with the wearability of a cardigan. You get those beautiful open lacework panels, functional pockets for keeping your hands warm or stashing your phone, and fun fringe along the bottom. The whole thing works up in a classic granny stitch variation that creates those signature holes you see throughout. If you can chain, double crochet, and work in rows, you can absolutely make this.
Why You Will Love This Crochet Pattern
This shawl hits that sweet spot between decorative and practical. The open stitch pattern gives it drape and breathability, so you can wear it indoors without overheating. Those two front pockets are not just cute accents. They are genuinely useful. And the fringe adds movement and personality without being over the top.
The construction is simpler than it looks. You are basically making one large rectangle, folding it to create armholes, seaming the shoulders, and adding pockets and edging. No complicated shaping. No counting a million different stitch counts. Just steady rows of the same stitch pattern from start to finish.
This step by step crochet tutorial walks you through every part of the process. I have included tips for beginners and notes on where things might get tricky. Let’s dive in.
Materials You Will Need
Yarn: Approximately 1,400 yards of worsted weight yarn (weight category 4). I used a soft acrylic blend in a golden mustard yellow. Look for yarn with good stitch definition so your lacework shows clearly.
Hook: 6.0mm (US J/10) crochet hook. You may need to adjust based on your tension.
Notions:
Gauge: 12 stitches and 6 rows = 4 inches in the granny stitch pattern. Check your gauge before starting. If your gauge is too tight, go up a hook size. Too loose? Go down a size.
Finished Measurements
This creates a relaxed, oversized fit that works for sizes small through extra large. The open front and drapey fabric make it forgiving across different body types.
Skill Level
Confident Beginner to Intermediate. You should be comfortable with basic stitches and working in rows. The stitch pattern repeats consistently, so once you get the rhythm, it flows easily.
Abbreviations and Stitch Definitions
Let me break down every stitch and term you will encounter.
Ch = Chain. Wrap yarn over hook, pull through loop on hook. This creates the foundation and turning chains.
Dc = Double crochet. Yarn over, insert hook, yarn over and pull up a loop (3 loops on hook), yarn over and pull through 2 loops (2 loops remain), yarn over and pull through remaining 2 loops. This is your main stitch.
Sk = Skip. Pass over the indicated stitch without working into it.
Sp = Space. The gap or hole created between stitch clusters.
Sl st = Slip stitch. Insert hook, yarn over, pull through both the stitch and the loop on your hook in one motion. Used for joining and edging.
Sc = Single crochet. Insert hook, yarn over, pull up a loop (2 loops on hook), yarn over, pull through both loops.
Rep = Repeat. Work the instructions again as directed.
St(s) = Stitch(es).
The Granny Cluster Stitch Pattern
This shawl uses a variation of the classic granny stitch. Here is how it works:
Granny Cluster: Work 3 dc into the same stitch or space. This creates one cluster.
Pattern Repeat: 3 dc in space, ch 1, skip next cluster. The chain 1 creates the hole, and you work your next cluster into the space below.
This creates that beautiful, lacy, open fabric you see in the photos. The holes are not mistakes. They are the whole point.
Pattern Instructions
Main Body Panel
The body is worked as one large rectangle, then folded and seamed to create the shawl shape.
Foundation Row: Ch 182.
Row 1: Dc in 4th ch from hook (the skipped chains count as your first dc). Dc in next ch. *Skip 2 ch, 3 dc in next ch.* Repeat from * to * across until 3 ch remain. Skip 2 ch, dc in last ch. Turn. (60 clusters)
Row 2: Ch 3 (counts as first dc throughout). 2 dc in first sp (the gap between your first dc and the first cluster). *Ch 1, 3 dc in next sp.* Repeat from * to * across. End with 3 dc in the turning chain space. Turn.
Row 3: Ch 3. 2 dc in first ch-1 sp. *Ch 1, 3 dc in next ch-1 sp.* Repeat across, ending with dc in top of turning chain. Turn.
Rows 4 through 40: Repeat Row 3.
Your panel should measure approximately 60 inches wide and 26 inches tall at this point. If you want a longer shawl, add more rows. Just keep the row count even.
Fasten off and weave in ends.
Folding and Seaming the Body
This is where the magic happens. You will fold your rectangle to create the shawl shape with armhole openings.
1. Lay your rectangle flat, right side facing up.
2. Fold both short ends toward the center. Each folded section should be approximately 18 inches (the sleeves).
3. This leaves a center back section of approximately 24 inches.
4. Shoulder seams: Using your yarn needle and a length of yarn, seam the top edges of each folded section for approximately 8 inches. Start from the outer fold edge and work toward the center. Leave the remaining portion open for your head and neck.
5. The gaps between your shoulder seams and where the fold begins create your armholes. They should be approximately 10 inches deep, plenty roomy for movement.
Try it on at this point. Adjust your shoulder seam length if needed. Longer seams create smaller armholes. Shorter seams create more room.
Front Edging
The edging creates that clean border you see along the front opening and neckline.
Round 1: Join yarn at the bottom right front corner with a sl st. Ch 1. Sc evenly along the entire front opening, around the neckline, and down the other front edge. Work approximately 3 sc per row along the vertical edges. At corners, work 3 sc in the same stitch to keep the edge flat. Sl st to first sc to join.
Round 2: Ch 1. Sc in each sc around. At corners, work 3 sc in the center stitch. Sl st to join.
Rounds 3 and 4: Repeat Round 2.
Fasten off and weave in ends.
The border adds structure and helps the shawl hang nicely when worn open.
Pockets (Make 2)
The pockets use the same granny stitch pattern for a cohesive look.
Foundation: Ch 23.
Row 1: Dc in 4th ch from hook. Dc in next ch. *Skip 2 ch, 3 dc in next ch.* Repeat across until 3 ch remain. Skip 2 ch, dc in last ch. Turn. (7 clusters)
Row 2: Ch 3. 2 dc in first sp. *Ch 1, 3 dc in next sp.* Repeat across, ending with 3 dc in turning chain space. Turn.
Rows 3 through 12: Repeat Row 2.
Pocket Border:
Round 1: Ch 1. Sc evenly around all four sides of the pocket. Work 3 sc in each corner. Sl st to join.
Rounds 2 and 3: Ch 1. Sc in each sc around, working 3 sc in each corner stitch. Sl st to join.
Fasten off, leaving a long tail for sewing.
Attaching the Pockets
Position each pocket on the front panels, approximately 4 inches up from the bottom edge and centered on each front section. Pin in place.
Using your yarn needle and the long tail, whipstitch the bottom and two sides of each pocket to the shawl. Leave the top open. Weave in ends securely.
Adding the Fringe
The fringe runs along the entire bottom edge of the shawl.
1. Cut yarn into 12 inch lengths. You will need approximately 120 strands, but cut extra just in case.
2. Take 2 strands and fold them in half.
3. Insert your crochet hook from back to front through a stitch along the bottom edge.
4. Grab the folded loop with your hook and pull it partially through.
5. Pull the cut ends through the loop and tug to tighten.
6. Repeat across the entire bottom edge, spacing fringe bundles approximately every inch or in each space between clusters.
7. Trim the ends evenly with sharp scissors.
The fringe adds approximately 5 inches to your total length. Feel free to make it longer or shorter based on your preference. Or skip it entirely if fringe is not your thing.
Helpful Tips for Success
Counting clusters: If you lose track, count your clusters at the end of each row for the first few rows. Once the pattern is established, you can rely on visual cues.
Blocking: This project benefits from a light steam blocking. It opens up the lacework and evens out your stitches. Lay flat, mist with water, and let dry completely.
Yarn substitution: Any worsted weight yarn works. For more drape, try a cotton blend or bamboo. For extra warmth, choose wool or alpaca. Just check your gauge.
Color ideas: This pattern looks gorgeous in solid colors that show off the stitch definition. Deep teal, dusty rose, cream, rust, and charcoal are all beautiful options.
Wearing Your Sunshine Yellow Pocket Shawl
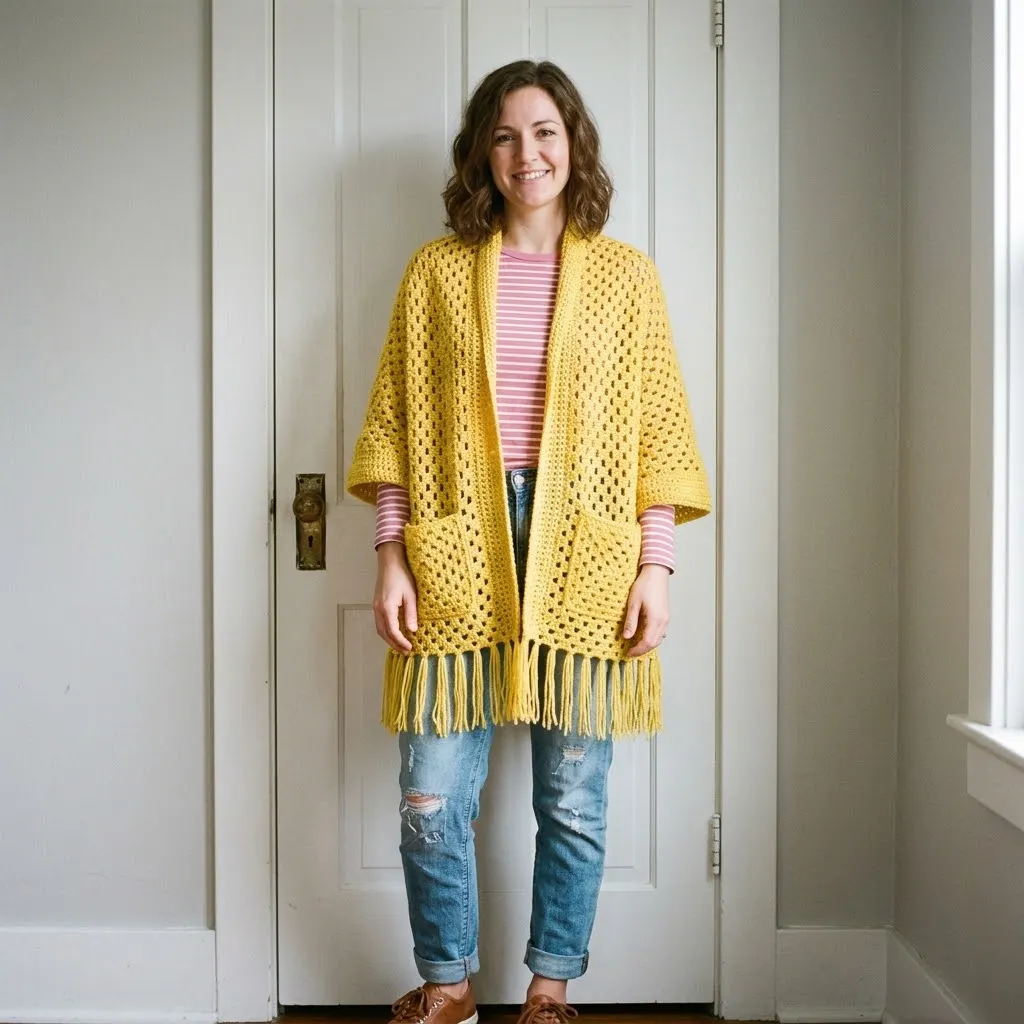
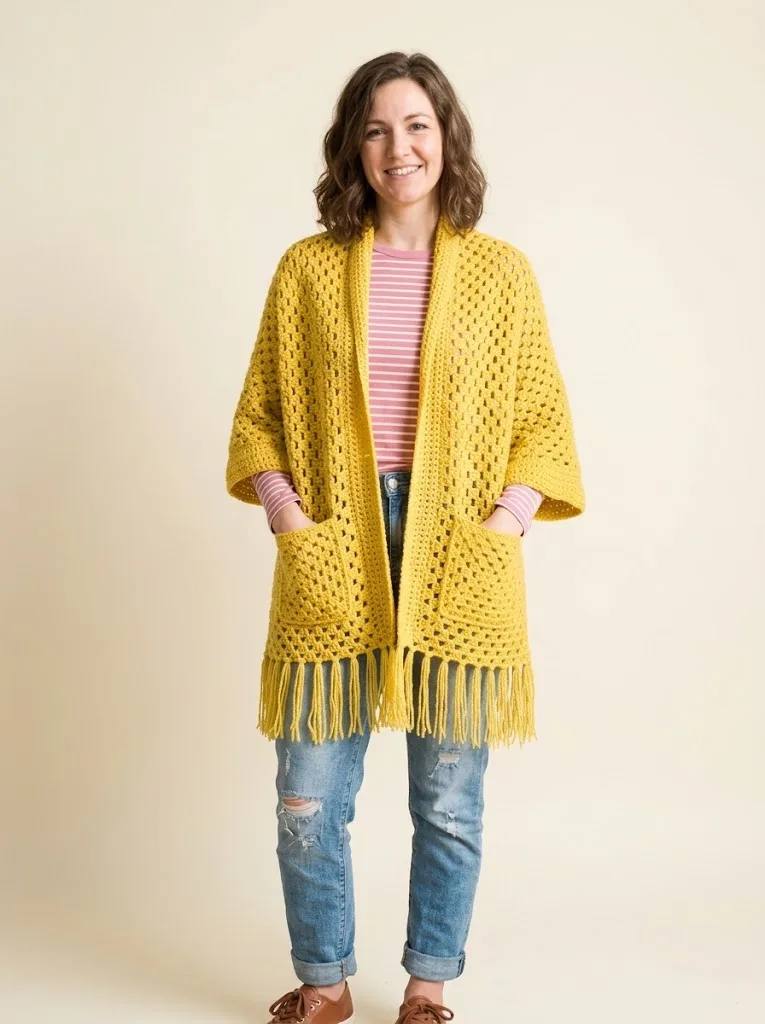
This shawl works as a cozy layering piece over a t-shirt and jeans, exactly like you see in the photos. It also dresses up nicely over a simple dress for fall events. The open front means you can wrap it, belt it, or let it hang loose. Those pockets are surprisingly useful for holding your phone, lip balm, or just keeping your hands warm.
Because of the oversized fit, this makes an excellent gift. You do not need to stress about exact sizing. It genuinely works for a range of body types and personal style preferences.
Wrapping Up This Crochet Pocket Shawl Pattern
I hope this Sunshine Yellow Pocket Shawl crochet pattern brings you as much joy to make as it brought me. Every time I wear mine, I think of my grandmother and those afternoons in her kitchen. That is the beautiful thing about handmade pieces. They carry stories and memories right along with the stitches.
This beginner friendly crochet pattern proves that stunning results do not require complicated techniques. Just simple stitches, good yarn, and a little patience. You have got this.
Thank you so much for choosing this pattern. I genuinely appreciate you being here. If you make your own Sunshine Shawl, I would absolutely love to see it. Tag me on Instagram or share a photo in my Facebook group. Seeing your finished projects is honestly the best part of my day.
If you loved this pattern, go ahead and save it to your Pinterest boards so you can find it when you are ready to start. And please drop a comment below if you make one. I read every single comment and would love to hear how yours turns out.
