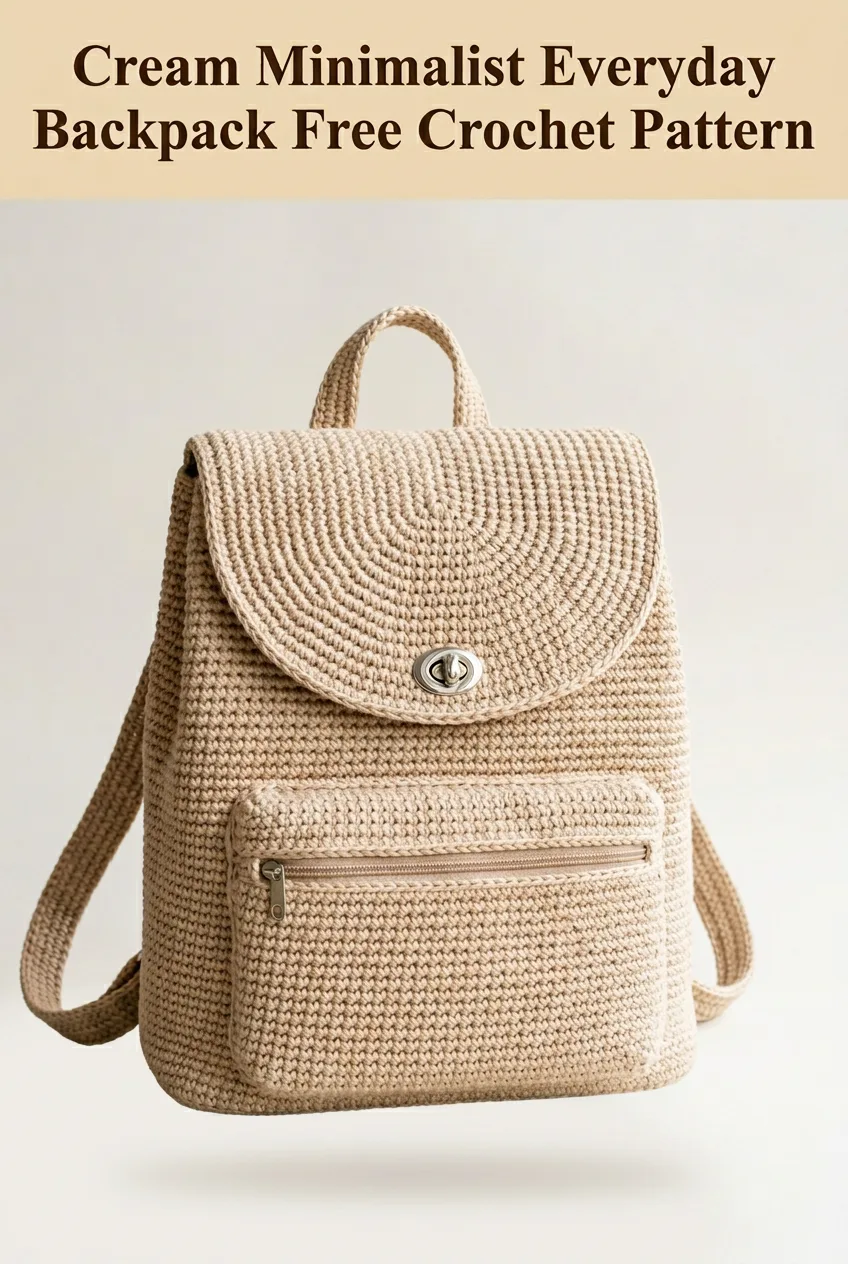
This is EASILY one of the most impressive crochet projects you can make, and it works up SO much faster than you would think! If you have been searching for a practical, stylish bag pattern that looks like you bought it from a boutique, you just found it. This cream minimalist everyday backpack takes your crochet skills to the next level while keeping the construction straightforward. You can finish the main body in a weekend, and trust me, everyone will ask where you bought it. This makes an INCREDIBLE gift for teens, college students, or anyone who loves that clean aesthetic.
Why You Will Love This Crochet Backpack Pattern
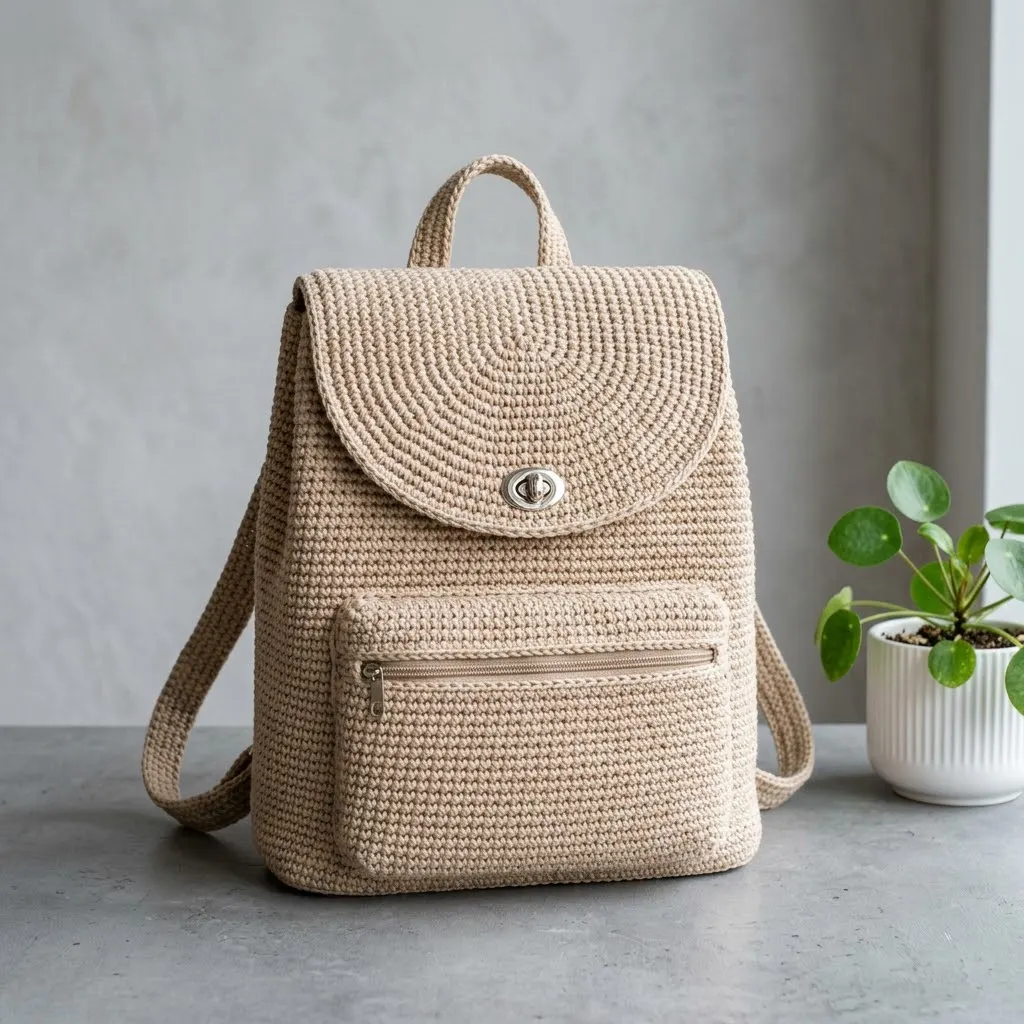
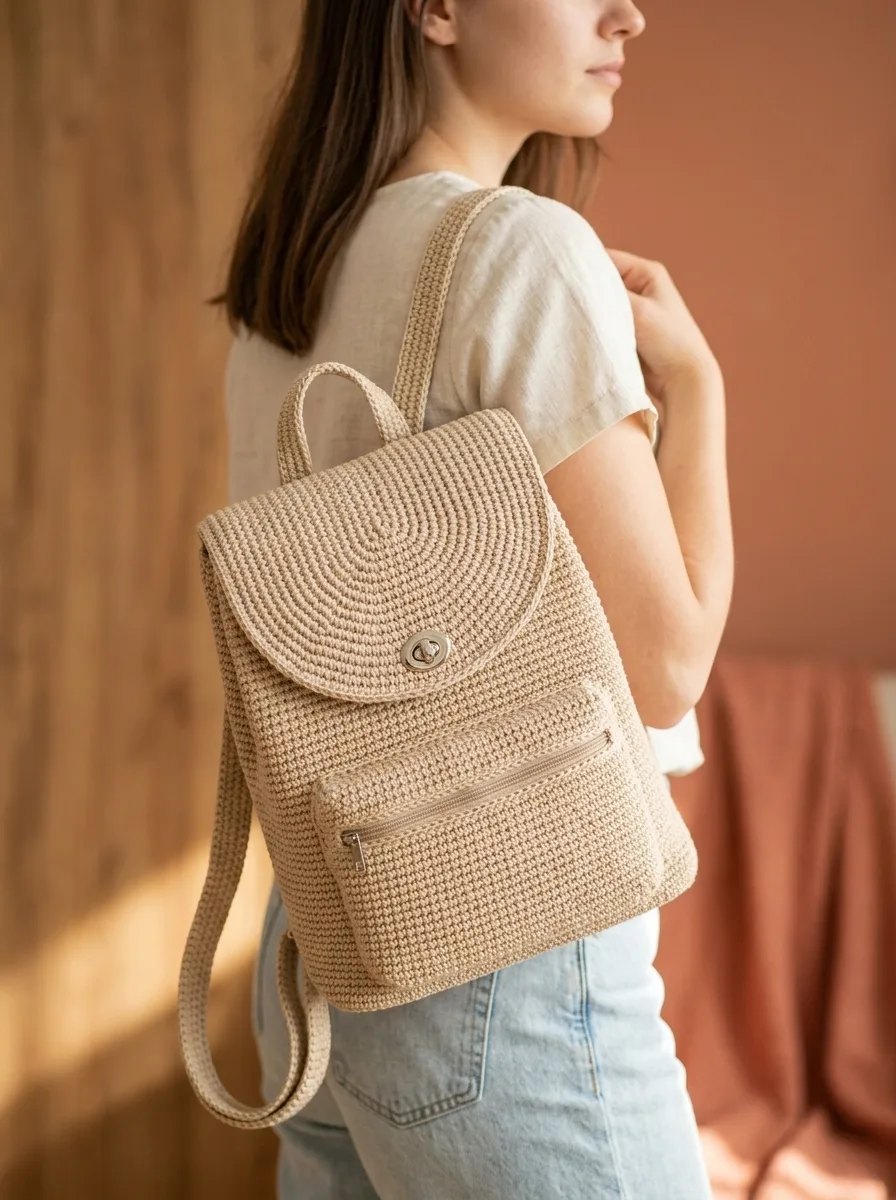
I designed this crochet backpack pattern with everyday use in mind. The clean lines, neutral color, and structured shape make it versatile enough to pair with any outfit. Whether you are heading to work, running errands, or meeting friends for coffee, this bag holds everything you need without looking bulky or crafty.
The construction uses single crochet (sc) throughout, which creates that tight, sturdy fabric you see in the photos. Single crochet means inserting your hook into a stitch, yarning over, pulling up a loop, yarning over again, and pulling through both loops. That dense texture is what makes this backpack hold its shape so beautifully.
What makes this crochet tutorial special is the combination of simple stitches with thoughtful design elements. You get a rounded flap with a twist lock closure, a front zippered pocket, adjustable straps, and a sturdy top handle. It looks complicated, but I promise each piece is beginner friendly when you take it step by step.
Skill Level
Intermediate beginner to intermediate. If you can single crochet confidently and have made at least one or two projects in the round, you can absolutely make this backpack. The shaping is gentle, and I will walk you through every section.
The trickiest parts are working in continuous rounds and attaching the hardware. Neither is difficult, just new if you have not done them before. I will explain both thoroughly.
Finished Dimensions
Materials Needed
Yarn:
Hook:
Notions:
Gauge
18 stitches and 20 rows = 4 inches (10 cm) in single crochet worked in rows
Check your gauge before starting. A tighter gauge creates a sturdier bag that holds its shape. If your gauge is loose, go down a hook size.
Abbreviations Used
Pattern Notes Before You Begin
This crochet backpack pattern is worked in several pieces that are assembled at the end. The main body is worked in continuous rounds from the bottom up. The flap is worked separately in rounds from the center out. Straps and handle are worked in rows.
Working in continuous rounds means you do not join at the end of each round. Instead, you keep spiraling upward. Use a stitch marker to track the beginning of each round, moving it up as you go.
A note about tension: Keep your stitches tight and even throughout. Loose stitches will make a floppy bag that does not hold its shape. If you notice gaps between stitches, switch to a smaller hook.
How to Crochet the Minimalist Everyday Backpack
Part 1: The Base
The base is a rounded rectangle worked in continuous rounds around a foundation chain.
Ch 21.
Rnd 1: Sc in 2nd ch from hook, sc in next 18 ch, 3 sc in last ch. Working along the opposite side of the foundation chain, sc in next 18 sts, 2 sc in last st. Place marker. (42 sts)
Rnd 2: Inc in first st, sc in next 18 sts, inc in next 3 sts, sc in next 18 sts, inc in next 2 sts. (48 sts)
Rnd 3: Sc in first st, inc in next st, sc in next 18 sts, (sc in next st, inc in next st) 3 times, sc in next 18 sts, (sc in next st, inc in next st) 2 times. (54 sts)
Rnd 4: Sc in next 2 sts, inc in next st, sc in next 18 sts, (sc in next 2 sts, inc in next st) 3 times, sc in next 18 sts, (sc in next 2 sts, inc in next st) 2 times. (60 sts)
Rnd 5: Sc in next 3 sts, inc in next st, sc in next 18 sts, (sc in next 3 sts, inc in next st) 3 times, sc in next 18 sts, (sc in next 3 sts, inc in next st) 2 times. (66 sts)
Rnd 6: Sc in next 4 sts, inc in next st, sc in next 18 sts, (sc in next 4 sts, inc in next st) 3 times, sc in next 18 sts, (sc in next 4 sts, inc in next st) 2 times. (72 sts)
Your base should now measure approximately 4 inches by 10 inches.
Part 2: The Body
Now you will work straight up without increases to create the sides.
Rnds 7 to 50: Sc in each st around. (72 sts)
Continue for 44 rounds total, or until body measures approximately 9 inches from the base. Keep your tension consistent.
Tip: Count your stitches every few rounds. It is easy to accidentally skip or add a stitch when working in continuous rounds.
Sl st in next st. Fasten off and weave in end.
Part 3: The Front Pocket
The front pocket is a simple rectangle worked in rows.
Ch 31.
Row 1: Sc in 2nd ch from hook, sc in each ch across. Ch 1, turn. (30 sts)
Rows 2 to 25: Sc in each st across. Ch 1, turn. (30 sts)
After Row 25, fasten off leaving a long tail for sewing.
Your pocket should measure approximately 6.5 inches wide by 5 inches tall.
Zipper attachment: Hand sew the zipper to the top edge of the pocket using a sewing needle and matching thread. Take your time with this step. Small, even stitches will look the neatest.
Part 4: The Flap
The flap is a circle worked from the center outward, then finished with a straight edge.
Make a magic ring.
Rnd 1: 6 sc into ring. Pull tight. Place marker. (6 sts)
Rnd 2: Inc in each st around. (12 sts)
Rnd 3: (Sc in next st, inc in next st) 6 times. (18 sts)
Rnd 4: (Sc in next 2 sts, inc in next st) 6 times. (24 sts)
Rnd 5: (Sc in next 3 sts, inc in next st) 6 times. (30 sts)
Rnd 6: (Sc in next 4 sts, inc in next st) 6 times. (36 sts)
Rnd 7: (Sc in next 5 sts, inc in next st) 6 times. (42 sts)
Rnd 8: (Sc in next 6 sts, inc in next st) 6 times. (48 sts)
Rnd 9: (Sc in next 7 sts, inc in next st) 6 times. (54 sts)
Rnd 10: (Sc in next 8 sts, inc in next st) 6 times. (60 sts)
Rnd 11: (Sc in next 9 sts, inc in next st) 6 times. (66 sts)
Rnd 12: (Sc in next 10 sts, inc in next st) 6 times. (72 sts)
Your circle should measure approximately 8 inches in diameter.
Border round: Sc evenly around the entire edge. Sl st to first sc. Fasten off.
Part 5: The Straps (Make 2)
Ch 7.
Row 1: Sc in 2nd ch from hook, sc in each ch across. Ch 1, turn. (6 sts)
Rows 2 to 130: Sc in each st across. Ch 1, turn. (6 sts)
Continue until strap measures approximately 28 to 30 inches, or your desired length.
Fasten off leaving a long tail.
Part 6: The Top Handle
Ch 7.
Row 1: Sc in 2nd ch from hook, sc in each ch across. Ch 1, turn. (6 sts)
Rows 2 to 35: Sc in each st across. Ch 1, turn. (6 sts)
Handle should measure approximately 7 inches.
Fasten off leaving a long tail.
Assembly Instructions
Take your time with assembly. This is where your backpack comes together.
Step 1: Position the front pocket on the front of the bag body, approximately 1 inch up from the base. Pin in place. Using your yarn needle and matching yarn, whip stitch the sides and bottom of the pocket to the bag. Leave the zippered top open.
Step 2: Attach the twist lock hardware to the center bottom of the flap and the corresponding piece to the front of the bag body. Follow your hardware’s specific instructions. Most twist locks require small holes poked through the fabric and prongs that bend to secure.
Step 3: Position the flap at the back top of the bag body. The straight edge should align with the back edge. Whip stitch securely across.
Step 4: Attach the straps. Position the top of each strap on either side of the handle attachment point at the back top of the bag. The bottom of each strap attaches to the bottom corners of the back. Whip stitch very securely, going over your stitches multiple times for strength.
Step 5: Fold the top handle in half to create a loop. Attach both ends to the center back top of the bag, just below the flap attachment. Stitch securely.
Step 6 (Optional): Cut a piece of plastic canvas or sturdy cardboard to fit the inside bottom of your bag. This helps it keep its rectangular shape.
Step 7 (Optional): If adding a fabric lining, cut your lining fabric to match the inside dimensions of your bag with half an inch seam allowance. Sew the lining together and hand stitch it inside the bag along the top edge.
Pro Tips for Success
Blocking helps. Lightly steam block your finished pieces before assembly to even out your stitches and help everything lay flat.
Reinforce attachment points. The straps and handle bear the weight of whatever you carry. Stitch these attachment points multiple times with strong, secure stitches.
Choose the right yarn. Cotton or cotton blends work best for this crochet backpack pattern. They hold structure, do not stretch under weight, and look polished. Pure acrylic tends to stretch and lose shape over time.
Take breaks during assembly. Hand sewing can be tedious. Short sessions with fresh eyes give you cleaner results.
Customization Ideas
This minimalist design is a perfect blank canvas. Here are some ways to make it your own:
Caring for Your Finished Backpack
Hand wash in cool water with mild detergent. Gently squeeze out excess water without wringing. Reshape and lay flat to dry. If your bag loses structure over time, a light steam can help restore it.
I really hope you enjoy making this cream minimalist everyday backpack as much as I enjoyed designing it. It is one of those projects that looks so professional when finished, and you will catch yourself reaching for it every time you head out the door.
Save this crochet backpack pattern to your Pinterest boards so you can find it whenever you are ready to start. And please, drop a comment below if you make one! I would absolutely love to see your finished bags and hear which color you chose.
