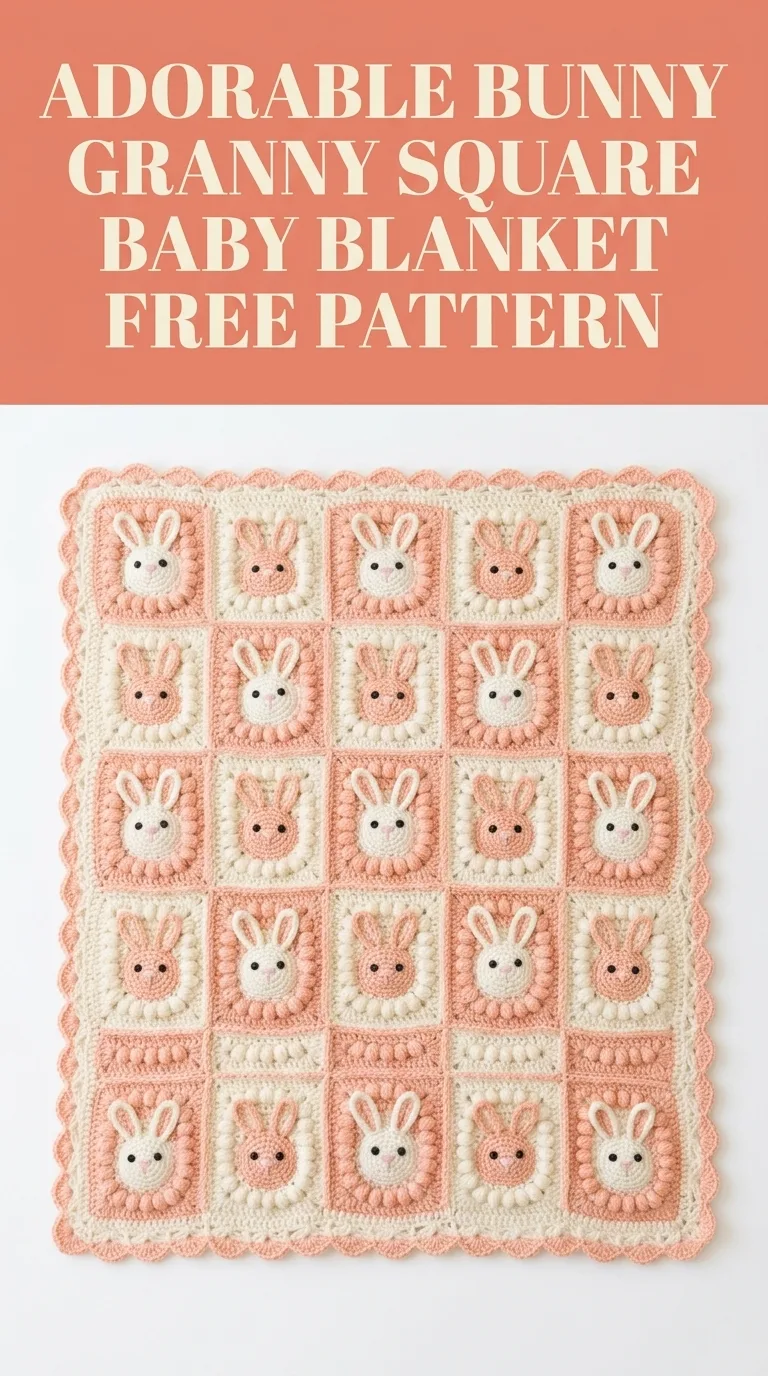
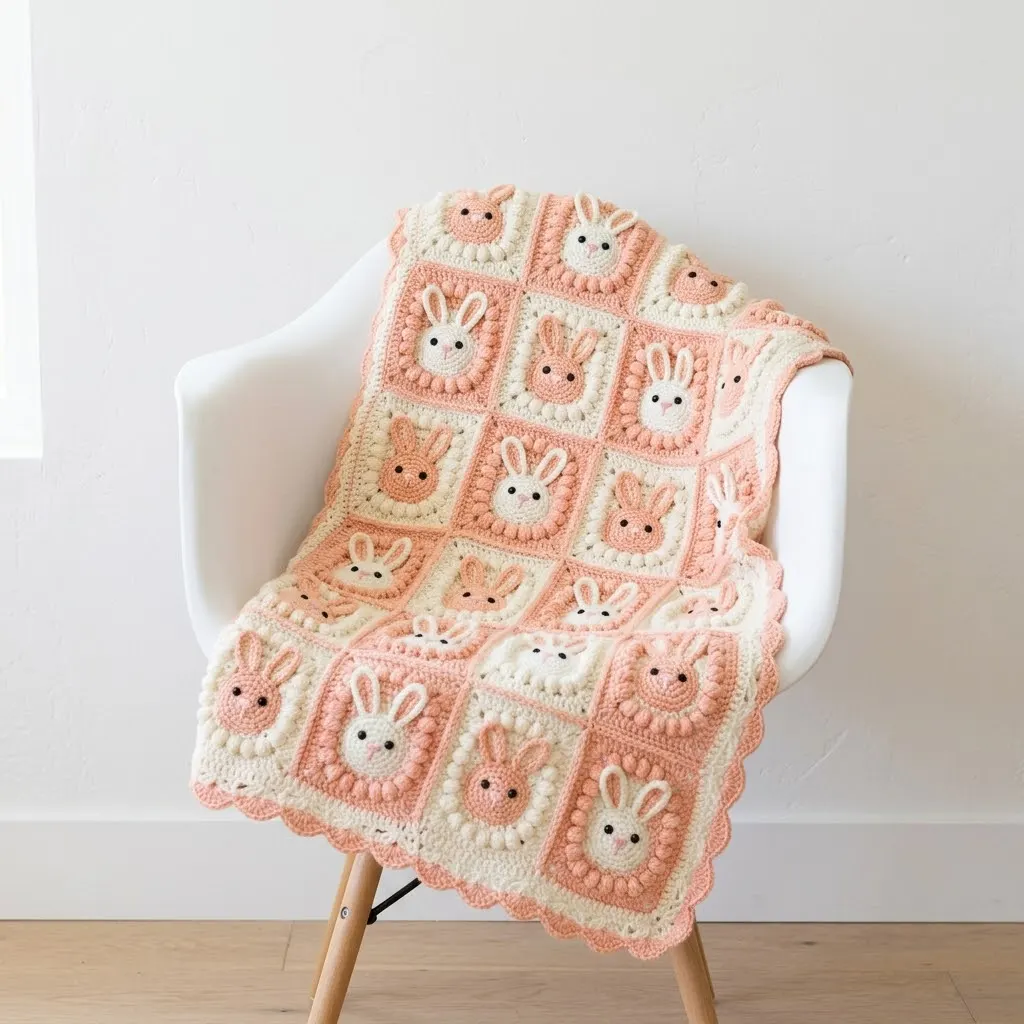
Picture this: a soft, squishy blanket covered in the sweetest little bunny faces, draped over a nursery chair and waiting to welcome a new baby home. That is exactly what you will create with this bunny granny square baby blanket crochet pattern. Each square features an adorable bunny face surrounded by textured puff stitches, and when joined together, they create a blanket that is equal parts heirloom and huggable.
I designed this pattern with intermediate crocheters in mind, but if you are a confident beginner who has tackled granny squares before, you can absolutely handle this project. The individual squares work up quickly, making this perfect for baby shower gifts or your own little one’s nursery. The combination of soft peach, coral, and cream creates a timeless color palette, though you can easily customize it with your favorite shades.
Let me walk you through every step of this crochet tutorial so you can recreate this blanket from start to finish.
Why This Bunny Blanket is Worth Your Time
This is not your average granny square blanket. The dimensional bunny faces add whimsy and personality that flat appliqués simply cannot match. Each bunny head is crocheted directly into the square’s center, creating a seamless look without any sewing of separate pieces.
The puff stitch border around each bunny gives the squares gorgeous texture and visual interest. When you join multiple squares together, the alternating colors create a cheerful checkerboard effect that is both modern and classic.
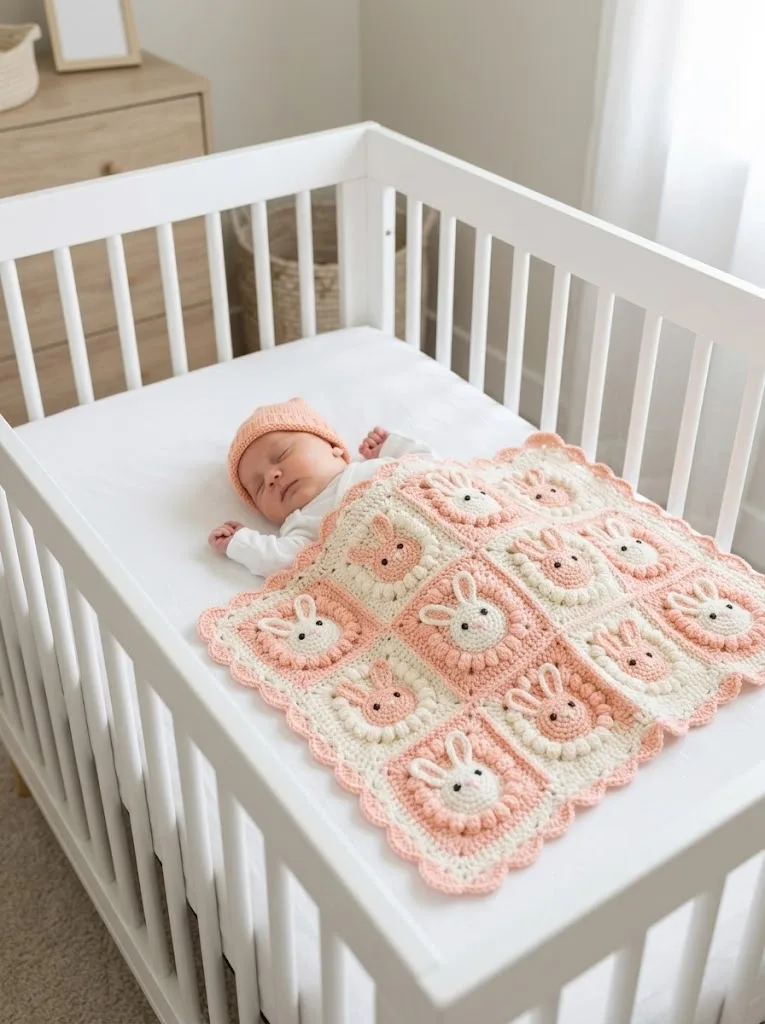
The finished blanket measures approximately 30 inches by 36 inches, making it the perfect size for a stroller blanket, tummy time mat, or cozy crib throw.
Materials You Will Need
Gathering your supplies before starting makes the whole process smoother. Here is everything you need:
Yarn:
– Color A: Soft peach or coral (approximately 400 yards)
– Color B: Cream or off-white (approximately 350 yards)
– Color C: Light pink for bunny noses (small amount, about 5 yards)
– Black yarn or embroidery thread for eyes (small amount)
I recommend a soft acrylic or cotton blend that can withstand washing. Brands like Lion Brand Basic Stitch, Caron Simply Soft, or Paintbox Yarns Cotton Aran work beautifully.
Tools:
Gauge:
Each finished square should measure approximately 6 inches by 6 inches after blocking. If your squares are larger, go down a hook size. If smaller, go up a hook size.
Stitch Abbreviations and Definitions
Before we dive into the pattern, let me explain every stitch you will use. I want you to feel confident, not confused.
Step by Step Bunny Granny Square Pattern
You will make 20 squares total for this blanket: 10 with peach backgrounds and cream bunny faces, and 10 with cream backgrounds and peach bunny faces. This creates the lovely alternating pattern you see in the finished blanket.
Part 1: Bunny Face Center
With your bunny face color and 5.0mm hook:
Round 1: Create a magic ring. Ch 2 (does not count as a stitch throughout), work 8 hdc into the ring. Sl st to first hdc to join. Pull magic ring closed. (8 hdc)
Round 2: Ch 2, work 2 hdc in each stitch around. Sl st to first hdc to join. (16 hdc)
Round 3: Ch 2, *hdc in next st, 2 hdc in next st* repeat around. Sl st to first hdc to join. (24 hdc)
Round 4: Ch 2, *hdc in next 2 sts, 2 hdc in next st* repeat around. Sl st to first hdc to join. (32 hdc)
Fasten off, leaving a long tail for sewing. This creates a flat circle approximately 2.5 inches in diameter. Set aside.
Part 2: Bunny Ears (Make 2 per square)
With the same bunny face color and 4.0mm hook:
Row 1: Ch 10. Starting in second ch from hook, sc in each ch across. (9 sc)
Row 2: Ch 1, turn. Sc2tog (insert hook in first st, pull up loop, insert hook in second st, pull up loop, yarn over and pull through all 3 loops), sc in next 5 sts, sc2tog. (7 sc)
Row 3: Ch 1, turn. Sc2tog, sc in next 3 sts, sc2tog. (5 sc)
Row 4: Ch 1, turn. Sc2tog, sc in next st, sc2tog. (3 sc)
Row 5: Ch 1, turn. Sc3tog (draw up a loop in each of 3 sts, yarn over and pull through all 4 loops). (1 sc)
Fasten off, leaving a tail for attaching. The ear should have a tapered oval shape. Fold slightly in half lengthwise to give it dimension.
Part 3: Square Background with Puff Stitch Border
With your background color and 5.0mm hook:
Round 1: Create a magic ring. Ch 3 (counts as first dc), work 2 dc in ring, ch 2, *3 dc in ring, ch 2* repeat 3 more times. Sl st to top of ch-3 to join. (12 dc, 4 ch-2 corner spaces)
Round 2: Sl st to next ch-2 corner space. Ch 3, 2 dc in same space, ch 1, 3 dc in same space (first corner made). *Ch 1, (3 dc, ch 2, 3 dc) in next ch-2 space* repeat around, ending with ch 1. Sl st to top of ch-3 to join. (24 dc, 4 corners)
Round 3: Sl st to corner space. Ch 3, 2 dc in same space, ch 2, 3 dc in same space. *Ch 1, 3 dc in next ch-1 space, ch 1, (3 dc, ch 2, 3 dc) in corner space* repeat around. Sl st to join. (36 dc)
Round 4: Sl st to corner space. Ch 3, 2 dc in same space, ch 2, 3 dc in same space. *Ch 1, 3 dc in each ch-1 space along side, ch 1, (3 dc, ch 2, 3 dc) in corner* repeat around. Sl st to join. (48 dc)
Round 5 (Puff Stitch Round): This is where the texture comes in. Ch 1, sc in same st. *Work puff st in next st, sc in next st* repeat around entire square, working (sc, ch 2, sc) in each corner space. Sl st to first sc to join.
Do not worry if your first few puff stitches feel awkward. They get easier with practice. The key is pulling up nice tall loops so your puffs are fluffy.
Round 6: Ch 1, sc in each st and puff st around, working (sc, ch 2, sc) in each corner. Sl st to join. Fasten off. (approximately 64 sc plus corners)
Your square should measure about 6 inches. If it is significantly off, check your gauge.
Part 4: Assembling the Bunny Face
Now comes the fun part where your square transforms into an adorable bunny.
1. Position the bunny face in the center of your square. The circle should sit right in the middle of Round 3 and 4 of your background.
2. Attach the ears first. Place them at the top of the bunny face circle, about 1 inch apart, with the tapered ends pointing up. Whip stitch in place using your yarn tail.
3. Sew the bunny face to the square background using a whip stitch around the edge. Before closing completely, add a small amount of fiberfill stuffing to give the face gentle dimension. Not too much, just enough so it puffs out slightly.
4. Embroider the eyes using black yarn or embroidery thread. Each eye is simply 2 to 3 small straight stitches stacked vertically. Position them about halfway down the face and roughly 1 inch apart.
5. Add the nose using light pink yarn. Create a small triangle or inverted Y shape with 3 to 4 straight stitches just below center of the face.
Repeat this entire process for all 20 squares.
Joining Your Bunny Squares
Arrange your finished squares in a 4 by 5 grid, alternating colors in a checkerboard pattern. I recommend laying them all out before joining so you can see the full effect.
Whip Stitch Join Method:
Hold two squares with wrong sides together. Using cream yarn and your yarn needle, whip stitch through the back loops only of both squares. This creates a flat, nearly invisible seam.
Work across all horizontal seams first, creating 5 strips of 4 squares each. Then join the strips together vertically.
Tip: You can also use a slip stitch join or single crochet join if you prefer a more visible seam. The single crochet join adds a lovely ridge detail.
Scalloped Border
The wavy scalloped border gives this blanket a finished, polished look.
With cream yarn and 5.0mm hook:
Round 1: Join yarn in any corner space. Ch 1, work 3 sc in corner. Sc evenly around entire blanket, working 3 sc in each corner. Sl st to join.
Round 2: Ch 1, sc in same st. *Skip 2 sts, work 5 dc in next st (shell made), skip 2 sts, sc in next st* repeat around, adjusting slightly at corners to maintain pattern. Sl st to first sc to join.
Round 3: Sl st to center dc of first shell. Ch 1, sc in same st. *Ch 3, sc in center dc of next shell* repeat around. Sl st to join. Fasten off.
Weave in all remaining ends. Block your blanket by wetting it and laying flat to dry, gently shaping the scallops.
Helpful Tips for Success
Tension matters. Keep your puff stitches consistent by pulling up the same height loops each time. Loose puffs look deflated while tight puffs bunch up.
Count your stitches. Especially on the granny square rounds. Losing a stitch throws off your corners.
Block your squares before joining. This makes assembly so much easier and gives you perfectly uniform squares.
Make a sample square first. Crochet one complete square including the bunny face before committing to all 20. This lets you work out any questions and adjust colors if needed.
Customization Ideas
This beginner friendly crochet pattern adapts beautifully to different styles:
Final Thoughts on This Bunny Granny Square Baby Blanket
Creating this bunny granny square baby blanket crochet pattern is such a satisfying project. Each square feels like a small accomplishment, and watching those sweet bunny faces multiply is genuinely joyful. The finished blanket has that handmade quality that store-bought items simply cannot replicate.
Whether you are making this for your own nursery, a baby shower gift, or just because you love bunnies, this blanket will become a treasured keepsake. The construction is solid enough to withstand washing and years of snuggles.
Thank you so much for choosing this pattern for your next project. I truly hope you enjoy making it as much as I enjoyed designing it. If you create your own bunny blanket, I would absolutely love to see it. Tag me on Instagram or share a photo on my Facebook page so I can celebrate your beautiful work with you.
If this pattern brought a smile to your face, I hope you will pin it to your Pinterest boards so you can find it easily when you are ready to start. And please, drop a comment below if you make this blanket or have any questions along the way. I read every single one and love hearing from you.
