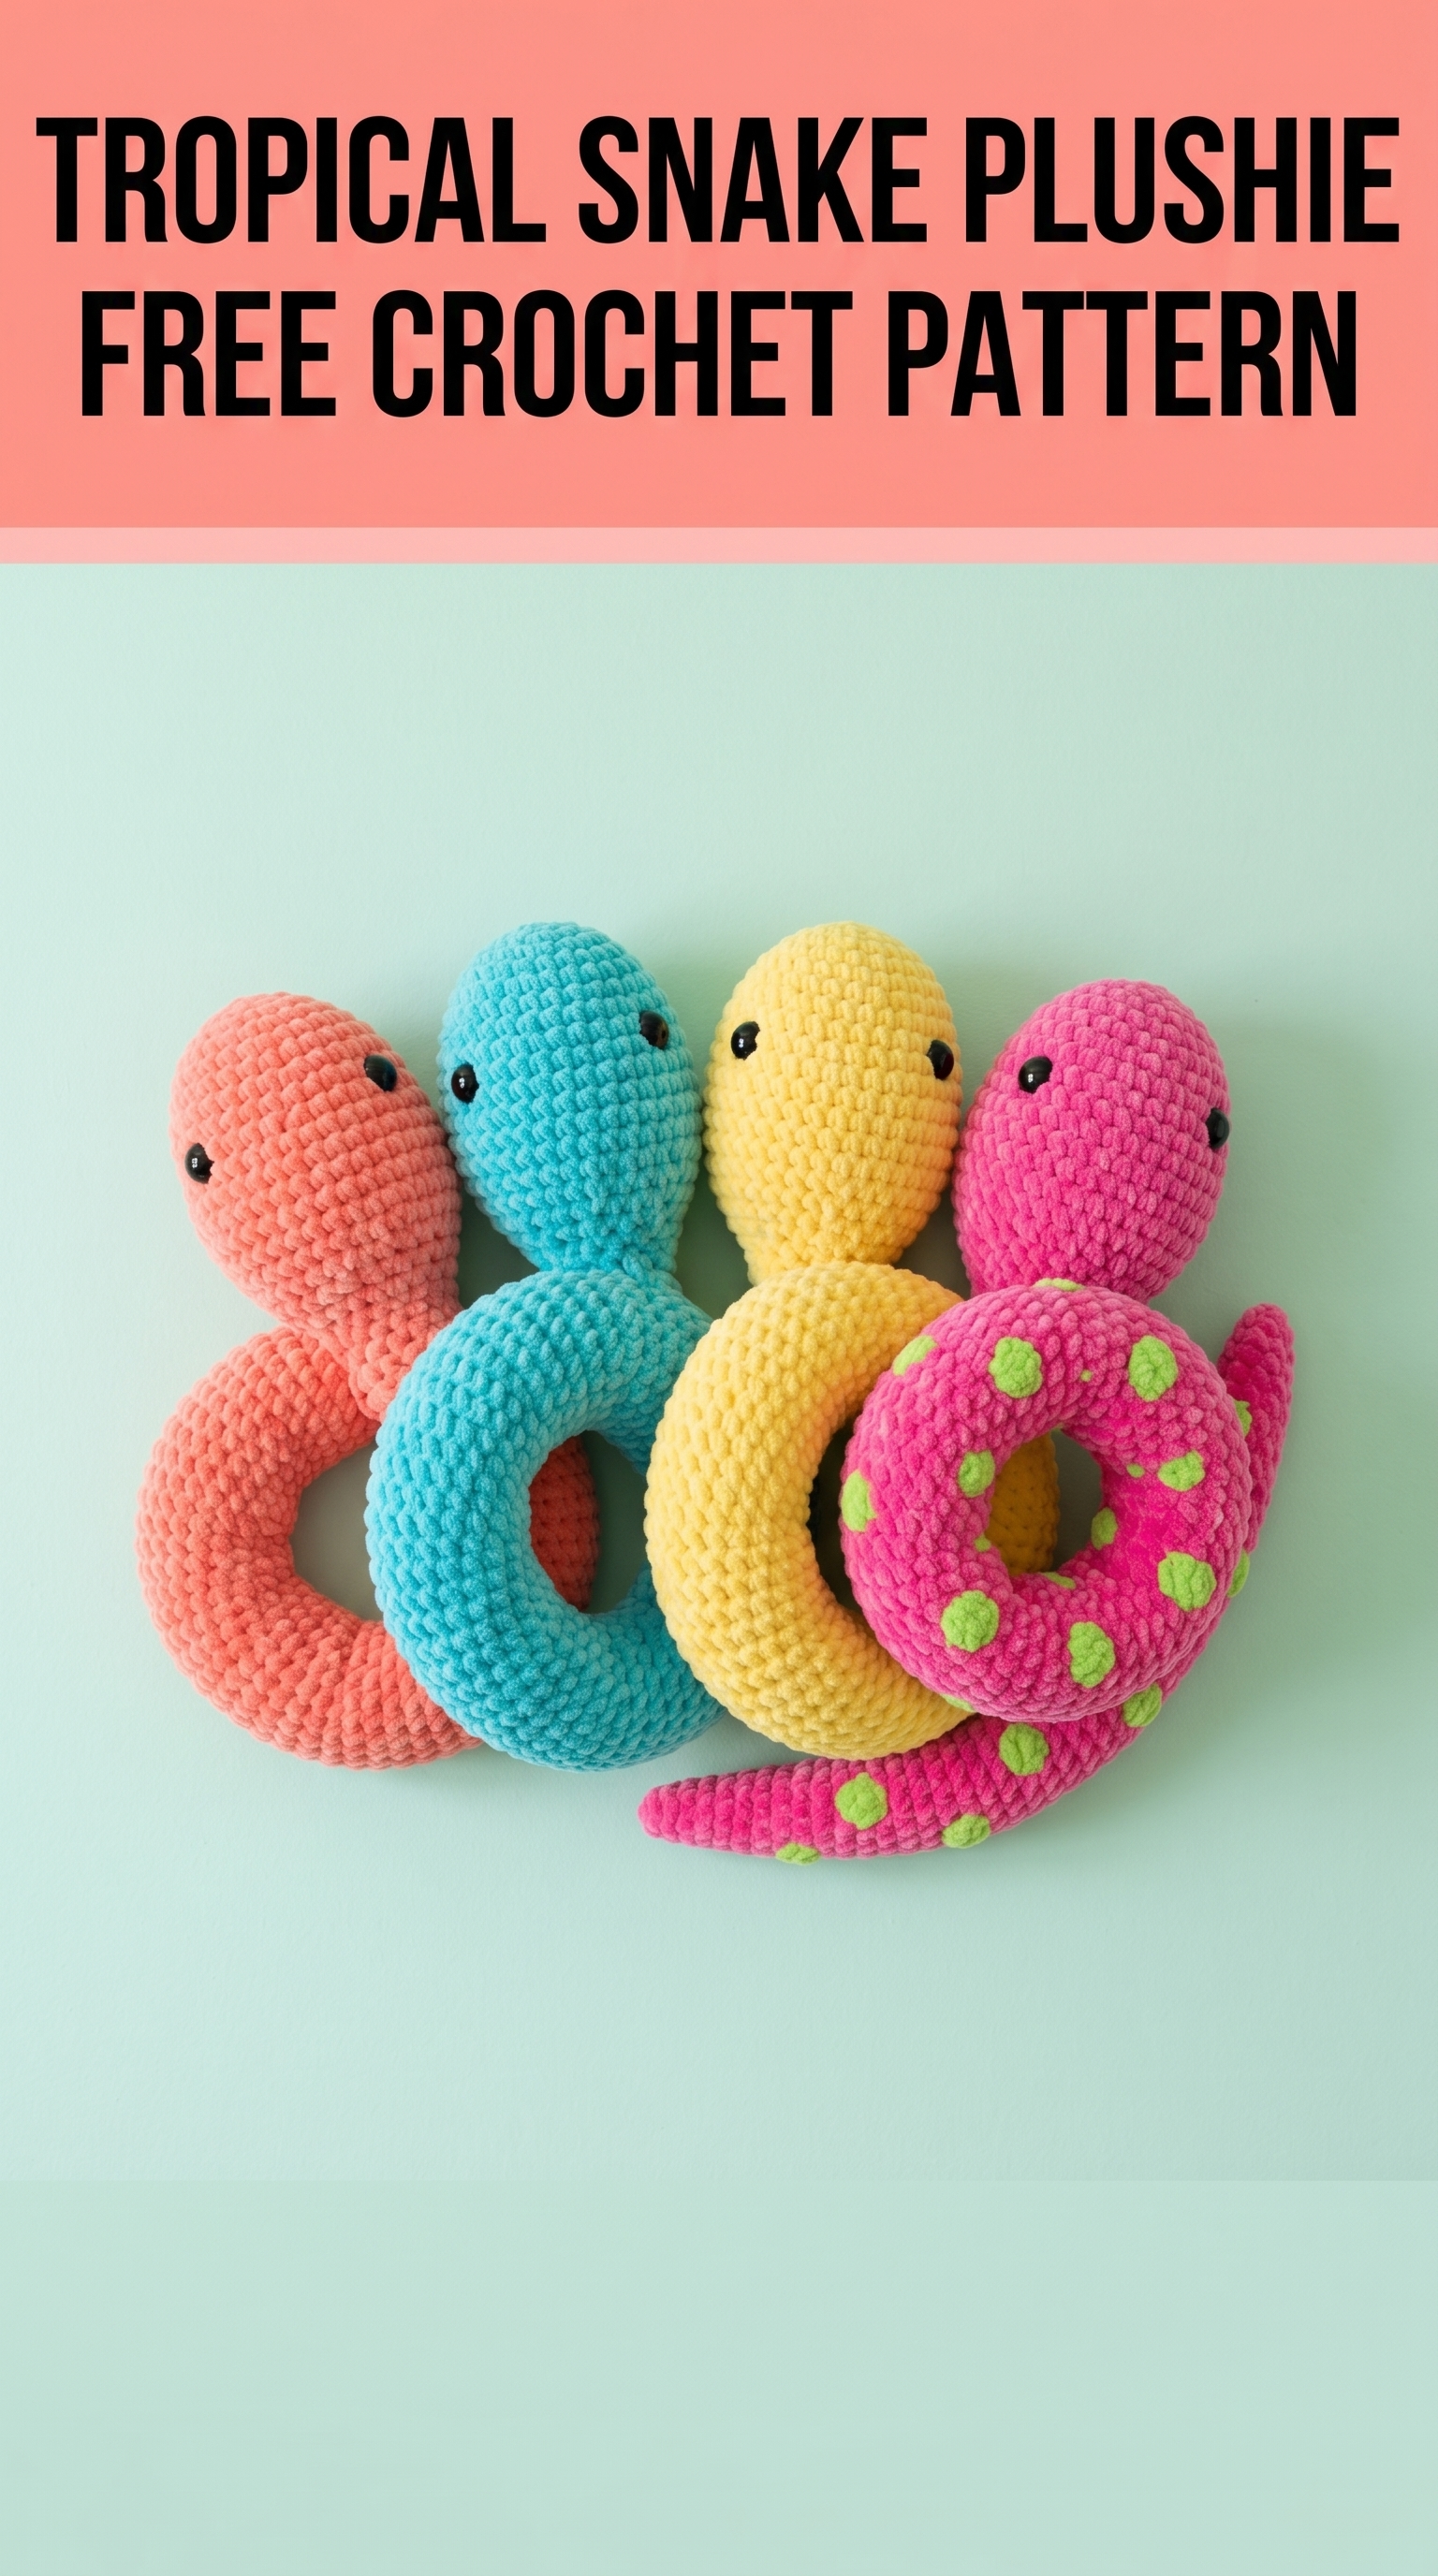
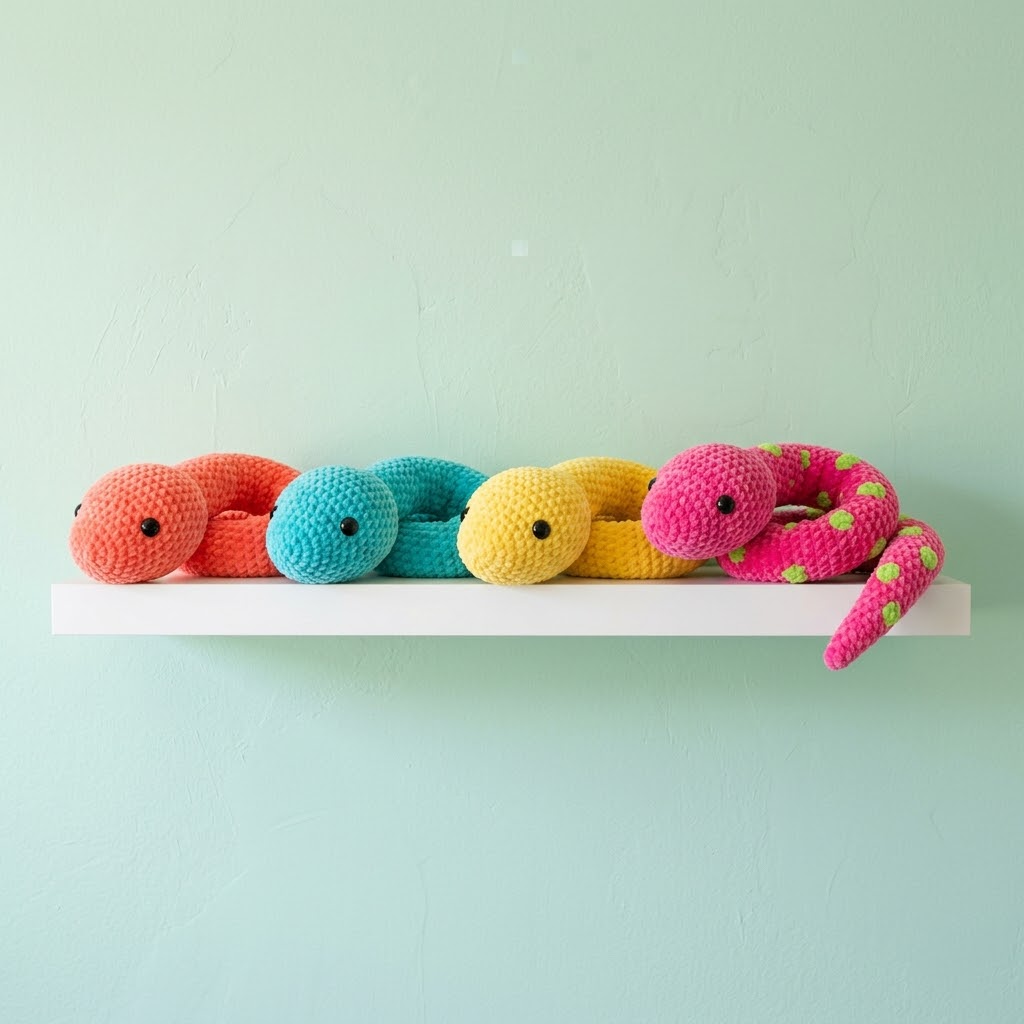
These cheerful little snake plushies are about to become your new favorite project. I designed this tropical snake crochet pattern after spotting a collection of bright, coiled cuties that practically beg to be squeezed. Whether you make one in sunny coral, vibrant turquoise, buttery yellow, or hot pink with playful spots, each snake has serious personality.
Good news if you are newer to amigurumi. This crochet tutorial uses basic stitches worked in continuous rounds. Once you get the rhythm, the body practically crochets itself. I will walk you through every step, from the rounded head to the tapered tail tip.
Why You Will Love This Crochet Pattern
This tropical snake plushie hits a sweet spot. The construction is simple enough for confident beginners yet satisfying for experienced makers who want a quick, colorful win. The entire snake works as one continuous piece with no seaming required. You start at the nose, increase to shape the head, maintain a tube for the body, then decrease gradually to form the tail.
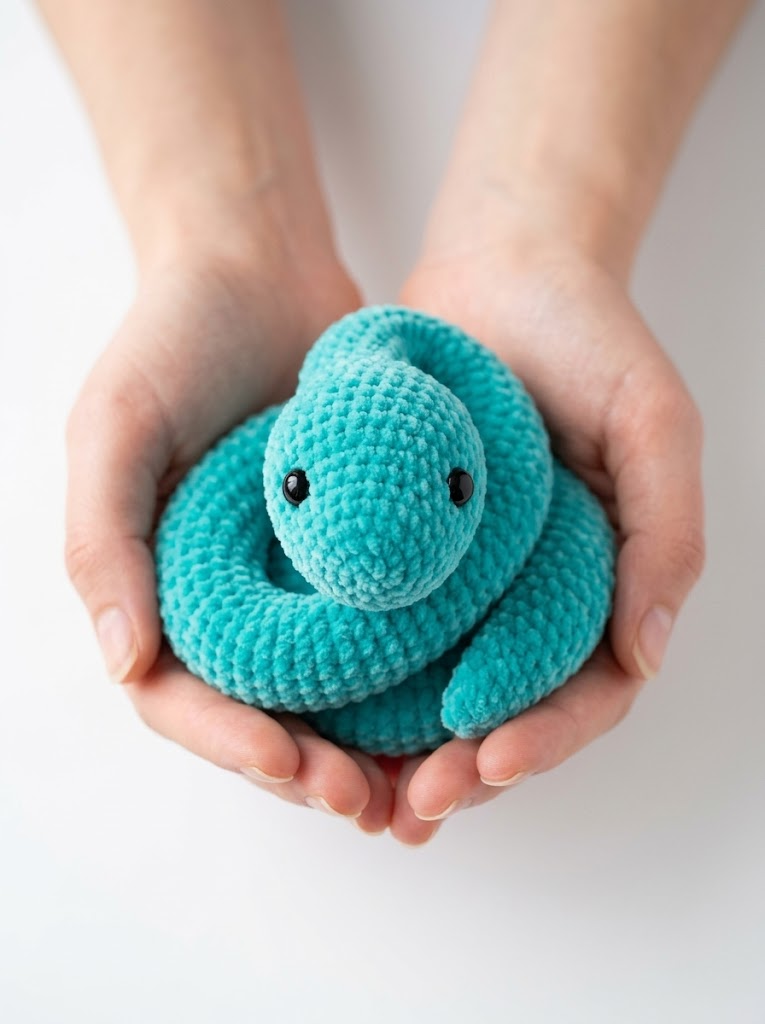
The finished snake measures approximately 24 to 28 inches long when stretched out, though it looks much shorter when coiled on a shelf. The chunky body and squishy stuffing make it a perfect cuddle companion or nursery decoration.
Another reason I adore this pattern: scrap yarn potential. Each snake uses a modest amount of worsted weight yarn, making it ideal for digging through your stash and mixing bold tropical shades.
Materials and Tools
Gathering your supplies before casting on saves frustration. Here is everything you need:
Yarn
Hook
Notions
Optional
Skill Level and Stitches Used
This step by step crochet pattern suits confident beginners. You should feel comfortable working in the round and counting stitches. If you have made a basic amigurumi ball before, you have all the skills you need.
Abbreviations and Definitions
Magic ring (MR) — An adjustable loop that tightens completely closed, leaving no hole at the center. Perfect for amigurumi. If this technique frustrates you, chain 2 and work your starting stitches into the first chain instead.
Chain (ch) — The foundation loop. Yarn over, pull through the loop on your hook.
Single crochet (sc) — Insert hook into the stitch, yarn over, pull up a loop (two loops on hook), yarn over, pull through both loops. This is the only main stitch in the pattern.
Increase (inc) — Work 2 single crochet stitches into the same stitch. This adds one stitch to your count.
Invisible decrease (inv dec) — Insert hook through the front loops only of the next two stitches, yarn over, pull through both front loops, yarn over, pull through both loops on hook. Creates a tighter, less visible decrease than a standard decrease. If you find this fiddly, a regular sc2tog works too.
Slip stitch (sl st) — Insert hook, yarn over, pull through stitch and loop on hook in one motion. Used to join or fasten off invisibly.
Gauge (and Why It Matters for Amigurumi)
Exact gauge is less critical here than fabric density. You want a tight, sturdy fabric that hides the stuffing inside.
Work a quick test: magic ring, 6 sc, then a round of increases (12 sc). If you see white fiberfill peeking through the stitches, drop down a hook size. If the fabric feels stiff and hard to work, go up a size.
My swatch using worsted yarn and a 3.5 mm hook measured about 2 inches across after 6 rounds.
How to Crochet the Tropical Snake Plushie
This pattern works in continuous spiral rounds. Do not join at the end of each round. Place a stitch marker in the first stitch of each round and move it up as you go. This helps you keep track without miscounting.
Head
Round 1: Magic ring, 6 sc into ring. Pull ring closed. (6 sts)
Round 2: Inc in each st around. (12 sts)
Round 3: *Sc 1, inc* repeat around. (18 sts)
Round 4: *Sc 2, inc* repeat around. (24 sts)
Round 5: *Sc 3, inc* repeat around. (30 sts)
Rounds 6 through 10: Sc in each st around. (30 sts) — 5 rounds even
At this point, pause to insert the safety eyes. Position them between rounds 7 and 8, spaced about 6 to 8 stitches apart. The placement affects personality. Closer together reads cute and curious. Further apart reads calm and friendly. Push the post through the fabric, then snap the washer on from the inside. Safety eyes must go in before you decrease too far.
Round 11: *Sc 3, inv dec* repeat around. (24 sts)
Round 12: *Sc 2, inv dec* repeat around. (18 sts)
Begin stuffing the head firmly. You want it nice and round with no flat spots.
Round 13: *Sc 1, inv dec* repeat around. (12 sts)
Continue stuffing as you work the body so you can reach all areas evenly.
Body
Here is where the snake really takes shape. The body maintains a consistent tube before tapering into the tail.
Rounds 14 through 60: Sc in each st around. (12 sts) — 47 rounds even
I know, that seems like a lot, but continuous single crochet in the round becomes almost meditative. Put on a podcast and let your hands do the work.
Stuffing tip: Add small amounts of fiberfill every 10 to 15 rounds. Packing the body moderately, not too tight, keeps the snake flexible enough to coil naturally.
If you want a posable snake, now is the time to insert a pipe cleaner or a length of craft wire down the center of the body. Fold the ends over so no sharp points poke through the yarn.
Tail
Time to taper. The decreases are spread out so the tail looks natural rather than abrupt.
Round 61: *Sc 4, inv dec* repeat around. (10 sts)
Rounds 62 through 66: Sc in each st around. (10 sts) — 5 rounds even
Round 67: *Sc 3, inv dec* repeat around. (8 sts)
Rounds 68 through 72: Sc in each st around. (8 sts) — 5 rounds even
Round 73: *Sc 2, inv dec* repeat around. (6 sts)
Rounds 74 through 76: Sc in each st around. (6 sts) — 3 rounds even
Round 77: *Sc 1, inv dec* repeat around. (4 sts)
Rounds 78 through 80: Sc in each st around. (4 sts) — 3 rounds even
Stuff the tail lightly. You want it firm enough to hold shape but not bulging.
Round 81: Inv dec twice. (2 sts)
Fasten off, leaving a 6 inch tail. Thread yarn through remaining stitches, pull tight, and weave in securely.
Adding Spots (Optional)
That hot pink snake with lime green polka dots caught your eye, right? Here is how to add spots.
Small spot (make as many as desired):
Round 1: Magic ring, 6 sc, sl st to first sc to join. Fasten off, leaving a long tail for sewing.
Each spot measures roughly half an inch across. Scatter them randomly along the body and tail, then whip stitch in place using a yarn needle. Pull stitches snug so edges lie flat.
Alternatively, cut small felt circles and fabric glue them on for a no-sew option.
Finishing Your Snake Plushie
Almost done. A few finishing touches make a big difference.
1. Weave in all ends using a yarn needle. Bury tails inside the body where possible so they stay hidden.
2. Shape the coil. Gently bend your snake into a loose spiral with the head resting on top. The weight of the stuffed body usually holds the pose on its own.
3. Fluff the head. Squeeze and mold the stuffing so the head looks round and perky from every angle.
4. Safety check. Give the eyes a firm tug to confirm they are secure, especially if this snake is destined for a little one.
Customization Ideas
Once you master this beginner friendly crochet pattern, the variations are endless.
Troubleshooting Common Issues
My head looks pointy, not round.
You may be pulling the magic ring too tight before building enough rounds. Let the ring stay a bit loose until round 3, then tighten fully.
Stuffing shows through the stitches.
Your tension is too loose for amigurumi. Drop down a hook size and try again. It feels awkward at first but creates a denser fabric.
I lost count of my rounds.
This happens to everyone. Count the rows of stitches from the magic ring up, or use a row counter app. Marking every 10th round with a scrap of yarn helps too.
My snake curls in one direction no matter what.
This is natural with continuous spiral crochet. Embrace it. The curl adds character and makes coiling easier.
Caring for Your Finished Snake
Acrylic yarn snakes are machine washable on a gentle cycle inside a pillowcase. Air dry flat to maintain shape. Spot clean the eyes with a damp cloth if needed.
If you used safety eyes and secure construction, these plushies meet general toy safety guidelines. However, always supervise young children with any handmade toy.
Thank You for Making Along
I genuinely appreciate you choosing this tropical snake plushie crochet pattern for your next project. Watching simple stitches transform into a cheerful little creature never gets old, and I hope this tutorial made the process smooth and enjoyable.
When your snake is finished, I would love to see it. Snap a photo and tag me on Instagram or share it in my Facebook group. Seeing your color choices and creative twists is the best part of my week.
Happy crocheting, and may your yarn never tangle.
