There is something incredibly satisfying about making a bag you will actually carry every single day. This Neutral Striped Drawstring Bucket Bag is exactly that kind of project. It looks like it belongs in a boutique window, but you can crochet it yourself in a weekend. The chunky stripes, the rounded shape, and those gorgeous hardware details make this bag feel designer. But I promise you, if you can work basic stitches in the round, you can absolutely make this.
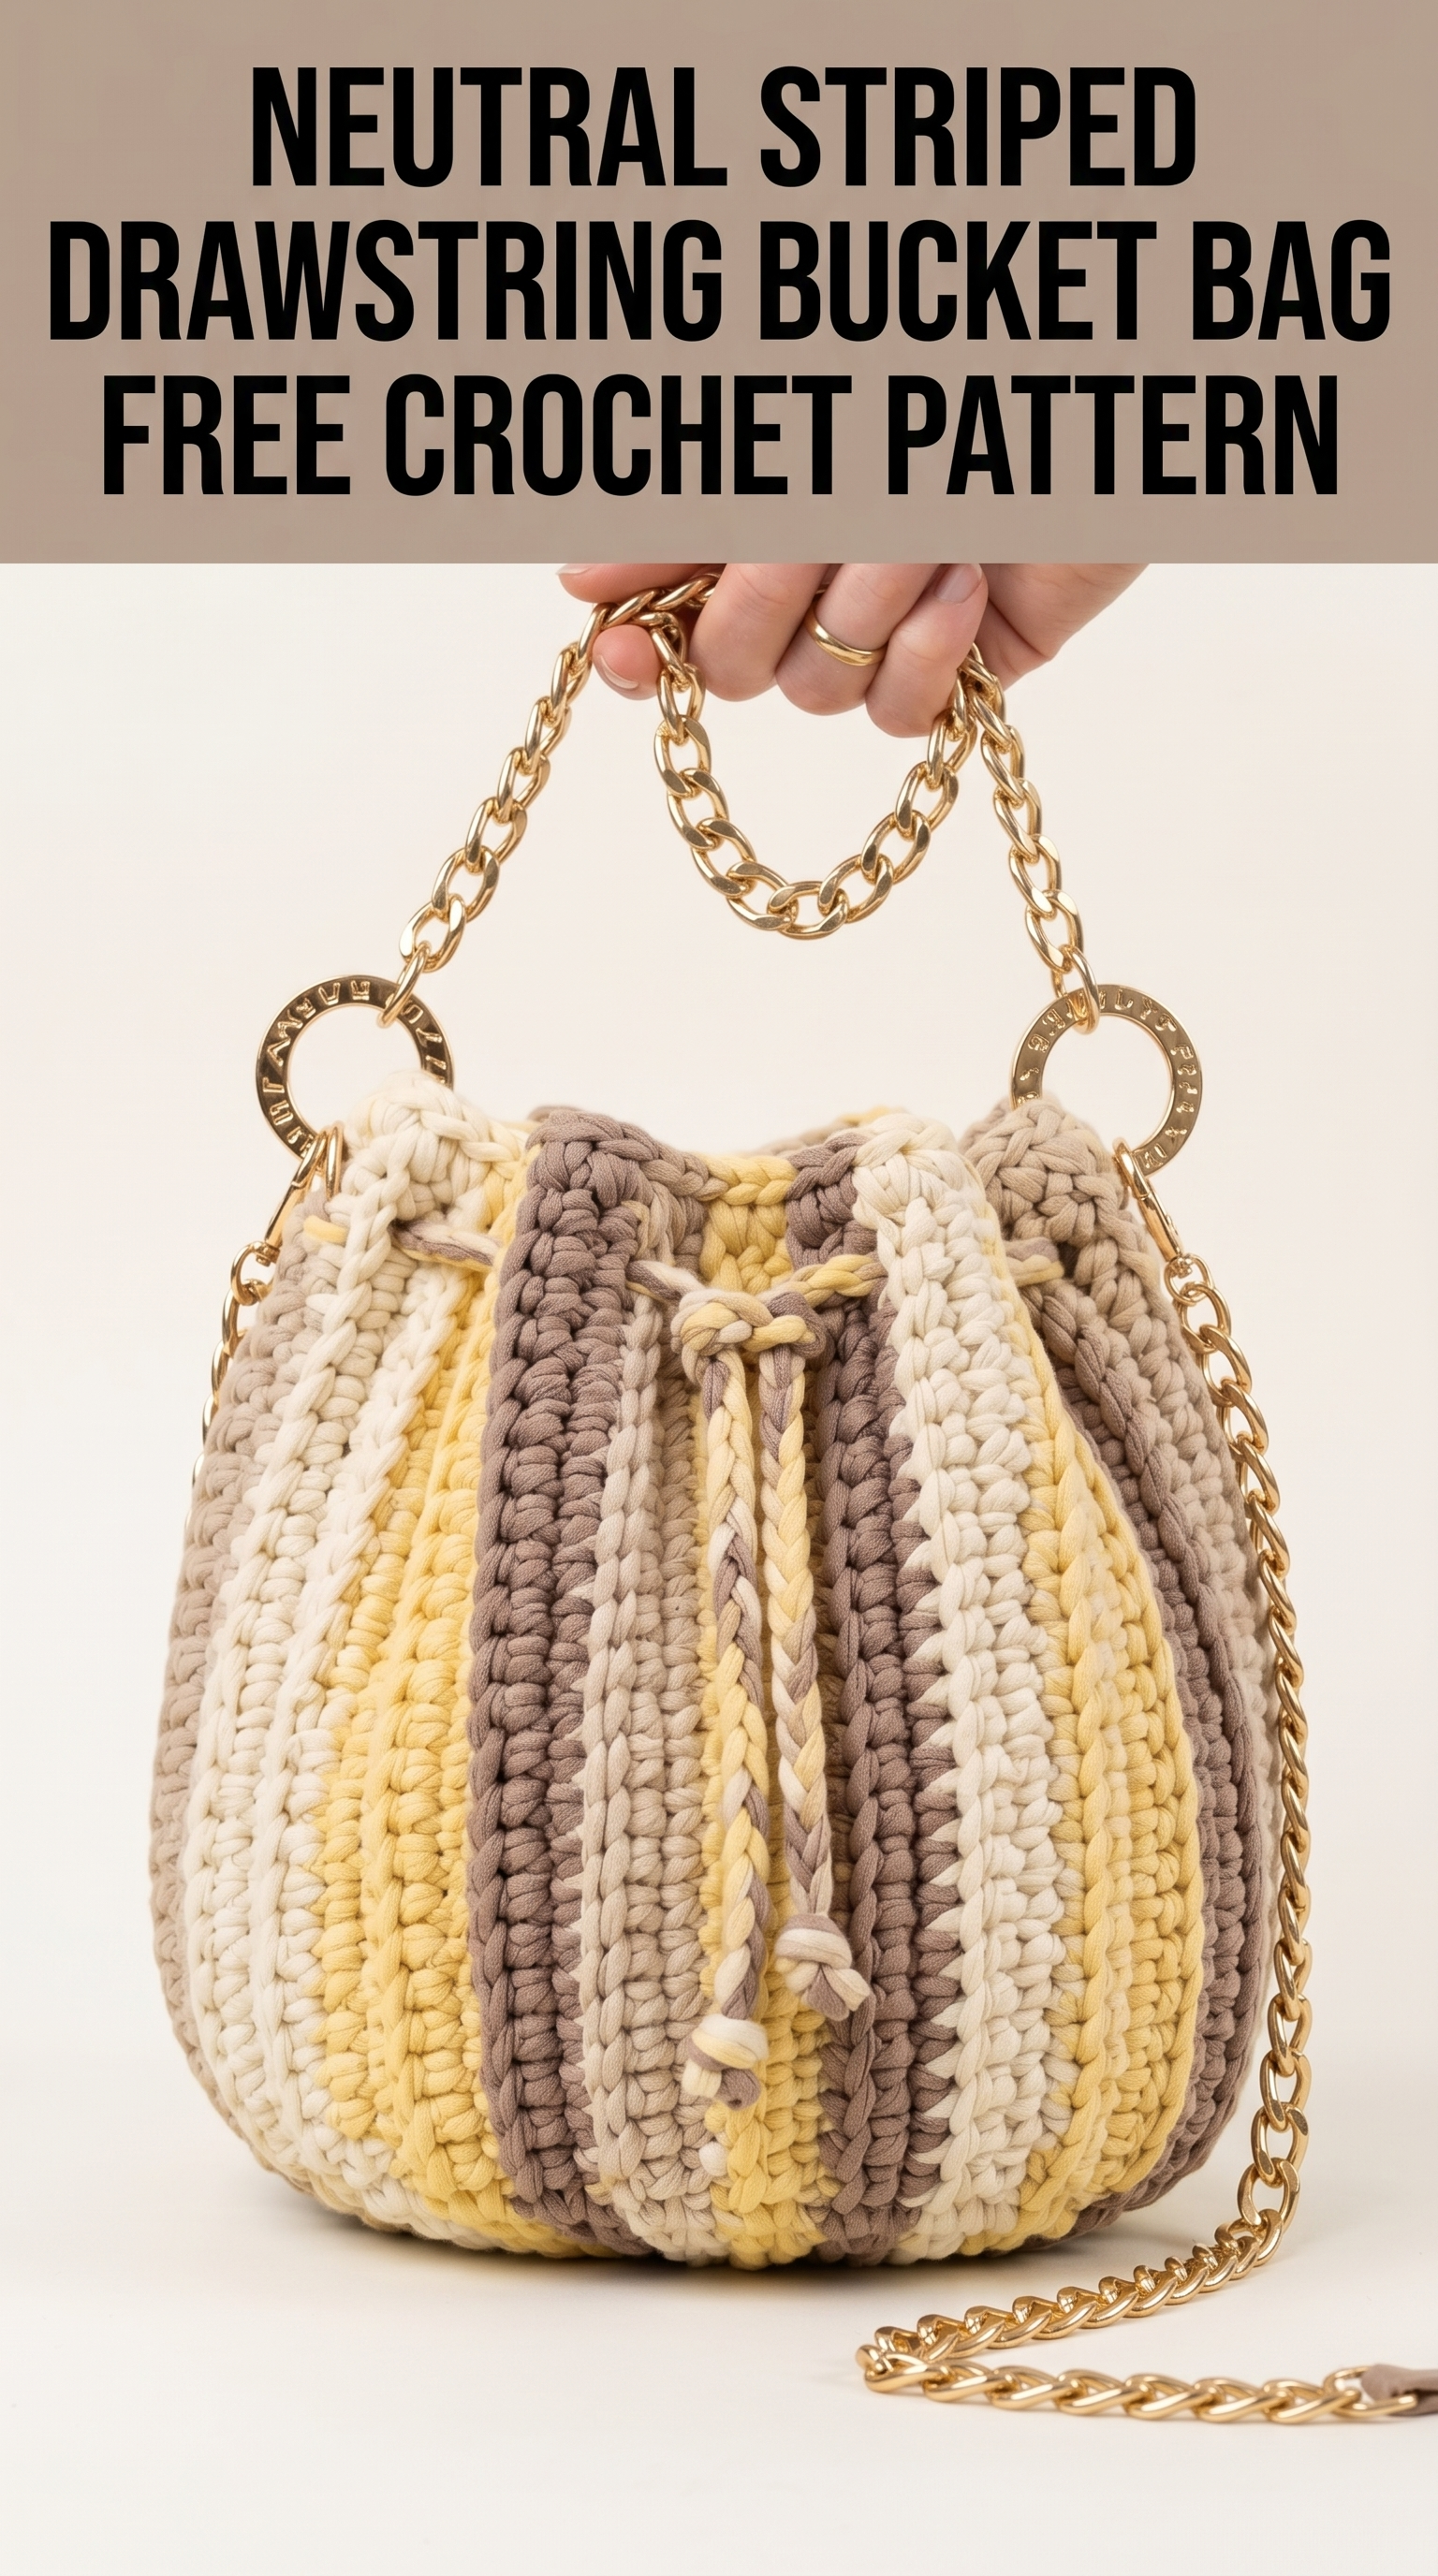
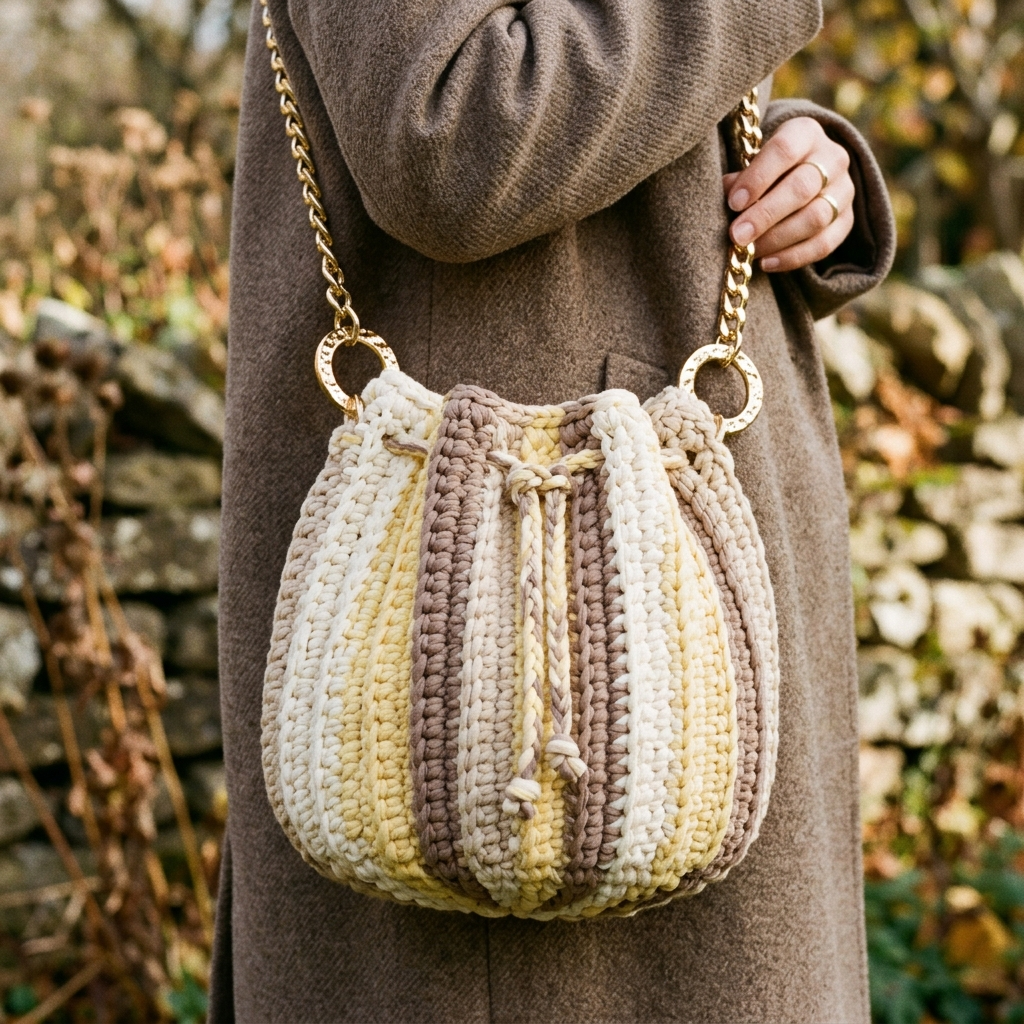
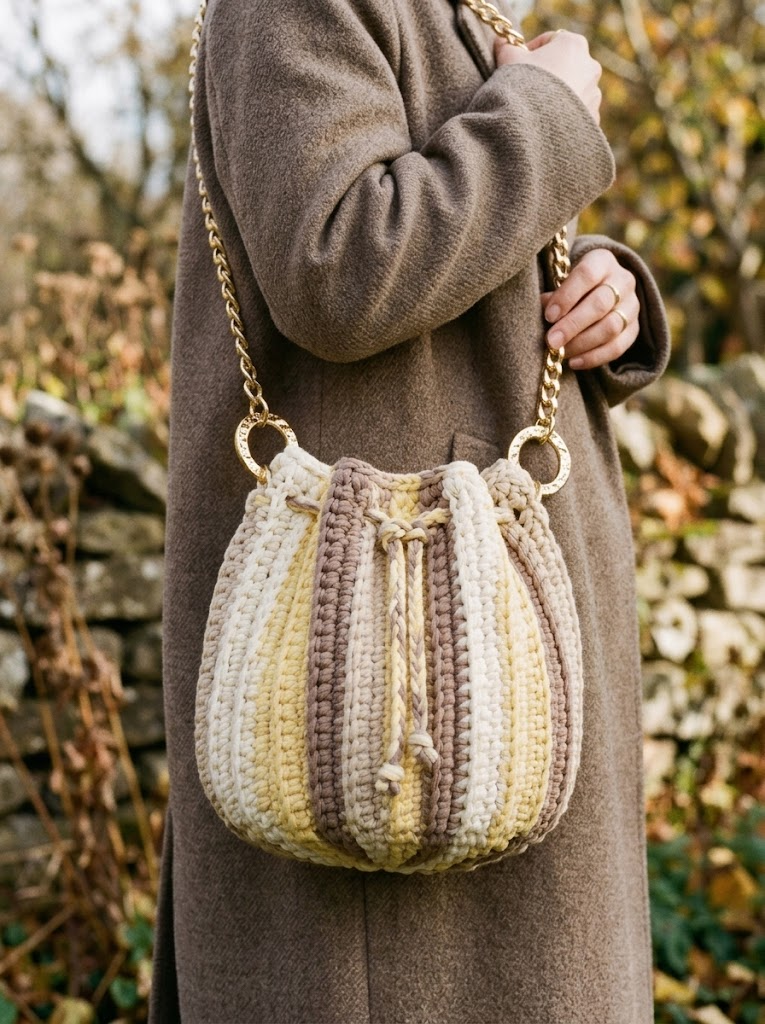
I designed this crochet pattern with texture and wearability in mind. The vertical stripes create a beautiful ribbed effect that gives the bag its signature slouchy bucket shape. And that drawstring closure? It keeps everything secure while adding a lovely gathered detail at the top. Whether you wear it with a cozy coat like in the photo or pair it with a summer dress, this bag fits right in.
Let me walk you through everything you need to recreate this project from scratch. We will cover materials, stitch definitions, and the complete step by step instructions.
Why This Crochet Bucket Bag Works So Well
Before we dive into the pattern, let me tell you why I love this design.
The vertical stripe construction is key. Instead of working horizontal stripes that can stretch and lose shape, this bag is built with color changes that run from bottom to top. This gives the fabric more structure and creates that gorgeous scalloped silhouette when the drawstring cinches the top.
The neutral color palette of cream, soft yellow, and taupe means this bag matches practically everything. But you could easily swap in bold jewel tones or pastels if that suits your wardrobe better.
And those gold ring hardware pieces and chain strap? They elevate the whole look instantly. You can find these at craft stores or online, and I will give you exact details below.
Materials You Will Need
Gather these supplies before you begin. Having everything ready makes the process so much smoother.
Yarn:
The yarn in the photo appears to be T-shirt yarn or fabric tube yarn, which gives that thick, substantial look. Brands like Hoooked Zpagetti, Lily Sugar’n Cream Scrub Off, or Bernat Maker Home Dec work beautifully. If using regular bulky yarn, you may want to hold two strands together for similar thickness.
Hook:
Go up a hook size if your stitches feel too tight. For bags, a slightly looser gauge is perfectly fine.
Hardware:
Notions:
Skill Level
This crochet tutorial is beginner friendly with a few intermediate techniques. If you can chain, single crochet, and work in the round, you have the main skills covered.
The only tricky part is managing the color changes for the vertical stripes. I will walk you through it carefully. Take your time and do not panic if your first round feels awkward. It gets easier quickly.
Stitch Abbreviations and Definitions
Let me define every stitch before we start. You will see these abbreviations throughout the pattern.
Chain (ch): The foundation loop. Yarn over, pull through the loop on your hook. This creates a chain link.
Slip Stitch (sl st): Insert hook, yarn over, pull through both the stitch and the loop on your hook in one motion. Used to join rounds or move across stitches invisibly.
Single Crochet (sc): Insert hook into stitch, yarn over and pull up a loop (2 loops on hook), yarn over and pull through both loops. A short, tight stitch.
Half Double Crochet (hdc): Yarn over, insert hook into stitch, yarn over and pull up a loop (3 loops on hook), yarn over and pull through all 3 loops. Slightly taller than single crochet.
Double Crochet (dc): Yarn over, insert hook into stitch, yarn over and pull up a loop (3 loops on hook), yarn over and pull through 2 loops (2 loops remain), yarn over and pull through remaining 2 loops. A tall, open stitch.
Back Loop Only (BLO): Work into only the back loop of the stitch (the loop farthest from you). This creates a ribbed texture.
Magic Ring (MR): An adjustable loop that closes tightly. If you prefer, you can chain 4 and slip stitch to join instead.
Increase (inc): Work 2 stitches into the same stitch. This adds one stitch to your count.
Gauge
Exact gauge is not critical for this bag, but aim for approximately 8 to 10 stitches and 8 to 10 rows per 4 inches in single crochet with your chosen yarn and hook.
If your fabric feels stiff, go up a hook size. If it feels too loose and floppy, go down a size.
Finished Dimensions
These measurements may vary based on your yarn weight and tension.
Pattern Instructions
Now for the fun part. Let us make this bag together.
Base of the Bag
The base is worked in continuous rounds using single crochet with one color. I recommend Color A (cream) for the base, but you can use any color you like.
Round 1: With Color A, create a magic ring. Work 6 sc into the ring. Pull tight to close. (6 sts)
Round 2: Inc in each st around. (12 sts)
Round 3: *Sc 1, inc* repeat around. (18 sts)
Round 4: *Sc 2, inc* repeat around. (24 sts)
Round 5: *Sc 3, inc* repeat around. (30 sts)
Round 6: *Sc 4, inc* repeat around. (36 sts)
Round 7: *Sc 5, inc* repeat around. (42 sts)
Round 8: *Sc 6, inc* repeat around. (48 sts)
Round 9: *Sc 7, inc* repeat around. (54 sts)
Round 10: *Sc 8, inc* repeat around. (60 sts)
Your base should now measure approximately 5 to 6 inches in diameter. If you want a larger bag, continue increasing in pattern until you reach your desired size.
Place a stitch marker in the first stitch of each round. This helps you keep track without losing your place.
Sides of the Bag with Vertical Stripes
Here is where the magic happens. We create the vertical stripes by working in back loop only and changing colors in a specific sequence.
The striping pattern I see in the photo alternates between three colors in this approximate sequence: Cream, Yellow, Taupe, Yellow, Cream, Taupe and so on. You will carry the unused yarns loosely along the inside or cut and rejoin as you go.
For simplicity, I recommend this approach:
Setup Round (Round 11): Sc in BLO in each st around. Do not change colors yet. This creates a sharp edge where the base meets the sides. (60 sts)
Rounds 12 through 14: Continue sc in BLO around for 3 rounds with Color A. (60 sts each round)
Now we introduce the stripe sections. You will divide your 60 stitches into 6 panels of 10 stitches each.
Stripe Sequence per Panel:
Round 15: Working in BLO, *sc 10 with Color A, sc 10 with Color B, sc 10 with Color C, sc 10 with Color B, sc 10 with Color A, sc 10 with Color C.* Join with sl st if needed, or continue in spiral. (60 sts)
When changing colors, drop the old color to the inside (wrong side) and pick up the new color. Carry the yarn loosely across the back, or use bobbins if you prefer.
Rounds 16 through 30: Repeat the same stripe color sequence for each round, always working in BLO. (60 sts each round)
This creates approximately 16 rounds of striped fabric, which gives the bag its height. Adjust rounds for a taller or shorter bag.
Your bag should now measure about 8 to 9 inches tall from base to top edge.
Top Edge and Drawstring Channel
Now we create the channel that holds the drawstring cord.
Round 31: With Color A, working in BLO, sc in each st around. (60 sts)
Round 32: Ch 3 (counts as dc), skip first st, *dc in next st, ch 1, skip 1 st* repeat around. Join with sl st to top of ch-3. (30 dc, 30 ch-1 spaces)
This eyelet round creates the holes for your drawstring to weave through.
Round 33: Sc in each st and ch-1 space around. (60 sts)
Round 34: Sc in BLO in each st around. (60 sts)
Fasten off and weave in ends.
Drawstring Cord
Cut 3 strands of yarn, each approximately 60 inches long. Use one strand of each color (cream, yellow, taupe) for a coordinating braided look.
Braid or twist the strands together. Knot each end and trim to create small tassels.
Weave the cord through the eyelet round (Round 32), going in and out of the chain spaces. Pull to cinch the top of the bag closed.
Attaching the Hardware
This step elevates your bag from handmade to high end.
O-Rings: On each side of the bag, approximately 1 inch down from the top edge, use a length of yarn to securely stitch an O-ring in place. Wrap the yarn through the ring and through the bag fabric several times. Weave in ends tightly.
Chain Strap: Attach each end of your chain to an O-ring using the existing clips or with jump rings. Make sure the chain hangs comfortably at your desired length.
If your chain feels too long, you can remove links or loop it through the rings twice for a shorter drop.
Finishing Touches
Weave in all remaining ends with your tapestry needle. For extra durability, weave each end in two different directions before trimming.
Optional Lining: If you want a cleaner interior, cut a fabric circle for the base and a rectangle for the sides. Hand stitch in place using matching thread.
Block your bag by stuffing it with tissue paper overnight. This helps the shape settle.
Tips for Success
Color changes: Do not stress if your color joins look slightly uneven at first. The texture of the BLO stitches hides small imperfections beautifully.
Yarn tension: Keep your stitches consistent but not overly tight. A relaxed tension makes the drawstring channel easier to thread.
Hardware placement: Before stitching the O-rings permanently, hold them in place to make sure they are even on both sides.
Make It Your Own
This crochet pattern is endlessly customizable. Try these variations:
You Did It
And just like that, you have a stunning handmade bucket bag ready for everyday adventures. I hope you enjoyed working through this crochet tutorial as much as I enjoyed designing it.
Thank you so much for spending your crafting time with me. It means the world when you choose to make one of my patterns.
I would absolutely love to see your finished bag. Tag me on Instagram or share your photo in our Facebook group. Seeing your creations is genuinely the best part of my day.
Now go show off that gorgeous bag. You made it with your own two hands, and that is something to be proud of.
Happy hooking!
