
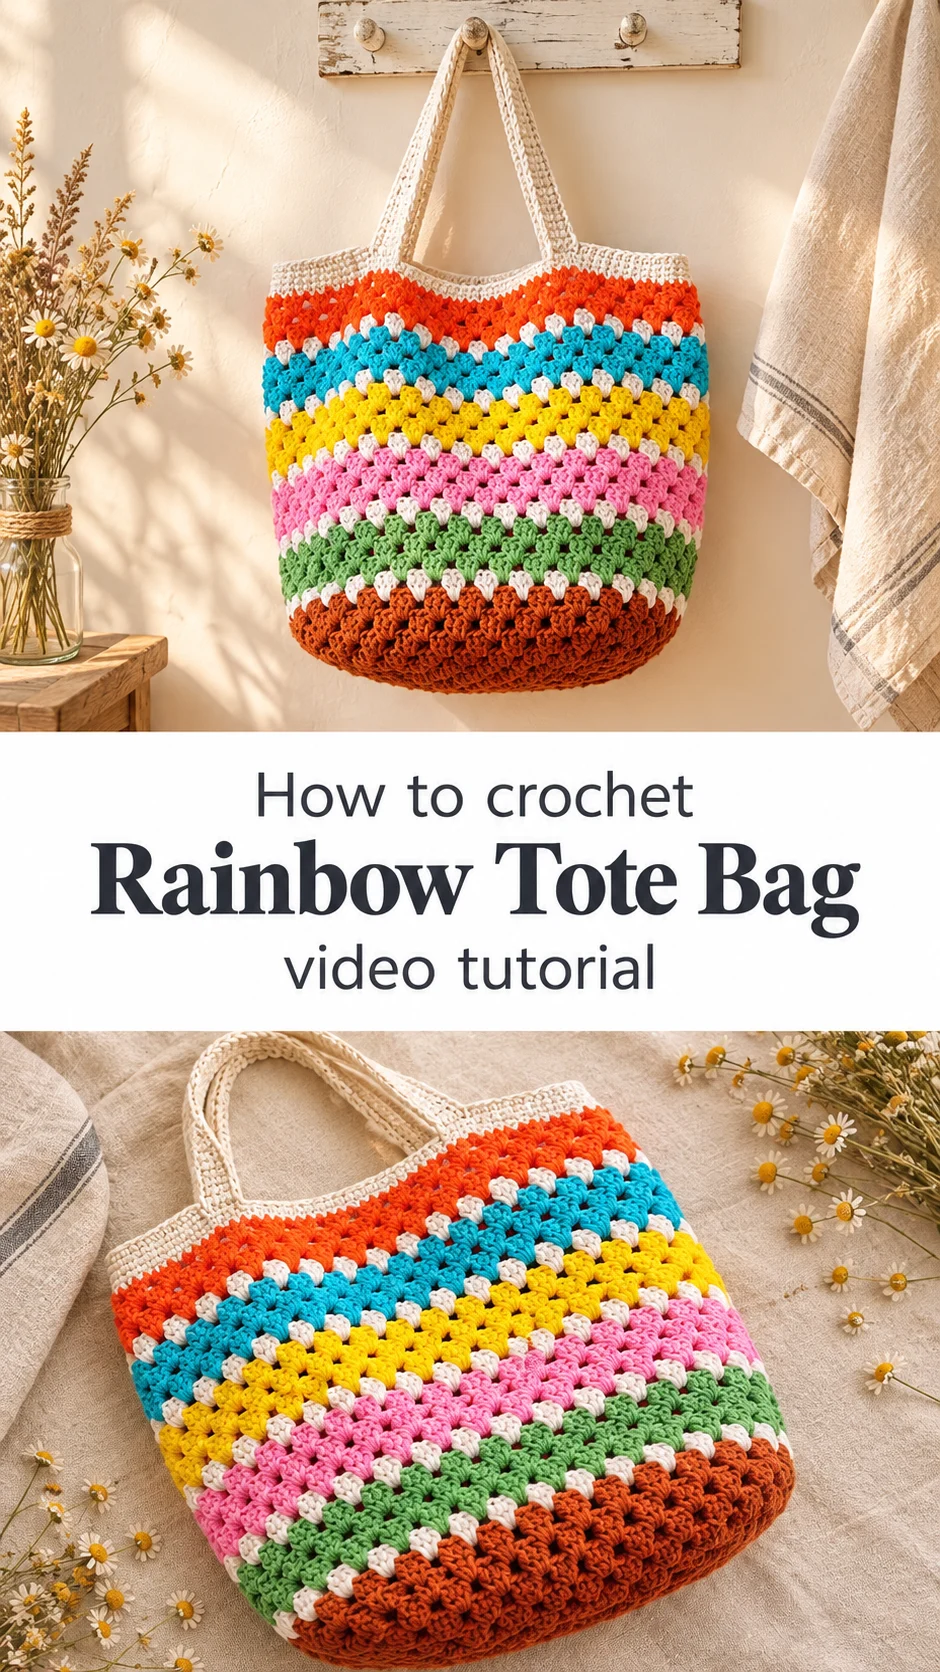
A roomy, sunny-striped crochet tote built from granny-style rows of orange, turquoise, yellow, pink, green and a warm brown base, made to carry the day’s essentials with a splash of colour.
The Crochet Rainbow Tote Bag
This crochet rainbow tote bag is a generous, open-topped carryall worked in horizontal bands of colour that move from bright orange at the top through turquoise, sunshine yellow, blush pink and sage green, before settling into a deep rust-brown base. The bag has a wide, rounded body that stands on its own when set down, and a pair of long cream handles that sit comfortably on the shoulder. What sets this design apart is the way the colour stripes are built around a textured, clustered stitch, so each band reads as a bold line of colour with a soft, dimensional surface. It suits beach trips, farmers market runs, library days and weekend errands, and it brings a cheerful boho note to almost any outfit.
Bold stripes like these are a quick way to lift a plain wardrobe. The bag carries a lot without looking heavy, and its open top means you can see at a glance what is inside.
Tote Bag Related Posts:
- Crochet Yarn Flowers: A Charming Handcrafted Bloom
- Crochet Halter Top: A Breezy Summer Essential
- Crochet Budapest Halter Top: A Chic Summer Essential
- Crochet Heart Tote Bag: A Charming Romantic Accessory
Materials
To make a bag like this you will need a cotton or cotton-blend yarn in orange, turquoise, yellow, pink, sage green, rust brown and cream, a hook sized to your yarn’s label, a tapestry needle for weaving in ends, stitch markers, and scissors. Cotton is the right choice here because the bag needs to hold its shape when filled; a soft acrylic will tend to slump and stretch under the weight of a water bottle and a book. A tightly worked cotton cord gives the body its structure, while a slightly finer cotton for the handles keeps them flexible enough to sit well on the shoulder. Choose a hook that gives firm, even stitches, because loose fabric will sag in the base. Keep your colours in a clear order before you begin so each stripe changes at the right row.
Understanding the Structure
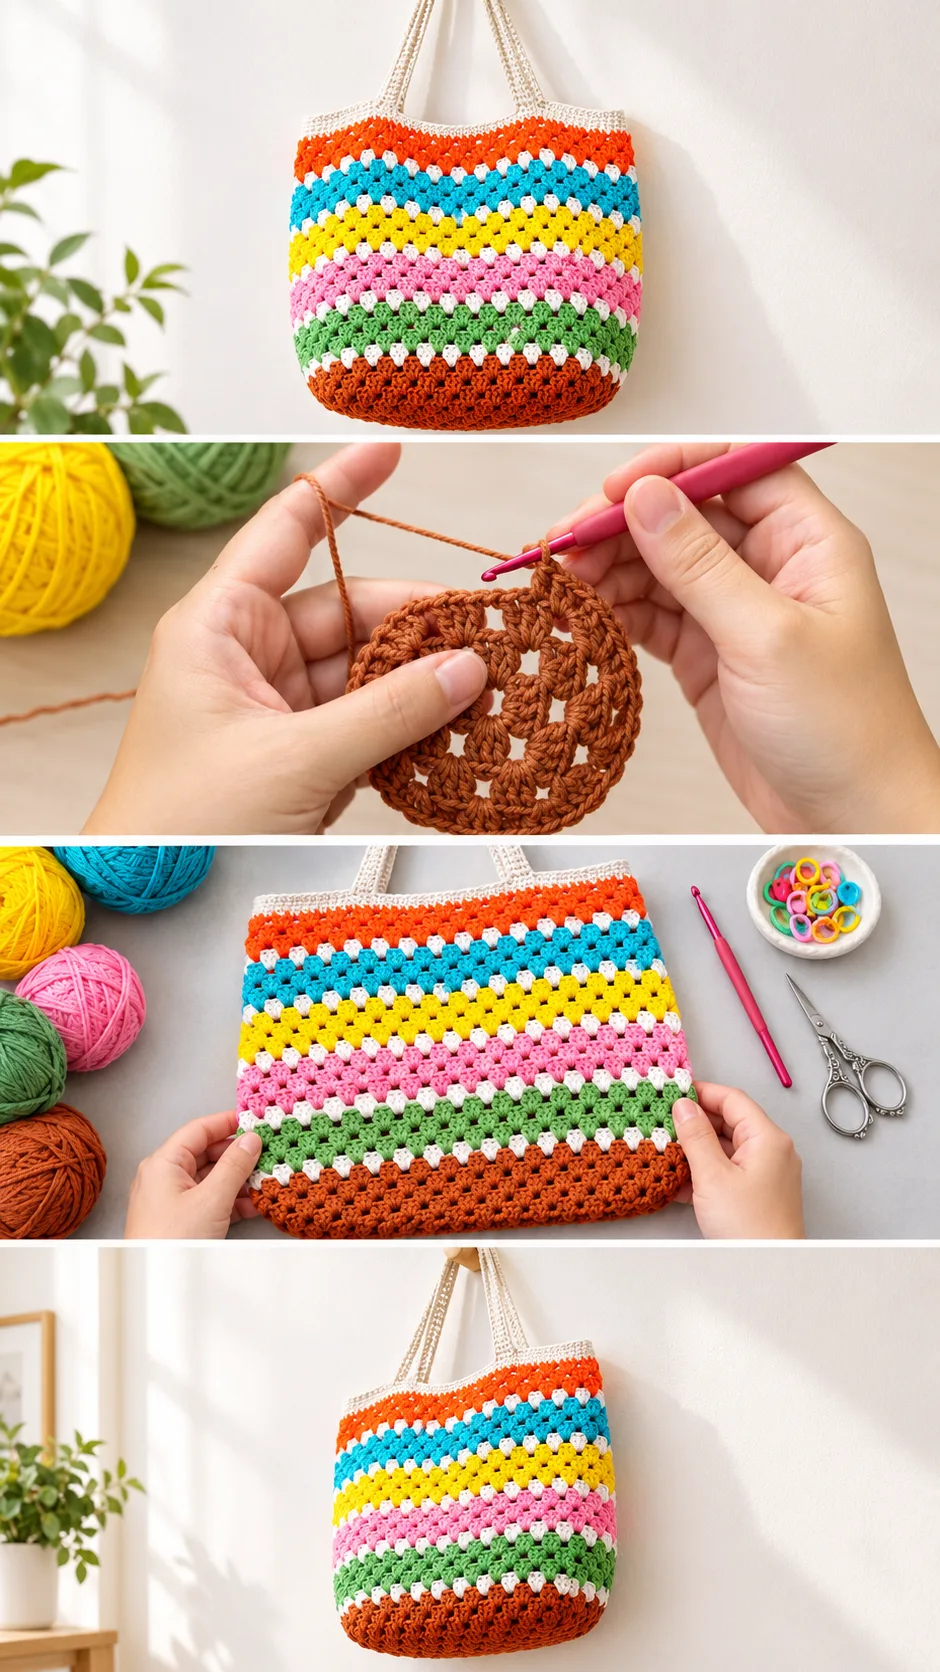
The bag is built as a single piece worked from the base upward, with the body growing in bands of colour. The rust-brown base is the first thing that takes shape, and it is worked densely so the bottom stays firm and flat. The body then widens into the rounded sides, and the colour stripes are added one after another, each band carrying the stitch repeat up toward the rim. The top edge is finished with a cream border, and the handles are worked separately and attached so they carry the weight evenly. Because the body is built in rounds, watch where the shaping starts at each corner, as the bag’s shape depends on it.
Why the Base Matters
The brown base is what makes the bag stand up. If the base is worked loosely, the whole bag will slump to one side when set down, so keep your tension a little tighter there than in the body.
Choosing the Best Yarn for a Rainbow Tote
Cotton is the clear favourite for this project. A mercerised cotton gives a slight sheen that makes the colours look fresh and bright, while a plain cotton has a softer, matte look that suits a relaxed, vintage feel. A cotton-acrylic blend is a practical middle ground: it is cheaper, washes well and holds its colour, though it has a little less body than pure cotton. Avoid very stretchy or fuzzy yarns, since they will distort the open stitches and blur the stripes. For colour, the palette in the photos is cheerful and warm, with the rust base grounding the brights above it. You could try a softer palette of cream, sky blue, butter yellow and sage for a calmer look, or a deeper set of teal, mustard and plum for something richer.
The Stripe Pattern and Colour Changes
The stripes are the heart of this bag’s personality. Each colour band is worked for a set number of rounds before the next colour is joined in, and the cream edging between bands helps each stripe stand out. Plan your colour changes in advance and note where each one falls, so the stripes stay even all the way around. Fasten off or carry the yarn neatly at each change, and keep the carried yarn loose enough that the fabric does not pull in. Follow the video closely at each colour change, paying attention to how the new yarn is joined so the seam stays neat.
How to Style a Rainbow Tote Bag
In the photos the bag is shown hanging from a single handle against a plain wall, which lets the stripes do all the talking. Carry it on one shoulder with a plain white tee and denim shorts for an easy summer look. It also works over a linen sundress, where the cheerful stripes add a bit of contrast. For a day out, pair it with a neutral dress and sandals so the bag becomes the focal point. It makes a thoughtful gift for a friend who loves bright colours or for anyone who needs a sturdy market bag that does not look like one.
Tips for a Neat and Sturdy Finish
Weave in every yarn end carefully, working each tail through several stitches in different directions so it cannot work loose after washing. Block the bag lightly if the sides look uneven, pinning the rim into a neat round and letting it dry flat. If the handles look too thin, work an extra round of stitches along each one for body. Check your tension regularly as you go; if the stripes start to look tight and the bag narrows, loosen your grip a little for the next few rounds.
Caring for Your Crochet Rainbow Tote Bag
Hand wash in lukewarm water with a gentle detergent, because heat and agitation can felt cotton and dull the colours. Rinse well, press out excess water without wringing, and lay the bag flat to dry on a towel so the base keeps its shape. Store it lightly folded or standing upright, away from strong sunlight, which can fade the brights over time. Washing the bag after a beach trip or a muddy market run will keep the cotton fresh and the stripes crisp.
A Cheerful Handmade Carryall
This bag is a simple way to bring summer colour into everyday life. Its strength comes from a firm brown base, a tight, even body and well-finished handles, while the stripes give it its joy. Choose a sturdy cotton, plan your colour changes, and take your time over the base and the rim, and you will end up with a bag that carries your day in style.
Video tutorial by August Craft & Crochet: https://www.youtube.com/ (search “August Craft & Crochet rainbow tote bag”)
Watch the tutorial and pause at each colour change to see how the new yarn is joined. Replay the section on the base shaping, since that is where the bag’s stand-up structure begins.
Follow us on Pinterest and subscribe to the Newsletter so you don’t miss a thing!
Tutorial and photos of this rainbow tote bag by: August Craft & Crochet.
