
A textured, reversible-looking crochet fabric with deep ridges and a soft, squishy hand, made for wrapping up on the sofa.
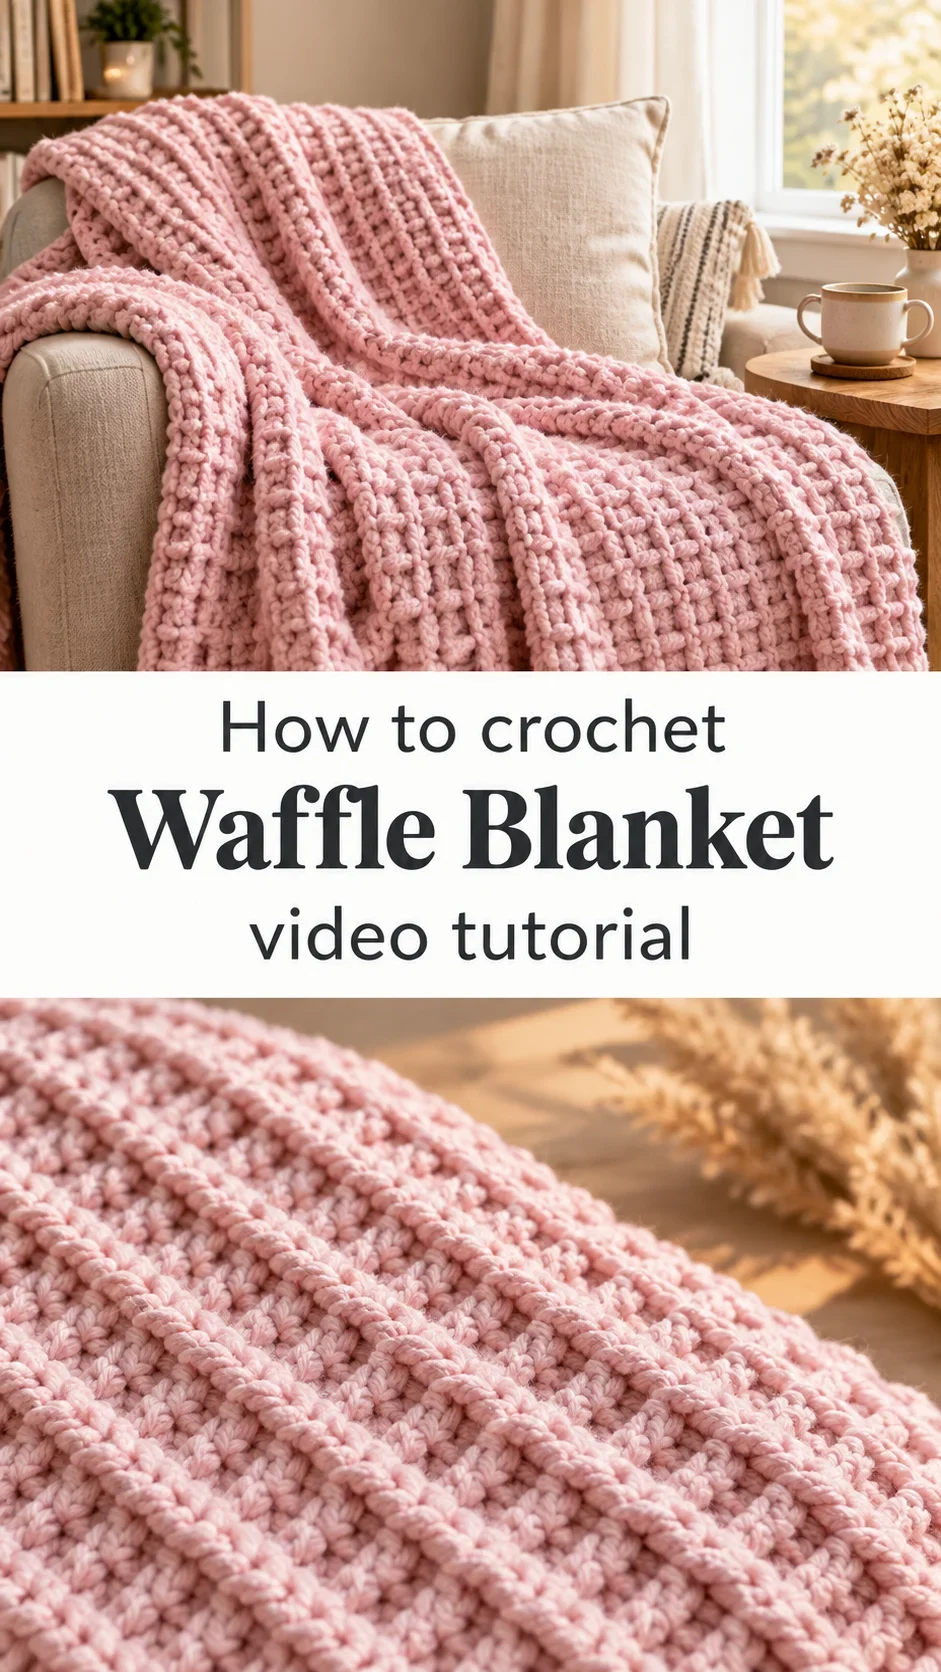
The Crochet Waffle Blanket
The waffle blanket is a crochet fabric built from raised horizontal ridges alternating with rows of small, closely set pockets, giving the surface a pleasing grid of depth. In the finished piece the ridges sit proud of the fabric, so light catches each one and the whole throw reads as sculptural rather than flat. Worked in a soft pink, this example looks gentle and romantic, the kind of cover that suits a bedroom or a nursery as easily as a living room. Its dense structure makes it feel substantial and warm, yet the texture keeps it from looking heavy.
Why make one? Because the stitch is forgiving, repetitive in a satisfying way, and produces a blanket that looks far more complicated than it is. The raised rows add thickness without extra bulk, so the throw stays cosy in winter and still lies smoothly over a bed. It is also a practical choice for a first large project, since each row builds visibly on the last.
Waffle Blanket Related Posts:
- Crochet Ribbed Handbag: A Chic Wooden Handle Design
- Crochet Striped Scoodie: A Cozy Winter Essential
- Crochet Lace Tunic: A Delicate and Timeless Piece
- Crochet Scrubby Set: A Practical and Charming Kitchen Essential
Materials
Choose a soft, medium-weight acrylic or an acrylic-cotton blend for a waffle blanket. Acrylic gives the crisp definition of the ridges, holds its shape through repeated washing, and stays affordable across a large project. Yarn that is too fine will flatten the texture and make the blanket droop, while a very thick yarn will swallow the stitch detail and produce a bulky, heavy throw. Pick a hook one or two sizes below the label recommendation so the stitches sit tightly and the pockets stay defined; a loose hook lets the fabric sag and softens the ridges. Plan on a large amount of yarn, since a throw covers a lot of ground, and buy the full quantity from one dye lot so the colour stays even. Add a blunt yarn needle for weaving in ends and a stitch marker or two to keep your place on the edges.
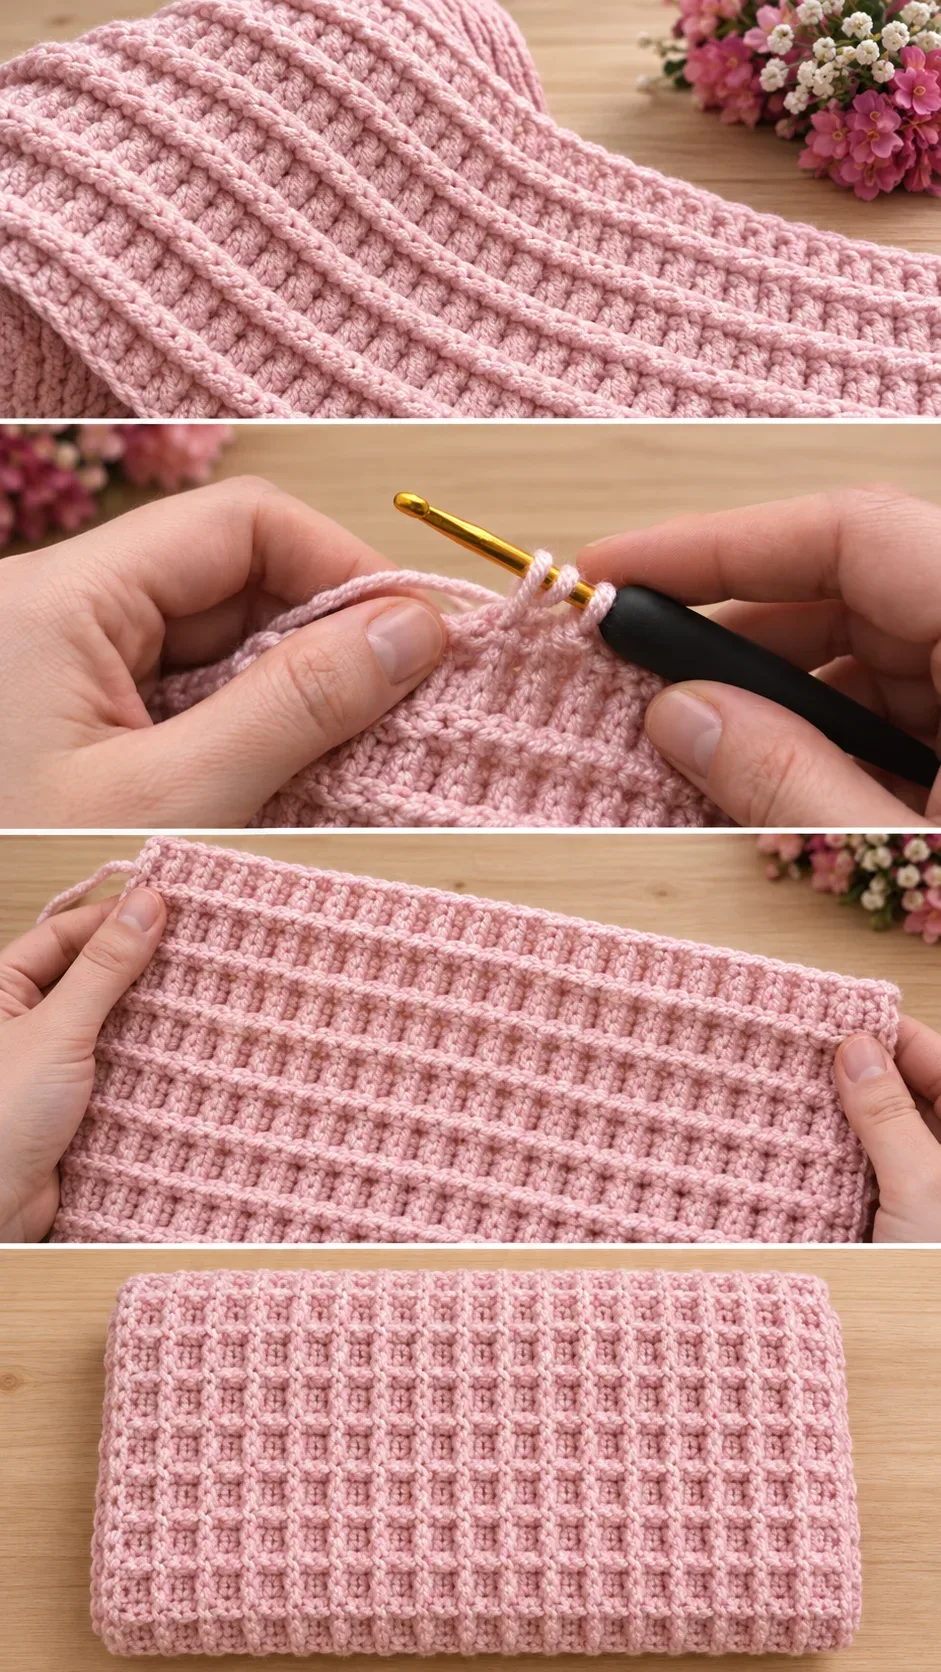
Choosing the Right Yarn and Colour
Yarn choice shapes the final result more than anything else in this project. A smooth acrylic gives the cleanest ridges and the most even colour, which suits a pastel shade like the soft pink here. A cotton blend produces a firmer, more structured throw that holds its geometry well but feels cooler and less cuddly. Avoid novelty or fuzzy yarns, because they hide the stitch pattern and make the grid look smudged. For colour, dusty rose, oatmeal, sage and soft grey all echo the calm, muted mood of the photographed blanket. If you prefer contrast, a deep navy or charcoal makes the ridges read even more strongly.
Understanding the Waffle Structure
The texture comes from alternating rows that are worked differently: some rows lie flat and create the raised ridges, while others form the recessed pockets between them. Because the ridges stand up from the body of the fabric, the blanket gains thickness and the pockets trap a little air, which is part of why it feels so warm. Keep your tension consistent from row to row; if you pull tightly on one row and loosely on the next, the ridges will look uneven and the blanket may twist. Work slowly enough to see how each row sits before you begin the next.
Keeping the Edges Straight
Edges are where waffle blankets most often go wrong. If the sides begin to curve inward or outward, you are probably adding or losing stitches at the ends of rows. Count the stitches at the end of every few rows, and if the edge pulls in, work the last stitch of a row slightly looser. A simple fix is to check the width against your starting chain every ten rows or so and correct early instead of waiting until the blanket is finished.
Following the Video Tutorial
The video tutorial is the best guide to the stitches themselves. Watch closely at the moment the ridges are formed, since hand position on that step decides whether the raised rows stand tall or flatten out. Pause and replay as often as you need, and take a few rows slowly before settling into rhythm. Notice how the creator turns each row, because a consistent turning method keeps the pattern aligned from edge to edge. Practise on a small swatch before committing to the full throw.
Finishing Tips for a Polished Blanket
Weave in every yarn end securely, running the tail through several stitches in both directions so it stays put after washing. Block the finished throw by dampening it gently and laying it flat to dry at its true size. Blocking relaxes any uneven tension and lets the ridges settle into straight, even lines, which makes a noticeable difference to the final look. If the edges still curl, a simple border of a few rounds of single crochet in the same yarn will pull them flat and give a neat, finished frame.
Styling and Using Your Waffle Blanket
In the photos the blanket is shown as a relaxed throw, the kind you drape across the arm of a sofa or fold at the foot of a bed. It also works layered over a plain cotton duvet, where the texture adds interest without competing with a patterned bedspread. For a gift, pair it with a mug of cocoa and a book, or present it folded in a basket beside a candle. A pale pink version suits a nursery, while a deeper tone brings warmth to a reading corner.
Caring for Your Waffle Blanket
Wash acrylic blends on a gentle cycle in cool water, turned inside out, which protects the ridges from being crushed against the drum. Lay the blanket flat to dry rather than hanging it, since hanging stretches the fabric and can distort the grid. Store it folded loosely rather than tightly rolled, so the ridges do not develop permanent creases. Avoid high heat in both washing and drying, because it can soften the stitches and dull the colour over time.
A Soft, Heirloom-Worthy Throw
A waffle blanket is a patient project with a rewarding result: a dense, textured throw that looks as good on a bed as it feels underneath your hands. Three things decide whether yours turns out well: a soft yarn that holds its shape, consistent tension from row to row, and careful attention to the edges. Take your time, check your work as you go, and the blanket will repay you for years.
Video tutorial by Massive Crochet, available at massivecrochet.com, for free step-by-step guidance on the stitches.
Watch the full video tutorial from Massive Crochet at massivecrochet.com.
Follow us on Pinterest and subscribe to the Newsletter so you don’t miss a thing!
Tutorial and photos of this waffle blanket by: Massive Crochet.
