
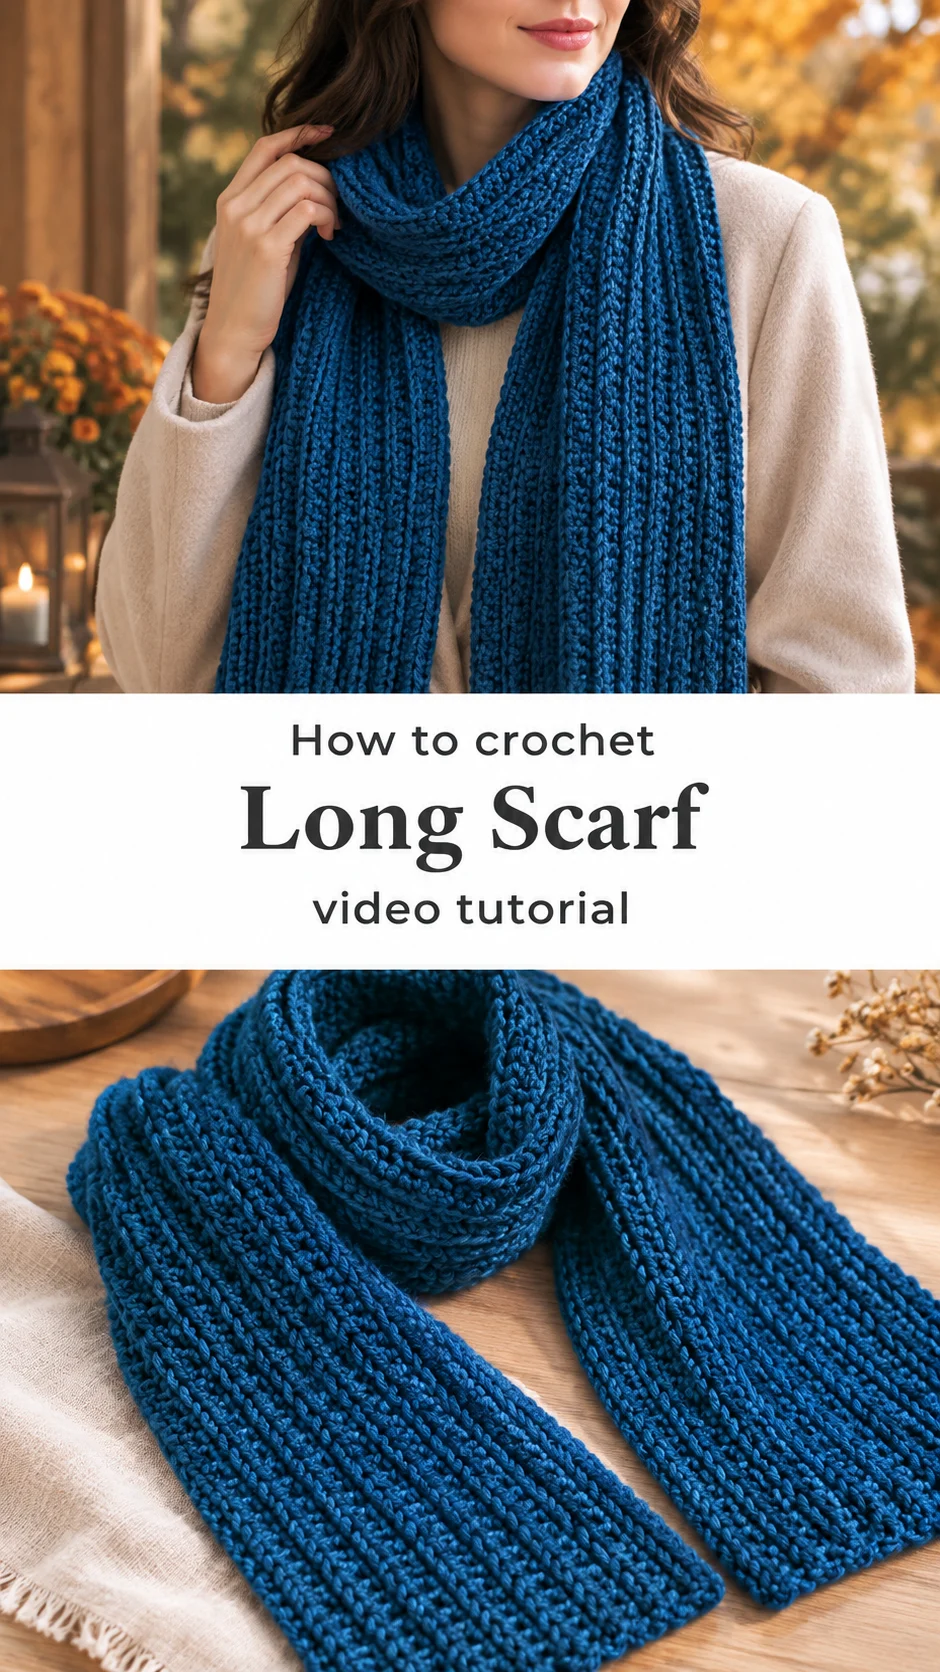
A long crochet scarf wraps around the neck several times and falls well past the waist, turning an everyday coat into something cosy and deliberate.
The Crochet Long Scarf
The long scarf in the photos is worked in a deep teal blue with a dense, ribbed fabric that feels firm and warm. The texture runs in clear vertical columns along the length, so the piece has a structured, almost woven look rather than a soft, loose drape. Its squared-off ends and a tidy finished edge show that it was built as a single long strip rather than assembled from pieces. A small leather label stitched near one end adds a finished, boutique touch that suits a piece meant to be worn daily.
The scarf works for almost any wardrobe. Its length lets you knot it loosely, double it around the neck, or drape one end over the shoulder. Because the colour is rich but not loud, it pairs easily with grey, black, camel, and denim. It is equally at home on a walk through a cold city, at the office under a wool coat, or at a weekend market. It also makes a thoughtful gift for a partner, a friend, or anyone who prefers classic pieces over trends.
Long Scarf Related Posts:
- Crochet Sunflower Crossbody Bag: A Bright Boho Essential
- Crochet Rose Bouquet Blanket: A Romantic Floral Treasure
- Crochet Seamless Yoke Sweater: A Soft and Dreamy Wardrobe Gem
- Crochet Chevron Blanket: A Timeless Textured Classic
Materials
A medium-weight acrylic or acrylic blend yarn is the usual choice for a scarf with this kind of dense, ribbed texture, because it holds its stitch definition and resists stretching over a long length. Wool blends give a warmer, slightly fuzzier result, but they can soften the vertical columns so the ribbing looks less crisp. Choose a hook size suited to your yarn label, and go down a size if you want the fabric firmer and more windproof. You will also need a yarn needle for weaving in the ends and a stitch marker to keep track of your rows. The leather label is optional, but a plain label or none at all will still look neat.
Choosing the Right Yarn and Colour
Acrylic yarn keeps the scarf light, washable, and affordable, which is ideal for a long piece you will wear often. A wool or wool-blend yarn adds warmth and a softer sheen, but it will show pilling sooner and needs more careful washing. Avoid very slippery yarns such as silky blends, since the ribbing will slide and lose its shape. The deep teal in the photos reads as sophisticated and works in most seasons. If you prefer a neutral, oatmeal or charcoal grey gives the same textured look with a quieter feel.
Why the Texture Matters
The vertical ridges are what make this scarf distinctive. Keep your tension even across every row, because uneven stitches will show up as wavy columns rather than crisp lines.
Working the Ribbed Fabric
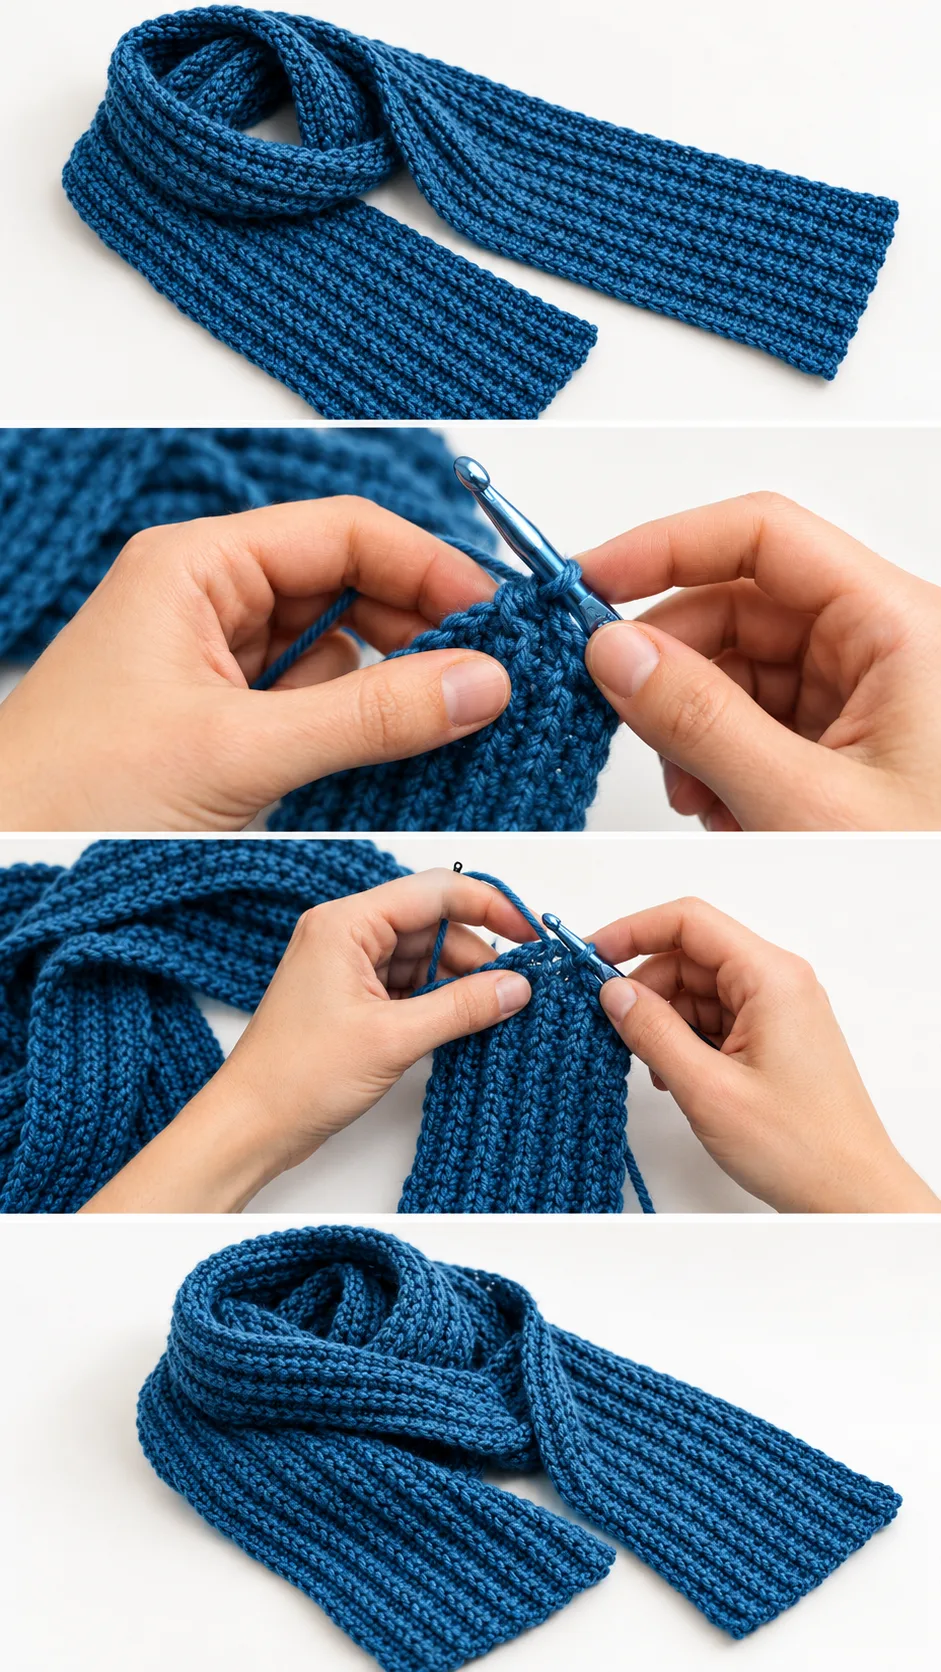
This scarf is built from repeated rows that create its raised columns. The work is steady rather than fiddly, so it suits confident beginners who have a handful of basic stitches under their belt. The most demanding part is maintaining consistent tension over a long length, since a scarf this size gives every small inconsistency room to add up. Work in good light, check your piece against the video from time to time, and stop to smooth it out every so often so you can see whether the columns are staying straight.
If your columns begin to lean or wander, your tension has likely shifted. Loosen your grip slightly and carry the yarn at the same pace on every row.
If the fabric feels too stiff and the ribbing looks cramped, move up one hook size. If the scarf is too loose and the columns look floppy, go down a size.
Finishing the Scarf Well
Weave in your ends carefully along the inside of the fabric, running the tail through several stitches in both directions so it will not work loose. Because the ridges show clearly on the outside, hide ends in the back. Blocking gently with light steam or a damp towel can help the columns sit evenly, but avoid stretching the scarf too far, which can flatten the texture you worked so hard to create. Lay it flat to dry, away from direct heat.
Styling the Long Scarf
In the photos the scarf is spread across a neutral background, which lets the rich colour and texture stand out clearly. To wear it, try a loose double wrap with both ends tucked into your coat for a relaxed look. For a more polished style, drape one long end over the opposite shoulder and let it hang down the front. On cold, windy days, a single wrap with the ends crossed under the collar gives the most warmth. Pair it with a knit jumper and straight trousers for an easy, layered outfit.
Caring for Your Scarf
Wash the scarf in cool water on a gentle cycle, or by hand with a mild detergent, to protect the stitch definition. Avoid wringing it out, since twisting can distort the vertical ridges. Lay it flat to dry and reshape it gently while damp. Store it folded rather than hung, so the weight of the length does not stretch the fabric over time.
Following the Video Tutorial
Watch the video closely for how the ribbing is worked and how the rows connect to create the raised columns. Pause whenever you need to check your stitches against the demonstration, and replay the sections on turning and joining where the technique may be less familiar. Work at a comfortable pace, and check your progress against the video every few inches of fabric so any mistakes are caught early.
Video tutorial by the creator, linked here for you to follow along and learn each step.
Follow us on Pinterest and subscribe to the Newsletter so you don’t miss a thing!
Tutorial and photos of this long scarf by: Crochet Bits.
