
Today’s guide is all about the Crochet Cherry Amigurumi, a pocket-sized confection of rosy pink spheres and sage-green leaves that feels like holding a little piece of summer in your palm. Gather your hook and your softest yarn, and let’s bring these sweet cherries to life together.
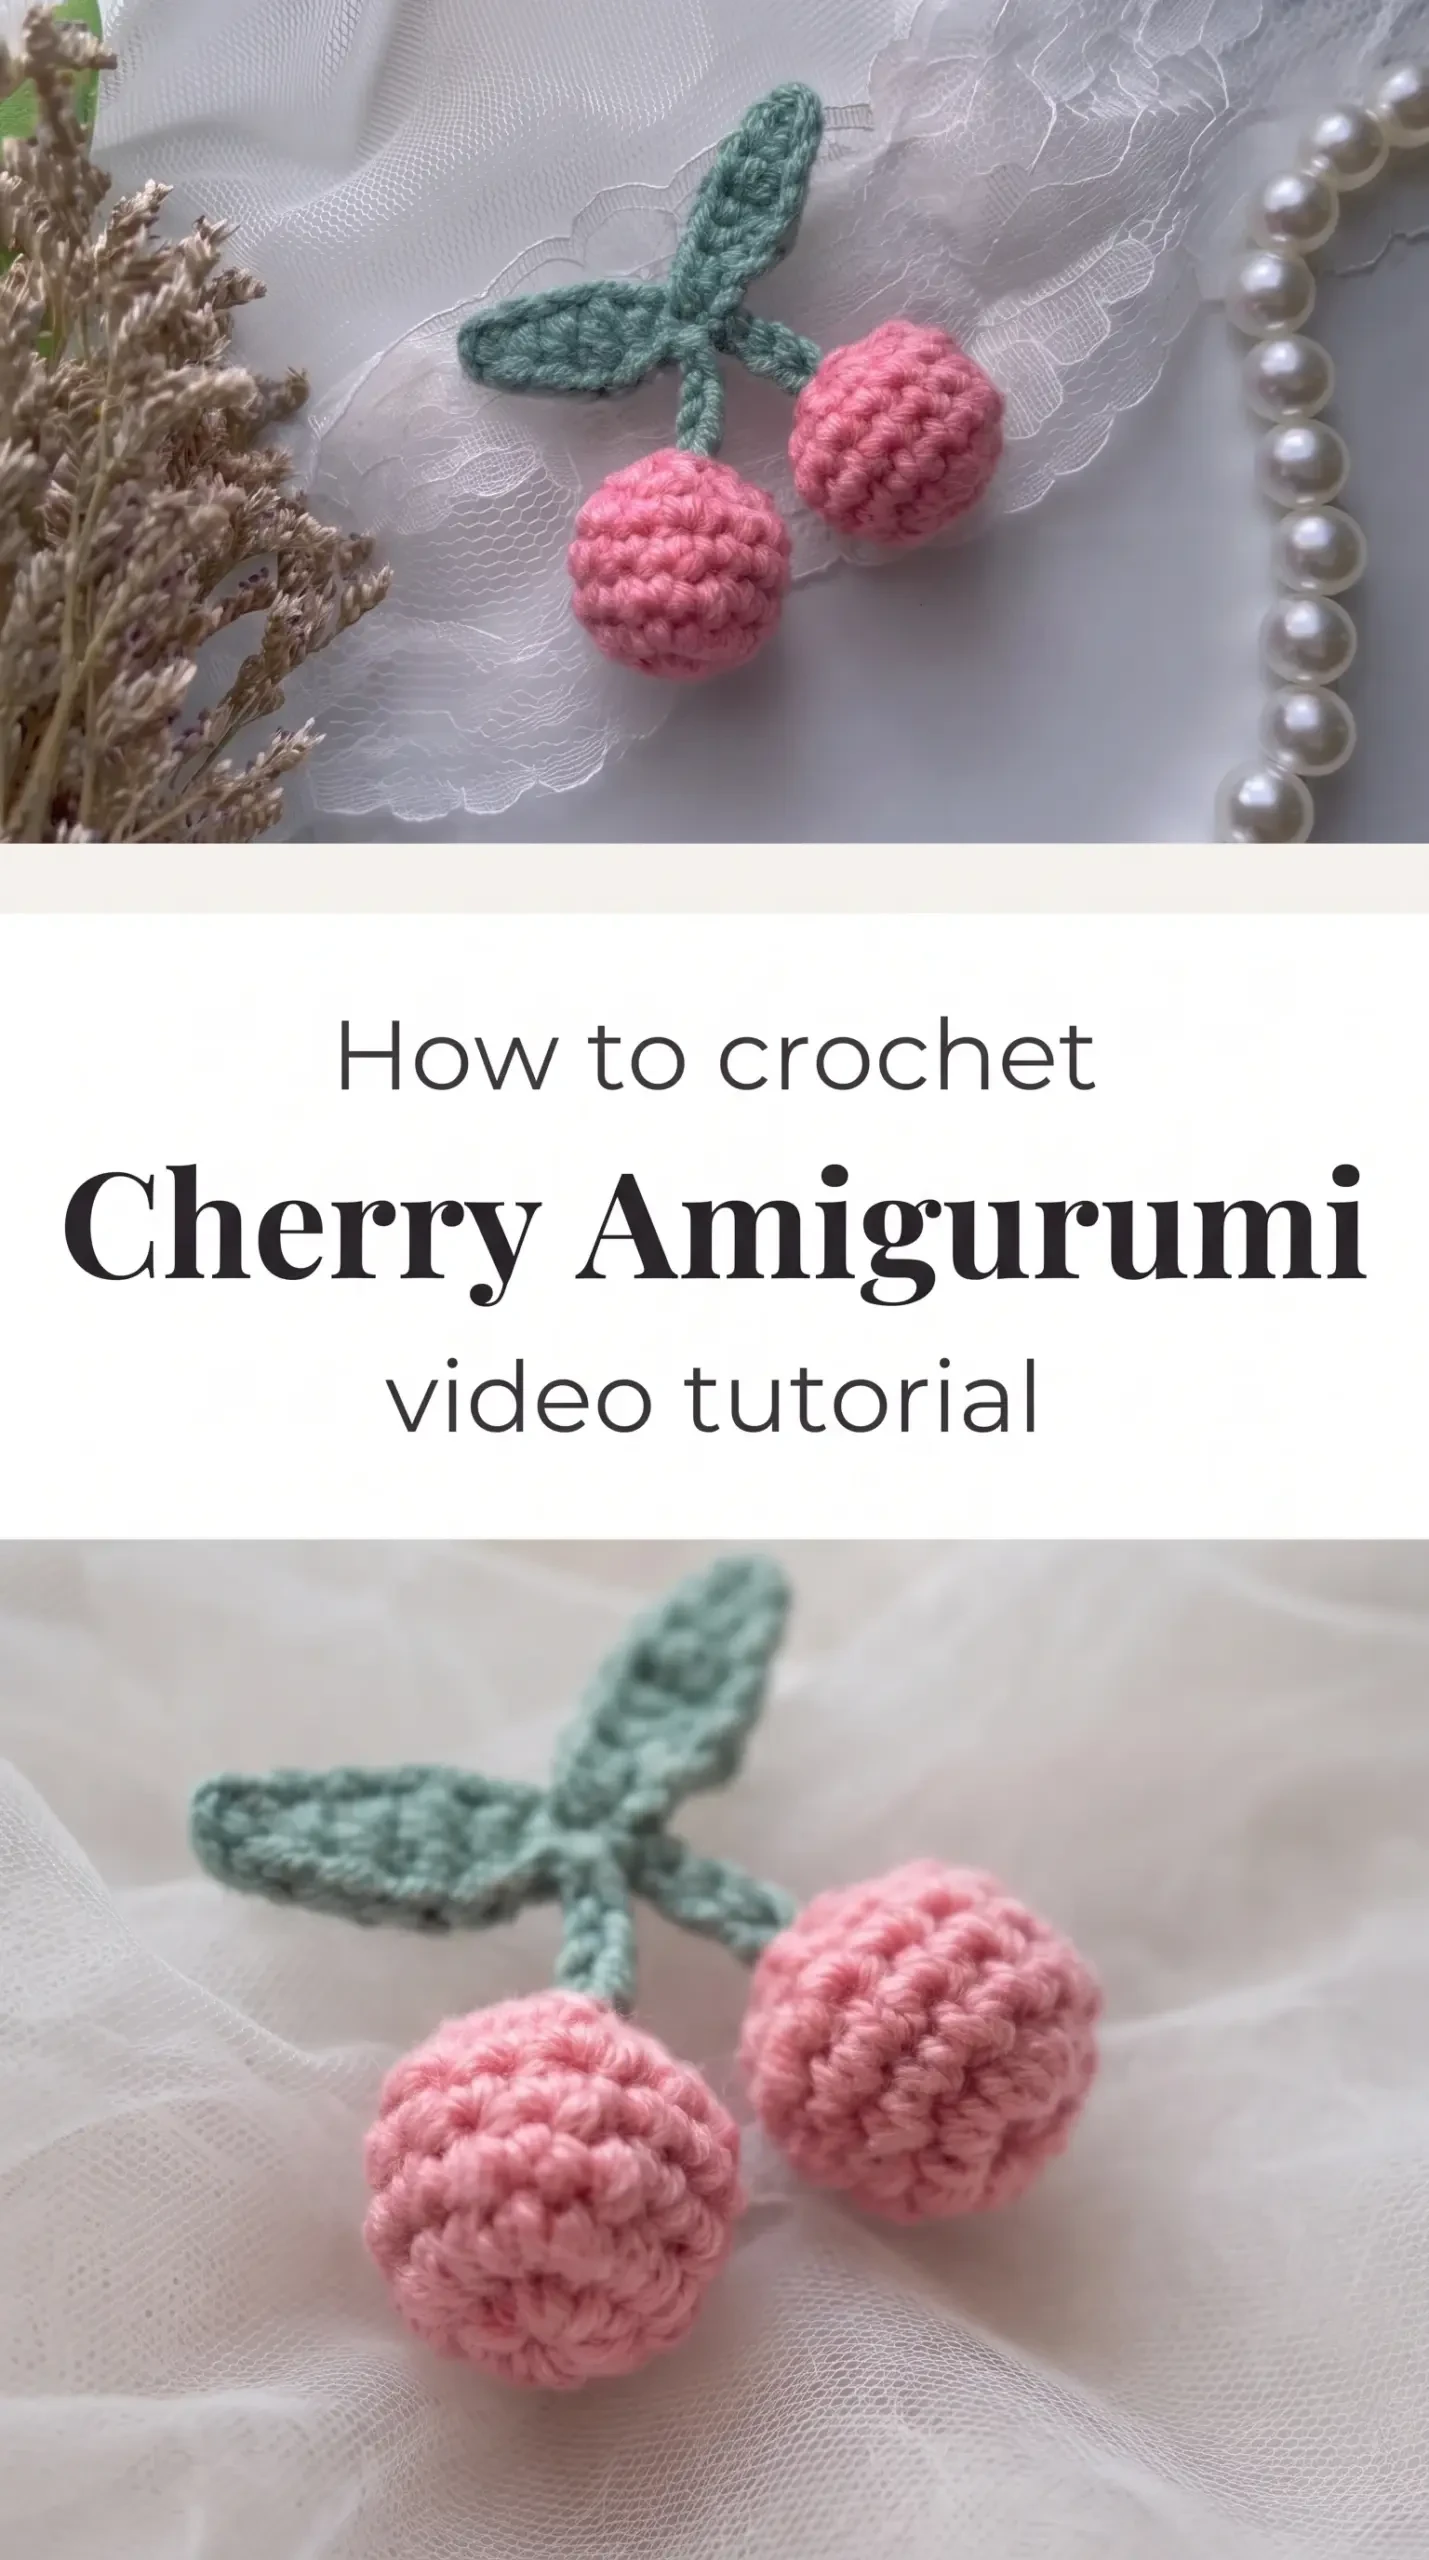
The Cherry Amigurumi
The Crochet Cherry Amigurumi is one of those projects that stops people mid-scroll, mid-conversation, mid-room. Two plump little spheres blushed in warm pink, each one connected by a twisted teal stem that splits into two leaf shapes, the whole thing no bigger than a child’s fist. It has a roundness to it, both literally and in feeling, something nostalgic and soft, like the cherry print fabric on a vintage kitchen apron or the sweetness of late July. This is a project for the maker who finds beauty in small things, who wants their hands to produce something that makes people smile without a single word.
Cherry Amigurumi Related Posts:
- Crochet Crossbody Bag: A Chic and Versatile Accessory
- Crochet Marshmallow Bag: A Colorful Statement Piece
- Crochet Market Bag: A Charming Eco-Friendly Essential
- Crochet Mesh Tote Bag: A Practical Everyday Essential
The classic colorway is a dusty rose or bubblegum pink for the fruit paired with a muted sage or teal for the leaves and stems, and that combination alone reads as effortlessly charming. But you could lean into deep burgundy cherries with forest green stems for something more sophisticated, or try soft coral with mint for a pastel version that feels straight out of a stationery shop. The Crochet Cherry Amigurumi works beautifully across color moods, which makes it an easy gift to personalize.
Materials and Tools
For the Crochet Cherry Amigurumi, you will want a sport weight or DK weight yarn in your chosen fruit and leaf colors, as these finer weights give the finished spheres a tight, smooth surface that holds its round shape beautifully. A 2.5mm or 3mm crochet hook is ideal for working amigurumi in the round, keeping the tension firm enough that no stuffing peeks through the stitches. Cotton or a cotton-blend yarn is particularly lovely here because it has a slight crispness that defines each SC stitch with clarity, though a smooth acrylic will also give you clean results. You will also need a yarn needle for weaving in ends and sewing the cherries to the stem, along with a small amount of polyester fiberfill to stuff each cherry into its satisfying, rounded form.
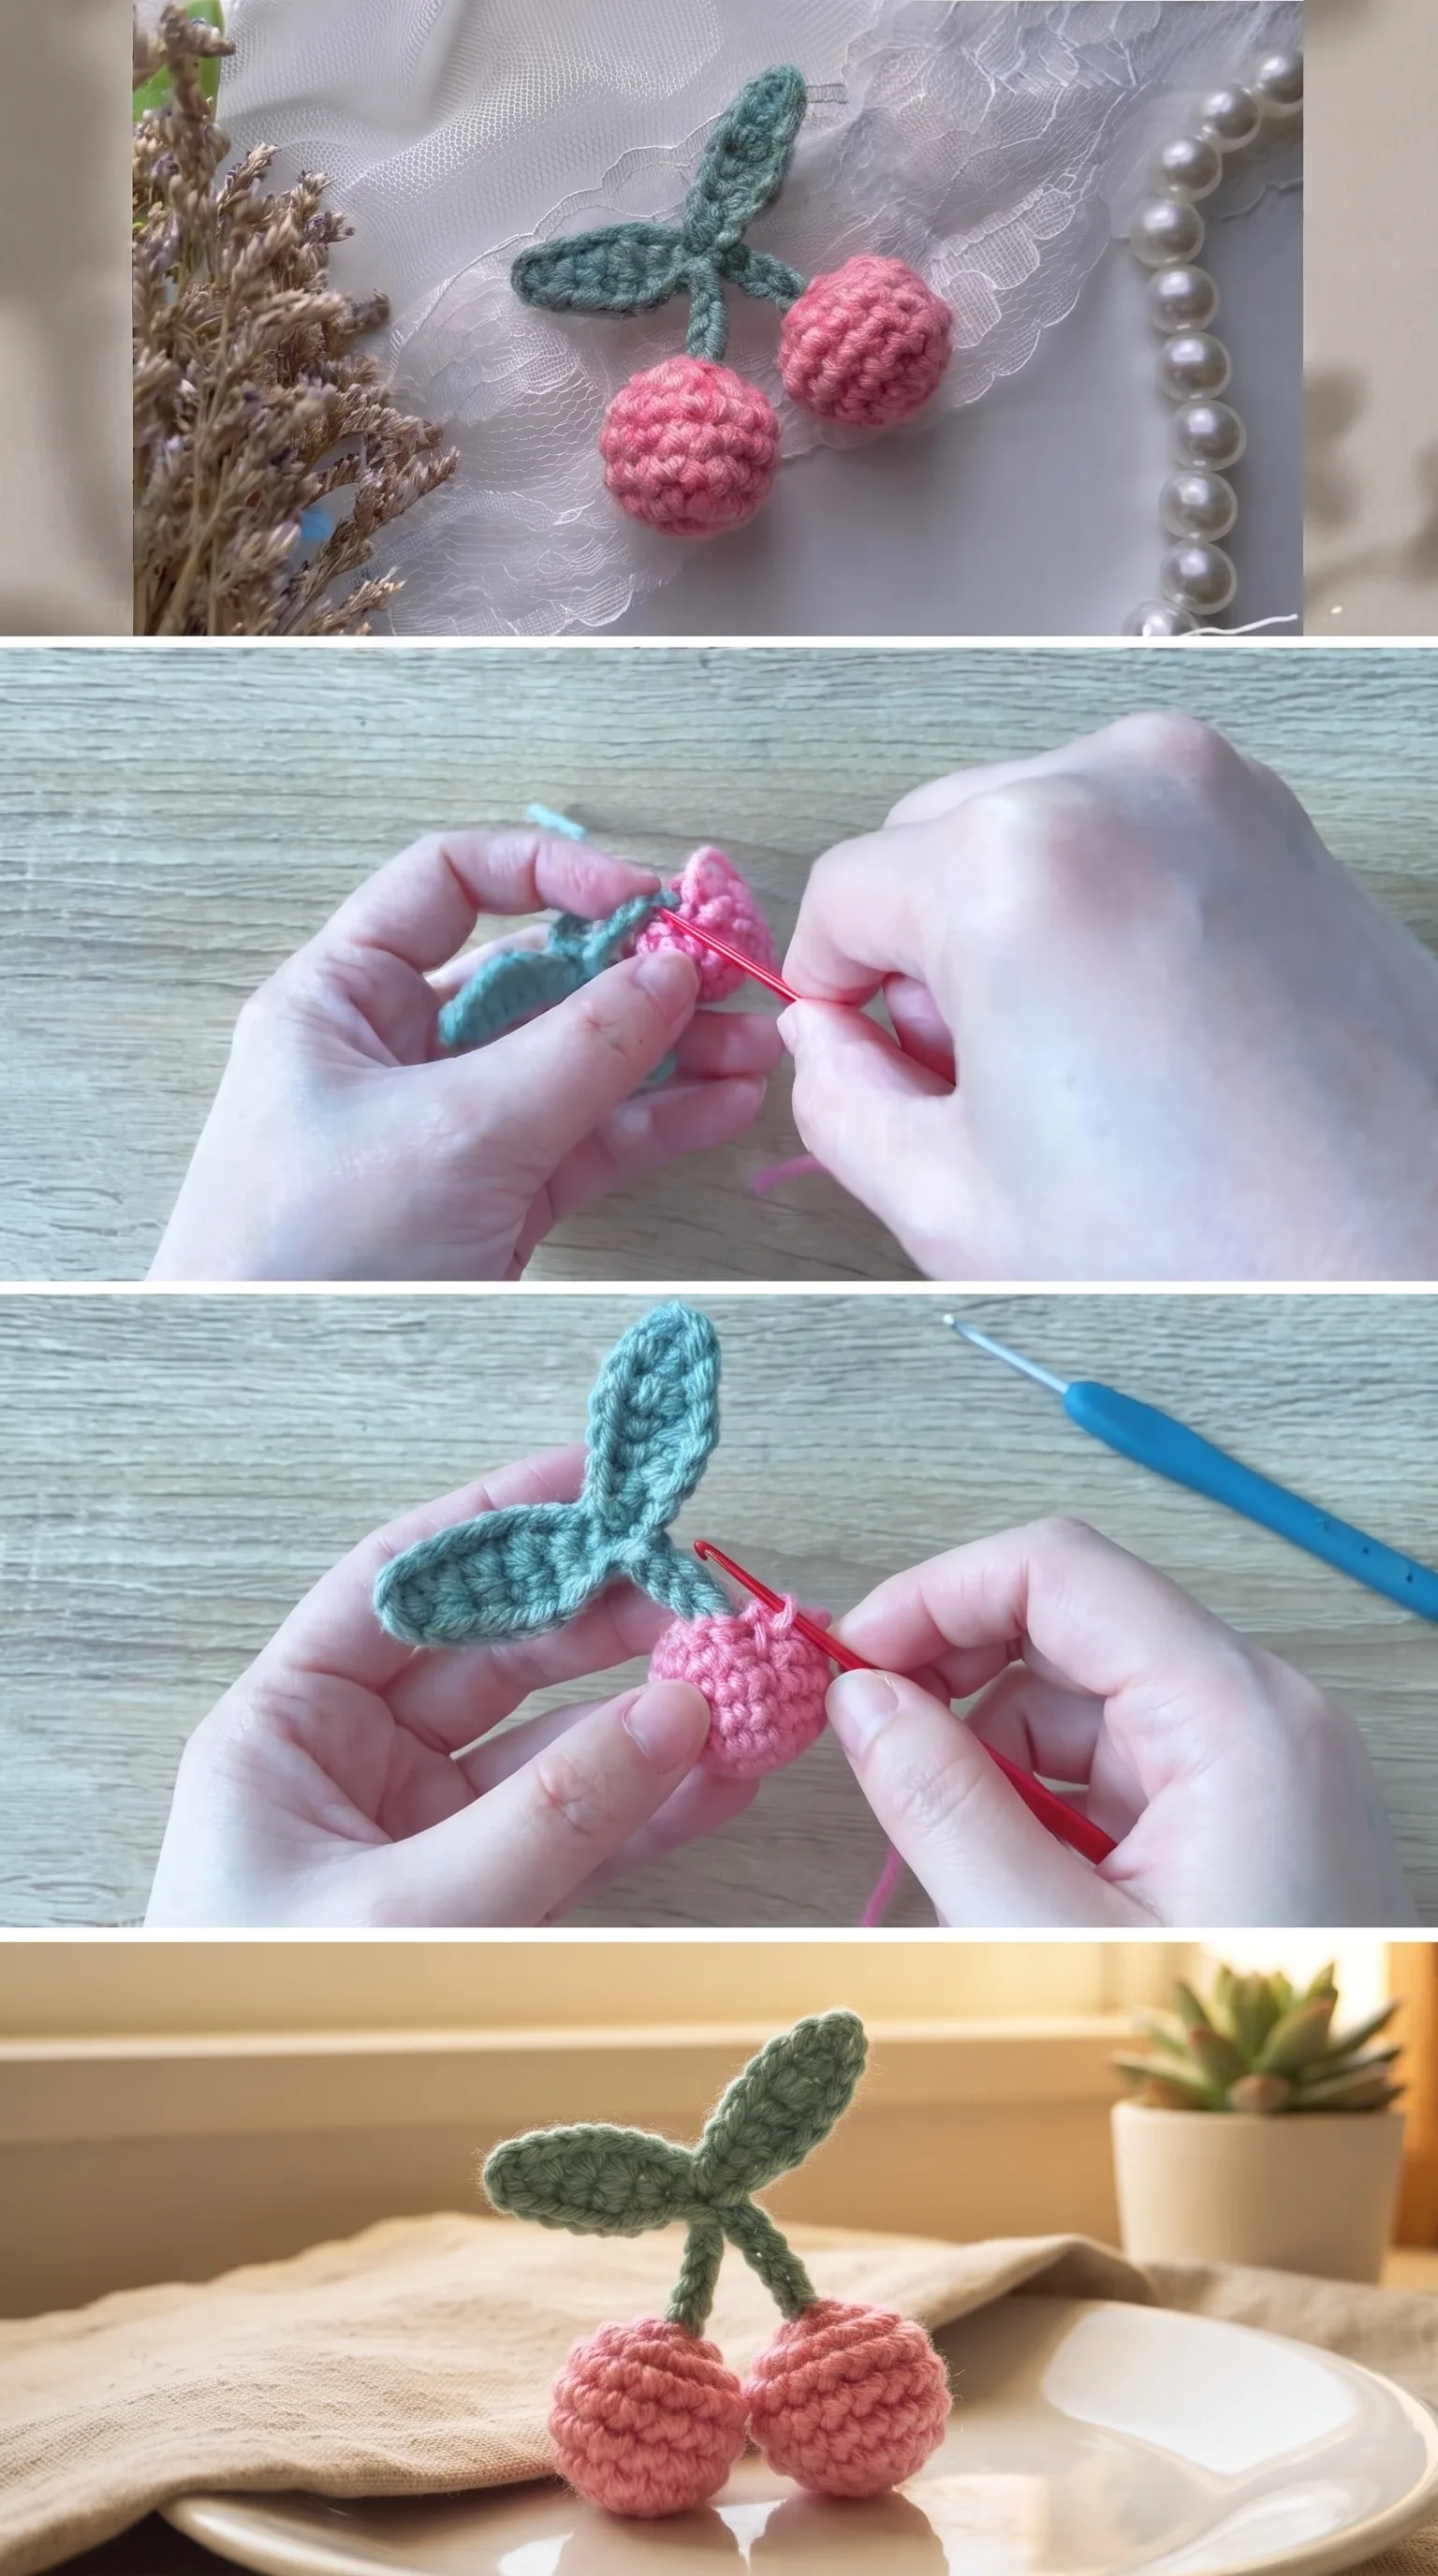
Stitch by Stitch
The Crochet Cherry Amigurumi draws on a small, focused collection of stitches that any beginner can learn quickly.
BULLET:MR (Magic Ring) The foundation of each cherry sphere, the magic ring lets you close the starting round tightly so no hole appears at the top of the fruit.
BULLET:SC (Single Crochet) The workhorse of this entire pattern, used throughout the spheres and along the stem to create a dense, even fabric.
BULLET:SC2tog (Single Crochet Two Together) A simple decrease stitch that shapes the bottom of each cherry as you close the sphere around the stuffing.
BULLET:CH (Chain) Used to form the stems that connect the cherries to the leaf section, giving the piece its characteristic branching silhouette.
Working SC in the round has a meditative rhythm to it, each stitch clicking into place like a small, satisfying decision, and after the first cherry you will find the second one flies off your hook almost without thinking.
Construction
Each cherry is worked separately in the round from the top down, increasing out from the magic ring and then decreasing back inward once the stuffing is tucked inside. The leaves are crocheted flat in a simple elongated shape using a combination of SC and DC stitches, then the stems are chained and joined to connect everything into that iconic two-cherry silhouette. The video tutorial walks you through every single stage of assembly, including how to attach the cherries to the stem securely so they hang with the right weight and proportion. If you want to make a larger version, simply go up one hook size and use a standard DK or worsted weight yarn, and the proportions will scale up naturally.
Wearing Your Cherry Amigurumi
Slip a small brooch pin onto the back and your Crochet Cherry Amigurumi becomes the most charming addition to a denim jacket lapel, a linen tote bag, or a wide-brimmed summer hat. A pair of them threaded onto hair clips transforms the project into a set of accessories that would look absolutely at home in a Parisian market or a vintage fair stall. Finishing this small project gives you something wearable within a single afternoon, which is its own quiet reward.
Keeping Your Cherry Amigurumi Fresh and Bright
Because amigurumi pieces are stuffed and three-dimensional, the gentlest care approach is always a hand wash in cool water with a small drop of mild soap, then a careful reshape while damp and a flat dry away from direct sunlight. If you have made your cherries from cotton yarn, they will hold their color and form beautifully through many washes without pilling or distortion. Avoid machine washing, as the agitation can compress the fiberfill and flatten those satisfying round shapes you worked so carefully to achieve. Store your finished Crochet Cherry Amigurumi away from dust in a small cloth pouch or a clear box if it is being kept as a decorative piece rather than worn regularly.
The full video tutorial for this Crochet Cherry Amigurumi is linked so you can watch every stitch and assembly step in real time, which means there is nothing standing between you and a finished pair of cherries today. If you make yours, share it on Pinterest or Instagram and tag your creation so the whole community can see the sweet little fruit your hands brought into the world.
Follow us on Pinterest and subscribe to the Newsletter so you don’t miss a thing!
Tutorial and photos of this cherry amigurumi by: Vivi Crochet 🌷.
