
A free video tutorial from Naztazia makes these enchanting Crochet String Eggs completely achievable for crafters of every level! The way stiffened thread holds its airy lattice shape, hollow and luminous as a lantern, is nothing short of magical!
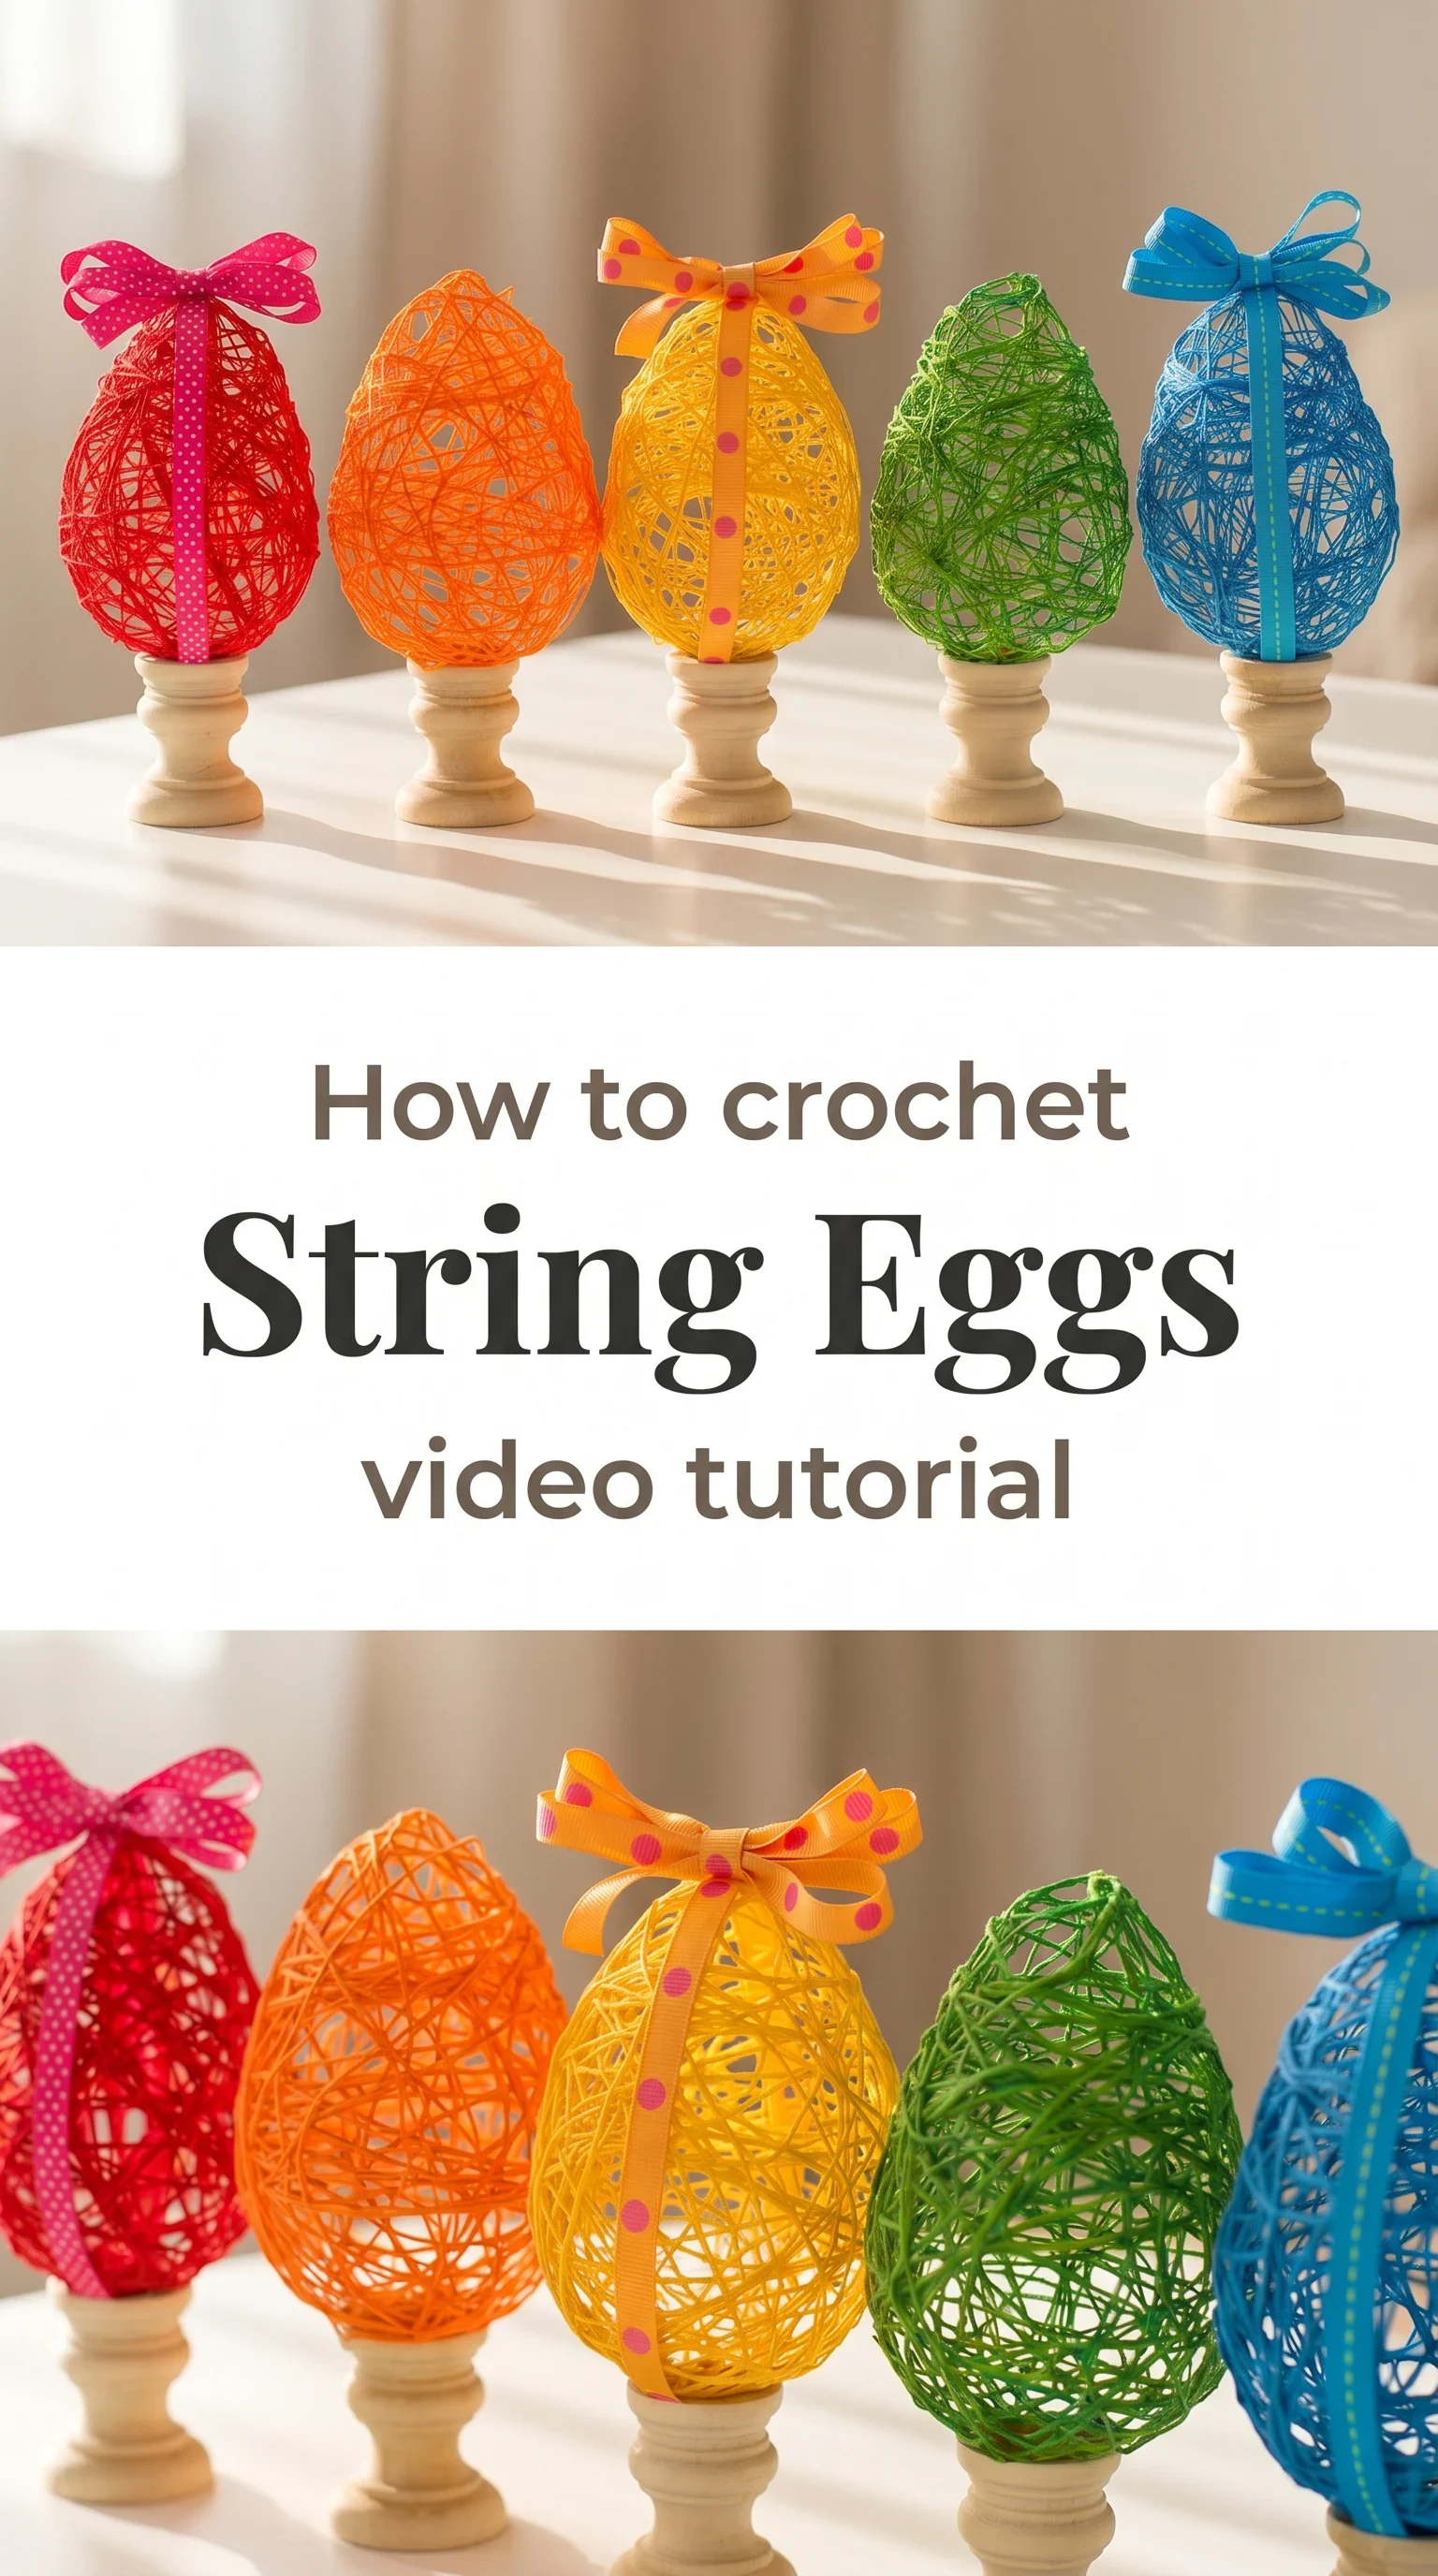
The String Eggs
Crochet String Eggs are one of those rare seasonal makes that feel equally at home on a rustic farmhouse shelf and an elegant Easter table centrepiece. Each egg is built from fine thread wrapped and stiffened into an open, lacy shell that catches light in the most beautiful way, airy yet structured, fragile in appearance but surprisingly firm to the touch. They are made for the crafter who loves a project with visible, almost sculptural results, someone who appreciates the quiet satisfaction of watching something three-dimensional grow in their hands.
String Eggs Related Posts:
- Crochet Textured Wave Stitch: A Bold Timeless Classic
- Crochet Sunflower Crossbody Bag: A Bright Boho Essential
- Crochet German Shell Table Runner: An Elegant Dining Essential
- Crochet Yoshi Plush: A Playful Amigurumi Companion
The colour choices here are genuinely joyful. Looking at the finished collection in the reference images, a full rainbow spread of red, orange, yellow, green, and blue eggs becomes a celebration in itself, each one tied with a coordinating grosgrain or polka-dot ribbon bow. You could also lean into a softer palette of sage, blush, and cream for a more muted, Scandinavian-inspired Easter display, or go bold and saturated for a child’s bedroom shelf.
Materials and Tools
Crochet String Eggs are made using a fine cotton string or crochet thread, typically a size 10 crochet cotton thread which sits in the fingering weight category, thin enough to create that delicate lattice effect without looking bulky. A 1.5mm or 1.75mm steel crochet hook is the right choice for working with this thread weight, giving you the tension control you need as you wind and loop. For the stiffening stage, liquid starch or fabric stiffener is essential and is worked into the thread before shaping over a balloon mould, the balloon acting as your temporary form. A small wooden finial stand, as seen in the finished photographs, makes the perfect display base and can be found in most craft stores or online.
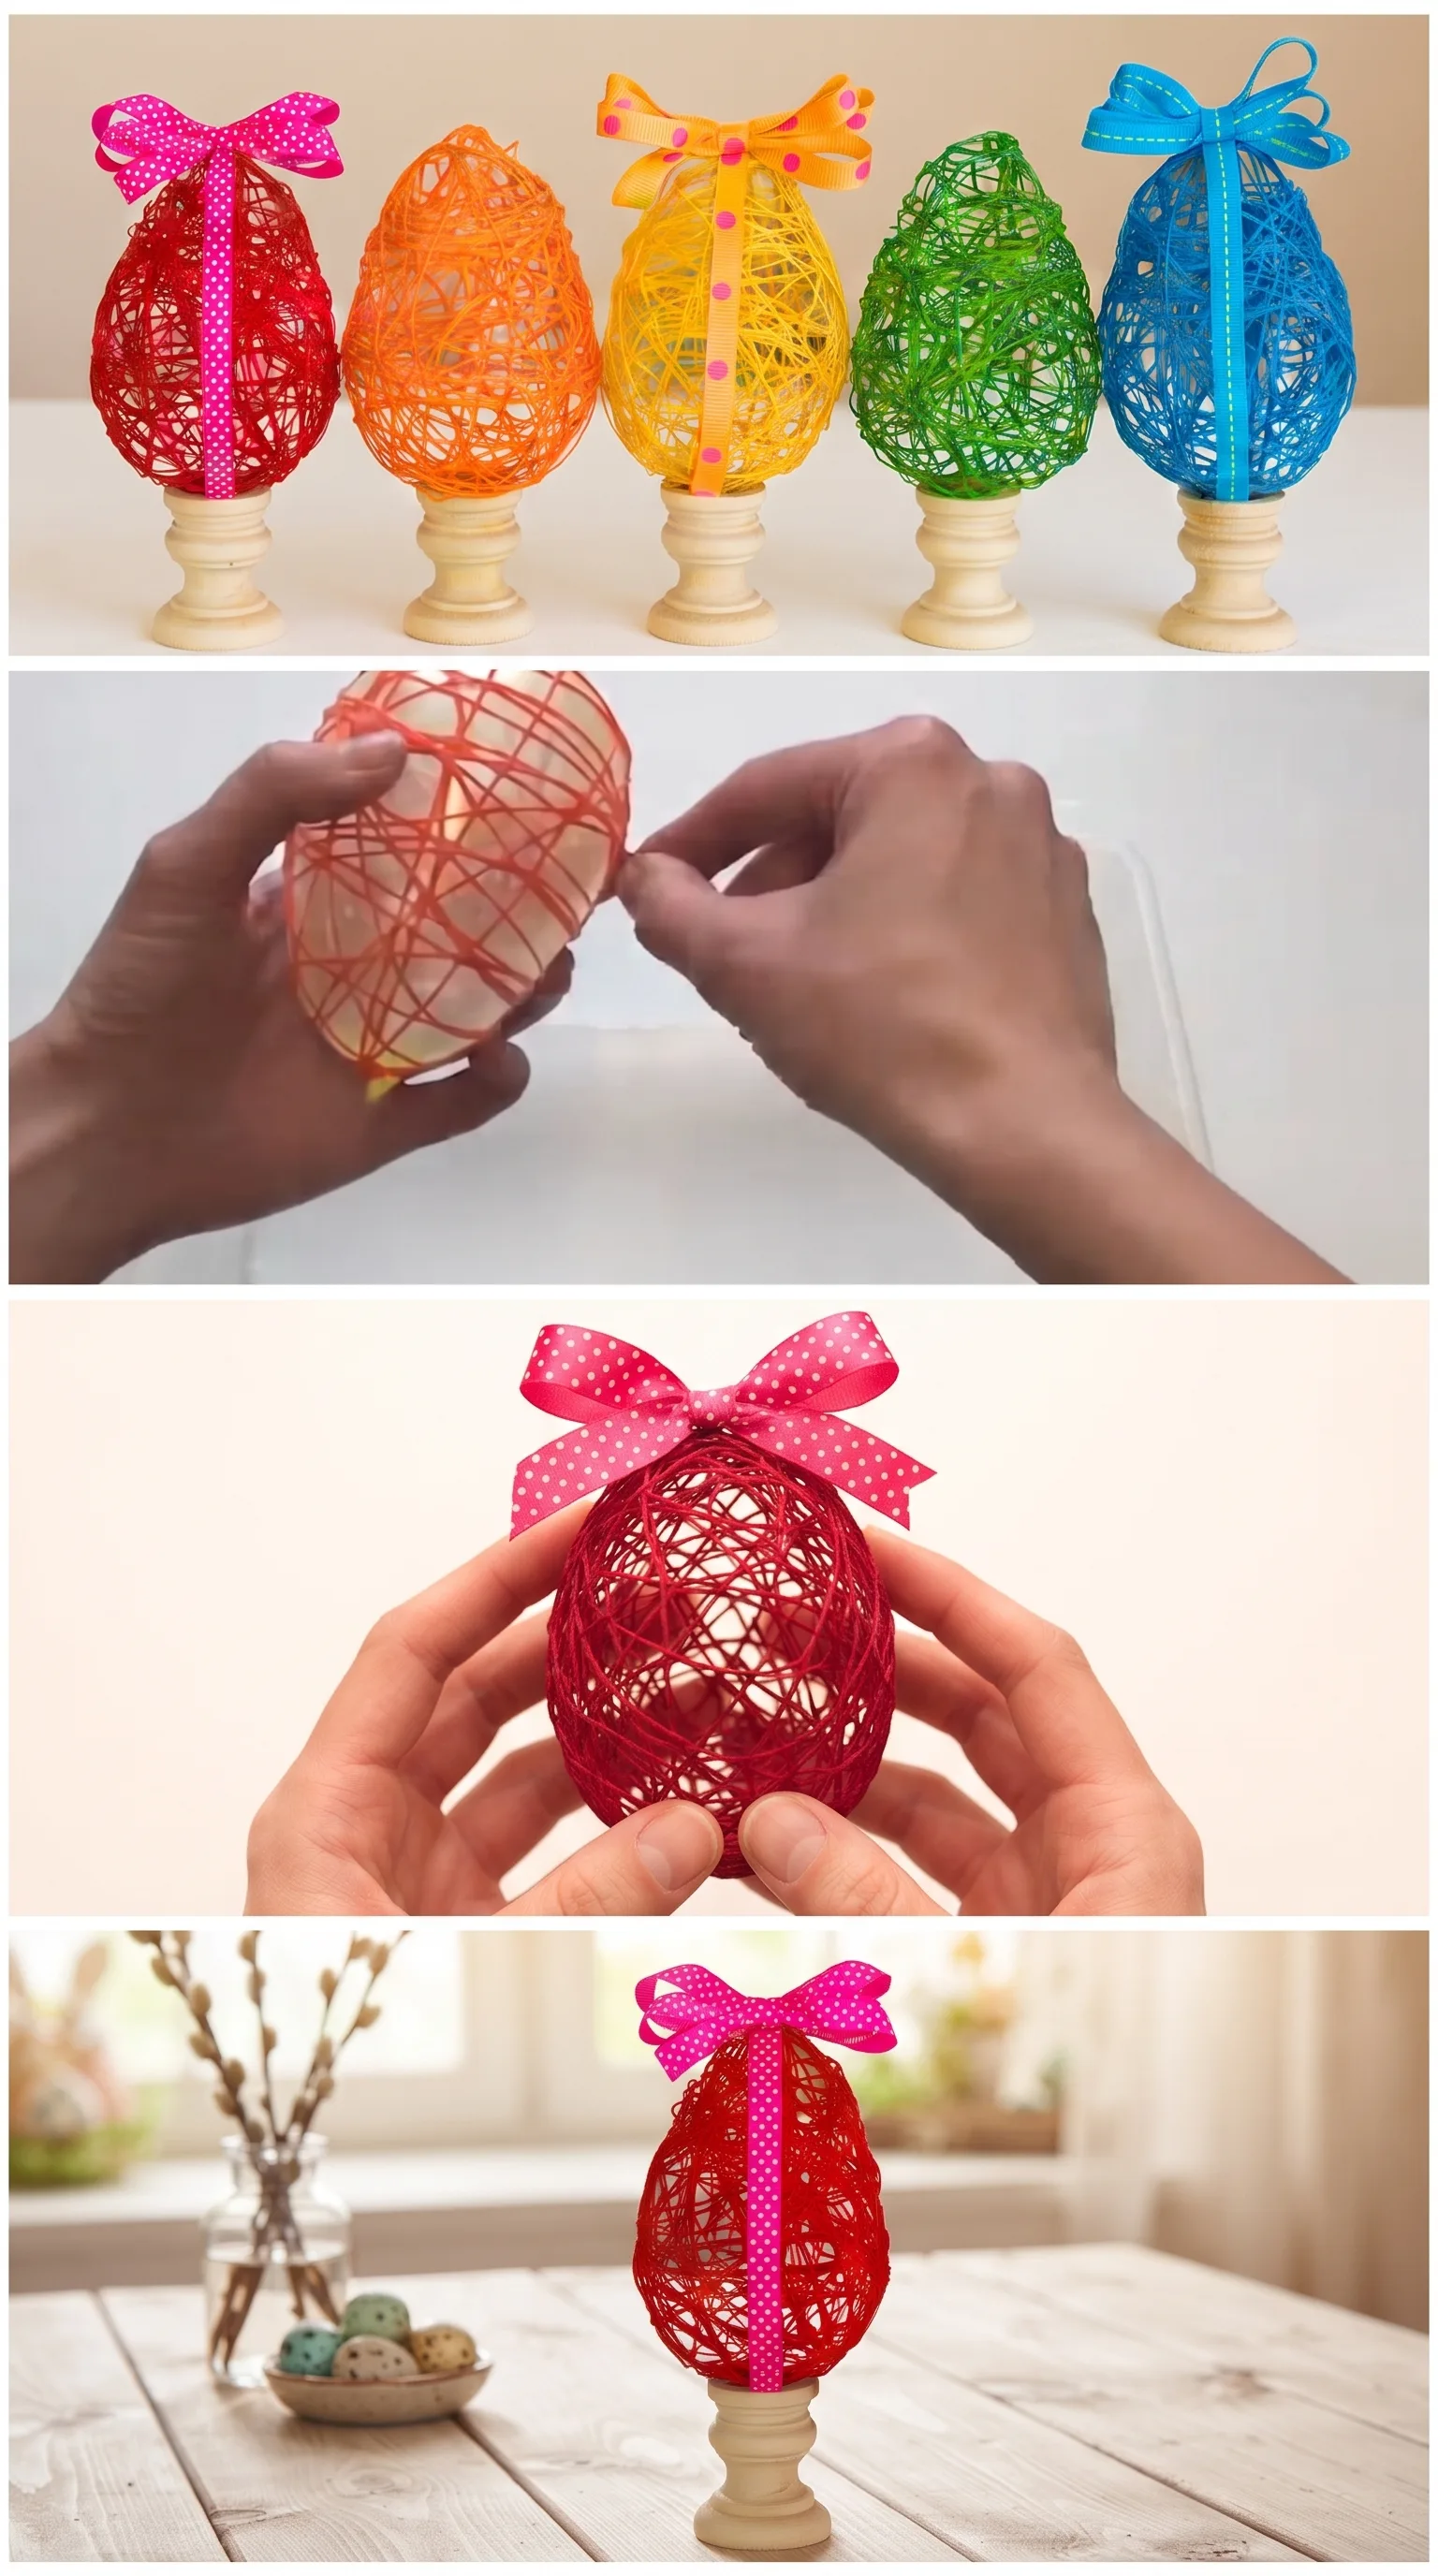
Stitch by Stitch
The construction of Crochet String Eggs relies on a handful of foundational stitches used in a free-wrapping, improvisational way rather than a strict pattern row.
BULLET:SC (Single Crochet) The base anchor stitch used to begin and secure the thread at key structural points around the egg form.
BULLET:DC (Double Crochet) Worked loosely and freely across the balloon surface to create the longer, crossing strands that give the egg its open lattice character.
BULLET:CH (Chain) Used to bridge gaps and extend the thread gracefully between contact points, forming the visible negative space of the design.
BULLET:SS (Slip Stitch) Worked to join sections and lock down strands securely before the stiffener sets the final shape.
There is a genuinely meditative rhythm to wrapping and looping the stiffened thread across the balloon, each pass building on the last until the egg begins to hold its own quiet geometry.
Construction
The full step-by-step process is walked through beautifully in the Naztazia video tutorial, which guides you from inflating and greasing your balloon mould through to peeling it away once the stiffener has dried completely. The thread is soaked in liquid starch or fabric stiffener and then wrapped, looped, and anchored across the balloon in a flowing, organic way rather than following a strict row structure, which actually makes these Crochet String Eggs wonderfully accessible for beginners who sometimes find rigid row-counting stressful. Once dry, the balloon is deflated and removed to reveal the self-supporting hollow shell. As a customisation option, you can vary the density of your wrapping, more sparse for a delicate lantern effect, more layered for a denser, bolder egg.
Wearing Your String Eggs
Crochet String Eggs are made for display rather than wearing, and they do it beautifully. Arrange a set of five in graduating rainbow colours along a mantelpiece, nestle a single egg inside a shallow wicker bowl filled with dried moss, or hang a small version from a spring wreath using a length of narrow satin ribbon. Every time you walk past your display you will feel glad you made them.
Keeping Your String Eggs Looking Their Best
Because these eggs are stiffened with fabric starch, they are not designed to be washed and should be kept away from moisture which would soften and distort the shell. To remove dust, a very gentle pass with a soft paintbrush or a cool setting on a hair dryer held at a distance works well without disturbing the structure. Store them between uses in a rigid box with tissue paper to prevent crushing, and avoid packing them into sealed plastic bags where humidity can build up. Kept with a little care, a set of Crochet String Eggs will hold its shape and colour beautifully for many Easter seasons to come.
Every egg you make carries the proof that your hands can turn simple thread and starch into something genuinely beautiful, and that is worth celebrating every single time. Save this post to your Easter Crafts board on Pinterest and share your finished eggs with the hashtag so the whole community can see your colours.
Follow us on Pinterest and subscribe to the Newsletter so you don’t miss a thing!
Tutorial and photos of this string eggs by: naztazia.
