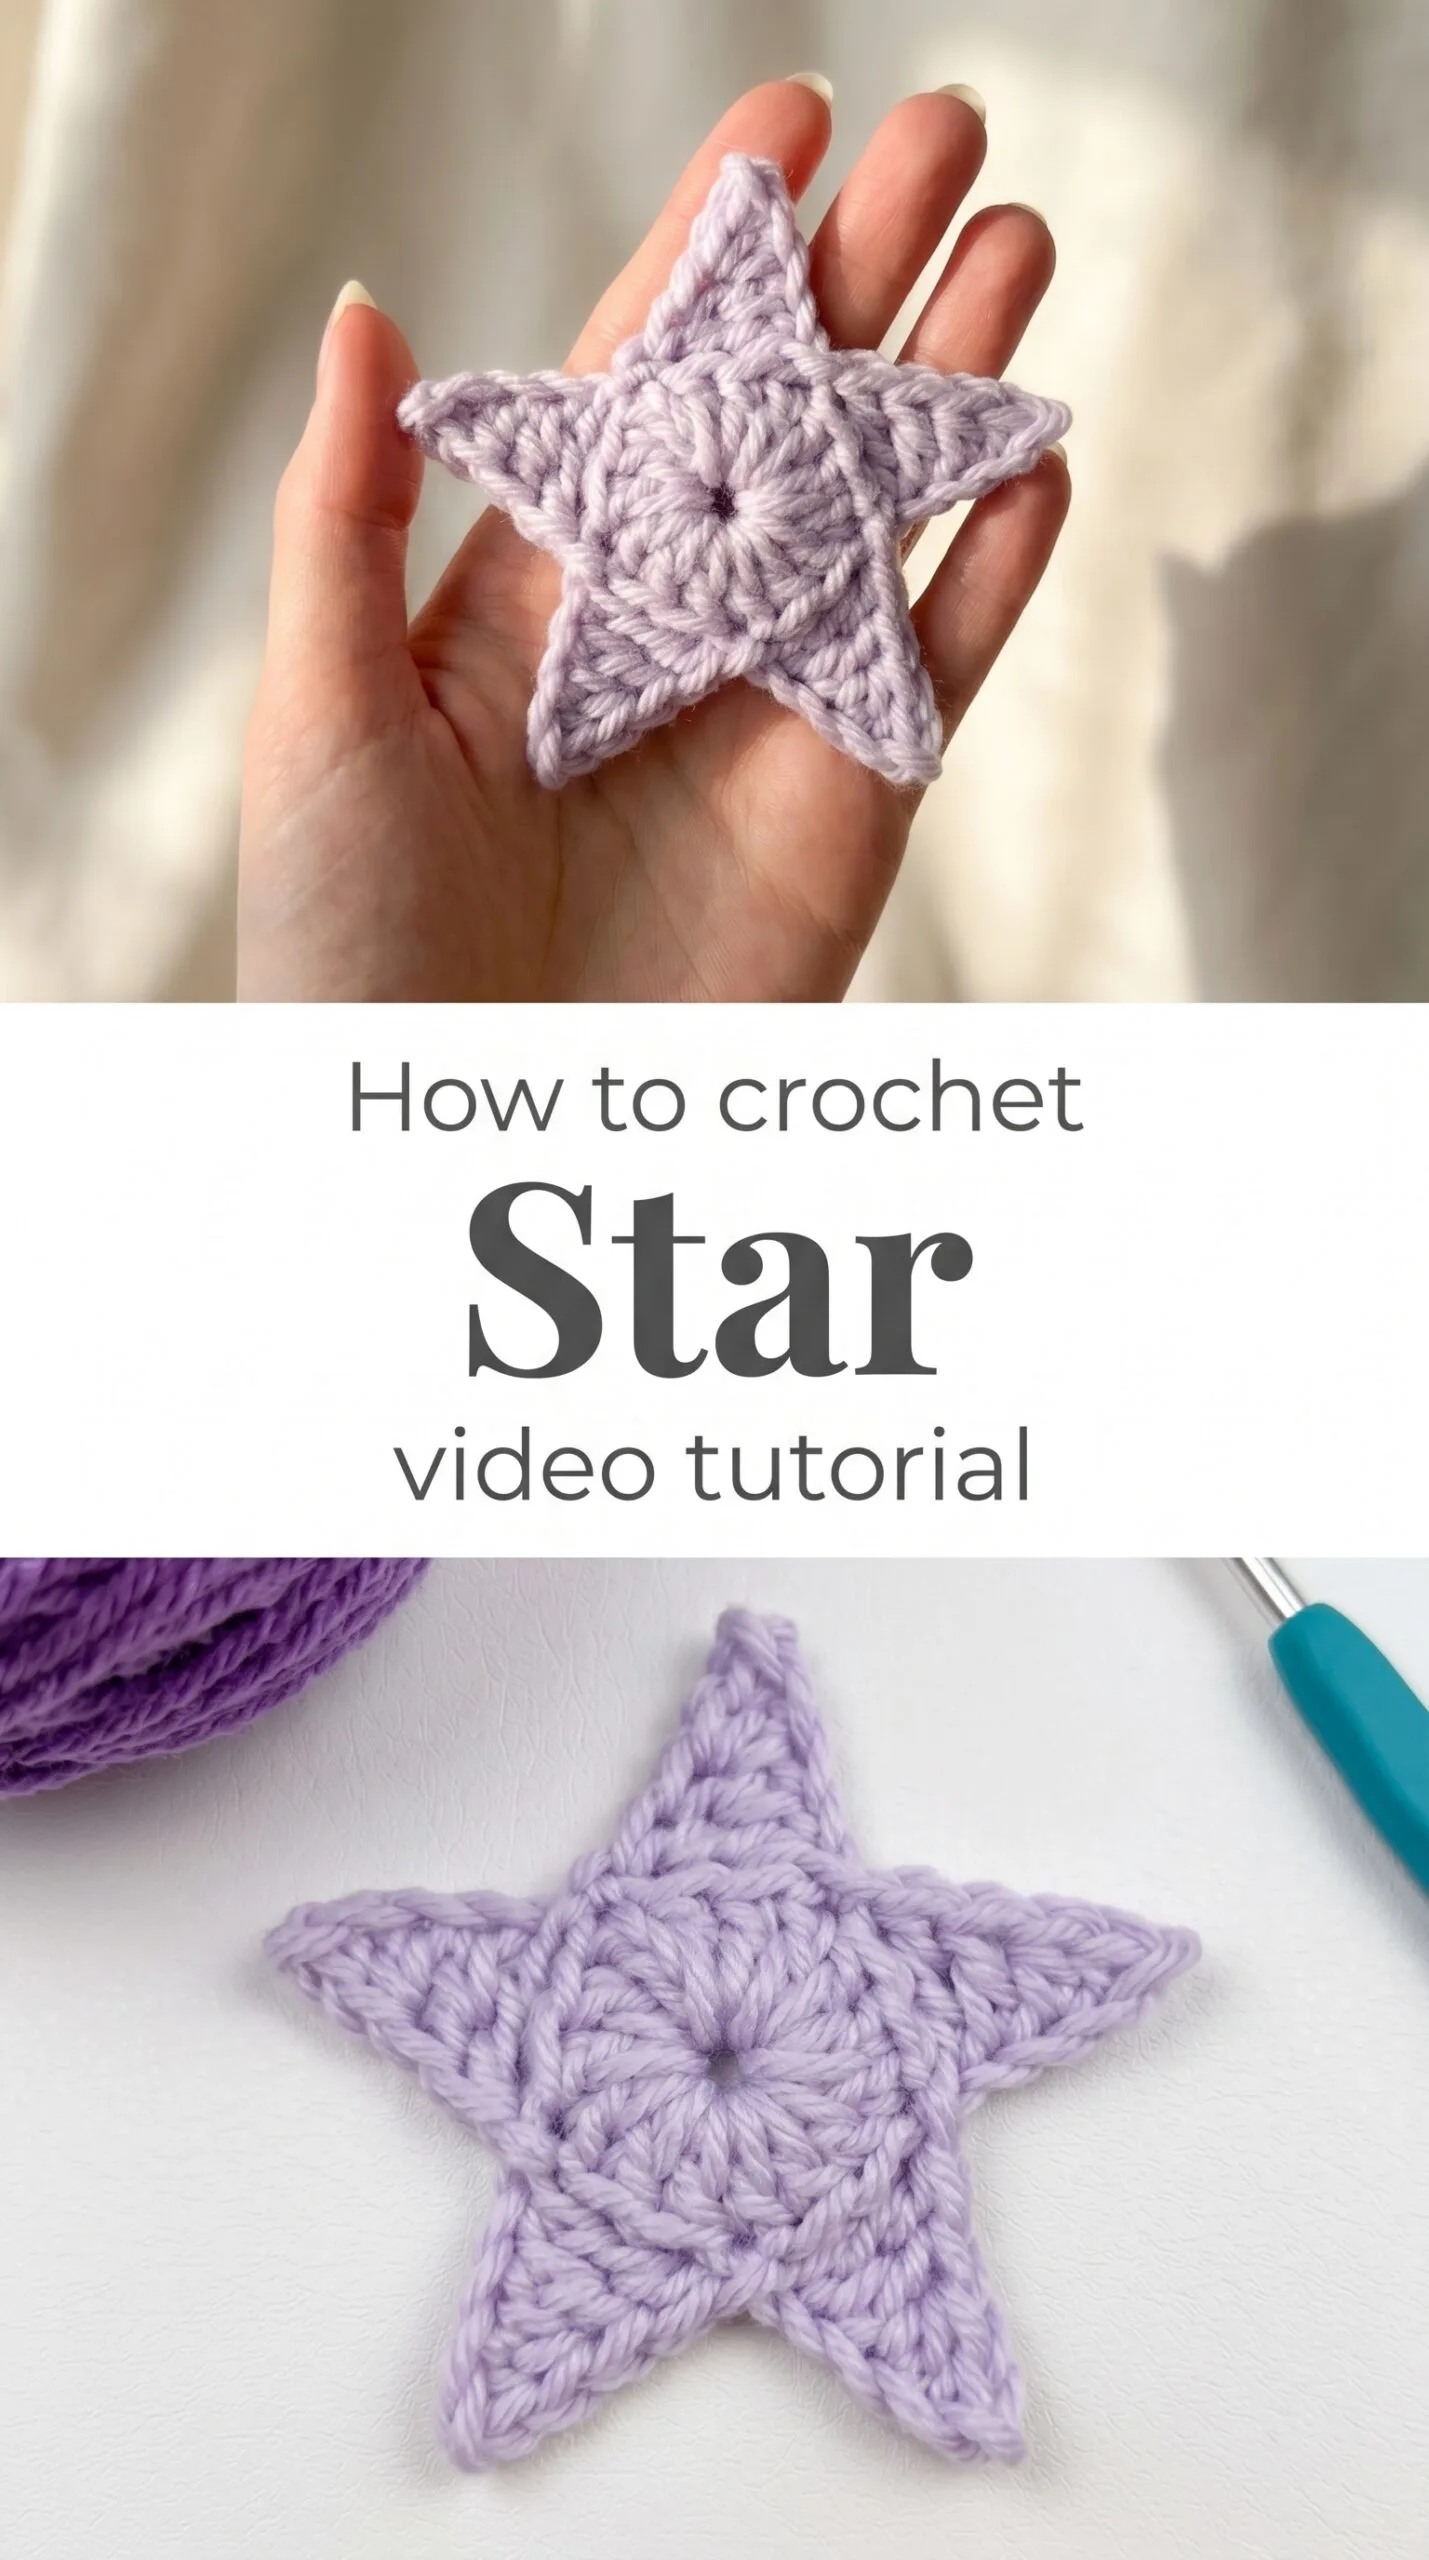
A free video tutorial makes this Crochet Star pattern easy to follow and absolutely delightful to make. The way this little motif takes shape in your hands, point by point, is pure magic!
The Star
This Crochet Star is a small gesture with enormous charm. Whether you’re embellishing a blanket, creating a garland, or adding a sweet detail to a child’s cardigan, this motif works as both focal point and finishing touch. The five-point construction gives it structure and symmetry, while the texture of the stitches keeps it soft and dimensional. It’s a pattern that rewards beginners and satisfies experienced makers who want something quick, portable, and endlessly customizable.
Crochet Star Related Posts:
You can work this Crochet Star in a single shade for clean, graphic impact, or switch yarns midway through for a two-tone effect that highlights each round. Pastels feel sweet and nursery-ready, jewel tones bring richness, and neutrals let the texture speak for itself. Make a whole constellation in varying sizes, or keep them uniform for a polished, repeating motif.
Materials and Tools
You’ll want a DK weight yarn for a star that holds its shape without stiffness. A 4mm crochet hook gives the stitches just enough room to breathe while keeping the fabric firm. Cotton blends are ideal if you’re planning to use these as appliqués or coasters, as they block beautifully and keep their form. Keep a yarn needle nearby for weaving in ends and, if you like, a pair of small scissors tucked into your project bag for trimming tails as you go.
Stitch by Stitch
This pattern uses a handful of classic stitches that build quickly and intuitively.
BULLET:CH (chain) The foundation of your magic ring and the bridges between each point of the star.
BULLET:SC (single crochet) Used sparingly but effectively to anchor certain rounds and create tight, defined edges.
BULLET:HDC (half double crochet) Adds a gentle slope and soft body to the star’s arms without too much height.
BULLET:DC (double crochet) The workhorse stitch here, giving each point its length and presence.
The rhythm of working in the round, then into individual chain spaces, makes this Crochet Star feel almost meditative. You’re building outward from the center, and each repeat feels like a small celebration.
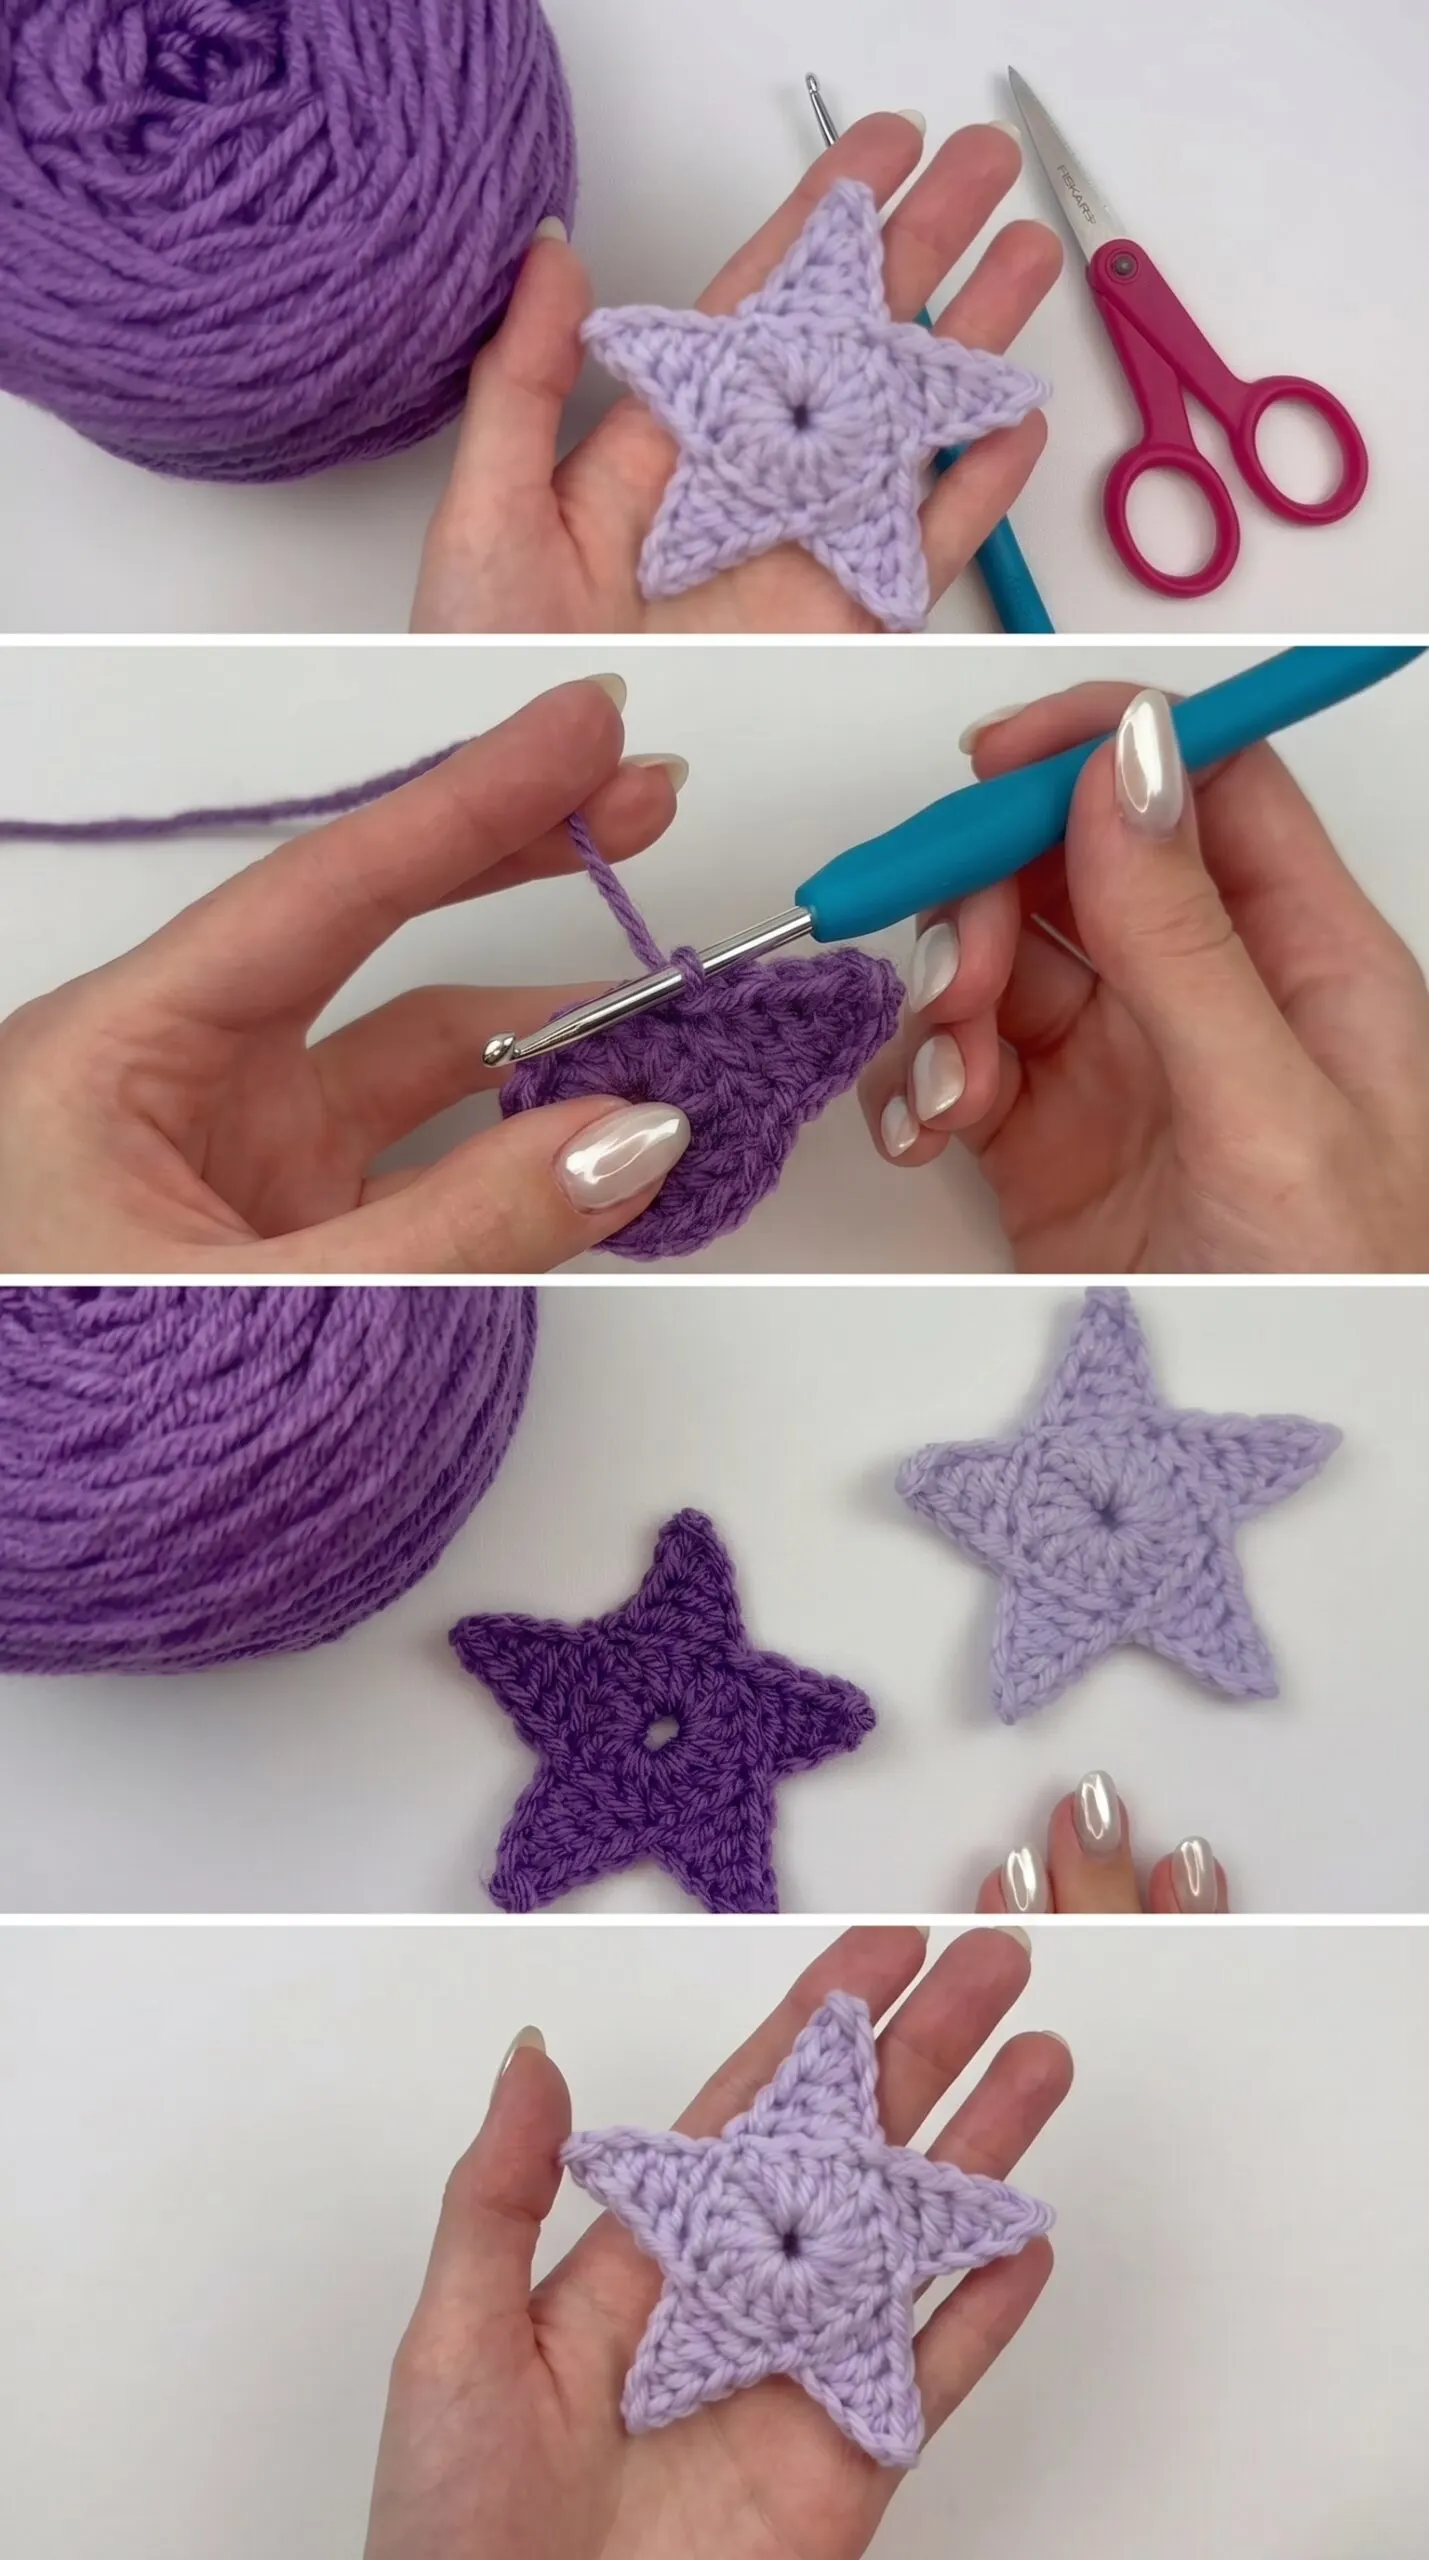
Construction
The Crochet Star begins with a magic ring, and from there you work outward in rounds, increasing strategically to form the five arms. Each point is built into its own chain space, so the structure emerges naturally without complicated shaping. This is a wonderful beginner-friendly project because you can see your progress immediately, and mistakes are easy to spot and fix. If you want a larger star, simply add another round of increases before the final edge, keeping the points proportional.
Wearing Your Star
Stitch a row of these across the hem of a simple linen dress for a touch of whimsy. Attach one to the brim of a summer hat, or use a handful as scattered appliqués on a tote bag. You could even string several together on a fine chain to create a dreamy bunting for a child’s room.
Keeping Your Stars Fresh and Shapely
If you’ve used cotton or a cotton blend, a light steam block will crisp up the points and flatten the piece beautifully. For acrylic, pin the star to a foam mat and spritz with water, letting it air dry completely. Store finished stars flat between sheets of tissue paper if you’re saving them for future projects, or tuck them into a small envelope to keep them clean and ready to use. A gentle hand wash in cool water will refresh them anytime they need it.
These little Crochet Stars are proof that the smallest projects can bring the most joy. Make one, make twenty, and watch how they transform everything they touch. Pin this pattern and share your finished stars so we can all admire them together.
Follow us on Pinterest and subscribe to the Newsletter so you don’t miss a thing!
Tutorial and photos of this star by: ElyseCrochets 💌.
